Ready to give your kitchen a fresh new look without breaking the bank? This guide offers 10 inspiring DIY kitchen decor ideas, each broken down into simple, manageable steps. You’ll learn how to update everything from cabinet hardware to creating a stunning accent wall, bringing personality and functionality to your space with projects suitable for every skill level.
10 Diy Kitchen Decor Ideas Step by Step
Your kitchen is often called the heart of the home. It’s where meals are cooked, families gather, and memories are made. But over time, even the most beloved kitchens can start to feel a little tired or outdated. A full renovation might be out of reach, but that doesn’t mean you can’t give your kitchen a fantastic refresh!
If you’re looking for ways to inject new life, style, and personality into your cooking space without spending a fortune, you’ve come to the right place. This comprehensive guide will walk you through 10 amazing DIY kitchen decor ideas that you can tackle yourself. We’ll provide simple, step-by-step instructions for each project, along with practical tips to ensure your success.
From quick cosmetic changes to more hands-on crafting, these DIY kitchen decor ideas are designed to be achievable for all skill levels. Get ready to transform your kitchen into a space you truly love, reflecting your unique style and making it even more inviting. Let’s dive into these exciting projects!
Key Takeaways
- Affordable Transformation: Discover how to achieve a significant kitchen refresh using budget-friendly DIY kitchen decor ideas, saving money compared to professional renovations.
- Step-by-Step Guidance: Each of the 10 DIY projects comes with clear, easy-to-follow instructions, making them accessible even for beginners.
- Personalization Power: Learn to infuse your unique style into your kitchen through custom art, personalized storage, and unique functional decor.
- Skill-Building Opportunities: Engage in projects ranging from simple updates like changing hardware to more involved tasks like stenciling a backsplash, helping you develop new DIY skills.
- Enhanced Functionality & Aesthetics: Many DIY kitchen decor ideas not only beautify your space but also improve its organization and practical use, like adding open shelving or a herb garden.
- High Readability & Approachability: The guide is written in a friendly, conversational tone with short sentences and simple language, ensuring everyone can easily understand and follow along.
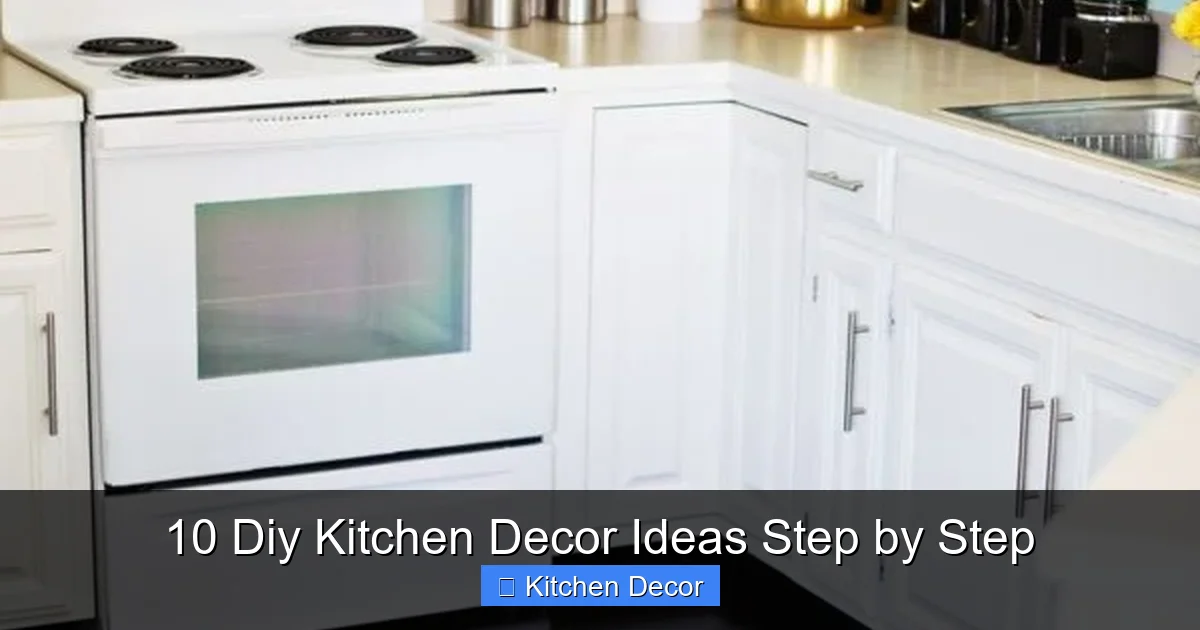
1. Update Cabinet Hardware
One of the quickest and most impactful DIY kitchen decor ideas is simply changing out your cabinet pulls and knobs. It’s like giving your cabinets a brand new set of jewelry. This small change can drastically alter the look and feel of your entire kitchen.
What You’ll Need:
- New cabinet pulls and knobs (measure existing hole spacing carefully!)
- Screwdriver (manual or electric)
- Measuring tape (if drilling new holes)
- Drill and appropriate bit (if drilling new holes)
- Pencil
Step 1: Choose Your New Hardware
Before you start, select hardware that complements your kitchen’s style. Think about finishes like brushed gold, matte black, chrome, or even glass. Ensure the new hardware’s screw spacing matches your existing holes if you don’t want to drill new ones. This makes the process much faster.
Step 2: Remove Old Hardware
Using your screwdriver, carefully unscrew and remove all existing knobs and pulls from your cabinets and drawers. Keep the old screws in case you need them for something else, or simply dispose of them.
Step 3: Install New Hardware
If your new hardware matches the old screw holes, simply align the new pulls or knobs with the holes. Insert the new screws from the inside of the cabinet door or drawer front and tighten them with your screwdriver. Don’t overtighten, as this can strip the screws or damage the cabinet.
Tip: If you’re drilling new holes, use a template or carefully measure and mark the exact placement with a pencil. Drill pilot holes slightly smaller than your screw diameter to prevent wood splitting. Always drill from the front of the cabinet door or drawer through to the back.
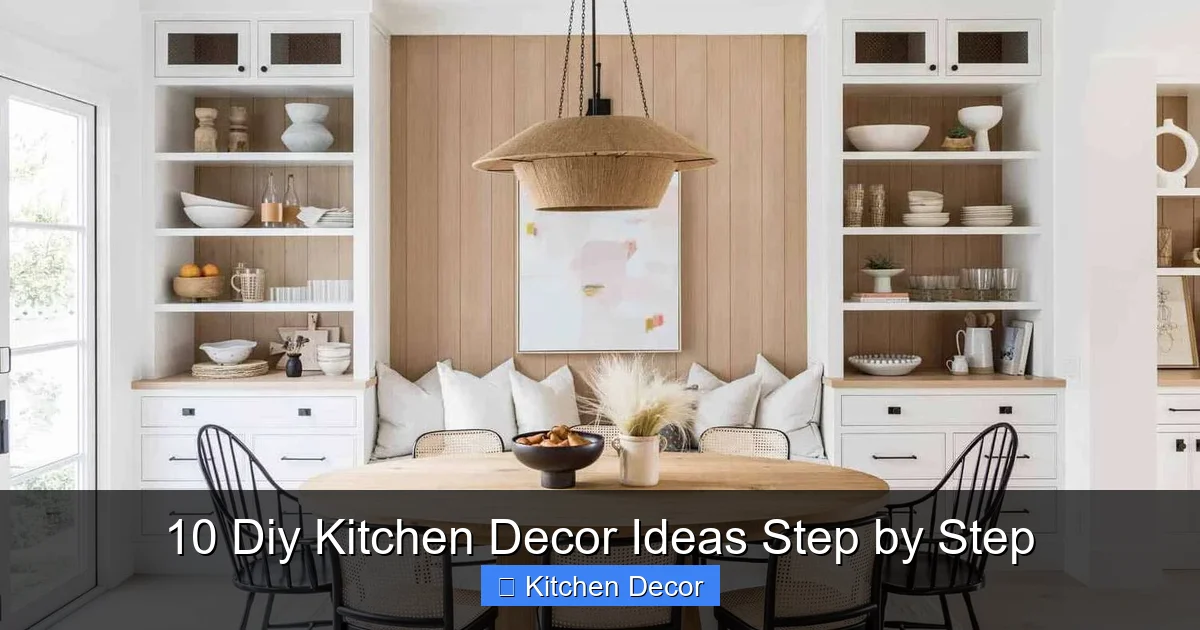
2. Create a DIY Open Shelf Display
Open shelving is a popular trend that adds an airy feel and an opportunity to display beautiful dishes, cookbooks, or decorative items. This is one of those DIY kitchen decor ideas that offers both style and practicality.
Visual guide about 10 Diy Kitchen Decor Ideas Step by Step
Image source: craftsonfire.com
What You’ll Need:
- Wooden shelves (pre-cut or cut to size)
- Shelf brackets (style of your choice)
- Level
- Measuring tape
- Pencil
- Drill with appropriate bits
- Wall anchors (if drilling into drywall without studs)
- Screwdriver
- Stud finder
Step 1: Plan Your Layout
Decide where you want your shelves to go. Common spots are above the sink, next to the range hood, or replacing a few upper cabinets. Measure the length you desire for your shelves. Consider the weight of what you’ll display and choose sturdy wood for the shelves and strong brackets.
Step 2: Mark and Install Brackets
Use a stud finder to locate wall studs for the most secure installation. Mark the placement of your brackets with a pencil, ensuring they are level with each other. If you can’t hit a stud, use heavy-duty wall anchors appropriate for the weight you plan to put on the shelf.
Drill pilot holes for your screws. Then, attach the brackets firmly to the wall. Double-check with your level after installing each bracket.
Step 3: Secure the Shelves
Place your wooden shelf on top of the installed brackets. Depending on your bracket style, you might need to screw the shelf into the brackets from underneath or from the top. Ensure the shelf is stable and level before loading it with items.
Tip: For a cohesive look, paint or stain your shelves to match other wood tones in your kitchen or choose a contrasting color for a pop. These DIY kitchen decor ideas are all about making the space your own!
3. Paint an Accent Wall
A single accent wall can completely transform the mood of your kitchen. It’s a bold yet manageable DIY kitchen decor idea that can introduce color, pattern, or texture without overwhelming the entire space.
Visual guide about 10 Diy Kitchen Decor Ideas Step by Step
Image source: cache.lovethispic.com
What You’ll Need:
- Painter’s tape
- Drop cloths or old sheets
- Paint (high-quality interior paint, ideally washable for kitchens)
- Paint roller with tray
- Paintbrushes (for cutting in edges)
- Screwdriver (to remove outlet covers)
- Sponge and cleaner (for wall prep)
Step 1: Prepare the Wall
Choose a wall that’s a natural focal point, often one without too many windows or doors. Clean the wall thoroughly with a mild cleaner to remove any grease or grime. Let it dry completely. Remove any outlet covers or switch plates and use painter’s tape to protect trim, baseboards, and ceiling lines.
Step 2: Prime (If Necessary)
If you’re painting a dark color over a light wall, or a light color over a dark wall, a coat of primer will help ensure even coverage and true color. Let the primer dry according to the manufacturer’s instructions.
Step 3: Paint Your Accent Wall
Start by “cutting in” with a paintbrush, painting around the edges, corners, and taped areas. Then, use your roller to apply paint to the main surface of the wall, working in small sections and using overlapping strokes. Apply a second coat if needed, allowing adequate drying time between coats.
Tip: Remove the painter’s tape while the paint is still slightly wet for cleaner lines. This is one of the most effective DIY kitchen decor ideas for a dramatic change with minimal effort.
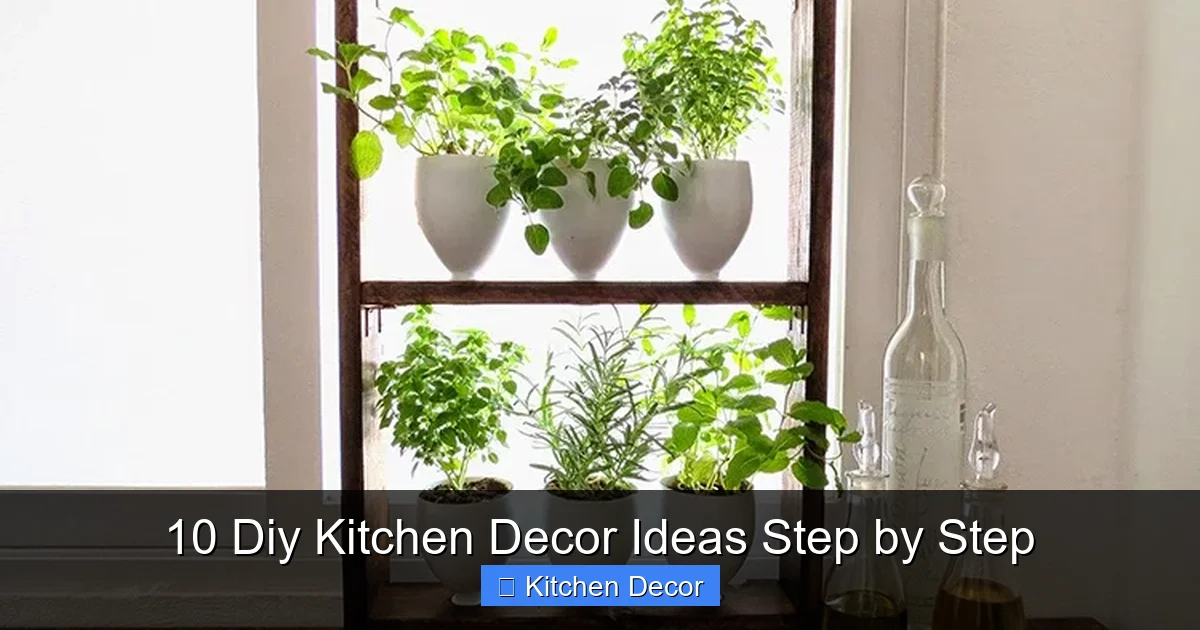
4. Create a Countertop Herb Garden
Bring life, color, and fresh flavors into your kitchen with a DIY herb garden. It’s a functional and beautiful piece of DIY kitchen decor that smells wonderful too!
Visual guide about 10 Diy Kitchen Decor Ideas Step by Step
Image source: craftsonfire.com
What You’ll Need:
- Small pots or containers (terra cotta, ceramic, or repurposed cans)
- Potting soil
- Herb seeds or small herb plants (basil, mint, rosemary, chives, parsley)
- Small trowel or spoon
- Watering can
- Labels or markers (optional)
- Drainage tray or saucers
Step 1: Choose Your Herbs and Containers
Select herbs you love to cook with. Consider what grows well indoors with your kitchen’s light conditions. Choose containers with drainage holes. If using repurposed cans, make sure to drill small holes in the bottom for drainage.
Step 2: Plant Your Herbs
Fill your pots with potting soil, leaving about an inch of space from the rim. If using seeds, follow the package instructions for planting depth. If using plants, gently remove them from their nursery pots, loosen the roots, and place them in your new pots. Fill around them with soil and gently pat down.
Step 3: Care for Your Garden
Water your herbs thoroughly after planting. Place them in a spot that receives adequate sunlight (usually 4-6 hours per day). A kitchen windowsill is often perfect. Water regularly, ensuring the soil stays moist but not waterlogged. Add labels so you know which herb is which.
Tip: Rotate your pots every few days to ensure even sun exposure. This DIY kitchen decor idea adds freshness and a lovely aroma to your space.
5. DIY Stenciled or Peel-and-Stick Backsplash
A backsplash protects your walls and adds a huge style statement. A full tile installation can be daunting, but a stenciled or peel-and-stick option makes this a perfect DIY kitchen decor idea.
What You’ll Need (for Stenciled):
- Sturdy stencil (your chosen pattern)
- Painter’s tape
- Small foam roller or stencil brush
- Paint (latex or acrylic, durable and washable)
- Drop cloths
- Level
- Cleaning supplies
What You’ll Need (for Peel-and-Stick):
- Peel-and-stick tile sheets
- Measuring tape
- Utility knife or sharp scissors
- Ruler or straight edge
- Cleaning supplies
- Level
Step 1: Prepare the Surface
Clean your existing backsplash or wall thoroughly to remove any grease or dirt. The surface needs to be smooth, dry, and clean for the best adhesion or paint application. Remove outlet covers. For stenciling, ensure the wall is painted in your base color and is fully dry.
Step 2: Apply Your Chosen Method
For Stenciling:
Tape your stencil firmly to the wall, ensuring it’s level. Use a minimal amount of paint on your roller or brush and dab or roll evenly over the stencil. Less is more to prevent bleeding. Carefully remove the stencil, reposition, and repeat, aligning it with the previous pattern. Let dry thoroughly between repetitions.
For Peel-and-Stick:
Measure your wall space carefully. Start from a corner and peel off a small section of the backing, aligning the tile precisely. Press firmly as you slowly peel more of the backing away, smoothing out any air bubbles as you go. Use a utility knife to cut tiles to fit around outlets or edges.
Step 3: Finish Up
For stenciling, let the paint cure completely. You might want to apply a clear, water-resistant topcoat for added durability. For peel-and-stick, ensure all edges are pressed down firmly. Reinstall outlet covers. Both these DIY kitchen decor ideas instantly elevate your kitchen’s style.
6. Refresh Kitchen Linens
Kitchen linens like dish towels, oven mitts, and placemats see a lot of wear and tear. Updating them is an easy and often overlooked DIY kitchen decor idea. You can buy new ones or get creative by dyeing, embroidering, or adding trim to existing ones.
What You’ll Need:
- Existing plain linens or new plain ones
- Fabric dye (liquid or powder)
- Large bucket or plastic tub
- Rubber gloves
- Salt (for dye setting)
- Iron and ironing board (for heat setting dye)
- Sewing machine or needle and thread (for adding trim/embroidery)
- Ribbons, fabric scraps, or embroidery floss (for embellishment)
Step 1: Choose Your Method
Decide if you want to dye existing linens a new color, or if you want to add decorative elements like embroidery or a new trim. You can do both!
Step 2: Dyeing Process (If Chosen)
Read your fabric dye instructions carefully. Most involve dissolving the dye in hot water in a large tub, adding salt, and then submerging your clean, damp linens. Stir occasionally for even color. The longer they soak, the deeper the color. Rinse until water runs clear, then wash and dry.
Step 3: Embellishing (If Chosen)
For embroidery, sketch a simple design onto your towel and use embroidery floss to stitch it. For adding trim, select a complementary ribbon or fabric strip. Pin it along the edge of your linen and sew it into place with a sewing machine or by hand. This can turn a plain towel into a designer piece of DIY kitchen decor.
Tip: Use fabric paints and stencils for another easy way to customize plain linens.
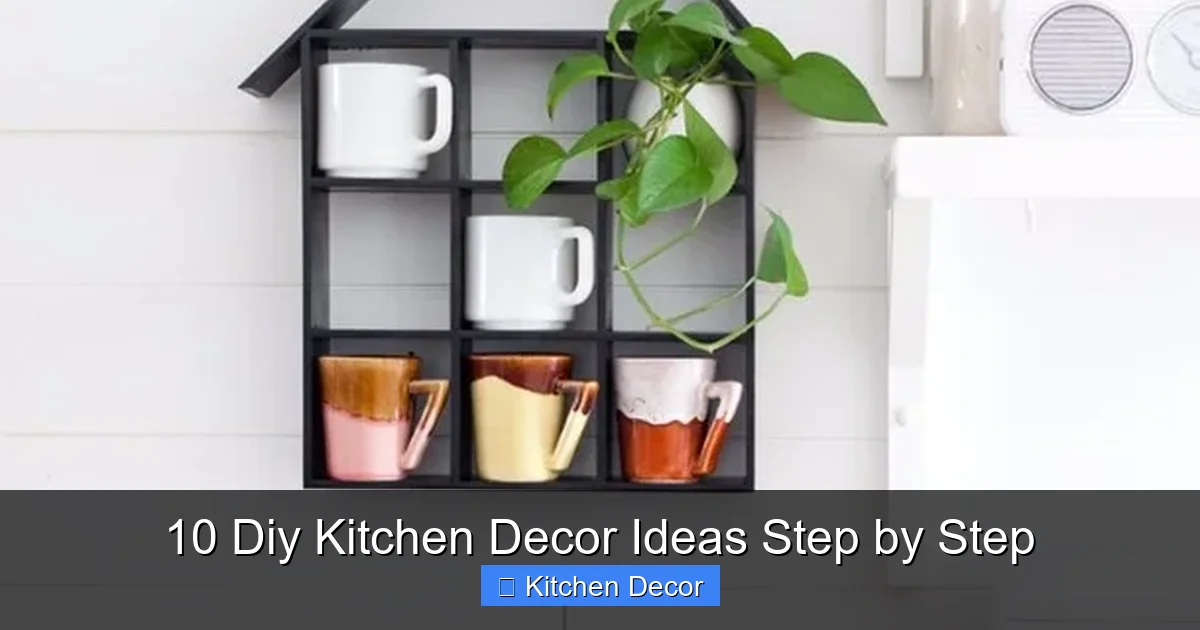
7. Organize with Aesthetic Jars and Baskets
Clutter can make a kitchen feel messy and uninviting. This DIY kitchen decor idea focuses on organization that’s both functional and beautiful. Store everyday items in attractive containers.
What You’ll Need:
- Clear glass jars with lids (various sizes)
- Woven baskets or decorative bins
- Labels or a label maker (optional)
- Chalkboard paint and chalk marker (for jar labels)
- Small scoops or measuring cups
Step 1: Declutter and Identify Items for Storage
Go through your pantry and countertops. Identify items that are frequently used and could benefit from being stored in easily accessible, attractive containers. Think pasta, rice, flour, sugar, coffee, snacks, even dish soap, or sponges.
Step 2: Fill Jars with Dry Goods
Wash and dry your glass jars thoroughly. Pour dry goods like pasta, beans, lentils, sugar, or coffee into the jars. Not only does this keep them fresh, but seeing the different textures and colors through the glass creates an appealing display. Add labels for easy identification.
Step 3: Utilize Baskets and Bins
Use woven baskets to corral items like napkins, snacks, small appliances, or cleaning supplies. They add texture and warmth to your kitchen. Place them on open shelves, inside cabinets, or on the counter. This helps hide clutter while keeping things organized. These DIY kitchen decor ideas are great for keeping your space tidy.
Tip: For a cohesive look, choose jars and baskets in similar styles or colors. Consider adding small wooden scoops inside your flour and sugar jars for convenience and charm.
8. Create a DIY Gallery Wall or Art Display
Personalizing your kitchen walls with art is a fantastic DIY kitchen decor idea. A gallery wall can tell a story, display family photos, or showcase your favorite culinary-themed prints.
What You’ll Need:
- Assortment of frames (various sizes, matching or eclectic)
- Prints, photos, or artwork
- Hanging hardware (nails, picture hangers)
- Hammer
- Measuring tape
- Pencil
- Level
- Kraft paper or newspaper (for planning layout)
- Painter’s tape
Step 1: Gather Your Art and Frames
Collect prints, photos, or even vintage posters that you want to display. Think about a theme, color palette, or mix-and-match approach. Select frames that complement your chosen art and your kitchen’s style.
Step 2: Plan Your Layout
This is crucial for a successful gallery wall. Lay out your frames on the floor and arrange them until you find a pleasing composition. Once you have a layout you like, cut out pieces of kraft paper or newspaper the size of each frame. Tape these paper cutouts to your wall in the desired arrangement. Use a level to ensure everything is straight.
Step 3: Hang Your Art
Once your paper template is perfected, hammer in your picture hangers or nails directly through the paper where the frame’s hanging mechanism will go. Remove the paper templates, and then hang your framed art. Step back and admire your personalized DIY kitchen decor!
Tip: Don’t be afraid to mix different frame sizes and orientations for an organic, collected look. Include one or two unexpected items, like a small cutting board or a unique wall clock, to add interest.
9. Install Under-Cabinet Lighting
Under-cabinet lighting isn’t just practical; it’s a mood enhancer. It illuminates your countertops for food prep and adds a warm ambiance to your kitchen, making it a brilliant DIY kitchen decor idea.
What You’ll Need:
- LED strip lights (battery-operated or plug-in, adhesive-backed)
- Measuring tape
- Scissors (if lights are cuttable)
- Rubbing alcohol and cloth (for cleaning surface)
- Cable clips (if needed for managing cords)
Step 1: Choose Your Lighting Type
The easiest DIY option is adhesive-backed LED strip lights. You can find battery-operated ones (great for renters or no nearby outlets) or plug-in versions. Measure the length of your cabinets where you want to add light.
Step 2: Prepare the Cabinet Surface
Clean the underside of your cabinets thoroughly with rubbing alcohol and a clean cloth. This ensures the adhesive on the LED strips will stick properly. Let it dry completely.
Step 3: Install the Lights
Carefully peel the backing off the LED strip lights. Starting from one end, press the strip firmly onto the underside of your cabinet, working your way along. If your strips are cuttable, trim them to fit the exact length. Hide any power cords using cable clips or by running them along the back of the cabinet to an outlet. Turn them on and enjoy the glow!
Tip: Consider warm white lights for a cozy feel or cool white for a more modern, task-oriented look. Some LED strips even offer color-changing options, adding a fun element to your DIY kitchen decor.
10. Repurpose an Old Furniture Piece
Give an old piece of furniture a new life as a functional and decorative element in your kitchen. A small dresser, cart, or console table can become a charming coffee station, extra storage, or a portable island. This is one of the most creative DIY kitchen decor ideas.
What You’ll Need:
- An old furniture piece (e.g., small dresser, bar cart, console table)
- Sandpaper or sanding block
- Primer (optional, but recommended)
- Paint or stain (appropriate for furniture)
- Paintbrushes or roller
- Drop cloths
- New hardware (knobs/pulls, optional)
- Cleaning supplies
Step 1: Find and Prepare Your Piece
Scout thrift stores, garage sales, or your own home for a suitable piece. Clean it thoroughly. If it has an old finish, lightly sand it to create a smooth surface for new paint or stain. Wipe away all dust.
Step 2: Paint or Stain
Apply a coat of primer if the existing finish is dark or if you’re changing colors drastically. Once dry, apply your chosen paint or stain. Use thin, even coats, allowing each coat to dry completely before applying the next. You might need 2-3 coats for full coverage.
Step 3: Accessorize and Utilize
Once the paint or stain is fully cured, add new hardware if desired. Position your repurposed piece in your kitchen. Use it as a coffee bar, a small island for extra prep space, or a display area for cookbooks and plants. Fill drawers or shelves with kitchen essentials or decorative items. This DIY kitchen decor idea brings unique character to your space.
Tip: If using a dresser, consider removing some drawers and adding baskets for an open, airy feel. You could also add castors to a small table or cart for easy mobility.
Troubleshooting Common DIY Kitchen Decor Issues
- Paint Bleeding Under Tape: Ensure painter’s tape is pressed down firmly. Use a credit card or your fingernail to seal edges. Apply a thin coat of your base wall color over the tape edge first, let dry, then paint your accent color.
- Wobbly Shelves: Always try to screw into wall studs. If not possible, use appropriate heavy-duty wall anchors. Ensure brackets are installed perfectly level and securely.
- Hardware Holes Don’t Match: For a small mismatch, wood filler can sometimes be used to fill the old hole, then sanded and painted before drilling new holes. A backplate can also hide old holes if your new hardware is smaller.
- Peel-and-Stick Tiles Not Sticking: Ensure the surface is perfectly clean, dry, and smooth. Any dust, grease, or texture can prevent adhesion. Apply firm, even pressure when installing.
- Uneven Paint Coverage: Always use a good quality primer, especially when changing colors drastically. Apply paint in thin, even coats and allow sufficient drying time between coats.
Conclusion
There you have it – 10 fantastic DIY kitchen decor ideas to help you transform your kitchen into a more functional, beautiful, and personalized space. From simple swaps like new hardware to more involved projects like stenciling a backsplash, each of these ideas offers a unique way to refresh your home.
The beauty of these DIY kitchen decor ideas is that they are budget-friendly and allow you to infuse your personality into every corner. Don’t be afraid to experiment, get creative, and most importantly, have fun with the process. Your kitchen is waiting for its personal touch. Pick an idea, gather your materials, and get ready to create the kitchen of your dreams, one step at a time!