Transform your space with these 5 easy DIY room decor ideas using lights! Add a magical glow and cozy ambiance to any room affordably. Perfect for beginners, these projects are simple, stylish, and achievable for everyone looking to brighten up their home.
Brighten Your Space: Easy DIY Room Decor Ideas With Lights
Feeling like your room needs a little sparkle? Sometimes, a touch of light can completely change the mood of a space, making it feel warmer, cozier, and more inviting. But where do you start, especially if you’re new to decorating?
You might look around your room and think it’s a bit dull, or perhaps you’re on a tight budget and can’t afford expensive decor. It’s easy to feel overwhelmed by all the choices out there.
Don’t worry, I’m here to help! We’ll walk through some super simple, fun DIY projects that use lights to add that special something to your room. You’ll be amazed at how a few affordable materials and a little creativity can make a big difference.
Ready to bring some magic into your home? Let’s get started with five amazing and easy DIY room decor ideas with lights that anyone can do!
Why Lights Are Your Decorating Best Friend
Lights are more than just functional; they’re a powerful tool in your interior design arsenal. They can set the mood, highlight features, and add a touch of personality to any room. Unlike paint or furniture, adding decorative lights is often a low-commitment, high-impact way to refresh your space.
Think about how different a room feels at night with soft, warm lighting versus bright, overhead lights. This is the power of ambient lighting! Decorative lights can create a cozy reading nook, a romantic dinner setting, or a fun party atmosphere.
Plus, DIY projects mean you can customize them exactly to your taste and budget. You get to be the designer and create something truly unique that reflects your style. For more inspiration on creating inviting spaces, check out our guide to cozy small kitchen ideas.
5 Amazing & Easy DIY Room Decor Ideas With Lights
Here are five fantastic DIY ideas that will add charm and character to your room, all while being super beginner-friendly.
1. Fairy Light Mason Jar Lanterns
Mason jars are incredibly versatile, and adding fairy lights inside transforms them into charming lanterns. These are perfect for a bedside table, a shelf, or even as part of a larger tablescape.
What You’ll Need:
Clean glass mason jars (any size works!)
Battery-operated LED fairy lights (with a small battery pack)
Optional: Twine, ribbon, paint, glitter, or artificial flowers
Step-by-Step Guide:
1. Clean Your Jars: Make sure your mason jars are clean and dry. This ensures the lights shine through clearly.
2. Insert the Lights: Gently coil the fairy lights and place them inside the mason jar. Feed the battery pack through the opening of the jar. If the battery pack is too large, you might need to remove the lid ring and place the pack underneath it, then screw the ring back on.
3. Arrange and Secure: Arrange the lights so they are evenly distributed within the jar. Make sure the battery pack is accessible for turning the lights on and off.
4. Decorate (Optional): This is where you can get creative! Wrap twine around the neck of the jar, tie on a ribbon, or even paint the outside for a frosted look. You can also add a few artificial flowers or a sprinkle of glitter inside before closing the lid.
5. Turn Them On! Place your fairy light mason jars where you want them and switch them on for a warm, enchanting glow.
Pro-Tip: For a cluster of lanterns, use jars of different sizes and heights. You can also group them on a tray for a more polished look.
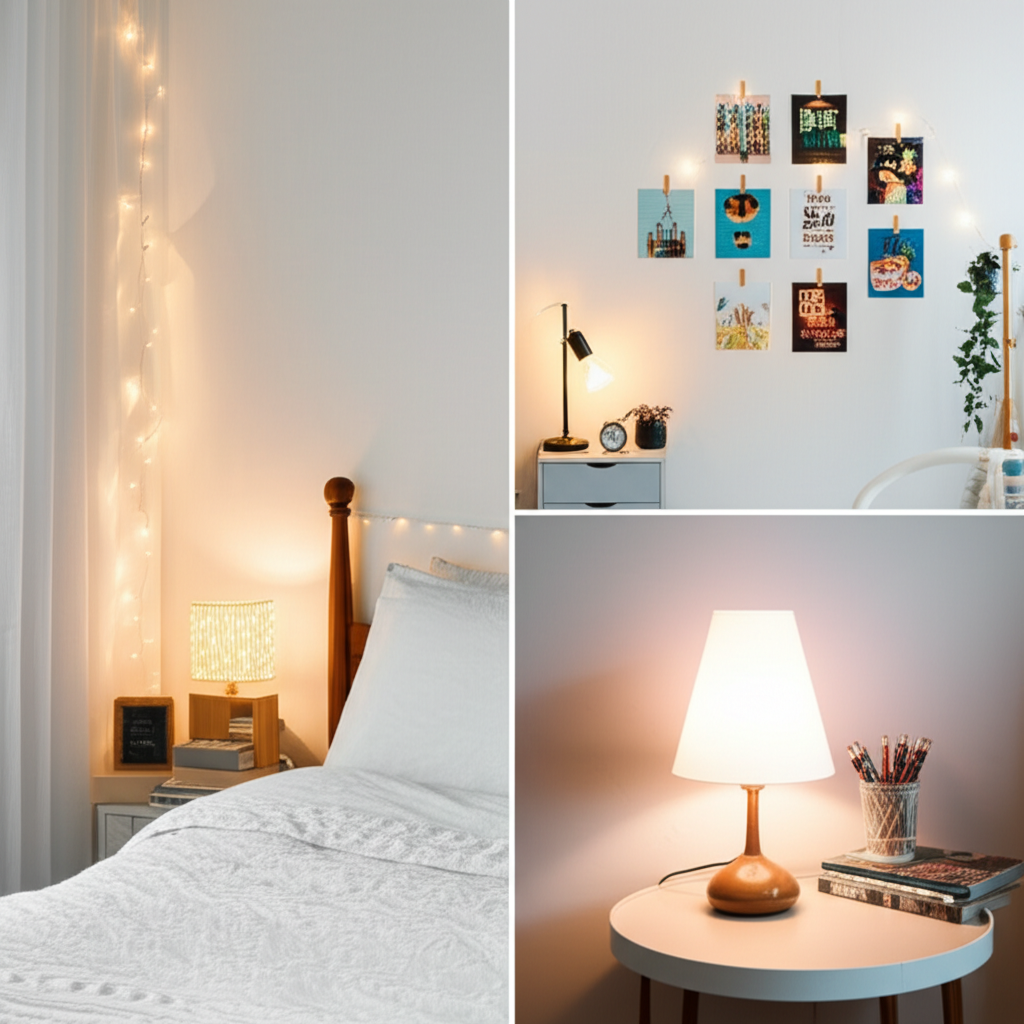
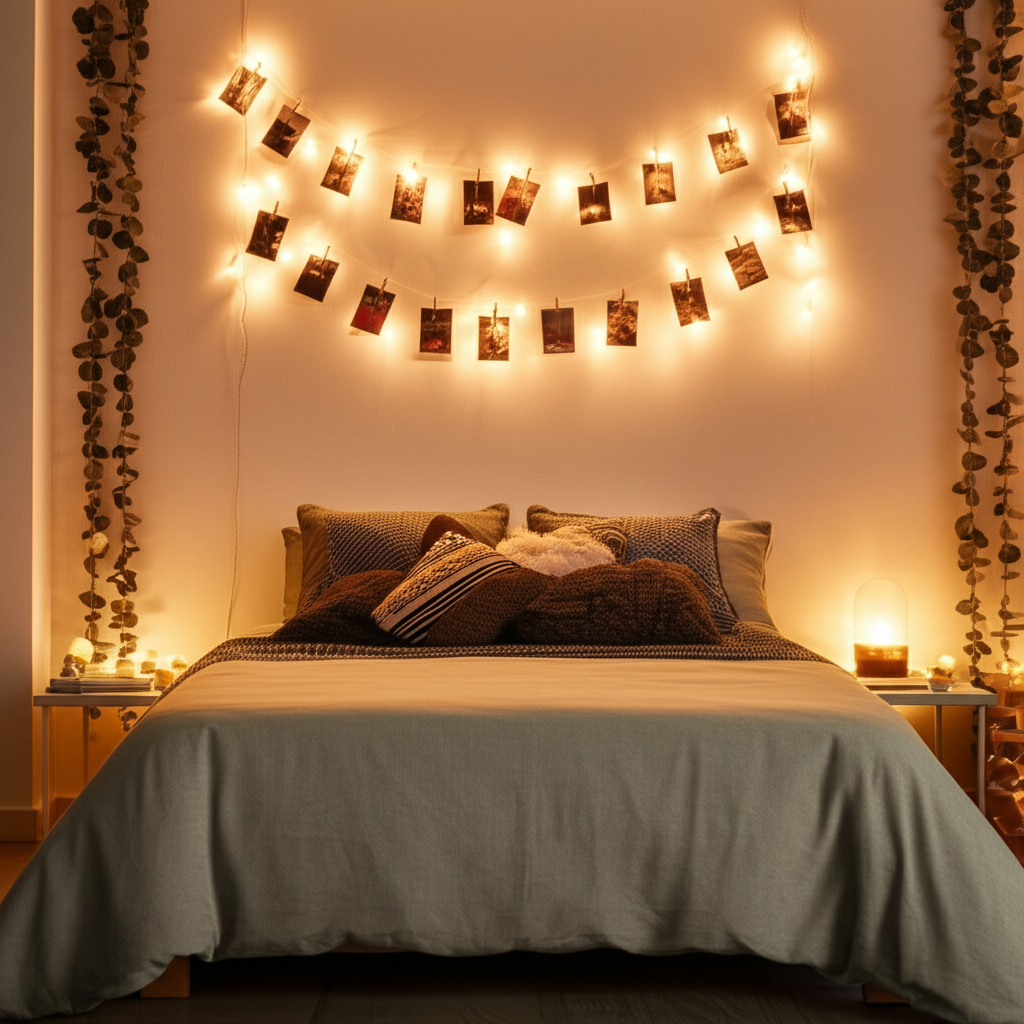
2. DIY String Light Headboard
Tired of a plain headboard or looking for a unique focal point behind your bed? A string of lights can add a magical, cozy ambiance to your bedroom. This project is surprisingly simple and makes a big impact.
What You’ll Need:
A string of LED lights (fairy lights or small globe lights work well)
Command hooks or small nails/screws
Optional: A wooden plank or piece of fabric for a more substantial headboard base
Step-by-Step Guide:
1. Measure and Plan: Decide on the shape and placement of your lights. You can create a simple outline of a headboard, a zig-zag pattern, or even spell out a word. Measure the width of your bed to ensure the lights are appropriately sized.
2. Attach Hooks/Nails: Using Command hooks (great for renters as they don’t damage walls) or small nails/screws, mark where you want your lights to run. Space them out evenly to support the string of lights. Ensure they are securely fastened.
3. Hang the Lights: Carefully drape or run the string of lights along your marked path. Weave them around the hooks or nails, ensuring the string is taut but not overly stretched.
4. Conceal the Wire: Tuck the power cord and plug discreetly behind your bed or along the wall.
5. Plug In and Enjoy: Plug in your lights and admire your new, luminous headboard!
Budget-Friendly Tip: Look for clearance lights after holidays or check second-hand stores. You can often find great deals on string lights.
3. Illuminated Shadow Box or Picture Frame
Shadow boxes and picture frames are wonderful for displaying memories, but adding lights can make them truly pop. This is a fantastic way to highlight a special photo, a collection of trinkets, or even a piece of art.
What You’ll Need:
A shadow box or a deep picture frame
Battery-operated LED strip lights or fairy lights
Scissors (if using strip lights)
Tape or hot glue gun
Optional: Decorative paper, small objects, photos
Step-by-Step Guide:
1. Prepare Your Frame/Box: If using a shadow box, decide what you want to display inside. Arrange your photos, mementos, or decorative paper. If using a picture frame, you’ll be attaching lights to the outside or inside edge.
2. Plan Light Placement:
For Shadow Boxes: You can run fairy lights around the inside edges of the box or weave them amongst the items you’re displaying. For LED strip lights, you can adhere them along the inner perimeter for a subtle glow.
For Picture Frames: Carefully run fairy lights around the outer edge of the frame, securing them with tape or hot glue. Alternatively, you can tape them to the inside of the glass, creating a halo effect around the picture.
3. Attach the Lights:
Fairy Lights: Gently place or weave them, using small pieces of tape or dabs of hot glue to keep them in place. Ensure the battery pack is accessible.
LED Strip Lights: Peel off the backing and press them firmly onto the surface. Most have adhesive backs.
4. Manage the Battery Pack: Position the battery pack so it’s easy to reach for turning on/off and changing batteries. You can often hide it behind the frame or box.
5. Light It Up! Turn on your illuminated display and watch your memories shine.
Consider This: For a cohesive look, choose lights that match the color scheme of the items you’re displaying. Warm white lights create a cozy feel, while colored lights can add a playful touch.
4. DIY Light-Up Marquee Letters
Want to add a personalized touch with your initial, a loved one’s initial, or a word like “LOVE” or “JOY”? Marquee letters are trendy and surprisingly doable as a DIY project. They create a stunning statement piece for any room.
What You’ll Need:
Cardboard letters (available at craft stores)
LED fairy lights (with a long string and accessible battery pack)
Craft knife or box cutter
Marker pen
Hot glue gun and glue sticks
Optional: Paint, primer, sandpaper
Step-by-Step Guide:
1. Prepare the Letters: If you want to paint your letters, do so now. Prime them, paint them your desired color, and let them dry completely. Lightly sand if needed for a smoother finish.
2. Mark Light Placement: Decide where you want your lights to go. For a classic look, place them around the outer edge of the letter. Use a marker to draw a circle or a dot where each light bulb will sit. Space them about 1-2 inches apart.
3. Cut Holes for Lights: Using a craft knife or box cutter, carefully cut out small holes at each marked spot. Make the holes just large enough for the LED bulbs to pass through snugly.
4. Insert the Lights: Starting from the back of the letter, gently push each LED bulb through its corresponding hole. Work your way around the letter, ensuring the wire stays on the back.
5. Secure the Battery Pack: Find a spot on the back of the letter where the battery pack can rest securely. You can glue it in place or create a small compartment for it. Make sure you can still access it to turn the lights on and off.
6. Illuminate Your Message: Once all the lights are in place and the battery pack is secured, turn them on and enjoy your custom marquee letters!
Safety Note: Always use battery-operated LED lights for DIY projects like this. They produce very little heat, making them safer than incandescent bulbs. For more information on safe lighting practices, consult resources like the U.S. Department of Energy’s Energy Saver website.
5. Under-Shelf or Cabinet Lighting
This is a functional yet stylish DIY that adds a professional touch to your space. Adding lights under shelves or inside cabinets can illuminate workspaces, highlight decorative items, or simply add a cozy ambiance to your kitchen, living room, or even your closet.
What You’ll Need:
LED strip lights (look for ones with adhesive backing and a remote control for ease of use)
Scissors (if you need to cut the strip to size)
Measuring tape
Rubbing alcohol and a cloth
Optional: Corner connectors if you need to turn corners
Step-by-Step Guide:
1. Clean the Surface: Thoroughly clean the underside of the shelf or the inside surface of the cabinet where you plan to attach the lights. Use rubbing alcohol to remove any dust or grease, ensuring the adhesive sticks well.
2. Measure and Cut: Measure the length of the shelf or cabinet edge where you want the lights. If your LED strip is too long, cut it at the designated cutting marks (usually marked with scissors).
3. Plan the Layout: Decide if you want the lights to run straight across, around a corner (using connectors), or along the entire perimeter.
4. Adhere the Lights: Peel off the backing from the LED strip and carefully press it onto the cleaned surface. Start from one end and work your way along, ensuring good adhesion.
5. Position the Power Source: Figure out where you want to place the power adapter or battery pack. For under-shelf lighting, you can often run the wire discreetly down the back or side of the shelf. For cabinet lights, position the pack inside the cabinet.
6. Test and Enjoy: Plug in your lights (or turn them on if battery-operated) and use the remote to adjust brightness and color if applicable. This is a game-changer for task lighting and ambiance! For more kitchen-specific upgrades, explore our list of modern kitchen gadgets for 2025.
Consider This: For kitchens, under-cabinet lighting is fantastic for illuminating countertops while you cook. In living rooms, it can highlight artwork or create a soft glow behind display shelves.
Lighting Ideas Table: Pros and Cons
To help you choose the best DIY lighting project for your needs, here’s a quick comparison:
| DIY Idea | Pros | Cons | Best For |
|---|---|---|---|
| Fairy Light Mason Jars | Very easy, portable, customizable, inexpensive, creates cozy ambiance. | Battery life can be short, requires battery changes, can be fragile. | Bedside tables, shelves, parties, outdoor patios. |
| String Light Headboard | Creates a statement piece, adds romantic ambiance, relatively easy installation. | Requires secure mounting, can be visible wires if not hidden well, might need an extension cord. | Bedrooms, dorm rooms, renters. |
| Illuminated Shadow Box/Frame | Highlights memories/art, adds depth and interest, customizable. | Can be fiddly to arrange lights, battery pack placement needs thought. | Displaying photos, collections, artwork. |
| Light-Up Marquee Letters | Highly personalized, modern statement piece, great conversation starter. | More time-consuming, requires careful cutting, more materials needed. | Living rooms, bedrooms, event decor, nurseries. |
| Under-Shelf/Cabinet Lighting | Functional and stylish, enhances workspace, hides light source, professional look. | Requires clean surface for adhesion, might need access to power outlet, can be more technical if using wired LEDs. | Kitchens, workshops, closets, home offices, display shelves. |
Tips for Working with Lights
When you’re diving into DIY lighting projects, a few handy tips can make the process smoother and safer.
Choose LED Lights: LEDs are energy-efficient, long-lasting, and produce very little heat, making them ideal and safe for DIY crafts. You can learn more about the benefits of LED lighting on the LED Lighting Facts website.
Battery-Operated is Easiest: For most beginner projects, battery-operated lights are the simplest and safest option, especially for renters as they don’t require wiring.
Secure Your Wires: Always make sure cords and battery packs are securely placed and won’t be a tripping hazard or get damaged.
Test Before You Commit: Before permanently attaching anything, plug in your lights and check that they work and that you like the placement.
* Get Creative with Placement: Don’t be afraid to think outside the box! Lights can be hidden behind furniture, woven through plants, or used to outline architectural features.
Frequently Asked Questions About DIY Room Decor Lights
Q1: Are DIY lights safe for my home?
A1: Yes, when using modern LED lights, especially battery-operated ones, DIY lighting projects are very safe. LEDs generate minimal heat, reducing fire risk. Always ensure your materials are in good condition and follow instructions carefully.
Q2: I’m a complete beginner. Which project is the easiest to start with?
A2: The Fairy Light Mason Jar Lanterns are an excellent starting point! They require minimal tools and steps, offering a quick and satisfying result.
Q3: Can I use these DIY lights outdoors?
A3: Some DIY projects, like mason jar lanterns, can be used outdoors if placed in a sheltered area. For true outdoor use, ensure you purchase lights specifically rated for outdoor weather conditions.
Q4: How can I hide the battery packs or wires?
A4: You can often hide battery packs behind furniture, inside decorative boxes, or use small adhesive clips to secure wires along walls or under shelves. For marquee letters, the back of the letter itself is the best place.
Q5: What kind of lights should I look for?
A5: Look for LED lights. Options include fairy lights (thin wires with small bulbs), LED strip lights (flexible strips with small LEDs), and globe lights. Battery-operated options are usually best for beginners.
Q6: How do I make sure the lights don’t look messy?
A6: Careful planning and secure placement are key. Use Command hooks, small pieces of tape, or hot glue strategically. For LED strips, ensure the surface is clean for good adhesion. Keeping wires tidy on the back of projects makes a big difference.
Q7: Can I change the color of the lights?
A7: Yes! Many LED fairy lights and LED strip lights come with remote controls that allow you to change colors, adjust brightness, and even set patterns. This adds another layer of customization to your decor.
Conclusion: Let Your Creativity Shine!
Adding light to your room doesn’t have to be complicated or expensive. These five DIY projects prove that with a little imagination and some readily available materials, you can create stunning, cozy, and personalized decor that truly transforms your space.
From the simple charm of mason jar lanterns to the bold statement of marquee letters, there’s a project for every style and skill level. Lighting has the power to set a mood, highlight your favorite things, and make your home feel more inviting.
So, gather your supplies, get creative, and enjoy the process of bringing a little extra glow into your life. Your room is a canvas, and with these DIY light decor ideas, you have the perfect tools to make it shine! For even more home transformation inspiration, don’t miss our collection of best kitchen decor themes. Happy decorating!