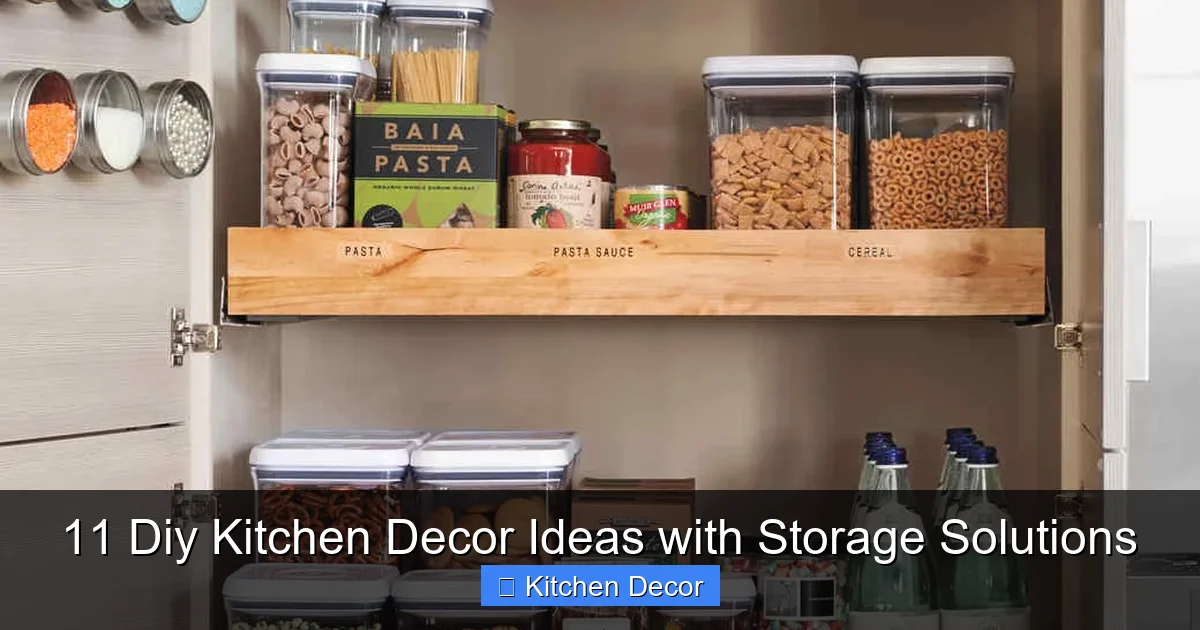
Revitalize your kitchen with these 11 DIY kitchen decor ideas with storage solutions, designed to enhance both style and functionality. Discover how to create clever storage while adding personality to your space, all on a budget. This guide offers practical, step-by-step instructions for projects ranging from open shelving to magnetic spice racks, empowering you to craft a beautiful, organized kitchen.
11 Diy Kitchen Decor Ideas with Storage Solutions
Welcome to the heart of your home – the kitchen! It’s where meals are made, memories are shared, and often, where clutter can quickly accumulate. But what if you could transform your kitchen into a beautifully organized and stylish space without breaking the bank? You absolutely can! This comprehensive guide will walk you through 11 DIY kitchen decor ideas with storage solutions that are not only practical but also add a personalized touch to your home.
Whether you’re dealing with a small kitchen that needs clever hacks or a larger space longing for more character and organization, these DIY projects are designed for you. We’ll explore everything from smart shelving to creative ways to display your essentials, making your kitchen more efficient and visually appealing. Get ready to roll up your sleeves and discover how easy it is to create a kitchen you’ll love, combining functionality with fabulous decor!
Key Takeaways
- Embrace Dual Functionality: Many DIY kitchen projects can serve both as decorative elements and practical storage solutions, maximizing your space and budget.
- Personalization is Key: Don’t be afraid to infuse your unique style into your DIY decor. Choose colors, materials, and designs that reflect your taste and complement your home.
- Start Small and Build Confidence: If you’re new to DIY, begin with simpler projects like a magnetic spice rack or jar organizing. Gaining confidence with smaller tasks will motivate you for larger transformations.
- Utilize Vertical Space: Look up! Walls and even ceilings offer untapped potential for storage and decor, from pegboards to hanging pot racks, making the most of every inch.
- Upcycling Saves Money and Adds Character: Repurpose old crates, jars, or furniture to create unique, budget-friendly storage solutions that tell a story and reduce waste.
- Organization Enhances Aesthetics: A well-organized kitchen inherently looks more appealing. DIY storage solutions not only declutter but also create a sense of calm and order.
- Safety First: Always prioritize safety when undertaking DIY projects. Ensure proper mounting, use appropriate tools, and secure items firmly, especially in a busy kitchen environment.
1. Create Rustic Open Shelving with Decorative Baskets
Open shelving is a fantastic way to display beautiful dishes, cookbooks, or decorative items, instantly adding charm to your kitchen. When paired with decorative baskets or bins, it transforms into a highly functional storage solution, perfect for hiding away less-aesthetically pleasing items. This is one of the most impactful 11 diy kitchen decor ideas with storage solutions for both form and function.
Gather Your Materials:
- Sturdy wooden boards (reclaimed wood adds rustic charm)
- Shelf brackets (metal, distressed, or painted)
- Level, drill, screws, stud finder
- Sandpaper, wood stain or paint (optional)
- Decorative baskets or bins
Step-by-Step Installation:
First, decide on the placement of your shelves. Consider areas above your countertop, near a window, or even replacing a wall cabinet. Use a stud finder to locate wall studs for secure mounting. Measure and mark the positions for your brackets, ensuring they are level. Attach the brackets firmly to the wall studs using appropriate screws. Once the brackets are secure, place your sanded and stained/painted wooden boards on top, securing them to the brackets from underneath if possible for extra stability. Finally, arrange your items. Use the baskets for things like dish towels, snacks, or small appliances, keeping the open shelves neat and decorative.
2. Design a Functional Pegboard Organization Station
A pegboard wall is a brilliant example of flexible, customizable storage that doubles as a dynamic decor element. It allows you to hang almost anything, from pots and pans to utensils and small tools, keeping them within easy reach and creating an interesting visual display. This is a highly adaptable option among our 11 diy kitchen decor ideas with storage solutions.
Gather Your Materials:
- Large pegboard sheet (pre-cut or cut to size)
- Furring strips or spacers (to create space behind the pegboard for hooks)
- Drill, screws, stud finder
- Pegboard hooks, baskets, and small shelves
- Paint (optional)
Step-by-Step Installation:
Choose a prominent wall space, perhaps above your coffee station or next to your pantry. If you want to paint your pegboard, do so before installation. To mount, you need to create space behind the pegboard for the hooks to fit. Attach furring strips (small wooden strips) to the wall studs, then screw the pegboard to these strips. Alternatively, you can buy pegboard mounting kits. Once installed, let your creativity flow! Arrange hooks for mugs, ladles, or even small clipboards for grocery lists. Add small pegboard baskets for spices or cooking oils, creating a personalized and ever-changing display.
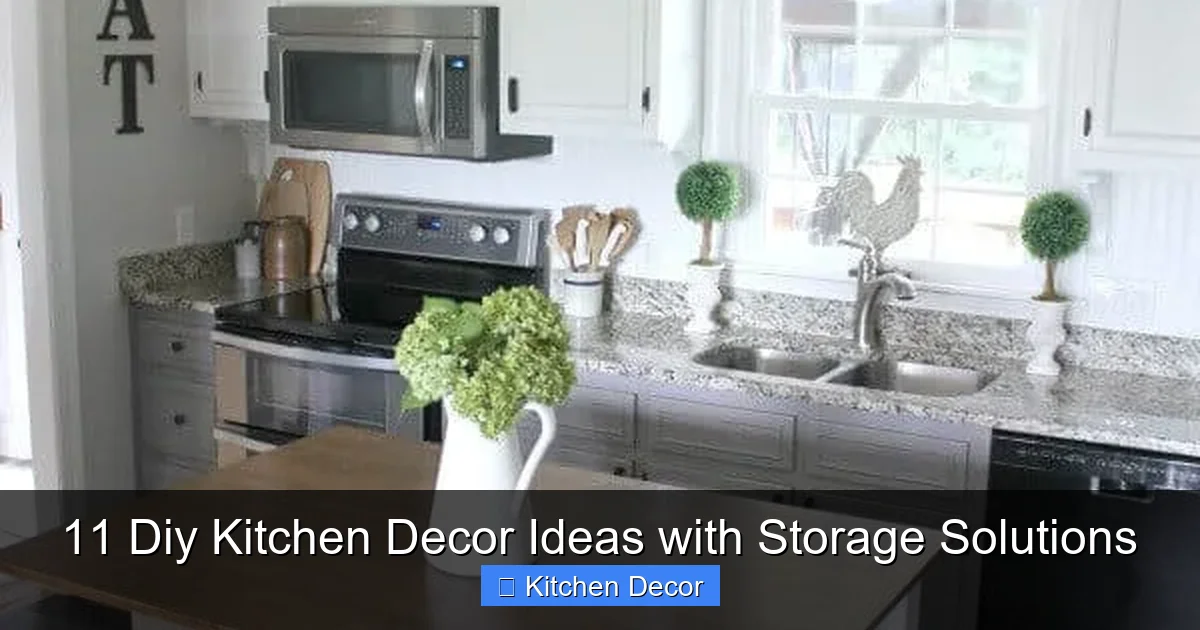
Visual guide about 11 Diy Kitchen Decor Ideas with Storage Solutions
Image source: notinggrace.com
3. Install a Magnetic Knife Strip & Spice Rack
Declutter your countertops and drawers with a sleek magnetic knife strip and a clever DIY magnetic spice rack. This modern approach keeps sharp knives safely out of reach and makes finding your favorite spices a breeze, all while adding a contemporary edge to your kitchen decor.
Gather Your Materials:
- Magnetic knife strip (buy a pre-made one)
- Small metal tins with clear tops (for spices)
- Strong magnets (neodymium magnets work best)
- Adhesive or hot glue gun
- Measuring tape, drill (if mounting knife strip to studs)
Step-by-Step Installation:
For the knife strip, select a convenient spot on your backsplash or an unused wall. Ensure it’s mounted securely, following the manufacturer’s instructions – often by screwing into studs or using wall anchors. For the spice rack, adhere a strong magnet to the back of each metal tin. Make sure the adhesive is completely dry and secure. You can then stick these magnetic tins directly onto your refrigerator, side of a metal cabinet, or even a sheet of metal attached to the wall. Label each tin clearly for easy identification. This DIY project is simple yet incredibly effective for both decor and storage.
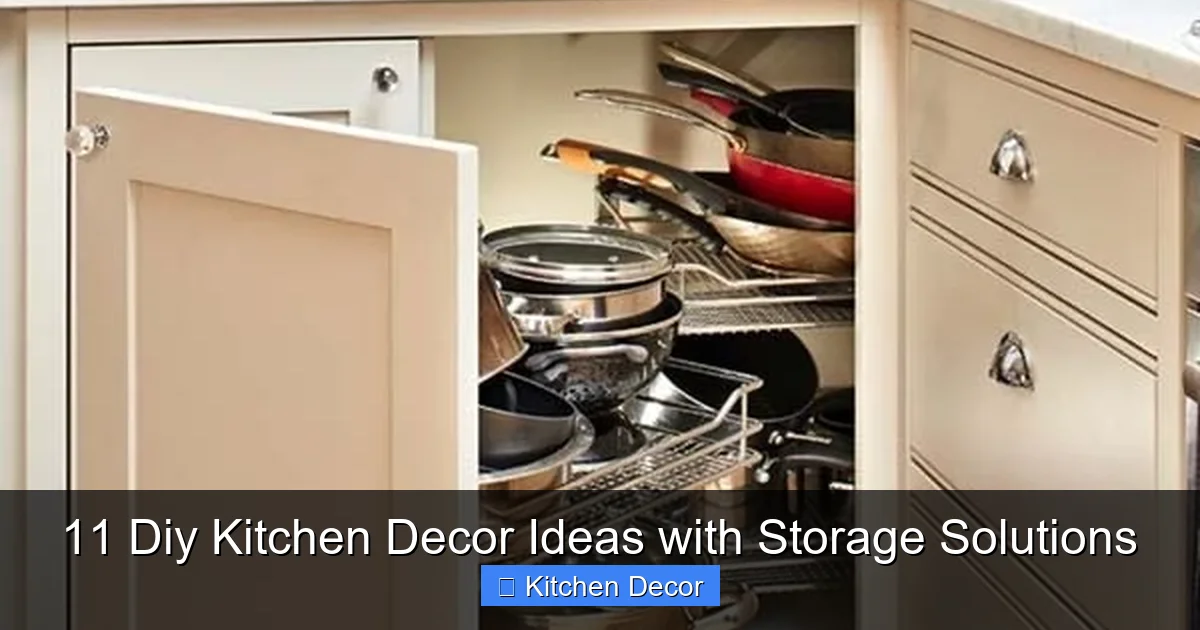
Visual guide about 11 Diy Kitchen Decor Ideas with Storage Solutions
Image source: deavita.net
4. Craft a DIY Pot Rack (Ceiling or Wall-Mounted)
If cabinet space is tight, a pot rack is a game-changer. It frees up valuable cupboard real estate and turns your beautiful cookware into a striking decorative feature. Whether hanging from the ceiling or mounted on a wall, a pot rack adds an industrial or rustic touch.
Gather Your Materials:
- Sturdy metal or wooden frame (or two strong wooden planks for a wall rack)
- S-hooks or J-hooks
- Chain or strong rope (for ceiling mount)
- Ceiling hooks or wall brackets (heavy-duty, suitable for weight)
- Drill, stud finder, appropriate anchors/screws
Step-by-Step Installation:
For a Ceiling Pot Rack: Locate ceiling joists using a stud finder. Mark and drill pilot holes for your heavy-duty ceiling hooks. Attach the hooks securely. Assemble your pot rack frame and attach chains or strong rope to its corners, then hang it from the ceiling hooks. Use S-hooks to hang your pots and pans. Ensure the rack is level and can safely support the weight of your cookware.
For a Wall-Mounted Pot Rack: Secure two sturdy wooden planks horizontally to wall studs, spaced apart. Attach strong J-hooks or S-hooks along the bottom edge of the planks to hang your pots and pans. This option can also hold cookbooks on top of the planks, adding extra storage and decor.
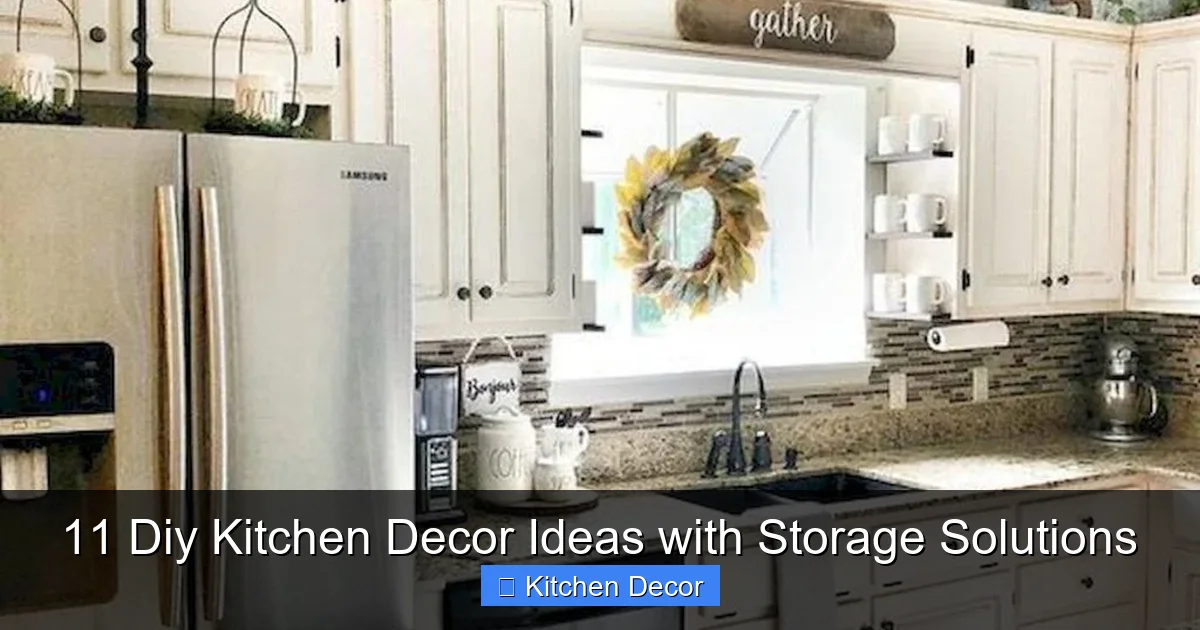
Visual guide about 11 Diy Kitchen Decor Ideas with Storage Solutions
Image source: theunlikelyhostess.com
5. Upcycle Crate Shelves for Rustic Charm
Old wooden crates are a treasure trove for DIY enthusiasts. With a little love, they can be transformed into charming, rustic shelves that provide both storage and a unique decorative element for your kitchen. This is a wonderfully eco-friendly idea among our 11 diy kitchen decor ideas with storage solutions.
Gather Your Materials:
- Clean wooden crates (various sizes can add visual interest)
- Sandpaper, wood stain or paint
- Brackets or L-hooks (for mounting to the wall)
- Drill, screws, level, stud finder
Step-by-Step Installation:
Start by thoroughly cleaning and sanding your crates to remove any splinters or rough spots. Apply wood stain or paint them to match your kitchen’s aesthetic. Once dry, decide on your arrangement – you can stack them, mount them individually, or create a staggered pattern. For wall mounting, secure L-hooks or small brackets to the inside corners of the crates, then attach them to wall studs. Alternatively, for a simpler approach, you can create a sturdy stack on a countertop or floor space, using non-slip pads between crates for stability. Use these crate shelves to store produce, cookbooks, or decorative kitchen items.
6. Master the Jar & Container Pantry Makeover
Bring order and aesthetic appeal to your pantry or open shelving with a cohesive system of jars and containers. This DIY project isn’t just about storage; it’s about creating a visually pleasing, uniform look that makes finding ingredients a joy.
Gather Your Materials:
- A variety of clear glass jars and airtight containers (matching sets or complementary styles)
- Labels (DIY chalkboard labels, printable labels, or a label maker)
- Chalk marker or permanent marker
Step-by-Step Installation:
Start by decluttering your pantry. Discard expired items and consolidate nearly empty packages. Transfer dry goods like pasta, rice, flour, sugar, nuts, and snacks into your chosen jars and containers. Make sure they are airtight to keep food fresh. The key to decor here is uniformity – using similar styles of jars creates a clean, organized look. Next, label everything clearly. Hand-written chalkboard labels add a rustic, personal touch, while printed labels offer a sleek, modern feel. Arrange your newly organized items on shelves, placing frequently used items within easy reach and taller containers at the back or on higher shelves. This simple step elevates your pantry from messy to magnificent.
7. Build a Versatile Rolling Kitchen Island/Cart
A rolling kitchen island or utility cart is a multi-functional marvel, offering extra prep space, storage, and flexibility. It can be moved wherever you need it most, making it perfect for entertaining or navigating a small kitchen. This is a big impact idea among the 11 diy kitchen decor ideas with storage solutions.
Gather Your Materials:
- Sturdy wooden planks (for top, shelves, and frame)
- Casters/wheels (at least two with locking mechanisms)
- Screws, wood glue, drill
- Saw (if cutting your own wood)
- Sandpaper, paint or wood stain
- Optional: drawer slides, small drawers, towel bar, hooks
Step-by-Step Construction:
Design your cart first, considering its dimensions and how many shelves or drawers you’d like. Cut your wooden planks to size for the top, side supports, and shelves. Assemble the frame using screws and wood glue for durability. Add any internal shelving or drawer runners at this stage. Once the main structure is built, sand all surfaces smooth. Paint or stain your cart to match your kitchen decor. Finally, attach the casters to the bottom, ensuring the locking wheels are easily accessible. You can also add a small towel bar to one side or hooks for utensils. This DIY project offers significant storage and workspace, enhancing both decor and utility.
8. Organize Under-Sink Storage with DIY Dividers
The space under the kitchen sink often becomes a chaotic zone of cleaning supplies and miscellaneous items. A DIY organizing system with dividers and bins can transform this neglected area into a tidy, functional storage hub. While not visible decor, the *result* of organized space contributes to overall kitchen aesthetic.
Gather Your Materials:
- Plastic bins, caddies, or clear containers
- Tension rods (small ones)
- Small shelf unit or stackable drawers (optional)
- Labels and a marker
Step-by-Step Organization:
First, empty everything out from under the sink. Clean the area thoroughly. Discard or relocate anything that doesn’t belong. Sort your cleaning supplies, sponges, and other items. Use small tension rods to create vertical dividers for spray bottles, keeping them upright and organized. Stackable drawers or a small shelf unit can maximize vertical space for items like dish soap refills or extra sponges. Use clear bins to group similar items, such as dishwashing supplies, polishing cloths, or garbage bags. Label each bin clearly so everyone knows where things belong. This simple yet effective DIY creates a beautifully organized and functional under-sink area, contributing to the overall neatness of your kitchen.
9. Craft a Charming Coffee Station with Mug Hooks
For coffee lovers, a dedicated coffee station is a dream come true. This DIY project combines decorative appeal with practical storage, creating an inviting corner where everything you need for your morning brew is neatly arranged and displayed.
Gather Your Materials:
- Small shelf or floating shelves
- Cup hooks (screw-in type)
- Small containers for coffee, sugar, tea bags
- Decorative tray
- Personal touches (art, small plant)
Step-by-Step Creation:
Choose a wall area that’s convenient and not too cluttered. Install a small floating shelf or a set of shelves at a comfortable height above your coffee maker. Below the shelf, measure and screw in cup hooks at even intervals to hang your favorite mugs. On the shelf, arrange your coffee, sugar, and tea bags in attractive containers – clear canisters, small jars, or ceramic pots work well. A decorative tray can tie the whole setup together and hold stirrers, spoons, or creamers. Add a small piece of art, a mini succulent, or a handwritten sign to personalize your coffee station. This creates a charming and organized focal point.
10. Display & Store Cookbooks with Style
Cookbooks aren’t just for recipes; their covers and spines can add wonderful splashes of color and personality to your kitchen decor. This DIY idea focuses on displaying your cookbook collection in an organized and stylish manner.
Gather Your Materials:
- Floating shelves or a small bookcase/display rack
- Bookends (decorative)
- Optional: Small decorative items
Step-by-Step Arrangement:
Identify a suitable wall space or an empty countertop corner. Install sturdy floating shelves at varying heights for visual interest, or place a slim bookcase against an unused wall. Arrange your cookbooks by color, size, or genre to create a pleasing visual flow. Use decorative bookends to keep stacks tidy and add a touch of personality. For a more dynamic display, intersperse your cookbooks with small decorative items like a vintage rolling pin, a small plant, or a framed recipe card. This approach turns your cookbook collection into a curated display, adding warmth and a touch of the culinary world to your kitchen decor.
11. Build a Vertical Herb Garden Wall Planter
Bring the outdoors in with a beautiful and functional vertical herb garden. This DIY project is a fantastic way to add a touch of green decor to your kitchen while providing fresh herbs for your cooking, making it both aesthetic and extremely practical. This concludes our 11 diy kitchen decor ideas with storage solutions.
Gather Your Materials:
- Wooden pallet or several small wooden planks
- Small terracotta pots or metal tins
- Potting soil, herb seeds or small herb plants
- Screws, drill, stud finder
- Hooks or hose clamps (to attach pots to wood)
- Waterproof liner (optional)
Step-by-Step Construction:
If using a pallet, clean and sand it thoroughly. If using planks, arrange them vertically or horizontally to create a frame. Secure the planks to the wall studs, ensuring they are level and sturdy. For pots, drill drainage holes if needed and line them with a waterproof liner. Fill with potting soil and plant your chosen herbs. Attach the filled pots to your wooden frame using strong hooks or hose clamps. Ensure the pots are securely fastened and won’t easily fall. Position your vertical garden in a spot that receives adequate sunlight, perhaps near a window. This living decor piece not only freshens the air but also provides a constant supply of fresh herbs for your culinary adventures.
Troubleshooting Common DIY Kitchen Challenges
Even the most enthusiastic DIYer can hit a snag. Here are a few common issues and quick tips to overcome them:
- Mounting Issues: Always use a stud finder. If you can’t hit a stud, use appropriate heavy-duty wall anchors for the weight you’re hanging. For shelves, always double-check the level.
- Lack of Space: When space is at a premium, think vertically. Wall-mounted solutions like pegboards, magnetic strips, and vertical herb gardens are your best friends. Consider multi-functional items like rolling carts.
- Budget Constraints: Upcycling is key! Look for free or cheap materials like old crates, jars, or reclaimed wood. Paint and sandpaper can transform almost anything. Start with smaller projects that require fewer materials.
- Matching Decor: If you’re unsure how a DIY project will fit your existing decor, start with neutral colors or natural wood finishes. Add pops of color with the items you store or display in your new solutions.
- Durability Concerns: Always use strong adhesives, appropriate screws, and ensure all mounts are secure. If you’re storing heavy items like pots, invest in heavy-duty hardware.
Conclusion
You’ve now explored 11 DIY kitchen decor ideas with storage solutions, each offering a unique way to enhance your kitchen’s aesthetics and functionality. From open shelving that displays your treasures to a magnetic spice rack that keeps things tidy, these projects empower you to create a kitchen that truly reflects your style and meets your practical needs.
Remember, the beauty of DIY lies in personalization and the satisfaction of creating something with your own hands. Don’t be afraid to experiment, adapt these ideas to suit your specific space, and add your unique flair. A well-organized and beautifully decorated kitchen isn’t just a dream – it’s an achievable reality with a little creativity and effort. Happy DIYing!