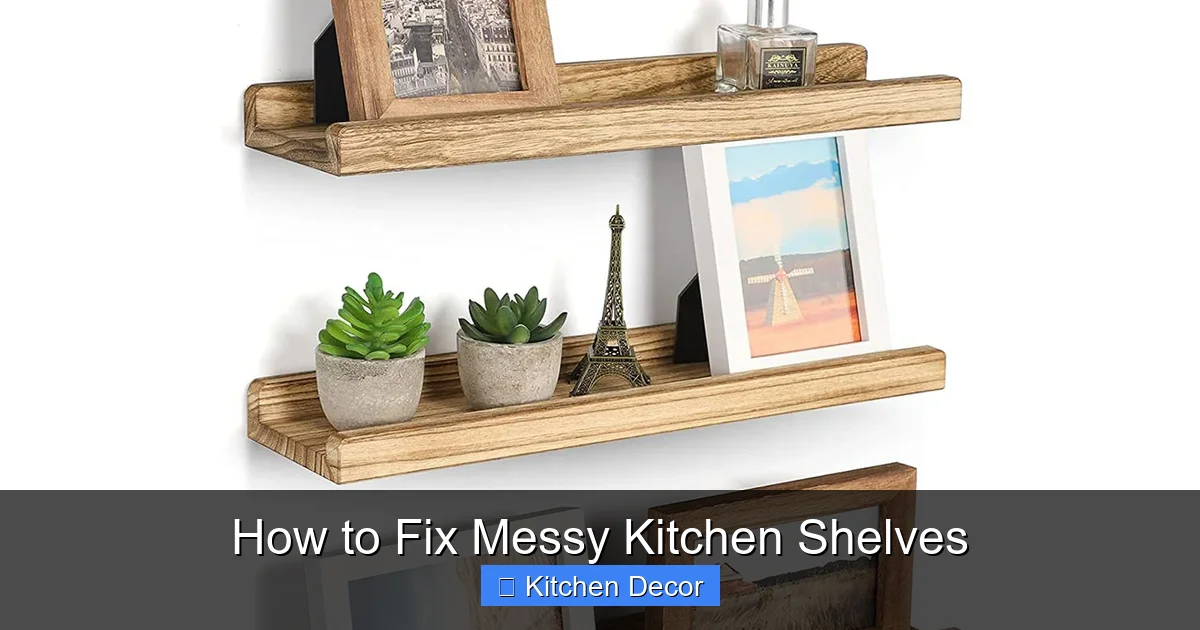
Are your kitchen shelves overflowing and chaotic? Learn how to fix messy kitchen shelves once and for all with this comprehensive guide. We’ll walk you through a simple, step-by-step process to declutter, clean, categorize, and organize your kitchen storage effectively. Discover practical tips and smart solutions to create a beautiful, functional, and stress-free kitchen space you’ll love.
How to Fix Messy Kitchen Shelves
Do you open your kitchen cabinets and feel a pang of dread? Are your shelves overflowing with mismatched containers, forgotten gadgets, and spices from another era? You’re not alone! Messy kitchen shelves can make cooking a chore, waste food, and even add stress to your daily life. But don’t worry, help is here!
This comprehensive guide will show you exactly how to fix messy kitchen shelves, transforming them from chaotic catch-alls into organized, functional, and beautiful storage spaces. We’ll walk you through a simple, step-by-step process, offering practical tips and smart solutions along the way. Get ready to reclaim your kitchen and enjoy a more efficient, peaceful cooking environment!
Key Takeaways
- Start Fresh: Always begin by emptying your shelves completely. This allows for thorough cleaning and a clear view of everything you own.
- Declutter Ruthlessly: Be honest about what you truly use, need, and love. Discard or donate items that are expired, broken, or unused to make space.
- Clean Thoroughly: Once empty, give your shelves a good clean. Consider shelf liners to protect surfaces and make future cleaning easier.
- Categorize and Zone: Group similar items together (e.g., baking supplies, breakfast items, dinnerware). Create dedicated zones on your shelves for easy access and logical storage.
- Invest in Smart Tools: Utilize organizing solutions like clear bins, shelf risers, lazy Susans, and drawer dividers to maximize space and keep items contained.
- Plan for Accessibility: Store frequently used items at eye level and within easy reach. Heavier or less-used items can go on lower or higher shelves.
- Maintain Regularly: Organization isn’t a one-time task. Develop habits like putting things back immediately and doing quick weekly tidies to prevent future clutter.
Step 1: Prepare for the Transformation
Before you dive in, a little preparation goes a long way. Think of this as setting the stage for success. You want to make sure you have everything you need and are in the right mindset to fix messy kitchen shelves.
Gather Your Supplies
Having your tools ready will make the process smooth and efficient. You won’t have to stop midway to hunt for a cleaning cloth.
- Cleaning supplies: All-purpose cleaner, dish soap, sponge, cleaning cloths, paper towels, a small brush (for corners).
- Trash bags: For anything you’re throwing away.
- Donation box/bag: For items you no longer need but are still usable.
- Sorting areas: Designate a clear space on your counter, table, or even the floor for sorting items into categories like “keep,” “donate,” or “discard.”
- Optional organizing tools: Clear bins, baskets, shelf risers, drawer dividers, lazy Susans, airtight containers. You might not buy these until later, but it’s good to keep them in mind.
Set Aside Enough Time
Don’t try to fix messy kitchen shelves in 15 minutes. Depending on the size of your kitchen and the extent of the mess, this project could take a few hours or even a full day. Choose a time when you won’t be interrupted, perhaps on a weekend. Breaking it down into smaller sections (e.g., one cabinet at a time) can also work if you’re short on time.
Adopt the Right Mindset
This isn’t just about cleaning; it’s about making smart decisions. Be ready to let go of things you no longer use. Embrace the idea of a more functional, less cluttered kitchen. A positive attitude makes the work feel lighter!
Step 2: Empty Everything Out
This step might seem daunting, but it’s crucial. You can’t truly fix messy kitchen shelves if you’re trying to work around items.
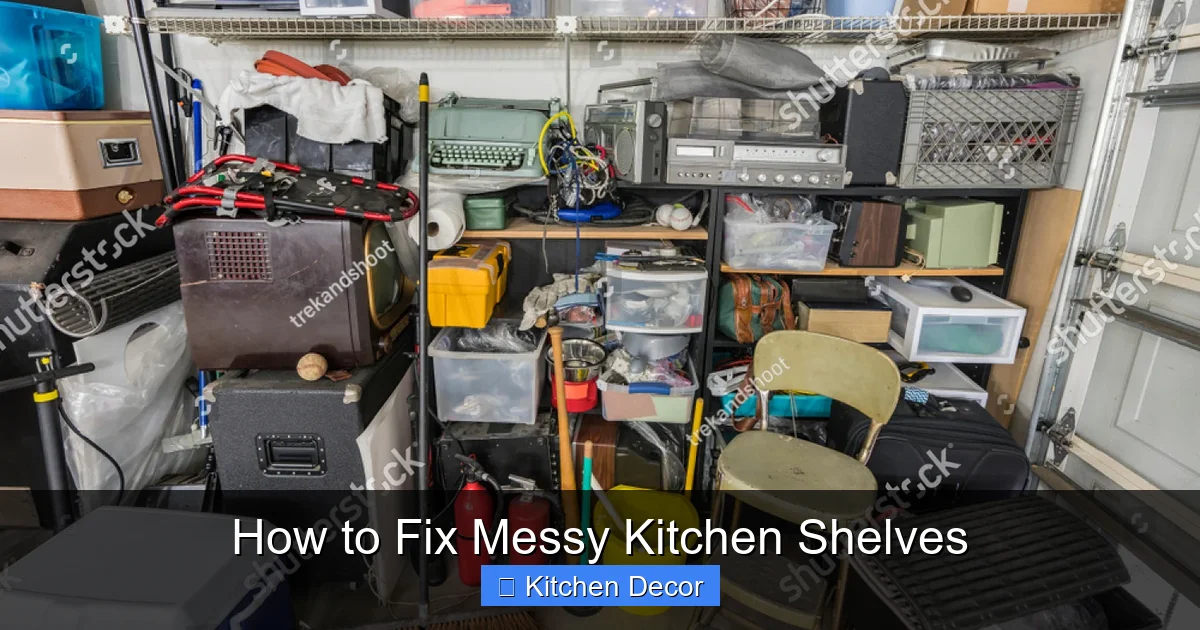
Visual guide about How to Fix Messy Kitchen Shelves
Image source: shutterstock.com
Completely Clear the Shelves
Take every single item off the shelves you plan to organize. Yes, every single one! Place them on your designated sorting area. If you’re tackling multiple shelves, you might want to work one shelf or cabinet at a time to prevent your entire kitchen from becoming overwhelmed. This allows you to see the true state of your shelves and what you’re dealing with.
Be Mindful of Fragile Items
As you empty, handle delicate items like glassware or ceramics with care. Place them in a safe spot where they won’t get knocked over or broken during the cleaning phase.
Step 3: Clean and Sanitize
Now that your shelves are bare, it’s the perfect time for a deep clean. This is an essential part of learning how to fix messy kitchen shelves, making sure they are hygienic and pleasant.
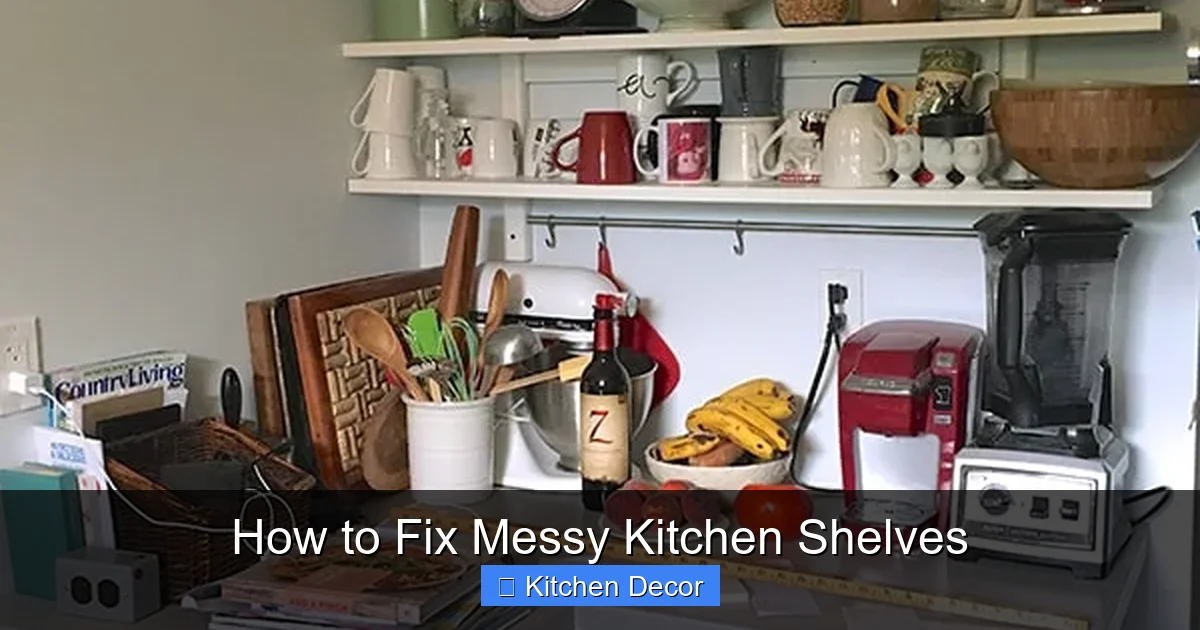
Visual guide about How to Fix Messy Kitchen Shelves
Image source: lifeatcloverhill.com
Wipe Down Thoroughly
Use your all-purpose cleaner and a damp cloth to wipe down every surface of your shelves. Pay special attention to sticky spots, crumbs, and grime. Don’t forget the inside of the cabinet doors! For stubborn stains, you might need a bit of elbow grease or a stronger degreaser.
Sanitize for Freshness
After cleaning, you might want to use a sanitizing spray, especially in areas where food items are stored. This helps eliminate bacteria and odors, leaving your shelves fresh and clean. Let them air dry completely before moving on.
Consider Shelf Liners
Shelf liners are a fantastic option for a fresh start. They protect your shelves from spills and scratches, make future cleaning easier, and can even add a touch of style. Measure your shelves carefully and cut the liners to fit. There are many types: cushioned, non-adhesive, and adhesive. Choose what works best for you and your budget.
Step 4: Declutter and Purge
This is arguably the most important step in how to fix messy kitchen shelves. Be honest and critical. If you skip this, you’re just reorganizing clutter.
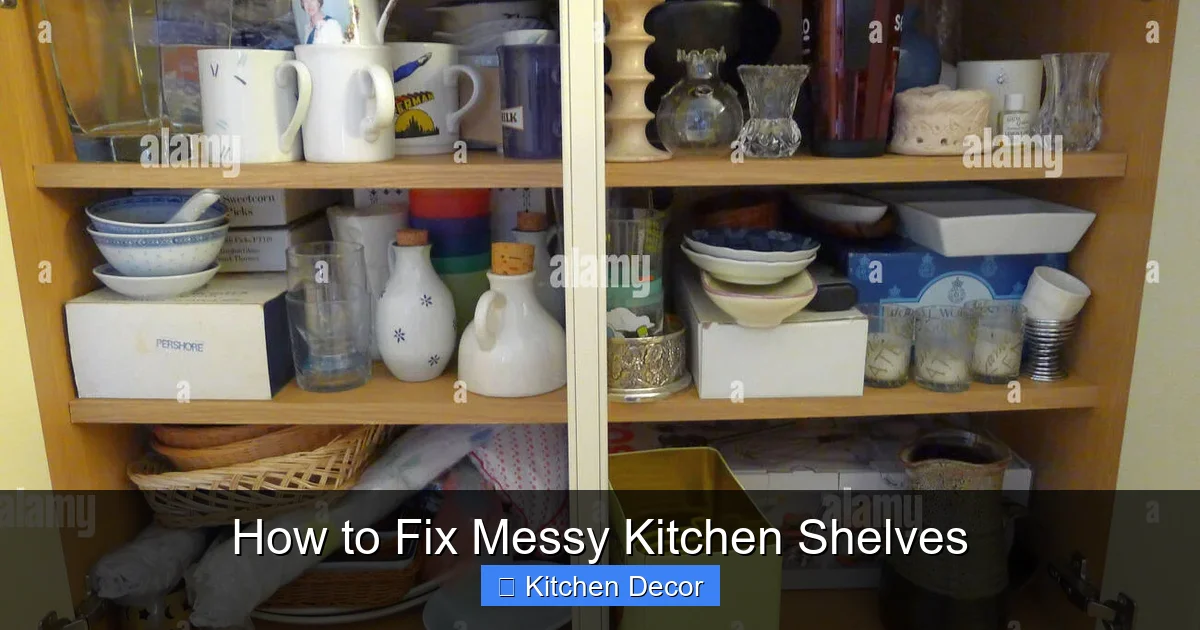
Visual guide about How to Fix Messy Kitchen Shelves
Image source: c8.alamy.com
Sort Items into Categories
Look at everything you pulled out. Create three piles:
- Keep: Items you use regularly, items you love, and items that are in good condition.
- Donate/Sell: Items that are still perfectly good but you no longer need or want. Think duplicate kitchen gadgets, unused serving dishes, or extra mugs.
- Discard: Anything broken, expired, rusty, or truly beyond use.
Check Expiration Dates
Go through all packaged food items, spices, and condiments. Throw away anything that’s expired or looks suspicious. Spices lose their potency over time, so if you can’t remember when you bought them, it might be time to replace them.
Be Ruthless But Realistic
Ask yourself tough questions:
- When was the last time I used this? (If it’s been over a year, consider letting it go).
- Do I truly need this?
- Do I have duplicates?
- Is it broken or chipped?
- Does it bring me joy or make my life easier?
Remember, less is often more. An uncluttered shelf is a functional shelf.
Step 5: Categorize and Group
Once you’ve decluttered, it’s time to group similar items. This logical grouping is key to knowing how to fix messy kitchen shelves and keep them that way.
Identify Main Categories
Think about how you use your kitchen. Common categories include:
- Baking supplies: Flour, sugar, baking soda, chocolate chips, cookie cutters.
- Breakfast items: Cereal, oatmeal, pancake mix, coffee/tea.
- Snacks: Granola bars, chips, crackers.
- Spices and oils: All your seasonings, cooking oils, vinegars.
- Dinnerware: Plates, bowls, mugs, glasses.
- Pots and pans: Cookware, lids.
- Food storage: Tupperware, reusable bags.
- Small appliances: Blender, toaster, mixer (if stored on shelves).
- Cleaning supplies: Dish soap, sponges, rags (if stored in a kitchen cabinet).
Group Like Items Together
Physically place all items from one category together. This helps you visualize the volume of each category and plan their new home. For instance, put all your baking items on one part of the counter, all your dinnerware on another.
Step 6: Plan Your Layout (Zone by Zone)
Now that you know what you’re keeping and how it’s categorized, it’s time to strategize where everything will go. This thoughtful planning helps you fix messy kitchen shelves in a way that truly improves functionality.
Consider Frequency of Use
This is a golden rule of kitchen organization:
- Daily use items: Keep these at eye level and within easy reach. Examples include your everyday plates, bowls, glasses, coffee mugs, and frequently used spices.
- Weekly use items: These can go on slightly higher or lower shelves, still easily accessible but not right in your primary reach zone. Think mixing bowls, baking dishes, or less-used pantry staples.
- Occasional use items: Holiday platters, specialty appliances, or rarely used ingredients can be stored on the highest shelves or the very lowest.
Think Ergonomics and Workflow
Organize your shelves to support your kitchen activities. Create “zones” based on tasks:
- Prep Zone: Keep oils, spices, cutting boards, and mixing bowls near your main prep area.
- Cooking Zone: Store pots, pans, and cooking utensils near the stove.
- Dishware Zone: Keep plates, bowls, and glasses near the dishwasher for easy unloading.
- Pantry Zone: Group all your food items together in one or two dedicated cabinets.
Heavy items should always be stored on lower shelves to prevent injury and make them easier to retrieve.
Step 7: Choose the Right Organizing Tools
Once you have a plan, it’s time to select the right tools to help you fix messy kitchen shelves and maintain order. Don’t buy these until you’ve decluttered and planned, so you know exactly what you need.
Clear Bins and Baskets
These are fantastic for corralling loose items and creating “drawers” on your shelves. Clear bins let you see contents at a glance. Baskets add a decorative touch while hiding clutter. Use them for snacks, baking supplies, small packets, or cleaning supplies.
Shelf Risers and Expanders
Maximize vertical space! Shelf risers create an extra layer, perfect for storing plates, mugs, or cans. Expandable shelves can adapt to various cabinet widths, adding flexibility.
Drawer and Cabinet Dividers
Even on open shelves, dividers can help separate different types of items, like cutting boards or baking sheets stored vertically. For items that roll or fall over, dividers are a savior.
Airtight Containers and Jars
Transfer dry goods like pasta, rice, flour, sugar, and cereals into clear, airtight containers. This not only looks uniform and appealing but also keeps food fresh longer and protects against pests. Glass jars are great for spices, nuts, and seeds, adding a beautiful aesthetic.
Turntables (Lazy Susans)
These are brilliant for corner cabinets or deep shelves. Use them for spices, condiments, oils, or even cleaning products. A quick spin brings everything within reach, eliminating rummaging.
Step 8: Load Items Back Strategically
Now for the fun part: putting everything back! This is where your planning comes to life and you finally fix messy kitchen shelves.
Start with Foundation Items
Begin by placing your largest and heaviest items first. For example, if it’s a dish cabinet, put plates on the bottom shelf or use shelf risers to create stable stacks. If it’s a pantry, place bulky items like large cereal boxes or appliance boxes on lower shelves.
Utilize Vertical Space
Don’t just think horizontally. Stack items where appropriate (e.g., plates, bowls). Use your shelf risers to add extra levels. Stand items like cutting boards or baking sheets upright using dividers or racks.
Group by Category and Zone
Remember your plan from Step 6. Place all your baking items in their designated bin or area. Keep daily items front and center. Ensure similar items are together so you can quickly find what you need.
Label Everything
Labels are your best friend, especially for opaque bins or containers with similar-looking contents. Label containers for flour, sugar, and other dry goods. Label bins for “Snacks,” “Breakfast,” or “Baking Supplies.” This helps everyone in the household know where things belong and makes maintenance much easier.
Think Aesthetically
While functionality is primary, a little aesthetic appeal can make your kitchen even more enjoyable. Arrange items neatly, align labels, and try to use coordinating containers. An organized shelf looks inviting, not just functional.
Step 9: Maintain the Order
Fixing messy kitchen shelves is great, but keeping them fixed is the ultimate goal. Maintenance is key to long-term success.
Develop Daily Habits
The simplest way to maintain order is to put things back immediately after using them. Don’t just shove items onto a shelf; take the extra second to return them to their designated spot. This prevents clutter from building up again.
Regular Mini-Purges
Don’t wait for your shelves to become a disaster zone again. Do a quick five-minute tidy once a week. Check for expired items monthly. A brief check-in will keep things from getting out of hand.
Scheduled Deep Cleans
Plan a more thorough review and clean-out every few months or twice a year. This is a chance to pull out bins, wipe them down, and re-evaluate if your current system is still working for your needs.
The “One In, One Out” Rule
When you buy a new kitchen gadget or serving dish, consider if there’s an older, similar item you can donate or discard. This prevents accumulation and ensures your shelves don’t become overcrowded again.
Troubleshooting Common Challenges
Even with the best intentions, you might face some hurdles when you fix messy kitchen shelves. Here are solutions to common problems:
Limited Shelf Space
- Go Vertical: Use stackable containers, shelf risers, and vertical dividers to maximize every inch of height.
- Door Storage: Add over-the-door organizers to cabinet doors for spices, wraps, or small utensils.
- Wall-Mounted Solutions: Consider wall-mounted spice racks, magnetic knife strips, or floating shelves for items that don’t fit inside cabinets.
- Declutter More: If space is truly limited, you might need to be even more ruthless with your decluttering.
Keeping it Tidy with Family Members
- Communicate the System: Explain your new organization system to everyone in the household. Show them where everything goes.
- Labels, Labels, Labels: Clear labels make it easy for everyone to find and return items to the correct spot.
- Easy Access: Make sure items used by children (e.g., snacks, kid-friendly plates) are at a height they can easily reach and put away themselves.
- Regular Reminders: Gentle reminders and leading by example can help reinforce good habits.
Dealing with Odd-Shaped Items
- Use Bins/Baskets: Group odd-shaped items like food processors, blenders, or bulky serving pieces into dedicated bins or large baskets. This contains them and makes them easier to pull out.
- Designate a “Bulky Item” Shelf: If you have a few very large items, dedicate a low, deep shelf to them.
- Consider External Storage: Some items might be better stored in a pantry closet, garage, or another area if they are rarely used.
Conclusion
Learning how to fix messy kitchen shelves is a journey, not a destination. By following these steps – preparing, emptying, cleaning, decluttering, categorizing, planning, utilizing smart tools, and committing to maintenance – you can transform your kitchen into a highly functional and beautiful space.
Imagine effortlessly finding what you need, cooking with joy, and feeling a sense of calm every time you open a cabinet. It’s absolutely achievable! Start today, and enjoy the lasting benefits of a perfectly organized kitchen.