Transform your chaotic kitchen into an organized oasis by learning how to organize kitchen drawers efficiently. This comprehensive guide walks you through a step-by-step process of decluttering, categorizing, and selecting the perfect organizers to create a highly functional and visually appealing space. Say goodbye to rummaging for utensils and hello to effortless cooking and cleanup, ensuring everything has its rightful place.
How to Organize Kitchen Drawers Efficiently
Imagine this: You open a kitchen drawer, and instead of a jumbled mess, you see perfectly arranged utensils, neatly stacked tools, and everything exactly where it should be. No more rummaging, no more frustration, just effortless access to what you need, when you need it. Sound like a dream? It doesn’t have to be!
A well-organized kitchen isn’t just about aesthetics; it’s about functionality, efficiency, and reducing stress in one of the busiest rooms in your home. Kitchen drawers, often overlooked, are prime real estate for clutter. When you learn how to organize kitchen drawers efficiently, you streamline your cooking process, make cleanup a breeze, and even rediscover items you forgot you had. This comprehensive guide will walk you through every step, from the initial purge to maintaining your beautifully organized space, ensuring your kitchen drawers are efficient, functional, and a joy to use.
Ready to transform your kitchen drawers from chaotic catch-alls into models of efficiency? Let’s dive in!
Key Takeaways
- Start Fresh with a Purge: The most crucial first step to organize kitchen drawers efficiently is to completely empty and clean them, providing a blank slate for your organizing efforts.
- Declutter Ruthlessly: Be honest about what you truly use, need, and love. Dispose of duplicates, broken items, and anything unused in the past year to maximize valuable drawer space.
- Categorize and Zone Strategically: Group similar items together and assign them to drawers that make sense within your kitchen’s workflow (e.g., cooking utensils near the stove, baking supplies near the prep area).
- Measure and Plan for Organizers: Before buying, accurately measure your drawers and items. Invest in drawer organizers, dividers, and liners that fit perfectly and suit the specific items you’re storing.
- Implement with Thoughtful Placement: When loading items back, think about accessibility. Place frequently used items at the front, store items vertically when possible, and orient handles for easy grabbing.
- Maintain with Simple Habits: Prevent future clutter by adopting practices like the “one in, one out” rule, performing quick weekly tidies, and getting the whole family involved in keeping drawers organized.
Step 1: The Grand Purge – Empty Everything Out
The first and most liberating step to organize kitchen drawers efficiently is to start with a completely blank slate. You can’t truly organize what you can’t see, and a fresh start is crucial for making informed decisions.
Sub-step 1.1: Choose Your Battleground
You can tackle your kitchen drawers one by one, or if you’re feeling ambitious and have a dedicated block of time, you can do them all at once. If you choose the “one-by-one” method, pick a drawer that bothers you the most, or one that’s relatively small to build your confidence. This focused approach can prevent overwhelm.
- Tip: Make sure you have enough counter space nearby to lay out the contents of your chosen drawer (or drawers).
Sub-step 1.2: Empty It Completely
Pull everything out of the drawer. Yes, everything. Don’t leave a single item behind. Place all the contents onto your designated counter space or even a clean kitchen towel on the floor. Resist the urge to start sorting now; the goal is just to get it all out.
- Example: If you’re tackling your utensil drawer, every single spoon, fork, knife, whisk, spatula, and opener should be out on the counter.
Sub-step 1.3: Clean Up the Mess
Once the drawer is empty, you’ll likely find crumbs, dust, and maybe even some sticky residue. Take this opportunity to give the drawer a thorough cleaning. Wipe it down with a damp cloth and an all-purpose cleaner, then dry it completely. A clean foundation is essential for a truly organized space.
- Pro Tip: Consider using a small brush or the crevice tool of your vacuum cleaner to get into corners and remove stubborn crumbs.
Step 2: Ruthless Decluttering – Keep, Donate, Toss
Now that everything is out, it’s time for the tough love part of learning how to organize kitchen drawers efficiently. This step is about making conscious decisions about every single item. Be honest with yourself and aim to keep only what you truly use, need, and love.
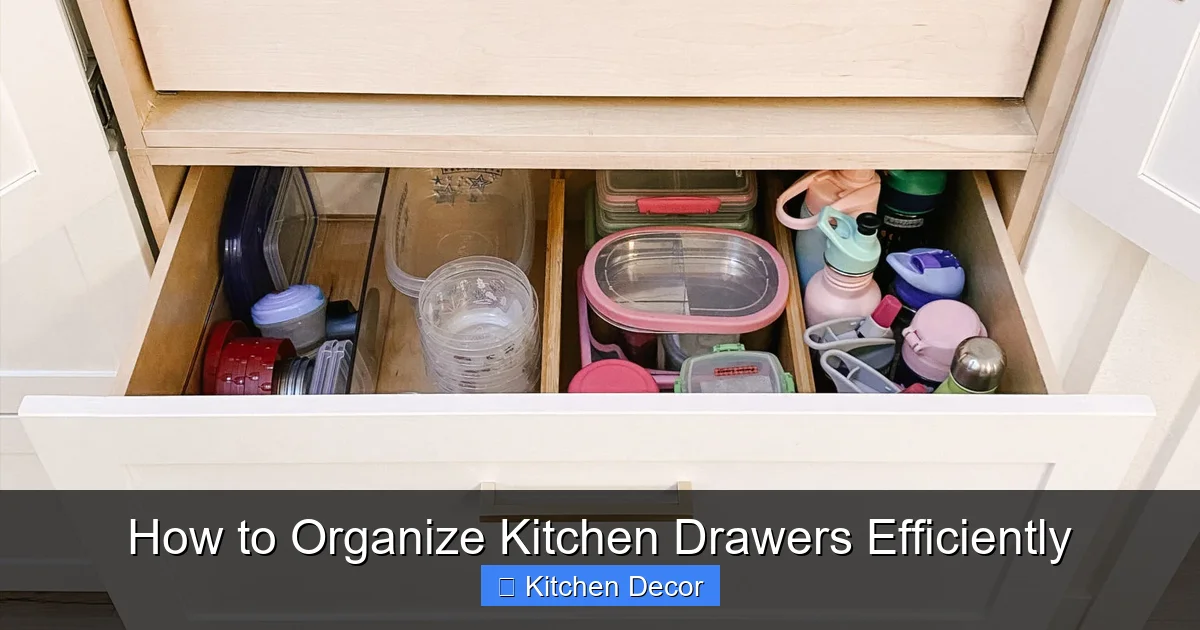
Visual guide about How to Organize Kitchen Drawers Efficiently
Image source: modern-glam.com
Sub-step 2.1: The “Keep” Pile
These are your everyday essentials. Items you use frequently, items that are in good working condition, and items that bring you joy. Place them in a designated “Keep” pile. Only the best of the best make it into this pile.
- Ask yourself: Have I used this in the last year? Is it functional? Do I have another one that does the same job better?
- Example: Your favorite chef’s knife, a sturdy spatula you use daily, your everyday set of flatware.
Sub-step 2.2: The “Donate/Sell” Pile
This pile is for items that are still in good condition but you no longer use or need. Maybe you received a duplicate as a gift, upgraded to something better, or simply don’t have a use for it anymore. Someone else could benefit from these items.
- Consider: Gently used gadgets, extra sets of measuring cups, specialty tools you’ve only used once.
- Action: Designate a box or bag for these items to be taken to a donation center or listed for sale.
Sub-step 2.3: The “Toss/Recycle” Pile
This pile is for anything broken, stained, expired, missing parts, or simply beyond repair. Don’t hold onto junk. Free up valuable drawer space by getting rid of these items immediately.
- Look out for: Broken can openers, plastic containers with missing lids, rusty gadgets, expired food items from a “junk drawer.”
- Remember: Check local recycling guidelines for proper disposal of certain materials.
Sub-step 2.4: The “Relocate” Pile
Sometimes, items end up in a drawer where they don’t belong. This pile is for those misplaced orphans. They might belong in another kitchen drawer, a pantry, a different room of the house, or even in a garage storage area.
- Common culprits: Batteries (should be in a utility drawer), office supplies (desk drawer), craft supplies (craft room).
- Immediate action: As soon as you’ve finished decluttering the current drawer, take these items to their rightful homes.
Step 3: Categorize and Zone – A Place for Everything
Once you’ve pared down your belongings, the next step in how to organize kitchen drawers efficiently is to think about how you use your kitchen. Grouping similar items and assigning them to logical “zones” will make your kitchen workflow much smoother.
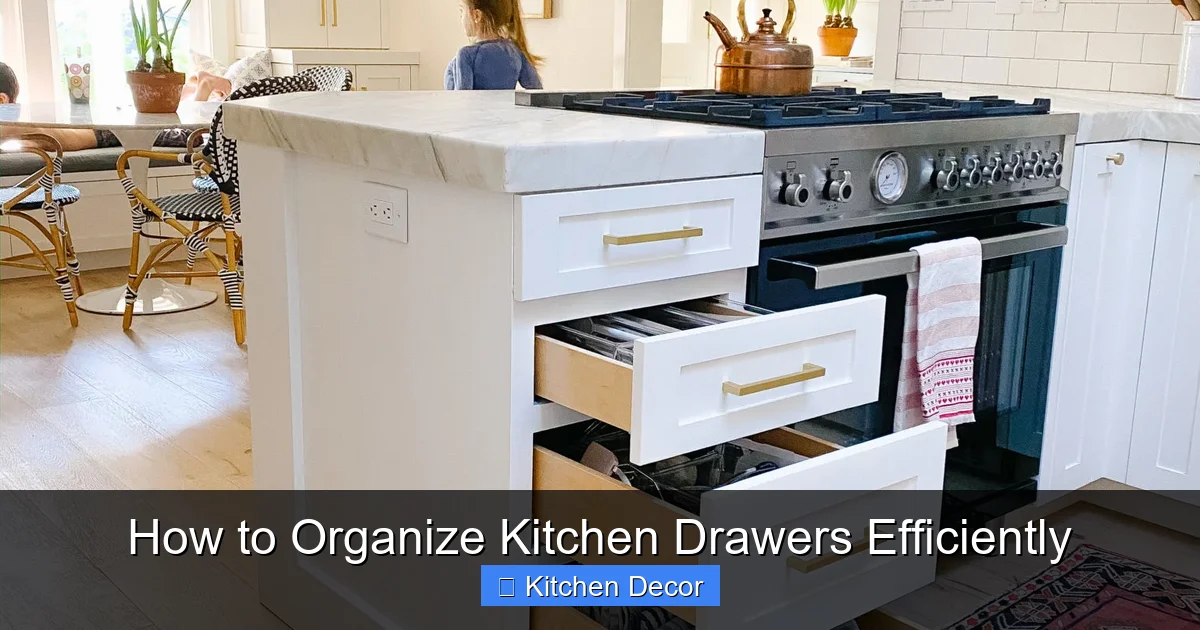
Visual guide about How to Organize Kitchen Drawers Efficiently
Image source: modern-glam.com
Sub-step 3.1: Group Similar Items
Before you even think about putting things back, group all your “Keep” items into categories. This helps you see exactly how many of each item you have and ensures they’re stored together.
- Examples of categories:
- Cooking Utensils: Spatulas, ladles, whisks, tongs.
- Baking Supplies: Measuring cups/spoons, cookie cutters, small hand mixer attachments.
- Flatware: Forks, knives, spoons.
- Knives: Chef’s knives, paring knives (if not on a magnetic strip).
- Prep Tools: Peelers, graters, can openers, bottle openers.
- Linens: Dish towels, pot holders.
- Food Storage: Lids for containers, bag clips.
- “Junk Drawer” Essentials: Pens, notepads, rubber bands, small tools, twist ties (keep this category tight!).
Sub-step 3.2: Assess Your Kitchen Layout
Think about the “work triangles” in your kitchen: your sink, stove, and refrigerator. Where do you typically perform certain tasks? The goal is to store items as close as possible to their point of use.
- Consider:
- Drawers closest to the stove: Cooking utensils, pot holders, spices (if in a drawer).
- Drawers near the sink/dishwasher: Flatware, dish towels, cleaning supplies (childproof if necessary).
- Drawers near your main prep area: Knives, peelers, cutting boards.
- Drawers near the pantry or fridge: Food storage containers, wraps, bag clips.
- Drawers near the dining table: Serving utensils, placemats, napkins.
Sub-step 3.3: Designate Drawer Zones
Based on your grouped items and kitchen layout, decide which categories will go into which drawers. Give each drawer a specific purpose. This dramatically helps organize kitchen drawers efficiently and maintain order.
- Example:
- Drawer 1 (next to stove): Primary Cooking Utensils.
- Drawer 2 (near prep counter): Knives & Prep Tools.
- Drawer 3 (near sink): Flatware & Dish Towels.
- Drawer 4 (utility/catch-all): Designated “Junk Drawer” (but an organized one!).
Step 4: Measure and Plan – The Right Tools for the Job
You’ve decluttered, cleaned, and planned your zones. Now it’s time to equip yourself with the right organizational tools. This step is crucial for making sure your system works and lasts.
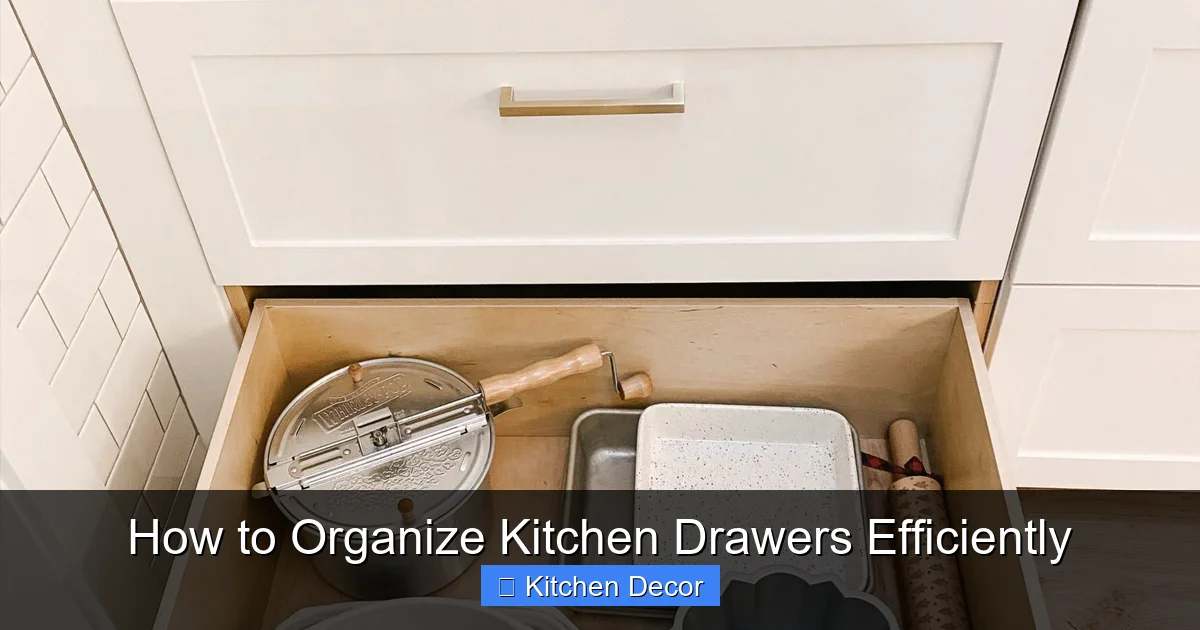
Visual guide about How to Organize Kitchen Drawers Efficiently
Image source: savvysavingcouple.net
Sub-step 4.1: Measure Your Drawers Accurately
Before you buy any organizers, grab a measuring tape. Measure the interior length, width, and depth of each drawer you plan to organize. Write these dimensions down! This prevents frustrating returns and ensures a perfect fit.
- Why it’s important: Organizers that don’t fit well will slide around and create new clutter. You want a snug, custom feel.
Sub-step 4.2: Research Organizer Options
There’s a vast world of drawer organizers out there! Consider different materials (bamboo, plastic, mesh, metal) and types based on what you’re storing.
- Common organizer types:
- Adjustable Dividers: Great for creating custom compartments in wider drawers.
- Expandable Trays: Perfect for flatware and utensils, as they adjust to your drawer width.
- Individual Bins/Caddies: Ideal for smaller, loose items, or for stacking in deeper drawers.
- Knife Blocks/Inserts: Safely store knives within a drawer, keeping blades protected and out of sight.
- Spice Rack Inserts: Keep spice jars neatly organized and labeled.
- Non-Slip Drawer Liners: Prevent items and organizers from sliding around, protecting your drawers.
- Consider the material: Bamboo offers a warm, natural look. Plastic is easy to clean and often more affordable. Silicone liners provide excellent grip.
Sub-step 4.3: Sketch a Layout
Before purchasing, try sketching out a rough plan for each drawer. Use your measurements and the categories you established. This visual planning helps you determine how many and what type of organizers you’ll need.
- Example: For a utensil drawer, you might draw compartments for forks, spoons, knives, then a larger section for spatulas and whisks.
Step 5: Implement Your Organization System
With your organizers in hand (or on their way!), it’s time to bring your vision to life. This is where you actually put everything back, but with purpose and precision.
Sub-step 5.1: Install Drawer Liners
If you’ve opted for drawer liners, install them first. They protect the drawer from scratches and spills, and more importantly, they prevent organizers and items from shifting around. Measure and cut them to fit perfectly.
- Tip: Look for non-adhesive, non-slip liners for easy removal and cleaning.
Sub-step 5.2: Place Your Organizers
Position your chosen organizers into the clean, lined drawers according to your plan. Ensure they fit snugly. If you’re using adjustable dividers, extend them to create firm compartments.
- Goal: Create a stable, structured home for every item.
Sub-step 5.3: Load Your Items Strategically
Now, carefully place your “Keep” items into their designated compartments. Think about accessibility:
- Handles Forward: For utensils like spatulas and ladles, place them with handles facing the front of the drawer for easy grabbing.
- Vertical Storage: For items like measuring cups or small bowls, consider stacking them or using bins that allow for vertical storage if your drawer is deep enough.
- Most Used First: Place frequently used items in the most accessible spots – typically at the front of the drawer or in the largest compartment.
- Utilize Small Sections: Use small compartments for tiny items like bag clips, wine stoppers, or corn holders.
Sub-step 5.4: Utilize Vertical Space (if deep drawers)
Deep drawers offer more storage potential. Don’t let them become bottomless pits. You can use:
- Stackable Bins: Place smaller bins on top of each other for less frequently used items.
- Vertical Dividers: Store things like cutting boards, baking sheets, or pot lids on their sides.
- Specialized Organizers: Look for tiered inserts or risers designed for deeper drawers to make upper layers visible.
Step 6: Maintain Your Organized Drawers
Organizing isn’t a one-time event; it’s an ongoing process. To keep your kitchen drawers efficiently organized, integrate simple maintenance habits into your routine.
Sub-step 6.1: The “One In, One Out” Rule
When you buy a new kitchen gadget or utensil, commit to getting rid of an old one (or another item) that serves a similar purpose. This prevents clutter from accumulating.
- Example: If you buy a new set of measuring spoons, check if your old set is still needed or if it’s time to donate it.
Sub-step 6.2: Regular Mini-Purges
Every few months, or whenever you notice a drawer starting to look messy, take a few minutes for a quick tidy. Pull out a drawer, quickly check for anything misplaced or no longer needed, and wipe it down. This prevents major re-organization efforts down the line.
- Frequency: A quick 5-minute tidy once a month can make a huge difference.
Sub-step 6.3: Involve the Family
Make sure everyone who uses the kitchen knows where things belong. Clear communication and consistent effort from all household members are key to maintaining an organized space. Lead by example!
- Tip: If kids use certain drawers (e.g., plastic plates, snack items), make sure their sections are easy for them to access and put away.
Sub-step 6.4: Labeling (Optional but Recommended)
For drawers that store less obvious items, or for households with multiple users, consider discreet labels. This can be particularly helpful for a well-organized “junk drawer” or a drawer dedicated to baking tools.
- Method: Use a label maker, small adhesive labels, or even write directly on the drawer liner.
Troubleshooting Common Drawer Dilemmas
Even with the best intentions, you might run into some common organizing challenges. Here’s how to tackle them when you organize kitchen drawers efficiently.
Problem 1: Too Many Small Items
Solution: Individual small bins or expandable drawer dividers are your best friends. Use them to create dedicated spots for rubber bands, twist ties, pens, batteries, and other tiny bits. Don’t let them float freely; containment is key.
Problem 2: Deep Drawers are Black Holes
Solution: The trick is to utilize vertical space without losing visibility.
- Use stackable bins or containers for items that don’t get used daily.
- Install vertical dividers for storing cutting boards, baking sheets, or pot lids on their sides.
- Consider a tiered insert for spices or small jars, allowing you to see items in the back.
Problem 3: The Ever-Growing Junk Drawer
Solution: The “junk drawer” is often where good intentions go to die.
- Redefine it: Instead of “junk,” call it a “utility drawer” or “miscellaneous essentials.”
- Limit its contents: Only allow specific categories of items (pens, small tools, notepads, rubber bands).
- Use dividers: This is non-negotiable for a utility drawer. Every item should have a home.
- Monthly purge: Make it a habit to quickly declutter this drawer more frequently than others.
Problem 4: Limited Drawer Space
Solution: When you have fewer drawers, you need to be extra creative and even more ruthless with decluttering.
- Go vertical: Utilize wall space for magnetic knife strips or hanging utensil caddies.
- Use cabinets: Consider moving less frequently used items into cabinets (e.g., specialty bakeware).
- Think multi-functional: Invest in items that serve more than one purpose.
- Double-check decluttering: Can you *really* get rid of more? Be honest about duplicates.
Conclusion
Congratulations! You now have a comprehensive guide on how to organize kitchen drawers efficiently. By following these steps—from the initial purge and ruthless decluttering to strategic categorization, thoughtful planning, and consistent maintenance—you’ll transform your kitchen into a more functional, aesthetically pleasing, and stress-free environment.
Remember, the goal isn’t just about making things look tidy; it’s about creating a system that supports your daily life, saves you time, and makes cooking and entertaining a joy. Embrace the process, be patient with yourself, and enjoy the lasting benefits of beautifully organized kitchen drawers. Happy organizing!