Feeling overwhelmed by your cramped cooking space? This comprehensive guide reveals how to organize a small kitchen efficiently and effectively. You’ll learn simple, step-by-step strategies to declutter, categorize, and utilize every nook and cranny, turning your compact kitchen into a highly functional and enjoyable area. Discover smart storage solutions and practical tips to create an organized space that truly works for you.
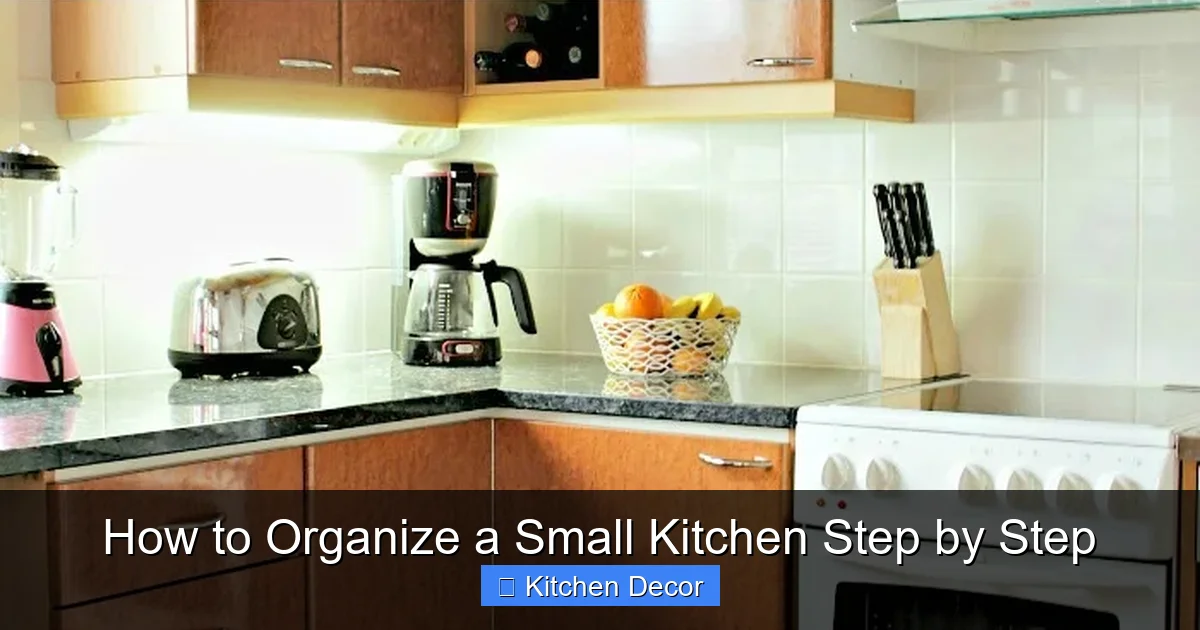
How to Organize a Small Kitchen Step by Step
Do you ever feel like your small kitchen is working against you? Perhaps you’re constantly searching for that one utensil, or your countertops are perpetually buried under a mountain of appliances and ingredients. We understand! A small kitchen can feel like a daunting challenge, but it doesn’t have to be a source of stress. In fact, with the right strategies, you can transform your compact space into a highly efficient, beautiful, and enjoyable area where everything has its place.
This comprehensive, step-by-step guide is designed specifically for you. We’ll walk you through a practical process to organize a small kitchen, helping you reclaim your space and your sanity. From ruthless decluttering to smart storage solutions and clever hacks, you’ll learn how to maximize every inch, create zones that work for you, and maintain an organized kitchen that makes cooking a joy again. Let’s get started on creating the small kitchen of your dreams!
Key Takeaways
- Declutter Ruthlessly First: Before organizing, remove anything you don’t use, need, or love. This is the most crucial step for a small kitchen.
- Zone Your Kitchen: Group similar items together based on function (prep, cooking, cleaning) to create an intuitive and efficient workflow.
- Maximize Vertical Space: Look up! Walls, cabinet interiors, and pantry doors offer valuable storage for shelves, racks, and hooks that expand your usable area.
- Utilize Smart Organizers: Invest in drawer dividers, pull-out shelves, stackable containers, and turntables to make the most of limited cabinet and drawer space.
- Keep Countertops Clear: Only essential, frequently used appliances should live on your counters. Everything else should have a designated storage spot.
- Implement Regular Maintenance: Organization isn’t a one-time event. Dedicate a few minutes weekly to keep your small kitchen tidy and prevent clutter from building up again.
- Embrace Multi-Functional Items: Choose tools and appliances that serve multiple purposes to reduce the number of items you need to store.
Step 1: The Essential First Step – Declutter Ruthlessly
Before you even think about buying storage containers or fancy organizers, the most critical step to organize a small kitchen is to declutter. This means letting go of anything you don’t truly need, use, or love. Be honest with yourself! Clutter is the number one enemy of a small space.
Empty Everything Out
Start by completely emptying your cabinets, drawers, pantry, and even your countertops. Seriously, take everything out. This allows you to see exactly what you own and evaluate each item without distraction. Lay everything out on your dining table, a large island, or even the floor if you need to.
Sort into Keep, Donate/Sell, Toss
As you empty each item, immediately sort it into one of three piles:
- Keep: These are items you use regularly, love, or are essential. Be strict with yourself here.
- Donate/Sell: Items that are in good condition but you no longer use, or never used, can find a new home. Think about duplicate items (do you really need three can openers?) or gadgets you bought but rarely touch.
- Toss: Broken items, expired food, chipped dishes, or anything that’s beyond repair or use should go straight into the trash.
Pro Tip: Ask yourself: “Have I used this in the last year?” If the answer is no, strongly consider letting it go. For a small kitchen, prime real estate is reserved only for essentials.
Be Realistic About Usage
When deciding what to keep, consider how often you truly use an item. That jumbo serving platter might be great for Thanksgiving, but if it takes up an entire cabinet for 364 days of the year, is it worth it? For very special occasion items, consider if they could be stored elsewhere (like a dining room buffet) or if borrowing/renting is a viable option.
Step 2: Clean and Assess Your Space
With your kitchen now empty, it’s the perfect time for a deep clean and a thorough assessment. This step will reveal the true potential of your space and help you plan your organization strategy.
Visual guide about How to Organize a Small Kitchen Step by Step
Image source: i.ytimg.com
Deep Clean All Surfaces
Wipe down the insides of cabinets and drawers, scrub your countertops, clean your sink, and shine your appliances. A clean slate is incredibly motivating and helps you visualize the organized space you’re creating.
Take Inventory of Your Kitchen’s Layout
Look at your empty small kitchen with fresh eyes. Notice the number of cabinets, drawers, and the amount of counter space you truly have. Pay attention to awkward corners, deep cabinets, or unused vertical spaces. This assessment will be crucial for the next steps when we start to organize your small kitchen effectively.
Step 3: Zone Your Kitchen for Efficiency
One of the best strategies to organize a small kitchen is to create functional zones. This means grouping similar items and activities together, minimizing movement and maximizing efficiency.
Visual guide about How to Organize a Small Kitchen Step by Step
Image source: i.pinimg.com
Identify Key Activity Zones
Think about how you use your kitchen. Most kitchens have a few core zones:
- Prep Zone: Near the sink and a good amount of counter space. Store cutting boards, knives, mixing bowls, and frequently used prep tools here.
- Cooking Zone: Around your stove and oven. Keep pots, pans, cooking utensils (spatulas, ladles), spices, and oils within easy reach.
- Storage Zone (Pantry): For non-perishable food, snacks, and extra ingredients.
- Cleaning Zone: Under the sink or near the dishwasher. Store cleaning supplies, dish soap, sponges, and dish towels.
- Dining/Serving Zone: Near your dining area. Store plates, bowls, glasses, and cutlery.
Group Similar Items Together
Once you’ve identified your zones, start placing your “Keep” items into their respective areas. For example, all your baking supplies should go together, all your coffee-making items should be in one spot, and so on. This makes it intuitive to find what you need and put it away.
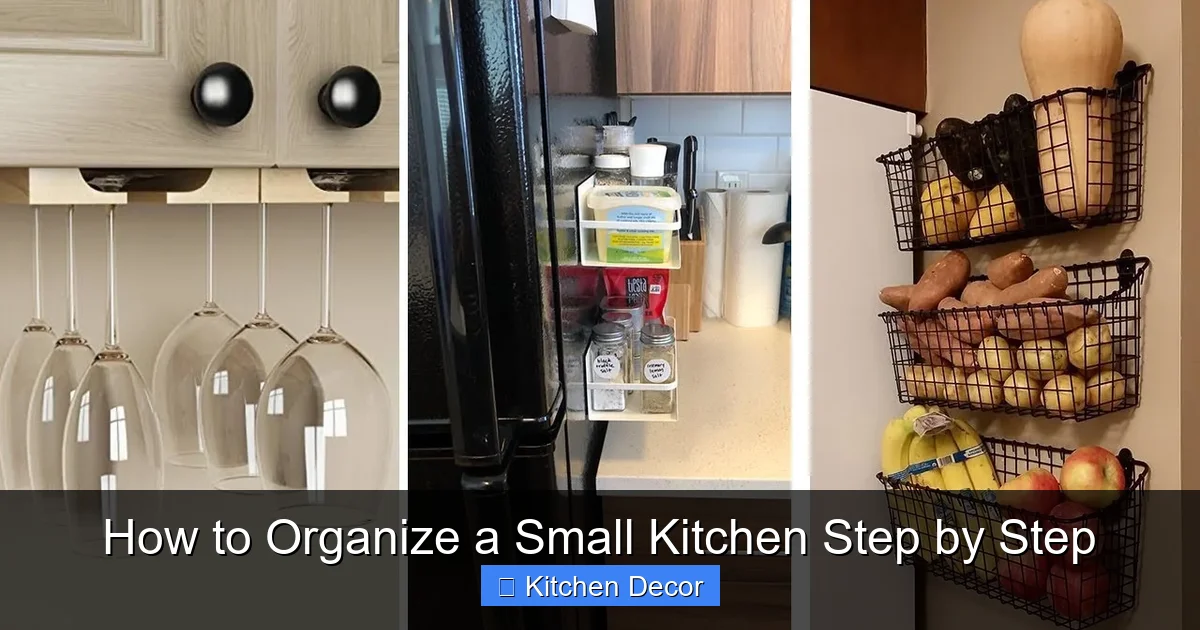
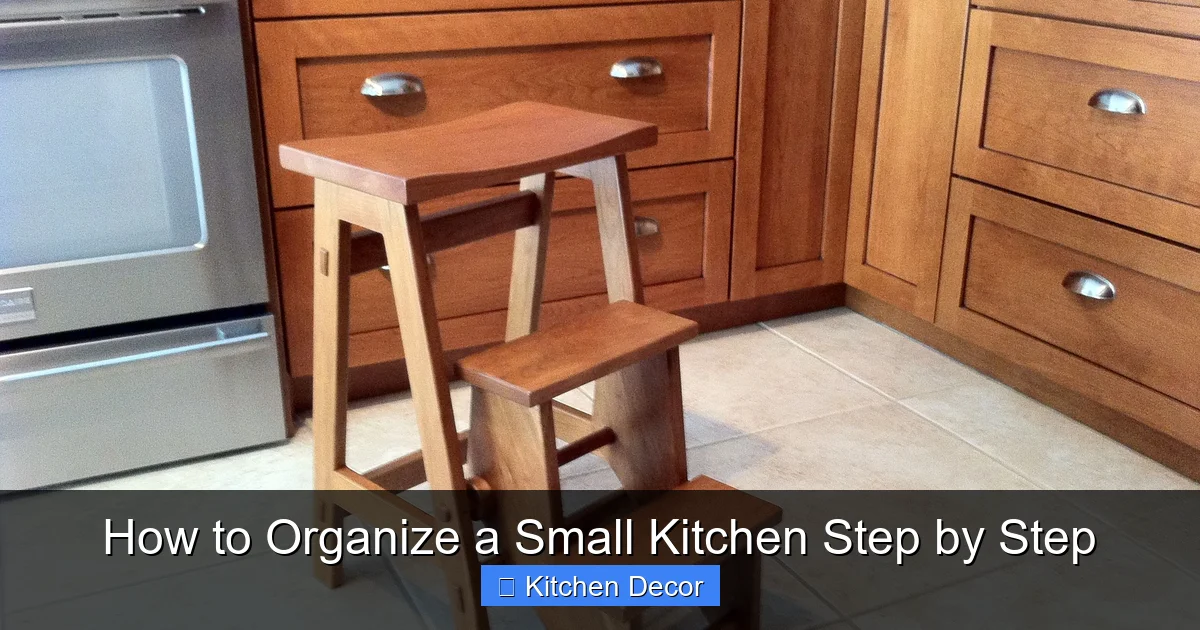
Step 4: Maximize Vertical Space
When you have a small kitchen, the only way to go is often up! Vertical space is frequently underutilized and offers significant storage potential.
Visual guide about How to Organize a Small Kitchen Step by Step
Image source: h2obungalow.com
Use Wall Space with Shelves and Racks
Consider installing open shelving on an empty wall for often-used dishes, cookbooks, or decorative items. Magnetic knife strips keep knives safely stored and free up drawer space. Wall-mounted pot racks can free up valuable cabinet space and add a rustic charm. Hooks for mugs, oven mitts, or small utensils can be installed almost anywhere.
Consider Stackable Solutions Inside Cabinets
Don’t just fill your cabinets horizontally. Add shelf risers or stackable wire shelves to create multiple layers of storage within a single cabinet. This is perfect for plates, bowls, and even canned goods, effectively doubling your storage capacity.
- Example: Use a stackable shelf to separate dinner plates from salad plates in one cabinet.
Step 5: Master Drawer and Cabinet Organization
Now that you’ve decluttered and zoned, it’s time to tackle the insides of your drawers and cabinets. This is where specialized organizers truly shine to organize a small kitchen.
Utilize Drawer Dividers and Organizers
Stop the utensil chaos! Invest in expandable drawer dividers or pre-made cutlery trays. These keep forks, spoons, knives, and other small gadgets neatly separated. For deeper drawers, use bins to contain items like measuring cups, cookie cutters, or small tools.
- Tip: Measure your drawers before buying any organizers to ensure a perfect fit.
Install Pull-Outs and Turntables (Lazy Susans)
Deep cabinets can be black holes where items get lost. Pull-out shelves or baskets bring the back of the cabinet to you, making every item accessible. Turntables (Lazy Susans) are fantastic for corner cabinets or pantries, allowing easy access to spices, oils, or cleaning supplies.
- Example: A two-tier Lazy Susan can hold double the amount of spices in a compact space.
Don’t Forget the Back of Doors
The inside of cabinet doors offers prime real estate. Install hooks for measuring spoons, small baskets for aluminum foil and plastic wrap, or even a slim rack for pot lids. This keeps frequently used items accessible and frees up drawer and shelf space.
Step 6: Smart Pantry and Food Storage
The pantry area (even if it’s just a couple of cabinets) can quickly become disorganized. Here’s how to make it work harder for you.
Decant Dry Goods into Clear Containers
Transfer dry goods like pasta, rice, flour, sugar, and cereals from their bulky bags and boxes into clear, airtight containers. This not only looks tidy but also helps you see exactly what you have, prevents pests, and takes up less space because containers are often stackable and uniformly sized. Label everything clearly.
Implement First-In, First-Out (FIFO)
When storing new groceries, always place older items at the front so they get used first. This prevents food waste and ensures you’re cycling through your stock efficiently, especially important in a small kitchen where space is at a premium.
Use Bins for Snack and Canned Goods
Designate bins for specific categories, like “Breakfast Items,” “Snacks,” or “Canned Vegetables.” This keeps similar items contained and prevents them from toppling over. Can organizers are excellent for stacking cans horizontally, saving vertical space.
Step 7: Optimize Countertop Real Estate
In a small kitchen, countertops are precious. The goal is to keep them as clear as possible to allow for actual food preparation.
Keep Only Essential Appliances Out
Resist the urge to display every appliance you own. Only keep out the items you use daily, like a coffee maker or a toaster. Store less frequently used appliances (blender, food processor, stand mixer) in cabinets, a pantry, or even another room if space is severely limited.
- Tip: If an appliance is particularly heavy, consider a cabinet with a pull-out shelf that raises it to counter height when needed.
Embrace Multi-Functional Items
Choose appliances and tools that serve more than one purpose. For example, an immersion blender can replace a large blender for many tasks, and a good chef’s knife can do the work of several specialized knives. A cutting board that fits over your sink can temporarily expand your prep space.
Wall-Mounted Solutions for Utensils and Knives
A magnetic knife strip frees up a knife block from your counter. A wall-mounted rail with S-hooks can hold frequently used cooking utensils, keeping them handy without taking up valuable drawer or counter space.
Step 8: Organize Under the Sink
The cabinet under the sink is often a chaotic mess of cleaning supplies and various bottles. With a few simple solutions, you can make this area functional.
Use a Caddy for Cleaning Supplies
A portable caddy or bin can hold all your cleaning sprays, sponges, and scrub brushes. This keeps everything together and makes it easy to grab when you need to clean different areas of the kitchen.
Install a Small Tension Rod
A tension rod placed horizontally under the sink can be used to hang spray bottles by their nozzles, freeing up the bottom of the cabinet for other items like extra paper towels or dish soap. This is a brilliant way to utilize vertical space in an often-overlooked area.
Step 9: Maintenance is Key – Keep It Organized
Organizing a small kitchen is not a one-time event; it’s an ongoing practice. To prevent clutter from creeping back, integrate small maintenance habits into your routine.
A Place for Everything and Everything in Its Place
After using an item, return it to its designated spot immediately. This simple habit prevents items from accumulating on counters or in the sink. Encourage everyone in your household to adopt this rule.
Regular Mini-Declutter Sessions
Once a month or every few months, do a quick “power hour” declutter. Go through one drawer or one cabinet at a time. Check expiration dates, evaluate items you haven’t used, and quickly tidy up. This prevents overwhelm and keeps your small kitchen in top shape.
- Example: Spend 15 minutes reviewing your spice cabinet or your Tupperware drawer.
Troubleshooting Common Small Kitchen Challenges
Even with the best intentions, small kitchens present unique hurdles. Here are solutions to common problems:
“I Don’t Have Enough Counter Space!”
This is perhaps the most common complaint in a small kitchen. Here’s how to create more:
- Rolling Cart or Kitchen Island: A small rolling cart can provide extra prep space and storage, and it can be moved out of the way when not in use.
- Over-the-Sink Cutting Board: A cutting board designed to fit over your sink temporarily extends your counter space.
- Stove Top Covers: If you’re not using your stove burners, a flat cover can provide additional temporary counter space.
- Folding Table: For extreme cases, a small folding table can be pulled out for prep and tucked away when not needed.
“My Cabinets Are Too Deep/Shallow!”
Awkward cabinet dimensions can be frustrating, but there are solutions:
- For Deep Cabinets: Utilize pull-out shelves, bins with handles, or clear containers that allow you to see what’s at the back. Stackable shelves can also help utilize the vertical depth.
- For Shallow Cabinets: These are great for plates, glasses, and smaller items. Use shelf risers to create layers. Consider these for spices or oils if they are easily accessible.
“I Have Too Many Appliances!”
Modern kitchens often come with a plethora of gadgets. If you’re struggling to store them:
- Be Ruthless: If you don’t use it regularly, consider donating or selling it. Many appliances are specialized and might only be used once a year.
- Off-Kitchen Storage: If you have an unused corner in a dining room, a basement, or a garage, consider storing seasonal or rarely used appliances there.
- Vertical Storage: Stack smaller, lighter appliances on top of each other in a cabinet if possible.
- Multi-functional Appliances: Opt for appliances that perform several tasks to reduce the total number of items you own.
Conclusion
Organizing a small kitchen might seem like a monumental task, but by breaking it down into manageable steps, you can achieve remarkable results. Remember, the goal isn’t just about making things look pretty; it’s about creating a functional, efficient, and enjoyable space where you love to cook and gather.
Start with the decluttering, zone your space, and then systematically implement smart storage solutions. Be patient with yourself, celebrate small victories, and adapt these tips to fit your unique kitchen and lifestyle. With a little effort and consistent maintenance, you’ll soon discover that even the smallest kitchen can be a powerhouse of organization and style. Happy organizing!