Transform your compact culinary space with our definitive “Small Kitchen Cleaning Steps Checklist.” This guide provides simple, actionable steps for decluttering, deep cleaning, and maintaining a sparkling kitchen, even with limited room. Discover practical tips to efficiently tackle everything from appliances to floors, ensuring a hygienic and enjoyable cooking environment with ease.
Small Kitchen Cleaning Steps Checklist
Having a small kitchen can be a joy. It’s cozy, often efficient, and feels like the heart of the home. But let’s be honest, a small kitchen can also get messy very quickly. With limited counter space and tight corners, grime and clutter can build up fast. That’s why having a clear, actionable small kitchen cleaning steps checklist is not just helpful; it’s essential!
This comprehensive guide is designed to help you tackle your small kitchen with confidence. We’ll walk through every nook and cranny, providing practical tips and easy-to-follow steps. By the end, you’ll have a sparkling clean kitchen and a proven system to keep it that way. You’ll learn how to approach cleaning a small kitchen efficiently, what tools you’ll need, and how to maintain that fresh feeling. Let’s get started on your ultimate small kitchen cleaning journey!
Key Takeaways
- Start with Decluttering: Clear all surfaces and remove unnecessary items before cleaning to maximize space and efficiency in your small kitchen.
- Work Top-Down: Begin by dusting and wiping high surfaces and light fixtures, then systematically move downwards to countertops and floors to avoid re-contaminating clean areas.
- Prioritize Appliances: Deep clean your refrigerator, microwave, oven, and other small appliances thoroughly, as they are major sources of grime and odors, especially in a compact space.
- Focus on High-Touch Areas: Pay special attention to the sink, faucet, countertops, and cabinet handles, as these areas accumulate germs and dirt quickly and frequently.
- Establish a Routine: Implement daily and weekly mini-cleaning habits to prevent significant build-up and make deep cleaning less daunting in your small kitchen.
- Utilize Smart Storage: After cleaning, organize your small kitchen efficiently. This helps maintain cleanliness and prevents future clutter, making the most of every inch.
Getting Started: Prepare Your Space and Gather Supplies
Before you dive into deep cleaning, a little preparation goes a long way. Think of it as setting the stage for success. This initial phase of our small kitchen cleaning steps checklist ensures you have everything you need at your fingertips.
Clear the Decks: Empty Your Kitchen Surfaces
The first step in any effective small kitchen cleaning project is to clear everything out. Remove all dishes from the sink, put away any stray items from countertops, and take down anything hanging on the walls or magnetic strips. This creates a blank canvas, making it much easier to clean thoroughly. Don’t just push things around; move them out of the kitchen temporarily if you can. This also helps you see what truly belongs and what can be decluttered.
Gather Your Arsenal: Essential Cleaning Tools
Having the right tools makes the job quicker and more effective. Here’s a basic list for your small kitchen cleaning steps checklist:
- All-purpose cleaner: For general wiping and disinfecting.
- Degreaser: Crucial for stove tops, range hoods, and greasy backsplash areas.
- Dish soap: For washing dishes, cleaning the sink, and general scrubbing.
- Glass cleaner: For windows, mirrors, and appliance fronts.
- Disinfectant wipes or spray: For quick sanitizing.
- Microfiber cloths: Multiple for different surfaces (e.g., one for dusting, one for shining).
- Sponges and scrub brushes: For tackling stubborn grime.
- Old toothbrush: Excellent for grout lines and tight spots.
- Bucket: For mixing cleaning solutions and rinsing cloths.
- Vacuum cleaner or broom and dustpan: For floors.
- Mop: For hard floors.
- Trash bags: For disposing of waste and expired items.
- Rubber gloves: To protect your hands.
Practical Tip: Keep a caddy or small basket with your most-used cleaning supplies. This makes it easy to grab everything you need for your small kitchen cleaning steps checklist in one go, saving you time and effort.
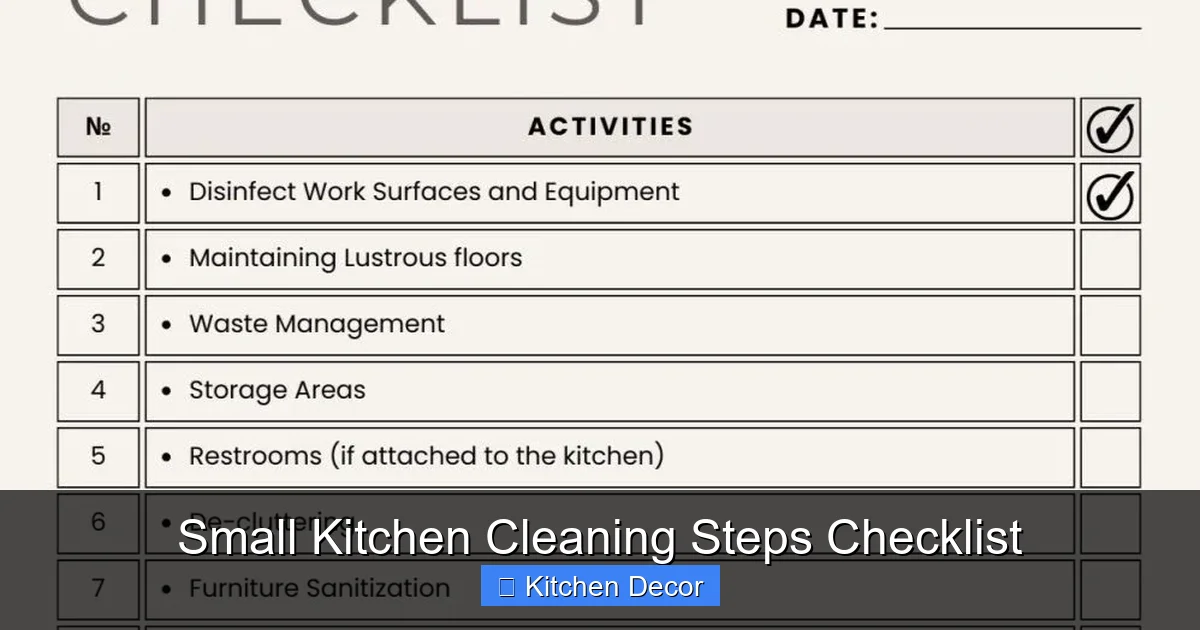
Step 1: Declutter and Organize First
This is arguably the most important step for a small kitchen. Clutter is the enemy of cleanliness in a compact space. Before any deep cleaning, you need to make ruthless decisions.
Visual guide about Small Kitchen Cleaning Steps Checklist
Image source: i.pinimg.com
Remove Everything from Surfaces
Take every single item off your countertops, dining table, and even the top of your fridge. This includes appliances, decorative items, spice racks, and anything else. Place them on a temporary holding spot, like a nearby table or even the living room floor.
Sort, Toss, and Store
Now, go through each item you removed. Ask yourself:
- Do I use this regularly?
- Is it essential for cooking or daily life?
- Is it expired or broken?
Be honest. Toss expired food, broken gadgets, and anything you haven’t used in months (or years!). For items you use less frequently, find appropriate storage outside the kitchen if possible, or in designated cabinet spaces. The goal is to free up as much visible surface area as possible. This decluttering is a core part of an effective small kitchen cleaning steps checklist.
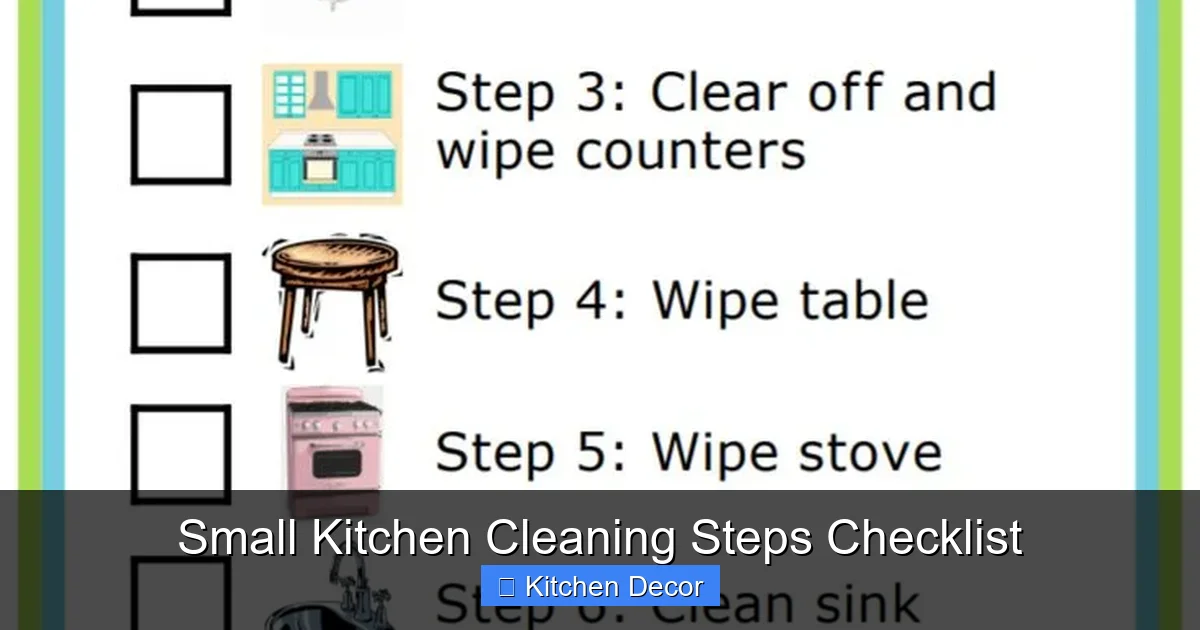
Step 2: Tackle the Top Down (Dust and Debris)
Always start cleaning from the top and work your way down. This prevents dust and grime from falling onto already clean surfaces.

Visual guide about Small Kitchen Cleaning Steps Checklist
Image source: i.pinimg.com
Dust High Surfaces
Begin with the highest points in your small kitchen. Wipe down the tops of cabinets, light fixtures, ceiling fans, and any high shelves. Use a damp microfiber cloth to trap dust effectively.
Wipe Down Walls and Backsplash
Small kitchens often mean less distance between cooking surfaces and walls, leading to more splashes. Use your all-purpose cleaner or a degreaser for stubborn spots. Pay close attention to the area around your stove and sink. Don’t forget to wipe down switch plates and doorframes.
Step 3: Deep Clean Appliances
Appliances are workhorses in any kitchen, but in a small kitchen, they can quickly accumulate grime and become an eyesore if not maintained. This is a critical section of our small kitchen cleaning steps checklist.
Visual guide about Small Kitchen Cleaning Steps Checklist
Image source: i.etsystatic.com
Refrigerator: Inside and Out
Empty and Discard
Remove all food items. Check expiration dates and toss anything past its prime. Wipe down jars and containers before putting them aside.
Clean Interior Shelves and Drawers
Take out all removable shelves and drawers. Wash them in warm, soapy water in your sink. For the interior, use a mixture of warm water and a little baking soda (or an all-purpose cleaner) to wipe down all surfaces. This neutralizes odors and removes spills. Don’t forget the door seals!
Clean Exterior and Underneath
Wipe down the exterior with an all-purpose cleaner. Polish stainless steel if applicable. If possible, gently pull the fridge away from the wall and vacuum dust and debris from behind and underneath. This improves efficiency and cleanliness.
Microwave: Steam and Wipe
Steam Clean Inside
Place a bowl of water with a few lemon slices or a splash of vinegar inside. Microwave on high for 2-3 minutes until the window is steamy. Let it sit for 5 minutes, then carefully remove the bowl. The steam loosens dried food, making it easy to wipe away with a damp cloth.
Clean Exterior
Wipe down the outside with an all-purpose cleaner and polish the door and control panel with a glass cleaner.
Oven and Stovetop: Degrease and Scrub
Stovetop and Burners
Remove grates and burner caps (if gas). Soak them in hot, soapy water. While they soak, spray the stovetop with a degreaser. Let it sit for a few minutes, then scrub away grease and food residue. Use an old toothbrush for tight spots around burners. Rinse and dry grates before replacing.
Oven Interior
For a deep clean, follow your oven’s self-cleaning cycle instructions. If not available, use an oven cleaner according to product directions, or a natural paste of baking soda and water for light grime. This part of the small kitchen cleaning steps checklist might take time, but it’s worth it.
Oven Exterior and Hood
Wipe down the exterior of the oven and clean the range hood filter. Many filters are dishwasher-safe or can be soaked in hot, soapy water.
Dishwasher: A Hidden Gem
Run an empty cycle with a dishwasher cleaner tablet or a cup of white vinegar on the top rack. This helps remove hard water deposits and odors. Clean the filter at the bottom of the dishwasher by rinsing it under running water to remove food particles.
Small Appliances: Toaster, Coffee Maker, etc.
Don’t forget these essential items in your small kitchen cleaning steps checklist:
- Toaster/Toaster Oven: Unplug, remove crumb tray and empty it. Wipe down the interior and exterior.
- Coffee Maker: Run a descaling cycle with vinegar and water. Wash the carafe and filter basket.
- Blender/Food Processor: Wash thoroughly after each use, but periodically check for hidden grime around bases and buttons.
Step 4: Sink and Faucet Sparkle
The sink is a high-traffic area, especially in a small kitchen. It deserves special attention.
Scrub the Sink
Wash away any remaining dishes. Then, spray the entire sink basin with an all-purpose cleaner or a paste of baking soda and dish soap. Scrub thoroughly with a sponge or brush, paying attention to food stains and grime. For stainless steel, a specialized cleaner can restore shine. For porcelain, bleach can help whiten stubborn stains (test in an inconspicuous spot first).
Polish the Faucet and Handles
Spray the faucet, handles, and any surrounding areas with an all-purpose cleaner or glass cleaner. Use an old toothbrush to get into crevices where hard water spots and grime often accumulate. Wipe dry with a microfiber cloth for a streak-free shine.
Clean the Drain
Pour a cup of baking soda down the drain, followed by a cup of white vinegar. Let it fizz for 10-15 minutes, then flush with hot water. This helps to deodorize and clear minor blockages.
Step 5: Countertops and Backsplash Brilliance
With appliances clean and clutter gone, your countertops are ready for their moment.
Wipe Down and Disinfect
Spray your chosen all-purpose cleaner or disinfectant on all countertop surfaces and the backsplash. Let it sit for a moment to allow the cleaner to work, then wipe thoroughly with a clean microfiber cloth. Pay extra attention to corners and where the counter meets the wall.
Address Stains
For stubborn stains, use appropriate cleaners for your countertop material. A baking soda paste often works wonders on many surfaces. For grout lines in tile backsplashes, a toothbrush and grout cleaner (or baking soda/vinegar paste) can make a big difference.
Step 6: Cabinets and Pantry Refresh
In a small kitchen, cabinets and pantry spaces are vital for organization and can impact the overall cleanliness.
Spot Clean Cabinet Exteriors
Wipe down cabinet doors and drawer fronts with an all-purpose cleaner. Pay close attention to handles and areas around them, as these accumulate fingerprints and grease. For wooden cabinets, use a wood-safe cleaner or a damp cloth followed by a dry one.
Quick Wipe of Interior Shelves (if needed)
If you haven’t fully emptied your cabinets for decluttering, now is a good time to do a quick wipe of the most visible shelves. If you did declutter, you likely wiped them already. This step in your small kitchen cleaning steps checklist helps maintain organization.
Organize Pantry Items
Take a moment to arrange your pantry items. Group similar items, use clear containers for open bags of food, and ensure everything is visible. This helps prevent future clutter and makes meal prep easier. Maximizing vertical space with risers or stackable bins is especially useful in a small kitchen.
Step 7: Floor Finish
The final step in your deep cleaning process is the floor. All the dust and debris that fell during your top-down cleaning will be waiting here.
Sweep or Vacuum
Start by thoroughly sweeping or vacuuming the entire kitchen floor. Pay attention to corners, under cabinet toe kicks, and around appliance bases. Move any small rugs or mats to clean underneath them.
Mop the Floor
Using a clean mop and a suitable floor cleaner, mop the entire floor. Change the water frequently if it gets dirty. Ensure you follow manufacturer instructions for your specific flooring type (tile, hardwood, laminate). Allow the floor to dry completely before walking on it or replacing rugs.
Step 8: Final Touches and Maintenance
You’ve completed your comprehensive small kitchen cleaning steps checklist! Now, let’s add those finishing touches and think about how to keep it clean.
Empty Trash and Replace Liner
A simple but often forgotten step. Make sure your trash can is clean and has a fresh liner.
Replenish Supplies
Check if you need to restock dish soap, paper towels, or hand soap. A well-stocked kitchen is a happy, functional kitchen.
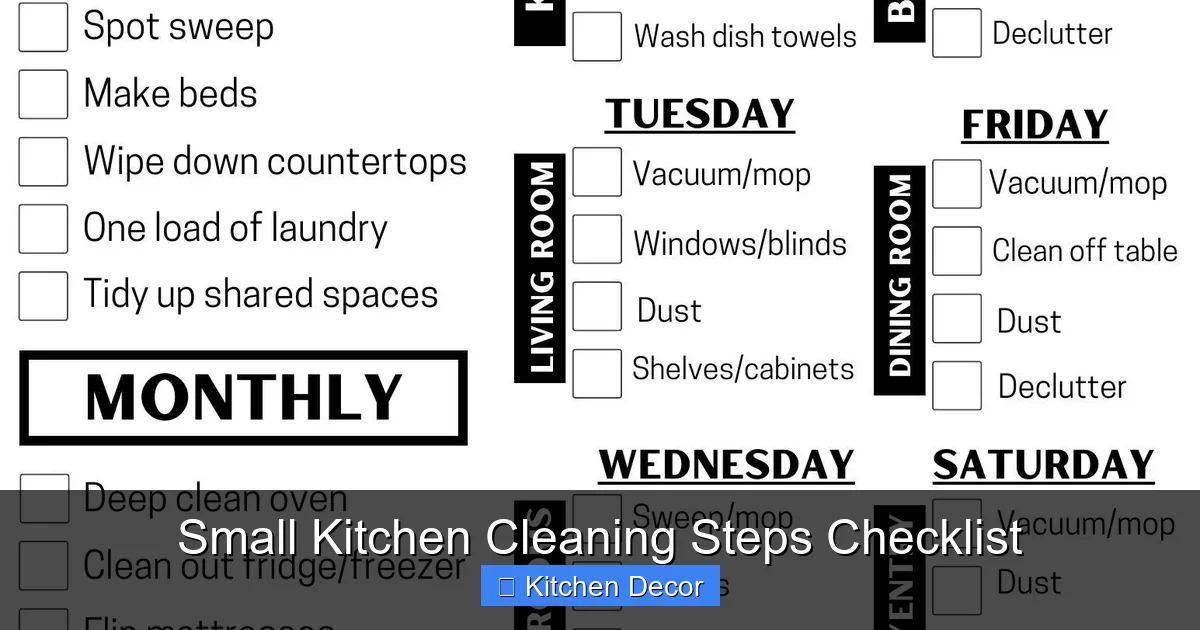
Establish a Daily/Weekly Routine
The key to keeping your small kitchen clean is consistency. Here’s a suggestion for ongoing maintenance:
- Daily: Wipe down counters, clean the sink, sweep visible crumbs, do dishes.
- Weekly: Mop floors, wipe down appliance exteriors, quick clean microwave, spot clean cabinet fronts.
- Monthly/Quarterly: Follow this entire small kitchen cleaning steps checklist for a full deep clean.
Troubleshooting Common Small Kitchen Cleaning Challenges
Even with a good checklist, you might encounter specific issues. Here are solutions to common small kitchen cleaning problems:
Grease Build-Up
Small kitchens often have grease splatter because everything is closer together. For heavy grease, a strong degreaser is your best friend. Apply it to the greasy surface (stovetop, backsplash, range hood), let it sit for the recommended time, then scrub with a warm, damp cloth. For particularly tough spots, a paste of baking soda and water can also work well, acting as a gentle abrasive. Regular wiping after cooking is the best preventative measure.
Persistent Stains
Different stains require different approaches. For coffee or tea stains on countertops, a baking soda paste left to sit for 15-20 minutes often lifts them. For hard water spots around faucets, white vinegar is excellent; spray and let it soak before scrubbing. Always test cleaners in an inconspicuous spot first, especially on delicate surfaces.
Odor Control
A small kitchen can trap odors easily. Beyond cleaning spills and taking out the trash, consider these tips: place a bowl of white vinegar or activated charcoal in the fridge to absorb odors. Keep a small dish of baking soda in your pantry. Simmer lemon peels or cinnamon sticks on the stove to naturally freshen the air. Regular deep cleaning, especially of the fridge and drain, is the best defense against odors.
Keeping it Clean with Limited Space
This is where the “small kitchen” aspect of our cleaning steps checklist really comes in. It’s not just about cleaning, but about organization. Invest in vertical storage solutions: magnetic knife strips, stackable containers, over-the-door organizers, and shelf risers. Designate a “home” for every item, and commit to putting things away immediately after use. The less clutter on display, the cleaner your small kitchen will feel and look.
Conclusion: Enjoy Your Sparkling Small Kitchen!
Congratulations! You’ve successfully navigated the ultimate small kitchen cleaning steps checklist. Your kitchen isn’t just clean; it’s organized, hygienic, and ready for all your culinary adventures. Remember, the secret to maintaining a clean small kitchen lies in consistency and smart habits.
By breaking down the task into manageable steps, even a full deep clean becomes less overwhelming. Embrace the satisfaction of a tidy space, and enjoy the efficiency and calm that a clean kitchen brings to your home. Now, go forth and cook something delicious in your beautifully clean small kitchen!