
Unlock your kitchen’s full potential with our comprehensive guide to kitchen space utilization. Learn practical steps to declutter, organize, and implement smart storage solutions, transforming your kitchen into an efficient and enjoyable hub. This guide will help you create a personalized “steps table” for lasting organization and a more functional culinary space.
Kitchen Space Utilization Steps Table
Welcome to your comprehensive guide to mastering kitchen space utilization! Does your kitchen sometimes feel like a chaotic maze? Are you constantly searching for that one utensil, or does your countertop seem to shrink every time you try to cook a meal? You’re not alone. Many of us struggle with making the most of our kitchen space, whether it’s a grand culinary arena or a cozy kitchenette.
This guide isn’t just about tidying up; it’s about transforming your kitchen into an efficient, enjoyable, and beautifully organized hub. We’re going to walk you through a structured approach – think of it as your personalized kitchen space utilization steps table – a systematic framework that will empower you to identify, plan, and implement solutions for every corner of your kitchen. By following these clear steps, you’ll not only free up valuable space but also streamline your cooking process, reduce stress, and truly fall in love with your kitchen all over again. Let’s dive in and start making every inch count!
Key Takeaways
- Systematic Assessment is Key: Begin your kitchen space utilization journey by thoroughly decluttering and mapping your current layout to understand what you truly have and need.
- Strategic Zoning Enhances Efficiency: Divide your kitchen into functional zones (prep, cooking, storage, cleaning) to create a workflow that saves time and effort.
- Embrace Vertical and Hidden Storage: Maximize every inch by utilizing vertical space with shelves and stackable organizers, and by exploring overlooked areas like cabinet interiors and kick plates.
- Optimize Countertops and Appliances: Keep countertops clear by strategically placing essential appliances and investing in multi-functional items to reduce clutter and improve prep space.
- Consistency is Crucial for Lasting Order: Implement a routine for regular decluttering and organization, making seasonal adjustments to maintain an efficient and adaptable kitchen space.
Step 1: Assess Your Current Kitchen Space
Before you can optimize, you need to understand. This crucial first step in your kitchen space utilization journey involves a thorough, honest assessment of your current kitchen. Don’t skip this part – it lays the groundwork for all subsequent improvements.
Declutter Ruthlessly (But Smartly!)
This is often the hardest part, but also the most liberating. A truly effective kitchen space utilization plan begins with clearing out what you don’t need or use.
- Empty Everything Out: Take everything out of your cabinets, drawers, and off your countertops. Yes, everything! Place similar items together.
- Ask the Hard Questions: For each item, ask yourself:
- Have I used this in the last year?
- Do I have duplicates?
- Is it broken or damaged beyond repair?
- Does it bring me joy or serve a real purpose?
- Create Piles: Sort items into “Keep,” “Donate/Sell,” and “Toss.” Be honest with yourself. If you haven’t used that specialty gadget in three years, it’s probably time to let it go.
- Resist the “Just in Case”: The “just in case” mentality is a huge space hog. If it’s not a regular-use item, consider if it truly earns its spot.
Categorize and Group Items
Once you’ve decluttered, the “Keep” pile needs order. Grouping similar items is a fundamental principle of good kitchen space utilization.
- Logical Groupings: Put all baking supplies together, all dinnerware together, all cooking utensils together, all spices together, etc.
- Consider Frequency of Use: Within your categories, think about how often you use specific items. Daily essentials should be the easiest to access.
- “Home” for Everything: Every single item should have a designated “home.” This prevents things from just floating around and creating new clutter.
Measure and Map Your Kitchen
You can’t fit a square peg in a round hole unless you know the dimensions! This step involves getting to know the physical dimensions of your kitchen.
- Sketch Your Layout: Draw a simple floor plan of your kitchen. Mark where windows, doors, and major appliances are.
- Measure Cabinet Interiors and Drawers: Grab a measuring tape and note the height, width, and depth of all your storage spaces. Don’t forget pantry shelves!
- Identify “Dead” Spaces: Look for corners, awkward gaps, or areas that are currently unused. These are prime candidates for clever kitchen space utilization.
- Note Outlet Locations: This is crucial for planning appliance placement.
Step 2: Define Your Kitchen Zones
Effective kitchen space utilization isn’t just about storage; it’s about workflow. Dividing your kitchen into logical zones dramatically improves efficiency and makes cooking a joy instead of a chore.
The “Work Triangle” Revisited
The traditional work triangle connects the sink, refrigerator, and stove. While still relevant, modern kitchens often benefit from expanding this concept into more detailed zones.
- Cooking Zone: Stove, oven, microwave, pots, pans, cooking utensils, spices, oils.
- Prep Zone: Counter space for chopping, mixing bowls, cutting boards, knives, measuring cups. Ideally near the sink and trash.
- Cleaning Zone: Sink, dishwasher, dish soap, sponges, dish towels, trash can, recycling bin.
- Storage Zone (Pantry): Refrigerator, pantry staples, dry goods, canned goods, rarely used small appliances.
- Serving/Eating Zone: Plates, bowls, glasses, cutlery, serving dishes, often near a dining area or island.
The goal is to store items where they are first used or most often accessed within their respective zone. This minimizes steps and improves your kitchen space utilization.
Storage Zones: Pantry, Refrigerator, Cabinets
Each type of storage serves a different purpose, and optimizing them is central to your kitchen space utilization strategy.
- Pantry: Organize by category (baking, breakfast, snacks, canned goods). Use clear containers to see contents easily. FIFO (First In, First Out) method for freshness.
- Refrigerator: Assign shelves for specific food types (dairy, produce, cooked leftovers). Use clear bins to group small items and prevent things from getting lost.
- Cabinets: Store items closest to where they are used. Bakeware near the oven, plates near the dining area, glasses near the fridge or sink.
Step 3: Implement Smart Storage Solutions
Now that you’ve assessed and zoned, it’s time to equip your kitchen with tools that enhance your kitchen space utilization. This is where creative solutions come into play!
Vertical Utilization: Go Up!
Don’t just think horizontally; look to the sky! Vertical space is often overlooked but offers immense potential for kitchen space utilization.
- Shelving: Add extra shelves inside cabinets or on unused wall space. Floating shelves can be both functional and decorative.
- Stackable Organizers: Tiered shelves and risers can double or even triple your storage capacity within cabinets for plates, mugs, or pantry items.
- Pot Racks: Ceiling-mounted or wall-mounted pot racks free up valuable cabinet space and make pots and pans easily accessible.
- Tall Pantry Units: If space allows, a tall, narrow pantry unit can provide substantial storage.
Cabinet and Drawer Organizers
These are the workhorses of efficient kitchen space utilization, turning chaos into calm.
- Drawer Dividers: Essential for cutlery, utensils, and small gadgets. Adjustable dividers are best.
- Pull-Out Shelves/Drawers: Install pull-out systems in base cabinets for easy access to pots, pans, and heavy appliances. No more rummaging in the back!
- Lazy Susans: Perfect for corner cabinets or deep pantries to bring items from the back to the front with a spin. Great for spices, oils, or cleaning supplies.
- Door-Mounted Racks: Utilize the inside of cabinet doors for spices, cutting boards, or aluminum foil/plastic wrap dispensers.
- Magazine Files: Surprisingly useful for storing cutting boards, baking sheets, or even plastic wrap boxes vertically in cabinets.
Wall Space Wonders
Your walls are not just for art; they are prime real estate for kitchen space utilization!
- Magnetic Knife Strips: Frees up drawer space and keeps knives safely stored and easily accessible.
- Pegboards: A versatile solution for hanging pots, pans, utensils, and small shelves. Customizable and easy to rearrange.
- Rail Systems: Install a rail with hooks for hanging frequently used utensils, oven mitts, or even small baskets.
- Spice Racks: Wall-mounted spice racks keep your herbs and spices visible and organized, freeing up cabinet or pantry space.
Nooks and Crannies: Don’t Forget the Hidden Gems
Even the smallest, most awkward spaces can contribute to your overall kitchen space utilization.
- Rolling Carts: A slim rolling cart can slide into narrow gaps between appliances or cabinets, perfect for extra pantry items, cleaning supplies, or even a mobile coffee station.
- Under-Sink Organizers: Use tiered pull-out bins or small drawers to manage cleaning supplies and sponges, making the most of this often-chaotic area.
- Kick Plate Drawers: If you’re undertaking a renovation, consider adding shallow drawers in the toe-kick area for cookie sheets or rarely used flat items.
Multi-Functional Items and Appliances
Every item you keep should earn its place. Multi-functional pieces are champions of kitchen space utilization.
- Nesting Bowls/Pans: Sets that fit inside each other save significant cabinet space.
- Collapsible Items: Measuring cups, colanders, and even dish drying racks that collapse flat when not in use.
- Appliance Consolidation: If possible, opt for appliances that perform multiple functions (e.g., an oven that’s also a microwave, an immersion blender with chopper attachments).
Step 4: Optimize Countertop and Appliance Placement
Countertops are precious, especially in smaller kitchens. Strategic placement and smart habits are vital for excellent kitchen space utilization here.
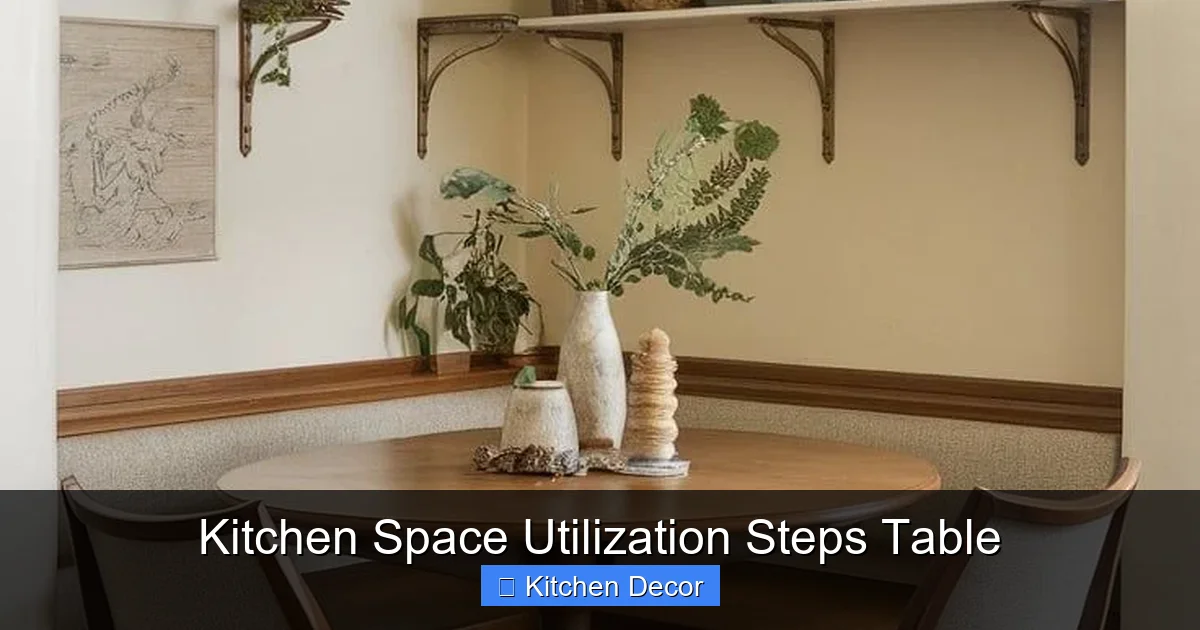
Visual guide about Kitchen Space Utilization Steps Table
Image source: i.pinimg.com
Clear the Clutter
The golden rule for countertops is: if you don’t use it daily, put it away. This simple mantra significantly improves kitchen space utilization and makes your kitchen feel larger and more inviting.
- Only Essentials: Keep only truly essential, daily-use items on the counter (e.g., coffee maker, toaster if used every day, a single knife block).
- Designated “Drop Zones”: If you have a tendency to leave mail or keys on the counter, create a small, organized “drop zone” elsewhere, like near the entry.
- Vertical Countertop Organizers: For items you must keep on the counter, use tiered trays or small caddies to group them vertically, like for oils and spices near the stove.
Strategic Appliance Placement
Think about your workflow and how often you use each appliance.
- Near Outlets: Place frequently used appliances near readily available outlets to avoid constantly plugging and unplugging.
- Cooking Zone Appliances: Keep your blender, food processor, or stand mixer (if used often) in the prep zone, possibly stored on a sturdy pull-out shelf.
- Less Used Appliances: Store slow cookers, specialty blenders, or bread makers in a pantry, a deep cabinet, or even a utility closet if space is truly at a premium.
Mobile Solutions
Sometimes, the best solution for kitchen space utilization is mobility.
- Kitchen Island on Wheels: A movable island can provide extra prep space when needed and be pushed aside or against a wall when not in use. Some even have built-in storage.
- Serving Carts: Can act as an extension of your counter during cooking and then be wheeled to the dining area for serving.
Step 5: Maintain and Adapt Your System
Implementing a great kitchen space utilization strategy is a triumph, but maintaining it is the long-term goal. Kitchens are dynamic, and your system should be too.
Regular Decluttering and Tidying
Make maintenance a habit, not a dreaded chore.
- The “One-Minute Rule”: If something takes less than a minute to put away, do it immediately.
- Daily Tidy-Up: After dinner, take 10-15 minutes to put away clean dishes, wipe down counters, and return items to their homes.
- Monthly Mini-Declutter: Once a month, quickly go through a drawer or a cabinet. Is everything still earning its spot?
Seasonal Adjustments
Your needs change with the seasons and life events.
- Seasonal Cookware: If you use specific bakeware only during holidays, store it in less accessible spots during the off-season.
- Garden Harvests: Adapt your pantry space when you have an abundance of fresh produce to store or preserve.
- Life Changes: New baby? Empty nest? Your kitchen space utilization needs will evolve. Be ready to re-evaluate and adjust your “steps table” as your life changes.
Future-Proofing Your Kitchen
Consider how your kitchen space utilization system can grow with you.
- Flexible Storage: Choose organizers that are adjustable or can be repurposed.
- Labeling: Clear labels (especially for pantry items in opaque containers) make it easy for everyone in the household to find and return items.
- Digital Inventory: For very organized cooks, a simple digital inventory can help keep track of pantry staples and reduce overbuying.
Troubleshooting Common Kitchen Space Utilization Challenges
“My Kitchen is Tiny!”
Solution: Focus heavily on vertical space (wall shelves, pot racks), door-mounted storage, and multi-functional items. Embrace minimalist principles. A rolling cart is your best friend for extra prep space or storage. Consider a small, apartment-sized dishwasher or a dish rack that folds away. Every inch counts – think small-scale and smart.
“I Have Too Much Stuff (or a Passion for Cooking Gadgets)!”
Solution: This often requires the hardest self-reflection during the decluttering phase. Implement the “one in, one out” rule for new purchases. If you buy a new gadget, an old one must go. For passion items, dedicate a specific “passion zone” – a single cabinet or shelf – and rotate items in and out, storing less-used items elsewhere (e.g., garage, basement) if absolutely necessary and accessible.
“It Feels Overwhelming – Where Do I Even Start?”
Solution: Break it down! Don’t try to tackle the entire kitchen at once. Start with one drawer, or one cabinet. Dedicate just 15-30 minutes a day. The progress, no matter how small, will build momentum and confidence. Follow this “kitchen space utilization steps table” section by section. Celebrate each small win!
Conclusion
Congratulations! You’ve just walked through your personalized “kitchen space utilization steps table” – a comprehensive framework designed to transform your kitchen from cluttered to captivating. By systematically assessing, zoning, implementing smart solutions, and maintaining your system, you’re not just organizing; you’re creating a more functional, efficient, and enjoyable heart of your home.
Remember, this isn’t a one-time fix but an ongoing journey. Your kitchen is alive, constantly evolving with your needs and habits. By adopting these steps and making regular adjustments, you’ll ensure your kitchen remains a place of inspiration, efficiency, and joy for years to come. So, roll up your sleeves, put on some music, and start enjoying the beautiful, organized kitchen you deserve!