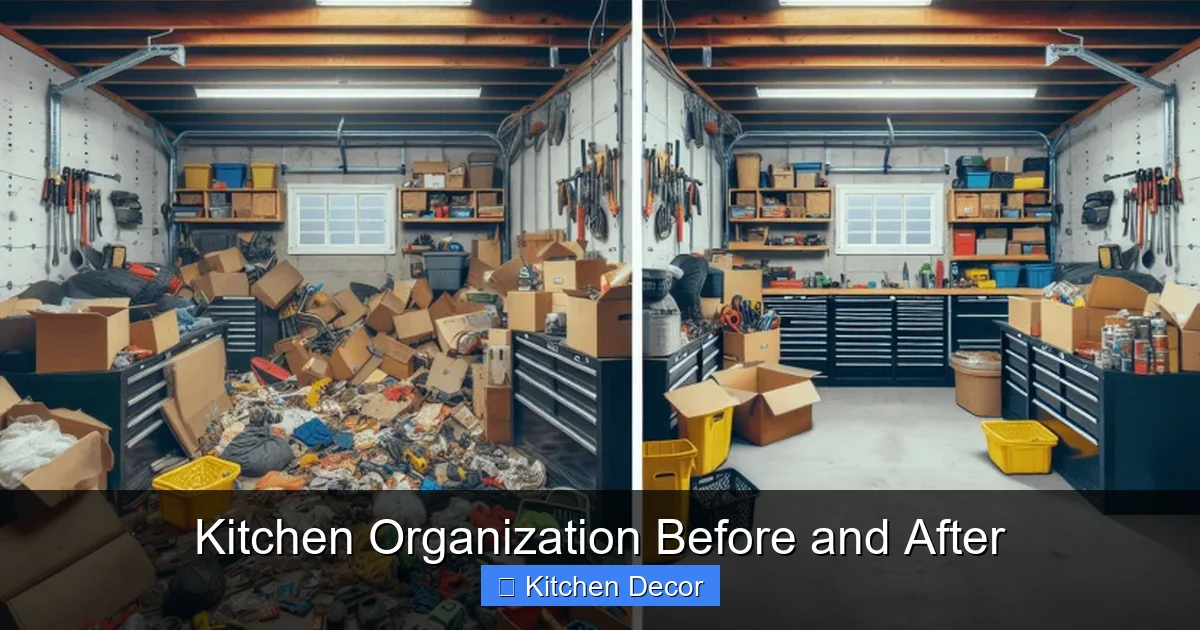
Discover how to achieve a beautifully functional kitchen with our “Kitchen Organization Before and After” guide. Learn to declutter effectively, implement smart storage solutions, and create dedicated zones for every item. Transform your space from chaotic to calm, making cooking and entertaining a joy, not a chore, with simple, actionable steps that lead to lasting change.
Kitchen Organization Before and After
Do you dream of a kitchen where every pan has its place, where ingredients are easy to find, and where cooking feels like a joy instead of a scavenger hunt? You’re not alone! A cluttered kitchen can be a huge source of stress, making meal prep a hassle and entertaining feel impossible. But imagine walking into a space that’s not only beautiful but also incredibly efficient – that’s the power of great kitchen organization.
This comprehensive guide will take you on a journey from a chaotic “before” kitchen to an inspiring “after” transformation. We’ll walk you through every step, from the crucial decluttering phase to implementing smart storage solutions and, most importantly, maintaining that organized bliss. Get ready to reclaim your kitchen and fall in love with cooking all over again!
Key Takeaways
- Start with a Vision and Declutter Ruthlessly: Before buying any organizers, envision your ideal kitchen and then empty cabinets to sort and get rid of anything unused, expired, or broken. This “before” step is crucial for true transformation.
- Zone Your Kitchen for Efficiency: Group similar items together and assign specific “zones” (e.g., a baking zone, a cooking zone, a cleaning zone). This ensures everything is within reach when you need it and creates a logical flow for your daily tasks.
- Embrace Vertical Storage and Smart Tools: Maximize every inch of space by utilizing shelf risers, stackable bins, wall-mounted solutions, and door organizers. Smart tools are key to efficient kitchen organization.
- Implement the “Everything Has a Home” Rule: For a lasting “after” state, designate a specific, logical spot for every single item. This prevents clutter from accumulating and makes tidying up quick and easy.
- Maintain with Consistent Habits: Organization isn’t a one-time event. Schedule regular mini-declutters, adopt a “one in, one out” policy, and always put items back in their designated spots to keep your kitchen beautifully organized long-term.
- Personalize and Prioritize Functionality: Choose organization solutions that fit your lifestyle and kitchen aesthetics. While beautiful, ensure the systems you put in place genuinely enhance functionality and make your kitchen easier to use.
Before the Transformation: Assessment and Planning
The secret to a successful kitchen organization project isn’t just buying pretty bins; it’s about thoughtful preparation. This “before” phase is where you set the stage for real, lasting change.
Step 1: Envision Your Ideal Kitchen
Before you even touch a single item, close your eyes and imagine your dream kitchen. How does it look? How does it feel to cook there? Think about:
- Functionality: What activities do you do most in your kitchen? Cooking, baking, entertaining, homework?
- Aesthetics: Do you prefer minimalist, colorful, rustic?
- Pain Points: What frustrates you most about your current kitchen organization? Piles of mail? Missing lids? A crowded pantry?
Having a clear vision will guide your decisions and keep you motivated. You’re not just tidying; you’re creating a space that serves you better.
Step 2: Declutter Ruthlessly
This is arguably the most critical step in any kitchen organization project. You can’t organize clutter; you can only move it around. So, take a deep breath and prepare to be honest with yourself.
- Empty Everything Out: Choose one cabinet, drawer, or even a whole counter section. Take every single item out. Yes, every single one! Place them on your counter or even a temporary table.
- Sort into Piles: As you handle each item, put it into one of four categories:
- Keep: Items you use regularly, love, and are in good condition.
- Donate/Sell: Items that are still good but you no longer use or need. Someone else can benefit!
- Trash/Recycle: Broken items, expired food, anything that belongs in the bin.
- Relocate: Items that don’t belong in the kitchen (e.g., mail, remote controls, tools).
- Be Strict: Ask yourself: “Have I used this in the last year? Is it broken? Do I have duplicates? Does it truly bring me joy or make my life easier?” If the answer is no, consider letting it go. Be especially mindful of single-use gadgets and novelty items.
The less you have, the easier kitchen organization becomes, and the more beautiful your “after” kitchen will be.
Step 3: Group Similar Items
Once you’ve decided what to keep, start grouping like items together. This step helps you see how much you truly have of certain things and naturally leads to more efficient storage. For example:
- All baking supplies together (flour, sugar, measuring cups, mixing bowls).
- All spices together.
- All pots and pans together.
- All food storage containers and their lids together.
This pre-organization helps you understand the volume of items you need to accommodate.
Step 4: Measure Your Space
Before you buy any bins, risers, or drawer dividers, measure the inside dimensions of your cabinets, drawers, pantry shelves, and even your refrigerator. Take note of height, width, and depth. This crucial step prevents wasted money on organizers that don’t fit and ensures your chosen kitchen organization solutions are perfect for your unique space.
During the Transformation: Implementing Your Plan
Now that you’ve decluttered and planned, it’s time to bring your vision to life! This is where you’ll see your kitchen organization truly start to take shape.
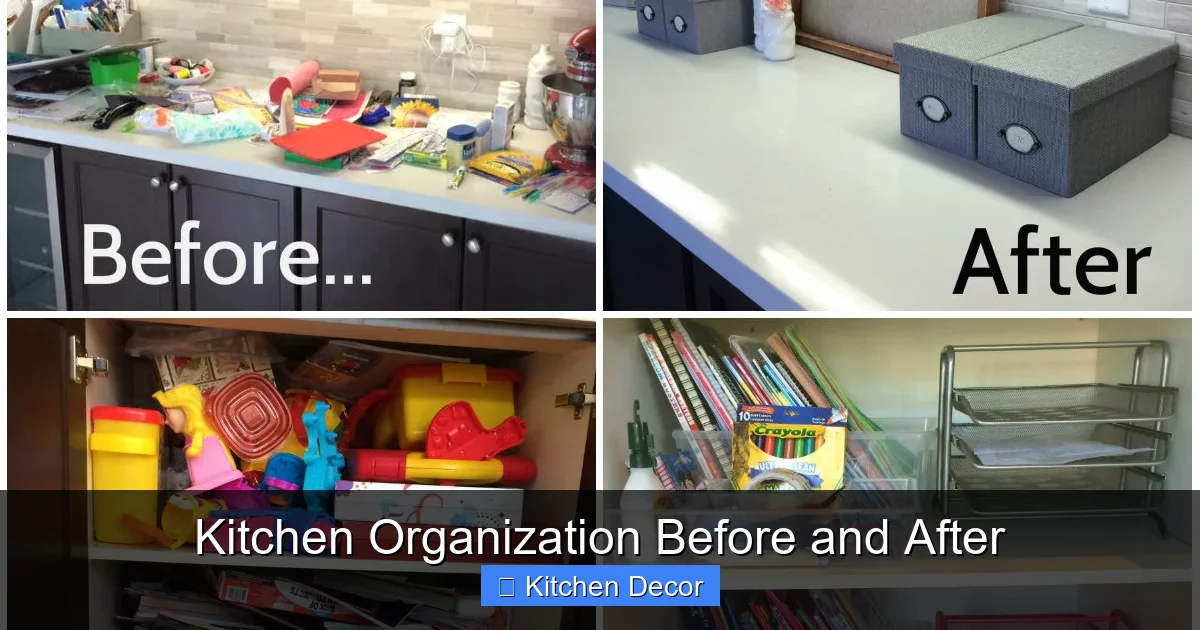
Visual guide about Kitchen Organization Before and After
Image source: nestingstory.ca
Step 5: Clean Everything Thoroughly
Before putting anything back, give your empty cabinets, drawers, and pantry a deep clean. Wipe down shelves, vacuum out crumbs, and scrub any sticky spots. Starting with a sparkling clean slate makes a huge difference psychologically and physically for your new kitchen organization system.
Step 6: Choose Your Organization Tools Wisely
This is where your measurements come in handy! Select tools that complement your kitchen’s style and, most importantly, enhance functionality. Here are some popular and effective kitchen organization tools:
Drawer Dividers
These are game-changers for cutlery, utensils, and even linens. Choose adjustable bamboo dividers for a custom fit or fixed inserts for specific items.
Shelf Risers & Expanders
Double your cabinet space! Use risers for plates, bowls, or even small appliances. Expandable shelves can maximize awkward cabinet widths, making your kitchen organization much more efficient.
Containers & Bins
Clear, airtight containers are perfect for pantry staples like pasta, rice, flour, and sugar. Bins (solid or clear) are great for grouping snacks, cleaning supplies, or smaller items in cabinets. Consistency in container style creates a cohesive, beautiful “after” look.
Wall-Mounted Solutions
Don’t forget your walls! Magnetic knife strips free up drawer space, pegboards offer customizable storage for pots and tools, and wall-mounted spice racks keep frequently used items accessible.
Lazy Susans (Turntables)
Ideal for corner cabinets, spices, oils, condiments in the pantry or fridge, or even under the sink for cleaning supplies. They make items easily accessible without rummaging.
Step 7: Zone Your Kitchen for Efficiency
One of the hallmarks of great kitchen organization is creating dedicated zones. This means storing items where you’ll use them most often, minimizing wasted steps and maximizing efficiency.
Cooking Zone
Keep pots, pans, frequently used cooking utensils, spices, and cooking oils near your stove.
Baking Zone
Store baking sheets, mixing bowls, measuring cups, flour, sugar, and baking powder/soda together, ideally in a cabinet near a clear counter space.
Food Storage Zone
Keep all food storage containers, lids, and wraps (foil, plastic wrap) in one designated cabinet or drawer, preferably near your refrigerator or a cleanup area.
Cleaning Zone
Under the sink is perfect for dish soap, sponges, garbage bags, and other cleaning supplies. Use a caddy or a Lazy Susan to keep everything tidy.
Pantry Zone
Divide your pantry into categories: breakfast items, snacks, baking, canned goods, pasta, etc. This is essential for effective kitchen organization in larger spaces.
Step 8: Implement Vertical Storage
Your kitchen isn’t just about horizontal counter space; it’s also about vertical potential! Look up and down. Utilize:
- Backs of Cabinet Doors: Install hooks for measuring cups, a small rack for lids, or even a mini spice rack.
- Above Cabinets: If aesthetic, store less-frequently used items or decorative pieces.
- Tiered Organizers: Use these for canned goods in the pantry or dishes in cabinets.
- Stackable Containers: Maximize height in your fridge and pantry.
Step 9: Utilize Drawers and Cabinets Smartly
This is where your chosen organization tools truly shine.
- Drawers:
- Use dividers for cutlery and utensils.
- Roll dish towels or linens to save space.
- Store shallow items like foil and plastic wrap in a deep drawer with a vertical organizer.
- Cabinets:
- Use shelf risers to stack plates or bowls more efficiently.
- Store pots and pans with lid organizers to keep them from cluttering.
- For deep cabinets, use pull-out shelves or bins on gliders to access items easily.
- Label Everything: Especially for opaque containers or bins. Labels make it easy to find what you need and, more importantly, put it back correctly. This is key to maintaining your kitchen organization.
Step 10: Tackle the Pantry and Refrigerator
These areas often become chaotic quickly without a system.
- Pantry:
- Decant dry goods into clear, airtight containers. This looks uniform, keeps food fresh, and allows you to see inventory at a glance.
- Group like items on shelves (e.g., all breakfast cereals together, all canned goods).
- Use clear bins for snacks, small packets, or items that might get lost.
- Store heavier, bulkier items on lower shelves.
- Refrigerator:
- Remove everything, check expiration dates, and wipe down shelves.
- Use clear bins to group similar items (e.g., all yogurts, all condiments, all lunch meats).
- Assign shelves: top for ready-to-eat foods, middle for leftovers, bottom for raw meats.
- Store produce in designated crisper drawers.
- A Lazy Susan is great for condiments and jars.
An organized pantry and fridge not only look better but also reduce food waste and save you money!
After the Transformation: Maintaining Your Organized Kitchen
Congratulations! You’ve transformed your kitchen from “before” to a beautiful, functional “after.” But the work isn’t over. The real magic of kitchen organization is in maintaining it.
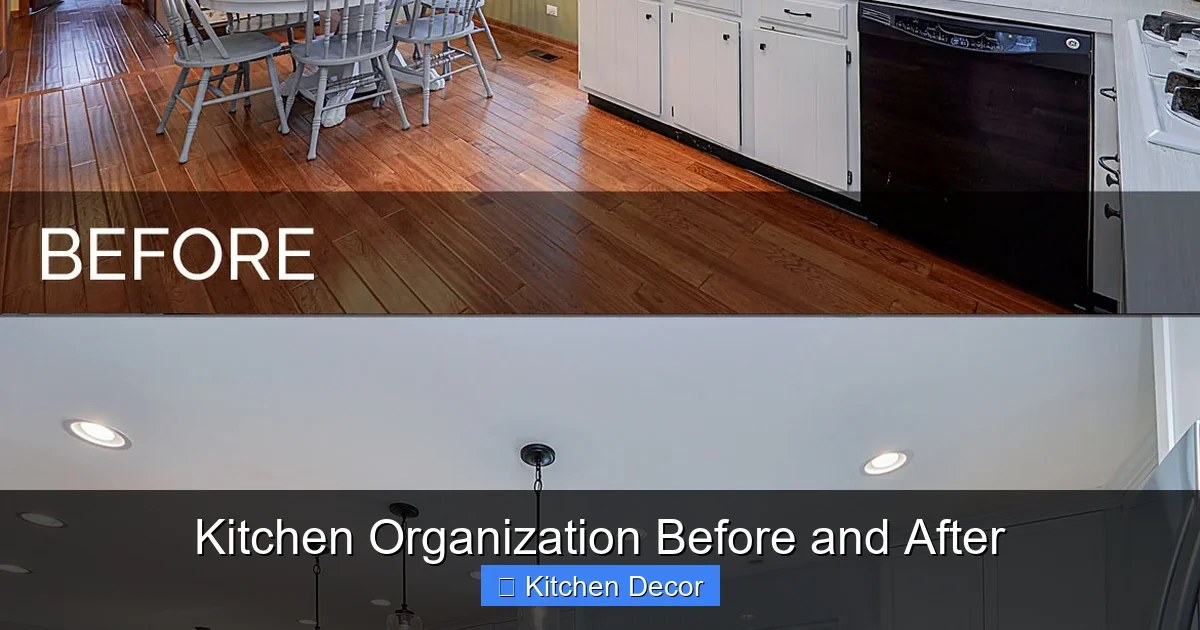
Visual guide about Kitchen Organization Before and After
Image source: sebringdesignbuild.com
Step 11: Create a Home for Everything
This is the golden rule. Every single item in your kitchen needs a designated spot. When you use something, put it back immediately after cleaning. This prevents clutter from accumulating and makes daily tidying a breeze. If an item doesn’t have a home, re-evaluate if you truly need it or if it belongs elsewhere.
Step 12: Adopt the “One In, One Out” Rule
To prevent your kitchen from reverting to its cluttered “before” state, practice the “one in, one out” rule, especially for items you tend to accumulate (e.g., coffee mugs, water bottles, small gadgets). If you buy a new item, get rid of an old one.
Step 13: Schedule Regular Mini-Declutters
Organization is not a one-time event. Make it a habit to do a quick 5-10 minute tidy-up each day. Once a week, spend 15-30 minutes doing a deeper reset – checking pantry dates, wiping down counters, and putting misplaced items back in their zones. A monthly deep dive into one drawer or cabinet can keep things from getting out of hand.
Step 14: Personalize and Beautify
Your “after” kitchen should reflect your personality and style. Add fresh flowers, a nice hand soap, or a decorative tray for frequently used items on the counter. An organized kitchen is also a beautiful kitchen, and taking pride in its appearance will motivate you to keep it that way. Don’t be afraid to adjust your kitchen organization system if something isn’t working for your lifestyle.
Troubleshooting Common Kitchen Organization Challenges
Sometimes, challenges pop up. Here’s how to handle them:
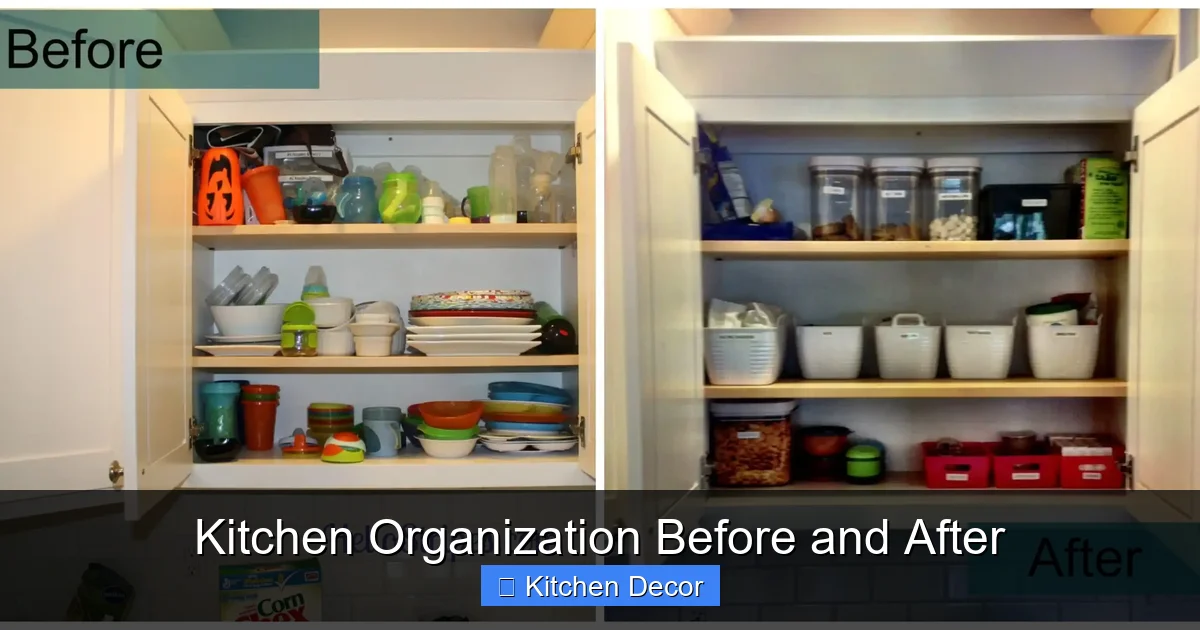
Visual guide about Kitchen Organization Before and After
Image source: i1.wp.com
- Small Kitchen Syndrome: Focus intensely on vertical storage (wall shelves, pot racks), multi-functional items (e.g., an ottoman that stores cookbooks), and minimalist decluttering. Only keep absolute essentials.
- Too Many Sentimental Items: Designate a small “memory box” outside the kitchen for items you can’t part with but don’t actively use. Keep only a select few truly cherished items on display or in a dedicated spot.
- Budget Constraints: Don’t feel pressured to buy expensive organizers. Repurpose shoe boxes (cover them with pretty paper!), use old jars for dry goods, or shop at discount stores for affordable bins and dividers. DIY solutions can be just as effective for good kitchen organization.
- Feeling Overwhelmed: Break down the project into tiny, manageable steps. Start with just one drawer. Celebrate small victories. Even a little progress contributes to the overall “after” transformation.
Conclusion
Transforming your kitchen with effective kitchen organization isn’t just about tidiness; it’s about creating a space that enhances your daily life. From the initial decluttering “before” to the implementation of smart storage “during” and the consistent maintenance “after,” every step contributes to a more peaceful, efficient, and enjoyable home. By following this guide, you’ll not only achieve a beautifully organized kitchen but also cultivate habits that support lasting order and serenity. Embrace the process, celebrate your progress, and enjoy the wonderful feeling of a truly organized kitchen!