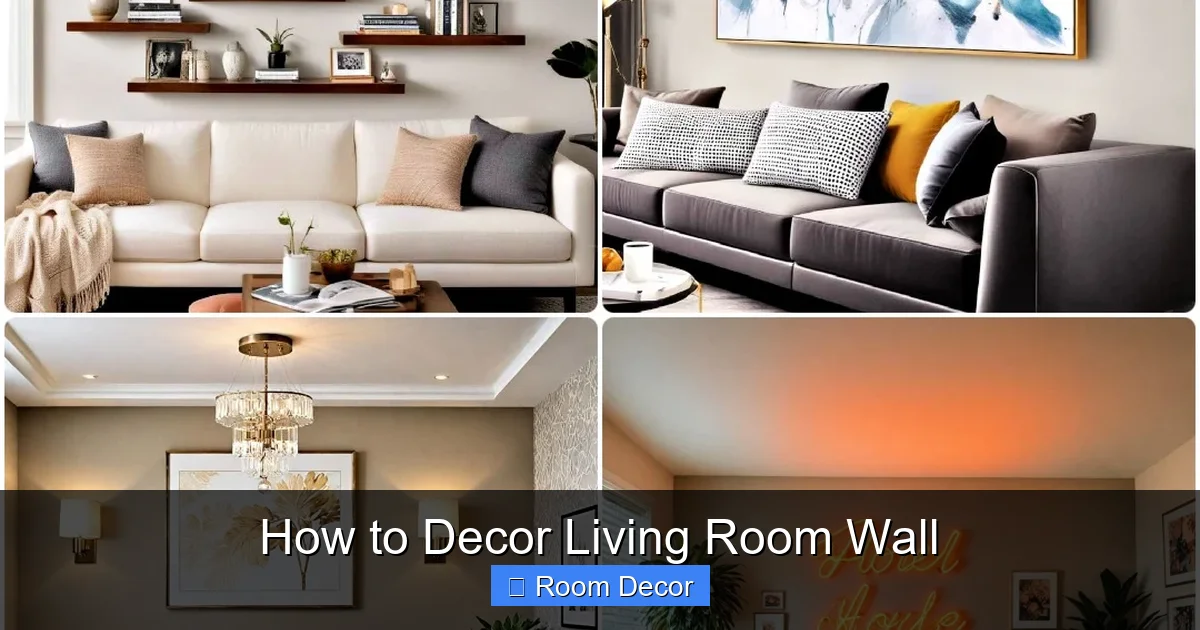
This comprehensive guide offers everything you need to know to decorate your living room wall. From defining your style to choosing the right elements and executing your vision, we’ll walk you through each step. Learn how to create a focal point, select artwork, incorporate shelves, and add lighting to make your living room wall a stunning reflection of your personality.
Hello there, fellow home decorator! Are you staring at a blank living room wall and feeling a little… uninspired? You’re not alone! A living room wall is a massive canvas, and it can feel a bit daunting to know where to start. But guess what? Decorating your living room wall can be one of the most rewarding parts of making your house feel like a home.
In this guide, we’re going to break down the process of decorating your living room wall into simple, manageable steps. We’ll cover everything from figuring out what you like to actually putting it all together. By the end of this, you’ll have a clear vision and the confidence to transform that bare wall into a stunning feature that you’ll love. Ready to dive in and make your living room wall shine? Let’s get started!
Key Takeaways
- Start with a plan: Before touching a paint brush or hanging a picture, define your desired style, color palette, and the overall mood you want to create for your living room wall.
- Consider your focal point: Identify or create a central element, like a fireplace, large artwork, or a gallery wall, to anchor your living room wall design and draw the eye.
- Artwork is key: Whether it’s paintings, prints, photographs, or tapestries, art is a powerful way to add personality, color, and texture to your living room wall.
- Shelving adds function and form: Incorporate shelves to display books, decorative objects, and plants, adding depth and practicality to your wall decor.
- Lighting makes a difference: Strategically placed lighting, like sconces, picture lights, or even string lights, can highlight your decor and enhance the ambiance of your living room wall.
- Don’t forget texture and dimension: Layering different materials, such as textiles, wood, metal, and plants, can add visual interest and warmth to your living room wall.
Step 1: Define Your Style and Vision
Before you buy a single thing or even pick up a hammer, take a moment to think about what you want your living room to *feel* like. This is the most crucial step. Your living room wall decor should reflect your personality and the overall aesthetic of your home.
Consider Your Existing Decor
Look around your living room. What colors are already present? What furniture styles do you have? Is your furniture modern, traditional, bohemian, or minimalist? Your wall decor should complement, not clash with, what you already have. For example, if you have a very modern sofa, a collection of rustic landscape paintings might feel out of place. Conversely, if your furniture is more traditional, sleek, minimalist art might not create the cozy vibe you’re after.
Gather Inspiration
This is the fun part! Browse through magazines, Pinterest, Instagram, or even design blogs. Save images that catch your eye. Don’t just look at whole rooms; pay attention to the details of the walls. What arrangements do you like? What color palettes appeal to you? Create a mood board, either physically with cutouts or digitally. This will help you see recurring themes and preferences.
Think About Functionality
Beyond just looking good, what do you need your living room wall to do? Do you need extra storage? Do you want to display family photos? Will it be the primary space for entertaining guests? Knowing the function will help guide your design choices. For instance, if you love to read, built-in bookshelves might be a great addition.
Step 2: Choose Your Focal Point
Every great room has a focal point – a spot that naturally draws the eye and anchors the design. Your living room wall is the perfect place to create one. This doesn’t mean you can’t have other decorative elements, but having a main attraction will give your wall design a sense of purpose.
Identify Existing Architectural Features
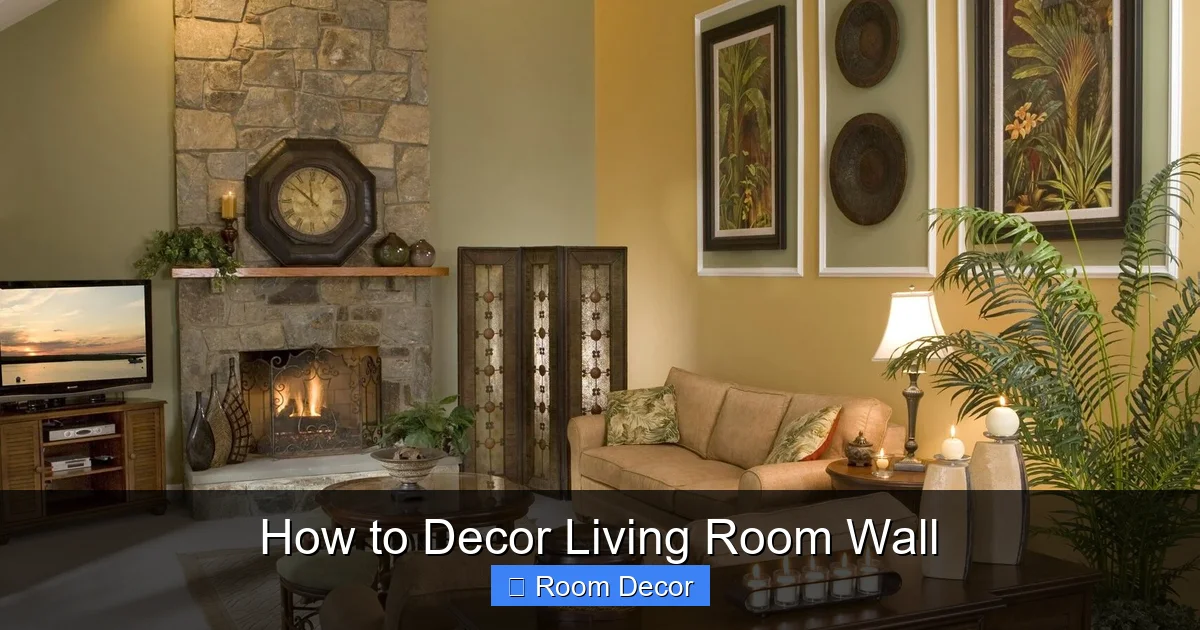
Does your living room have a fireplace, a large window with a great view, or a built-in bookshelf? These are natural focal points. You can enhance them with your decor. For a fireplace, consider arranging art above it or flanking it with decorative objects. For a window, ensure the wall decor doesn’t obstruct the view and complements the light coming in.
Visual guide about How to Decor Living Room Wall
Image source: foyr.com
Create a New Focal Point
If you don’t have a natural focal point, you can create one! This is where a large piece of statement art comes in. A massive painting, a striking photograph, or a unique wall sculpture can instantly become the star of your living room wall. Another popular option is a gallery wall, which, when arranged thoughtfully, can serve as a collective focal point.
Consider Scale and Placement
The focal point should be appropriately sized for the wall and the room. A tiny piece of art on a vast wall will get lost, while an oversized piece in a small room can feel overwhelming. Generally, your focal point should be placed at eye level or slightly above, depending on the specific item.
Step 3: Select Your Wall Decor Elements
Now for the exciting part – choosing what will actually go on your wall! There are countless options, and the best approach is often to combine several elements for a layered and visually interesting look.
Artwork: The Heart of the Wall
Artwork is perhaps the most common and effective way to decorate a living room wall. The possibilities are endless:
Visual guide about How to Decor Living Room Wall
Image source: i.pinimg.com
- Paintings and Prints: From abstract to landscapes, portraits to still life, choose pieces that resonate with you. Consider the colors, subject matter, and style.
- Photographs: Personal photos can add a deeply personal touch. You can frame a single large photo, create a grid of smaller ones, or even print them on canvas.
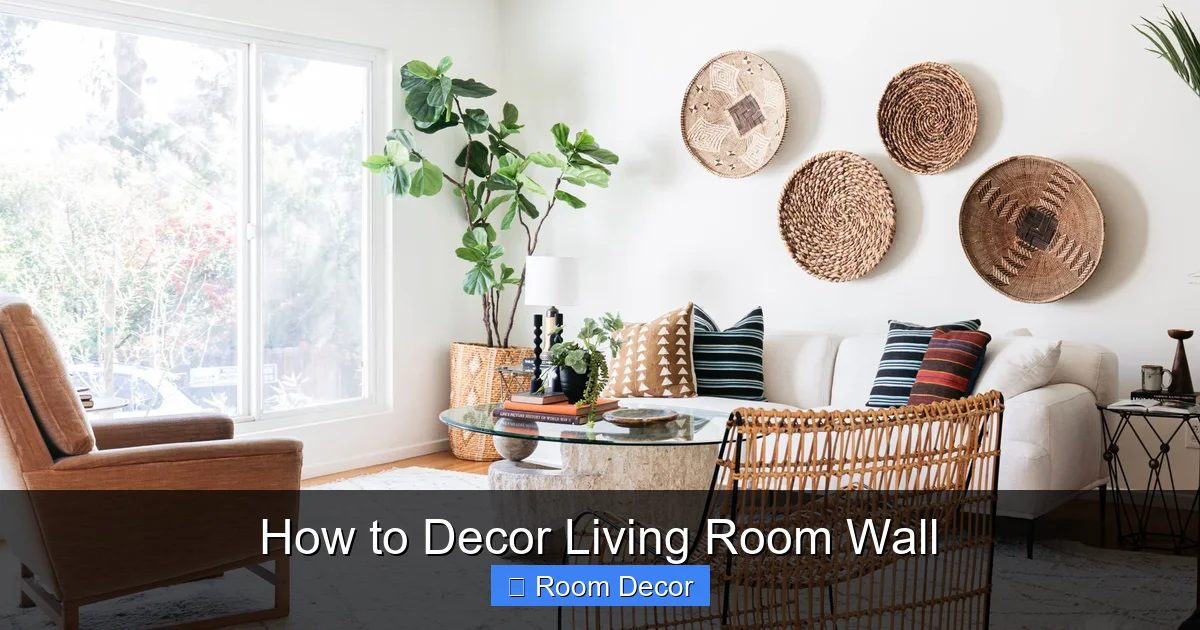
- Wall Sculptures and 3D Art: These add texture and dimension. Think metal art, wooden carvings, or even woven tapestries.
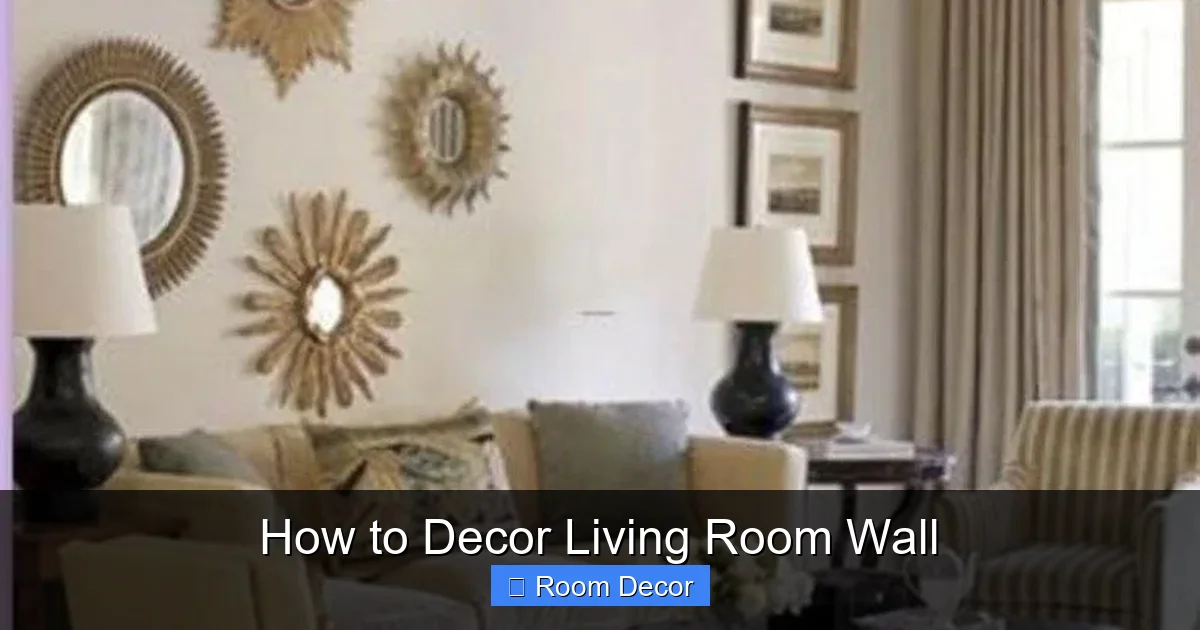
- Mirrors: Mirrors are fantastic for reflecting light and making a space feel larger. They can also be decorative in themselves, with ornate frames.
Tips for Choosing Artwork:
- Color Palette: Ensure the colors in your artwork either tie into your existing color scheme or introduce new, complementary colors.
- Size Matters: Don’t be afraid of large pieces, especially for a focal point. For gallery walls, ensure the individual pieces are balanced in size.
- Consistency vs. Variety: For a cohesive look, consider a theme or a consistent color palette. However, a curated mix can also be very dynamic.
Shelving: Function Meets Style
Shelves are incredibly versatile. They provide storage and a surface for displaying decorative items. Floating shelves offer a modern, minimalist look, while more traditional shelves can add warmth and character.
- Display Books: Arrange books by color, size, or mix them with other objects.
- Showcase Collectibles: Display souvenirs, photographs, or cherished items.
- Incorporate Plants: Greenery adds life and color to any space. Small potted plants or hanging plants look great on shelves.
Types of Shelving:
- Floating Shelves: Clean and modern, they appear to float on the wall.
- Bookcases: Larger, freestanding units that can define a space and offer ample storage.
- Floating Ledge Shelves: Narrow shelves perfect for displaying framed art or photos.
- Corner Shelves: Utilize often-wasted corner space.
Textiles and Wall Hangings
Don’t underestimate the power of fabric! Tapestries, macrame hangings, or even a beautiful rug hung on the wall can add incredible texture, warmth, and color.
- Tapestries: Large fabric pieces can cover significant wall space and introduce intricate patterns and vibrant colors.
- Macrame: These bohemian-style hangings add a handmade, textural element.
- Textured Wall Panels: Some modern options include fabric-covered panels for a soft, acoustic effect and visual interest.
Lighting: Setting the Mood
Lighting is crucial for showcasing your wall decor and creating ambiance. It’s not just about the main overhead light!
- Picture Lights: Small, directed lights placed above artwork to illuminate it.
- Wall Sconces: Mounted on the wall, these can provide ambient light and act as decorative elements themselves.
- String Lights: For a whimsical or cozy feel, draped fairy lights can add a magical touch.
- Accent Lamps: Placed on shelves or side tables, these can cast soft light upwards or outwards, highlighting specific areas.
Step 4: Plan Your Layout and Arrangement
Simply scattering items on the wall won’t create a cohesive look. Planning your arrangement is essential for a professional and pleasing result.
The Rule of Thumb for Eye Level
When hanging artwork or creating a gallery wall, the center of the artwork should generally be at eye level, which is typically around 57-60 inches from the floor. If you’re hanging pieces above furniture, ensure there’s adequate space between the furniture and the bottom of the artwork (usually 6-8 inches).
Visual guide about How to Decor Living Room Wall
Image source: i.pinimg.com
Gallery Walls: The Art of Arrangement
Gallery walls are a popular choice for covering a large wall with personality. Here’s how to approach them:
- Gather Everything First: Lay out all your chosen frames, prints, and objects on the floor in the arrangement you want. This is much easier than making adjustments on the wall.
- Use Paper Templates: Trace each item onto brown paper or newspaper, cut them out, and tape them to the wall with painter’s tape. This allows you to experiment with different layouts without making holes.
- Consider Spacing: Aim for consistent spacing between items – usually 2-3 inches. This creates a sense of unity.
- Balance: Mix different sizes and shapes, but try to balance the visual weight. Don’t put all the large items on one side.
- Start with the Largest Piece: If you have a dominant piece, place it first and arrange others around it.
The One-Piece Statement
If you’re going with a single, large piece of art or a mirror as your focal point, placement is key. Center it on the wall, or center it above a key piece of furniture like a sofa or console table. Ensure it doesn’t overwhelm the room.
Asymmetrical Arrangements
Not everything needs to be perfectly symmetrical. You can create dynamic visual interest with asymmetrical layouts, especially when combining different types of decor like shelves, art, and plants. The key is to maintain balance and visual flow, even without perfect symmetry.
Step 5: Measure, Mark, and Hang with Care
This is where your plan comes to life. Precise measuring and careful hanging are vital to prevent damage and ensure a professional finish.
Gather Your Tools
You’ll likely need:
- Measuring tape
- Pencil
- Level (a laser level is excellent for gallery walls)
- Painter’s tape
- Hammer
- Nails or picture hooks (choose the right type for your wall and the weight of your item)
- Drill (for heavier items or shelves)
- Wall anchors (essential for drywall if you’re hanging heavy items)
Measure Twice, Drill Once
This old adage is incredibly true for wall decorating. Double-check all your measurements before making any marks or holes. Use a level to ensure everything is straight.
Hanging Heavy Items
For anything heavier than a light picture frame, you’ll need to find wall studs or use appropriate wall anchors. Stud finders are your best friend here. If you’re unsure, consult a handyman or a knowledgeable friend.
Start with a Pilot Hole
For drilled holes, it’s often helpful to start with a small pilot hole to guide your screw or anchor.
Step 6: Add the Finishing Touches
Once the main elements are in place, it’s time for the details that will truly elevate your living room wall.
Incorporate Greenery
Plants add life, color, and a touch of nature. Consider hanging plants, potted plants on shelves, or even a living wall if you’re feeling adventurous.
Add Texture
Layering different textures can make your wall decor feel richer and more dynamic. Think woven baskets, textured pottery, or even upholstered wall panels if you’re going for a bold look.
Don’t Forget About the Corners
Corners are often overlooked. You can add a tall plant, a floor lamp, or a corner shelf to make these spaces feel more intentional.
Step Back and Assess
Once everything is up, take a step back. Does it feel balanced? Does it achieve the mood you envisioned? Don’t be afraid to make small adjustments. Sometimes, moving something just an inch can make a big difference.
Troubleshooting Common Decorating Challenges
Even with the best intentions, you might run into a few snags. Here are some common issues and how to solve them:
My wall looks too empty.
Solution: Add more elements. This could be smaller pieces of art, decorative objects on shelves, or even a patterned rug hung on the wall. Consider adding more layers of texture.
My wall looks too cluttered.
Solution: Declutter and simplify. Remove some items. Ensure there’s enough negative space (empty areas) between your decorative elements. For gallery walls, aim for consistent spacing. For shelves, curate what you display.
The colors don’t work together.
Solution: Introduce a unifying element. A rug with all the colors of your artwork can tie it together. Alternatively, you can repaint a piece of furniture or add throw pillows that pick up on the wall colors.
I made a hole and regret it.
Solution: Minor holes can be patched with spackle. For larger holes, you might need a drywall patch kit. Once repaired, you can repaint the area.
Conclusion
Decorating your living room wall doesn’t have to be an intimidating task. By breaking it down into simple steps – defining your style, choosing a focal point, selecting your elements, planning your layout, and hanging with care – you can create a space that is both beautiful and personal. Remember, your living room wall is a reflection of you, so have fun with it, experiment, and most importantly, enjoy the process of making your house a home. Happy decorating!