
Transform your room into an underwater wonderland with these delightful DIY jellyfish decor projects! This comprehensive guide provides clear, step-by-step instructions to create your own magical, glowing jellyfish. Perfect for adding a whimsical touch to any space, these crafts are easy to make and highly customizable.
Welcome, fellow decor enthusiasts and DIY dreamers! Are you ready to dive into a world of enchanting underwater magic right in your own home? Today, we’re embarking on a creative adventure to make your very own jellyfish room decor. Imagine delicate, glowing creatures drifting gracefully in your space, casting a soft, ethereal light. It’s not just beautiful; it’s incredibly therapeutic and adds a unique, whimsical touch that guests will adore.
This guide will walk you through everything you need to know to create these mesmerizing decorations. We’ll cover different styles, materials, and techniques, ensuring that whether you’re a seasoned crafter or a complete beginner, you’ll be able to create stunning jellyfish that bring a bit of the ocean’s magic indoors. So, let’s get started and bring these ethereal beauties to life!
Key Takeaways
- Create captivating ambiance: Learn how to craft your own ethereal jellyfish decor that adds a magical and serene glow to any room.
- Simple, accessible materials: This guide focuses on using common household items and easily sourced craft supplies, making it beginner-friendly.
- Multiple design options: Explore various techniques and materials to create different styles of jellyfish, from shimmering to translucent.
- Customizable lighting effects: Discover how to incorporate LED lights for a truly mesmerizing, glowing effect that mimics real bioluminescence.
- Fun and engaging craft activity: Perfect for individuals, families, or craft groups looking for a creative and rewarding project.
- Versatile decorative pieces: Your finished jellyfish can be hung from the ceiling, attached to walls, or even used as table centerpieces.
Why Make Jellyfish Room Decor?
Jellyfish have a natural allure. Their graceful movement and often bioluminescent glow captivate us. Recreating this magic in your room decor offers several benefits:
- Unique Ambiance: They create a serene and dreamy atmosphere, perfect for bedrooms, relaxation corners, or even themed parties.
- Conversation Starters: Handmade decor pieces are always a talking point. Your guests will be fascinated by your DIY jellyfish!
- Stress Relief: The gentle glow and flowing tentacles can be incredibly calming and help reduce stress.
- Cost-Effective Decor: You can create stunning decorations without breaking the bank, using affordable and recycled materials.
- Creative Outlet: It’s a fun and rewarding way to express your creativity and personalize your living space.
Let’s get crafting! We’ll start with a popular and relatively simple method using clear plastic cups and iridescent cellophane.
Project 1: The Shimmering Cellophane Jellyfish
This project is fantastic because it’s budget-friendly and allows for a lot of creativity with colors and shimmer.
Materials You’ll Need:
- Clear plastic cups (any size, but smaller ones like disposable tea cups work well)
- Iridescent cellophane or thin iridescent plastic fabric (various colors)
- Clear fishing line or strong thread
- Scissors
- Craft glue or hot glue gun (with adult supervision for hot glue)
- Hole punch
- Optional: Small LED lights (battery-operated, often called “fairy lights” or “button lights”)
- Optional: Glitter glue or spray adhesive and glitter
- Optional: Googly eyes (for a playful look)
Step-by-Step Instructions:
1. Prepare the Jellyfish Bell
This is the main body, or “bell,” of your jellyfish. Start by taking a clear plastic cup. If you want your jellyfish to have a more rounded top, you can trim a bit off the rim of the cup. However, for most designs, using the cup as is works perfectly.
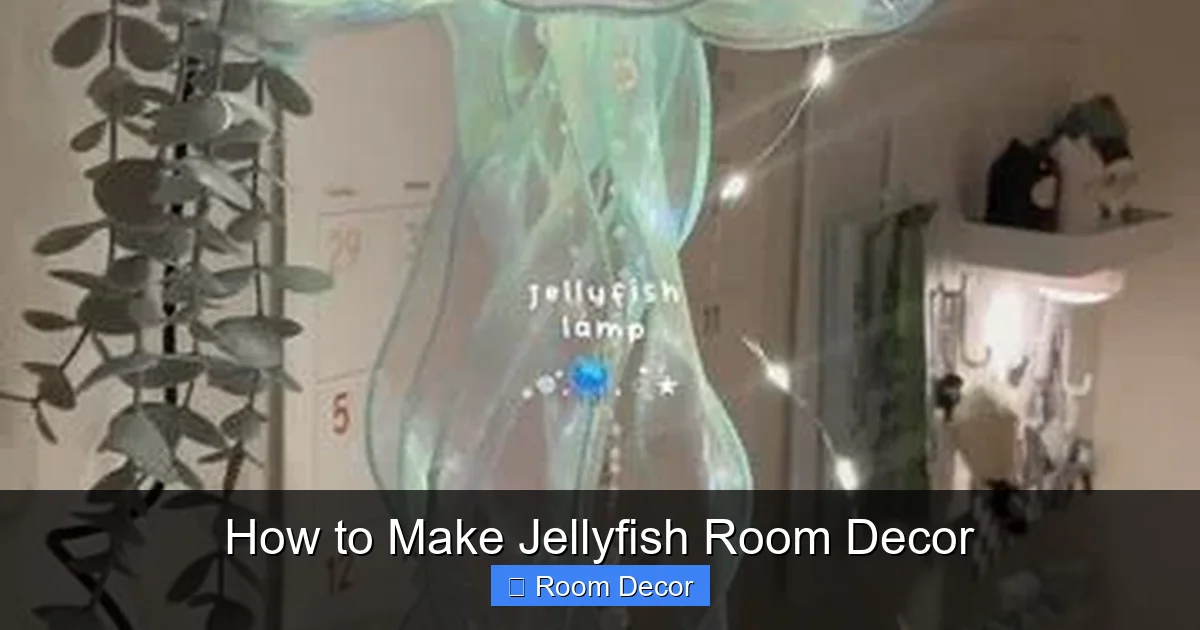
Visual guide about How to Make Jellyfish Room Decor
Image source: i.pinimg.com
2. Create the Tentacles
This is where the shimmer comes in! Take your iridescent cellophane. Cut it into long, thin strips. Aim for varying lengths to give your jellyfish a more natural, flowing look. The width of the strips can also vary; some can be thin like threads, while others can be a bit wider.
Tip: If you’re using a plastic fabric, it might be easier to cut. Cellophane can be a bit tricky, but it offers a lovely shimmer. You can layer different colors of cellophane for a more complex look.
3. Attach the Tentacles to the Bell
This step requires careful gluing. Turn your plastic cup upside down. You’ll be attaching the cellophane strips to the rim of the cup, which will become the bottom of your jellyfish bell.
- Using Craft Glue: Apply a generous line of craft glue around the inside edge of the cup’s rim. Quickly press the end of each cellophane strip into the glue. Work your way around the entire rim, overlapping strips slightly. Hold each strip in place for a few seconds until it starts to adhere.
- Using a Hot Glue Gun: (Adult supervision recommended!) Apply a thin bead of hot glue around the inside rim of the cup. Immediately press the cellophane strips into the hot glue. Hot glue sets very quickly, so work in small sections.
Let the glue dry completely. You’ll want to ensure all tentacles are securely attached before proceeding.
4. Add Extra Shimmer (Optional)
Want your jellyfish to sparkle even more? Now is the time to add glitter! You can:
- Lightly spray the cellophane tentacles with spray adhesive and then sprinkle them with fine glitter. Let dry.
- Use glitter glue to add decorative lines or dots to the tentacles.
- If you used multiple colors of cellophane, you can glue smaller, finer glitter strips over the top of thicker ones.
5. Add the Hanging Mechanism
You need a way to hang your beautiful jellyfish. Turn the cup right-side up. You’ll be attaching the fishing line to the top (the original bottom of the cup).
- Using a Hole Punch: If your cup is thin enough, you can carefully punch two holes opposite each other near the top edge of the cup. Thread a piece of fishing line through each hole and tie them together at the top to form a loop for hanging.
- Using Glue: Alternatively, you can securely glue a loop of fishing line to the center of the top of the cup. Make sure to use a strong glue and let it cure fully.
Tip: For a more secure hanging point, especially if your jellyfish will be heavier with lights, you can poke a small hole through the center of the cup’s original bottom and thread the fishing line through, tying a knot inside the cup to secure it.
6. Incorporate Lighting (Optional but Recommended!)
This is the magical step that truly brings your jellyfish to life. Small, battery-operated LED lights are perfect for this. You can:
- Carefully tuck a small string of fairy lights into the cup before attaching the tentacles, with the battery pack hanging slightly below or tucked discreetly.
- Use a single LED “button light” placed inside the cup. These are small and can be attached with a dab of glue.
- Some people also weave the fairy lights *through* the cellophane tentacles for an even more dazzling effect. This takes more time but is stunning.
Make sure the battery pack for the fairy lights is accessible if you need to turn them on/off or change batteries. You can let it hang down slightly or attach it discreetly to the top of the cup.
7. Add Eyes (Optional)
If you want your jellyfish to have a more whimsical, cartoonish look, you can glue on a few googly eyes to the outside of the cup’s bell. This is entirely optional and depends on the aesthetic you’re going for.
Project 2: The Translucent Organza Jellyfish
This style offers a more delicate and sophisticated look, with flowing fabric creating a beautiful drape.
Materials You’ll Need:
- Clear plastic bowls or small globe-shaped plastic ornaments (the kind that open in half)
- Sheer organza fabric or tulle (various colors)
- Clear fishing line or strong thread
- Scissors
- Craft glue or hot glue gun
- Embroidery hoop (small, optional)
- LED fairy lights (battery-operated)
Step-by-Step Instructions:
1. Prepare the Jellyfish Body
For this method, we’ll use the top half of a clear plastic bowl or a plastic globe ornament. If using a bowl, trim the edge for a smoother finish. If using an ornament, ensure you have one half to work with. This will be the bell of your jellyfish.

Visual guide about How to Make Jellyfish Room Decor
Image source: i.pinimg.com
2. Cut the Tentacles from Organza/Tulle
Cut long strips of organza or tulle. These fabrics are lighter and more flowy than cellophane, creating a beautiful “underwater” effect. Vary the lengths and widths of your strips for a natural look.
Tip: Organza can be a bit slippery to cut. For straighter lines, you can use pinking shears or draw a guiding line with chalk.
3. Attach Tentacles to the Body
This is similar to Project 1, but you’ll be attaching the fabric strips to the rim of your bowl half or ornament.
- Apply glue around the inside edge of the bowl rim or ornament half.
- Press the fabric strips into the glue, working your way around. Overlap them slightly.
Let the glue dry completely.
4. Add a “Canopy” or “Mantle” (Optional)
To give your jellyfish a fuller, more rounded bell shape, you can create a more intricate top. One way is to use a small embroidery hoop. Drape a larger piece of organza over the hoop and gather it underneath, securing it with glue. Then, attach this to the inside top of your bowl/ornament half. Or, simply glue multiple layers of fabric strips around the opening.
5. Install the Lighting
Carefully thread your LED fairy lights into the bell of the jellyfish. The wire can be woven through the fabric tentacles for a stunning effect. Make sure the battery pack is accessible.
6. Create the Hanging Mechanism
Similar to Project 1, create a hanging loop. You can punch holes near the top edge of the bowl/ornament or glue a strong loop of fishing line securely.
7. Final Touches
Once dry, your organza jellyfish is ready to hang and mesmerize!
Project 3: The Simple Balloon Jellyfish
This is a quick and fun option, great for kids or if you need a larger jellyfish decor piece quickly.
Materials You’ll Need:
- White or clear balloons
- White or iridescent streamers (crepe paper or plastic)
- Clear fishing line or strong thread
- Scissors
- Tape or a small amount of hot glue
- LED fairy lights (optional)
Step-by-Step Instructions:
1. Inflate the Balloon
Inflate your balloon to the desired size. You can use white balloons to mimic the natural color of many jellyfish, or clear balloons to allow the lights to shine through more easily.

Visual guide about How to Make Jellyfish Room Decor
Image source: i.ytimg.com
2. Cut the Tentacles
Cut long strips from your streamers. Again, vary the lengths and widths for a more realistic effect. You can also use different colors of streamers.
3. Attach the Tentacles
This is the easiest part! Tape or lightly glue the top end of each streamer strip to the bottom of the balloon. You can do this in a circle around the widest part of the balloon.
4. Add Lighting (Optional)
If using fairy lights, carefully insert them into the balloon *before* tying it off completely, or through a small opening if you tie it. Alternatively, let the fairy lights hang down from the knot of the balloon.
5. Create the Hanging Mechanism
Tie a loop of fishing line around the knot of the balloon for hanging.
Note: Balloon jellyfish are best for temporary decor as balloons deflate over time.
Tips for Success and Variations
* Color Play: Don’t be afraid to mix and match colors! Ombre effects, rainbow tentacles, or monochromatic schemes can all look stunning.
* Material Mixing: Combine different materials for unique textures. Think about adding fine mesh fabric with cellophane, or ribbons with tulle.
* Size Matters: Create jellyfish of various sizes to add depth and interest to your display. Grouping them together can create a breathtaking effect.
* Placement: Hang them from the ceiling at different heights. You can also attach them to walls using clear command hooks for a “floating” effect.
* Lighting is Key: For the most magical impact, always consider adding LED lights. They transform simple crafts into something extraordinary.
* Iridescent Paint: For a subtle shimmer on plastic cups or bowls, try using iridescent spray paint or even clear nail polish with iridescent glitter mixed in.
* Flow Control: If your tentacles aren’t flowing as nicely as you’d like, you can gently curl them around a pencil or dowel rod.
Troubleshooting Common Issues
* Tentacles Falling Off:
* Solution: Ensure you’re using enough glue and that it’s fully dry. For hot glue, work in small sections so it doesn’t cool before you attach the tentacles. If using craft glue, you might need to hold each strip for a few seconds longer. Consider reinforcing with a small dot of hot glue on the inside of the cup once the craft glue is dry.
* Lights Not Working:
* Solution: Check the batteries! Make sure they are inserted correctly and have enough charge. If using fairy lights, ensure the wire isn’t kinked or broken.
* Jellyfish Look Too Stiff:
* Solution: Use lighter, more flowing materials like organza, chiffon, or thinner cellophane. Vary the lengths and widths of your tentacles. Gently curl them around a pencil for a softer drape.
* Hanging Point is Weak:
* Solution: For heavier jellyfish (especially with lights), reinforce the hanging point. Punching holes and tying a knot inside the cup is generally more secure than relying solely on glue.
Conclusion
And there you have it! You’ve learned how to create your own magical jellyfish room decor. These projects are not only beautiful additions to your living space but also incredibly fun and rewarding to make. Whether you choose the shimmering cellophane, the delicate organza, or the quick balloon version, the result is a unique piece of art that brings a touch of the ocean’s wonder into your home.
Remember, the best part about DIY is the freedom to personalize. Experiment with colors, materials, and embellishments to make your jellyfish truly your own. So, gather your supplies, get creative, and let your room transform into an enchanting underwater paradise. Happy crafting!