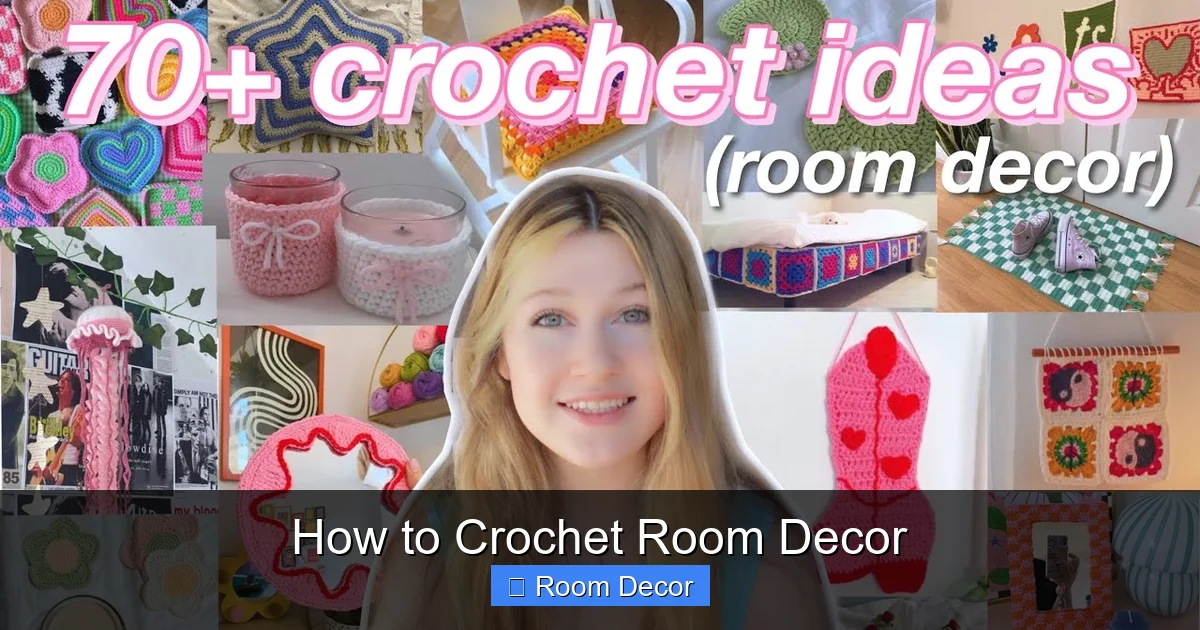
Discover the joy of creating unique and cozy crochet room decor. This comprehensive guide will walk you through everything you need to know, from selecting materials to mastering essential stitches and completing inspiring projects. You’ll learn how to transform yarn into stunning wall hangings, pillows, baskets, and more, adding a personal touch to any living space. Get ready to unleash your creativity and beautify your home with handmade crochet treasures!
Are you looking for a way to add a personal, cozy, and stylish touch to your living space? Crochet room decor is an incredibly rewarding craft that allows you to transform simple yarn into beautiful, functional, and artistic pieces for your home. Whether you’re a seasoned crocheter or just starting, this comprehensive guide will equip you with the knowledge and inspiration to create stunning crochet decor items that reflect your unique style.
In this guide, you’ll learn:
- The essential materials you’ll need.
- The fundamental crochet stitches that form the building blocks of most projects.
- How to read crochet patterns.
- Step-by-step instructions for several popular crochet room decor projects.
- Tips for customizing your creations and troubleshooting common issues.
Get ready to embark on a creative journey and fill your home with the warmth and beauty of handmade crochet.
Key Takeaways
- Start with the Basics: Understanding yarn types, hook sizes, and fundamental crochet stitches (like the chain stitch, single crochet, and double crochet) is crucial for successful room decor projects.
- Choose the Right Materials: The weight and fiber content of your yarn, along with the appropriate hook size, significantly impact the drape, texture, and overall look of your crochet decor.
- Follow Patterns for Success: Learning to read crochet patterns is essential for accurately creating various decor items, ensuring consistent sizing and stitch placement.
- Explore Diverse Projects: Crochet room decor encompasses a wide range of items, from simple coasters and placemats to intricate wall hangings, cozy blankets, and functional baskets.
- Troubleshoot Common Issues: Be prepared to address potential problems like uneven tension, missed stitches, or yarn tangles, and learn simple solutions to keep your projects on track.
- Add Personal Touches: Experiment with color combinations, textures, and embellishments to infuse your crochet decor with your unique style and personality.
Getting Started: Your Crochet Room Decor Toolkit
Before you dive into making beautiful things, it’s important to gather the right tools and understand your materials. The right choices here will make your crochet experience smoother and the end result more impressive.
Choosing Your Yarn
Yarn is the heart of any crochet project. For room decor, you have a lot of flexibility. Consider the following:
- Fiber Content: Cotton is a popular choice for decor items like coasters, placemats, and baskets because it’s durable, absorbent, and holds its shape well. Acrylic yarn is also versatile, affordable, and comes in a vast array of colors. Wool can add warmth and texture but may require more delicate care. Blends offer a combination of properties.
- Yarn Weight: Yarn is categorized by weight, from lace-weight (very thin) to jumbo (very thick). For most room decor, medium-weight (worsted) or bulky yarns are excellent choices. They create substantial fabric quickly and have a lovely drape. Thicker yarns work up faster, which is great for larger projects like blankets or rugs.
- Color and Texture: Think about your existing decor. Do you want bold pops of color, subtle neutrals, or interesting textures? Chunky yarns or those with a boucle or chenille texture can add a luxurious feel.
Selecting Your Crochet Hook
Your crochet hook is your main tool. The size of your hook is crucial because it works in tandem with your yarn weight to create the fabric’s density and drape.
- Hook Material: Hooks come in aluminum, bamboo, wood, and plastic. Aluminum hooks are smooth and fast. Bamboo and wood hooks offer more grip, which can be helpful for preventing stitches from slipping, especially for beginners.
- Hook Size: The yarn label usually suggests a hook size range. Generally, a larger hook with a thicker yarn will create a looser fabric, while a smaller hook with the same yarn will result in a tighter fabric. For room decor, you often want a fabric that is sturdy but not stiff. Experimenting is key! For example, a worsted weight yarn might pair well with a 5mm to 6mm hook.
Essential Accessories
While yarn and hooks are primary, a few other items will make your life easier:
- Scissors: A sharp pair of scissors for cutting yarn.
- Yarn Needle: A blunt-tipped tapestry needle with a large eye for weaving in ends.
- Stitch Markers: Useful for marking specific stitches or the beginning of rounds, especially in projects worked in the round or with intricate stitch patterns.
- Measuring Tape: Essential for ensuring your projects are the correct size.
Mastering the Basics: Essential Crochet Stitches
Most crochet room decor projects are built upon a few fundamental stitches. Once you’ve got these down, a world of creativity opens up.
Visual guide about How to Crochet Room Decor
Image source: cycrochet.com
The Chain Stitch (ch)
This is the very first stitch you learn and forms the foundation for many projects.
- Make a slip knot on your hook.
- Yarn over (YO) – wrap the yarn from back to front over your hook.
- Pull the YO through the loop on your hook. This is one chain stitch.
- Repeat steps 2 and 3 to create a foundation chain of the desired length.
The Single Crochet (sc)
A dense and sturdy stitch, perfect for items that need to hold their shape.
- Insert your hook into the designated stitch or chain space.
- YO and pull up a loop (you’ll have two loops on your hook).
- YO again and pull through both loops on your hook. This is one single crochet stitch.
The Double Crochet (dc)
A taller stitch that creates a more open fabric and works up faster than single crochet.
- YO.
- Insert your hook into the designated stitch or chain space.
- YO and pull up a loop (you’ll have three loops on your hook).
- YO and pull through the first two loops on your hook (two loops remain).
- YO again and pull through the remaining two loops on your hook. This is one double crochet stitch.
Reading Crochet Patterns
Crochet patterns are written in a specific language using abbreviations. Here are some common ones you’ll encounter:
- ch: chain
- st(s): stitch(es)
- sl st: slip stitch
- sc: single crochet
- dc: double crochet
- hdc: half double crochet
- tr: treble crochet
- sk: skip
- rep: repeat
- Rnd/Row: Round/Row
- […] or (* *): indicates a section to be repeated
Patterns will typically start with the yarn and hook size, gauge (how many stitches and rows fit into a specific measurement, important for sizing), and then the stitch counts and instructions for each row or round. Don’t be intimidated! Start with simple patterns that clearly define each step.
Project Spotlight: Crochet Room Decor Ideas
Now for the fun part! Let’s explore some popular crochet room decor projects you can create.
Visual guide about How to Crochet Room Decor
Image source: i.ytimg.com
1. The Cozy Crochet Pillow Cover
A handmade pillow cover instantly adds personality and comfort to your sofa or bed. This project is a great way to practice working in rows and seaming.
Materials:
- Worsted weight yarn in your desired color(s)
- Crochet hook appropriate for your yarn (e.g., 5mm or 5.5mm)
- Pillow form or an old pillow
- Yarn needle
Instructions:
- Determine Size: Measure your pillow form. You’ll want to crochet two identical rectangles that, when joined, will fit snugly around the pillow. Add a few inches to your measurements for ease of fit.
- Start the First Panel: Chain a length that matches the width of your pillow cover. Work in your chosen stitch (single crochet is excellent for durability) back and forth in rows until the rectangle reaches the desired height.
- Create the Second Panel: Repeat step 2 to make an identical panel.
- Join the Panels: Lay the two panels on top of each other, right sides facing out. Using a yarn needle and yarn, or by single crocheting through both layers around three sides, seam the two panels together. Leave one short side open.
- Insert Pillow: Slide your pillow form into the opening.
- Close the Opening: Finish seaming the remaining open side. You can also add buttons or a zipper for a more professional finish if you’re feeling adventurous.
Tip:
Play with different stitch patterns or color blocks to make your pillow cover unique. A simple border can also add a lovely finishing touch.
2. The Rustic Crochet Basket
Crochet baskets are both stylish and functional, perfect for storing blankets, toys, magazines, or anything else you need to keep tidy.
Materials:
- Bulky or super bulky yarn (cotton or a cotton blend works well for structure)
- Large crochet hook (e.g., 8mm or 10mm)
- Optional: Fabric lining
Instructions:
- The Base: Start by crocheting a flat circle. This is typically done by working in rounds, increasing stitches evenly in each round to keep it flat. A common starting point is to work in single crochet.
- Rnd 1: Make a magic ring, ch 1, work 6 sc in the ring, join with a sl st to the first sc.
- Rnd 2: Ch 1, 2 sc in each st around, join. (12 sts)
- Rnd 3: Ch 1, *1 sc in next st, 2 sc in next st*, rep around, join. (18 sts)
- Continue increasing in this manner (e.g., Rnd 4: *1 sc in next 2 sts, 2 sc in next st*). The number of single crochets between increases will grow by one each round.
- The Sides: Once your base is the desired diameter, you’ll start working the sides of the basket. To do this, you’ll stop increasing and work a single crochet (or your chosen stitch) into each stitch around for several rounds. This will cause the fabric to turn upwards, forming the basket walls.
- Finishing: Continue working in rounds until the basket is the desired height. You can add a final decorative border or simply fasten off. Weave in all your ends securely.
Tip:
For extra sturdiness, you can crochet two identical circles and seam them together for the base, or add a fabric lining to the inside of the basket.
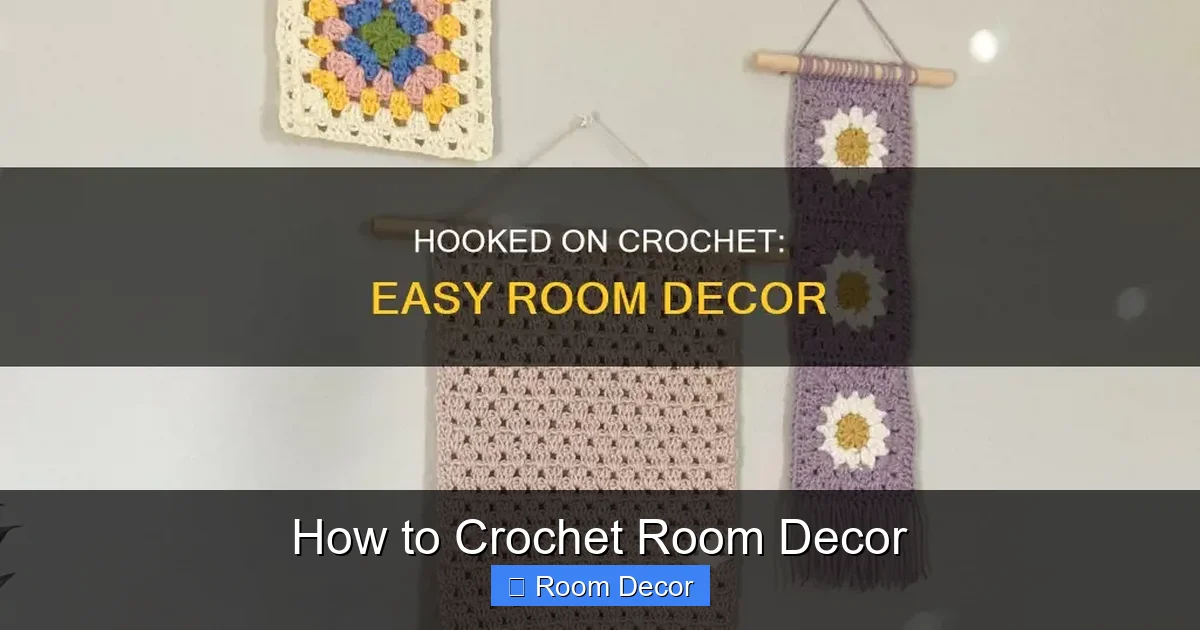
3. The Elegant Crochet Wall Hanging
Bring texture and bohemian flair to your walls with a beautiful crochet wall hanging. This project is a fantastic way to experiment with different stitches and patterns.
Materials:
- Yarn of your choice (worsted weight cotton or acrylic are good starting points)
- Crochet hook appropriate for your yarn
- A dowel rod or branch (cut to your desired width)
- Scissors
- Yarn needle
Instructions:
- Design Your Pattern: Decide on the shape and stitch pattern for your wall hanging. You could do a simple rectangle, a triangle, or something more intricate with lace patterns.
- Crochet the Main Piece: Start by crocheting a foundation chain. Work your chosen stitch pattern back and forth in rows until the piece is the desired length. For a dramatic effect, try a stitch like the granny stitch or a fan stitch.
- Attach to Dowel: Once your crochet piece is complete, lay it flat. Center your dowel rod or branch along the top edge. You can either:
- Fold the top edge of the crochet piece over the dowel and stitch it in place with a yarn needle.
- Use a yarn needle to loop yarn through the top row of stitches and around the dowel, creating a hanging loop.
- Add Fringe (Optional): Cut strands of yarn to your desired length. Fold each strand in half and use a crochet hook to pull the folded loop through a stitch along the bottom edge of your wall hanging, then pull the tails through the loop to create a knot. Distribute fringe evenly along the bottom.
- Hang It Up: Tie a length of yarn or string to either end of the dowel rod to create a hanger.
Tip:
Use a variety of yarn textures and colors for a more dynamic wall hanging. Experiment with fringe lengths and placement for different visual effects.
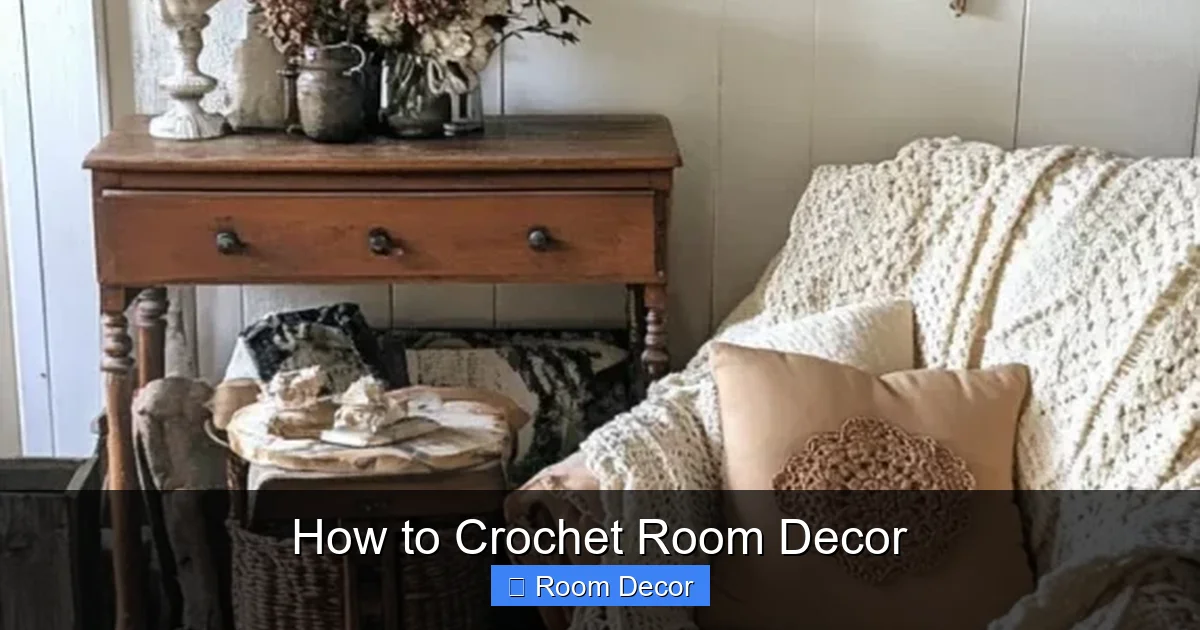
Practical Tips for Success
As you crochet your room decor, keep these tips in mind:
Visual guide about How to Crochet Room Decor
Image source: pixelorbyt.com
- Consistent Tension: Try to maintain an even tension throughout your work. This means not holding your yarn too tightly or too loosely. Consistent tension leads to an even fabric and makes your projects look more polished.
- Weave in Ends Neatly: Before you finish a project, take the time to weave in all loose yarn ends securely using a yarn needle. This prevents your work from unraveling and gives it a professional finish.
- Blocking: For some projects, especially those with delicate lace patterns or a need for precise dimensions (like placemats or doilies), blocking can make a significant difference. Blocking involves wetting or steaming your finished piece and pinning it into shape to dry.
- Combine Stitches: Don’t be afraid to mix and match stitches within a single project to add visual interest and texture.
- Embellish: Consider adding beads, buttons, embroidery, or tassels to your crochet decor to give it an extra personal touch.
Troubleshooting Common Crochet Issues
Even experienced crocheters encounter hiccups. Here’s how to handle some common problems:
- Uneven Edges: This often happens if you miss a stitch at the beginning or end of a row. Carefully count your stitches at the end of each row and refer back to your pattern.
- Holes in Your Work: If you’re seeing unwanted gaps, you might be accidentally making too many stitches in one place, or your tension might be too loose for the stitch pattern.
- Yarn Tangling: Keep your yarn in a yarn bowl or bag to prevent it from rolling away and becoming tangled. If it does get tangled, gently work it out rather than forcing it.
- Project Not the Right Size: Double-check your gauge swatch. If your swatch is too small, try a larger hook. If it’s too big, try a smaller hook. Ensure you’re following the pattern exactly.
Conclusion
Crocheting room decor is a fantastic way to express your creativity, add warmth and personality to your living space, and create beautiful, functional items that you can be proud of. With a basic understanding of stitches, the right materials, and a willingness to experiment, you can transform yarn into stunning wall hangings, cozy pillows, practical baskets, and so much more.
Don’t be afraid to start simple and gradually work your way up to more complex patterns. The most important thing is to enjoy the process of making something beautiful with your own hands. So, grab your hook, pick out some lovely yarn, and get ready to crochet your way to a more beautiful and personalized home!