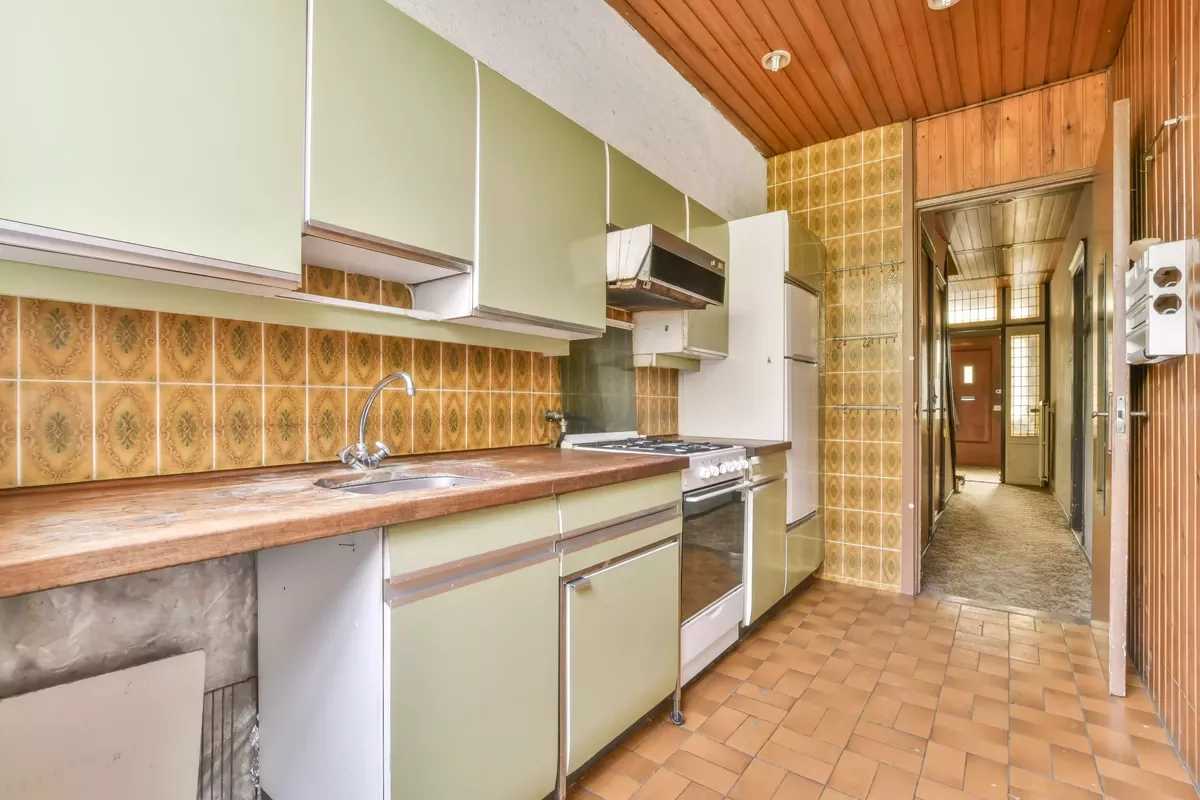
Looking to breathe new life into your tired kitchen cabinets without the hassle of replacing them? Refaçant your cabinets is a cost-effective way to give your kitchen a fresh, updated look with minimal mess. A simple refacing process involves sanding, painting or veneering, and updating hardware, transforming your space quickly and affordably.
Refacing old kitchen cabinets is an easy DIY project that can dramatically improve your kitchen’s appearance. By cleaning, repairing, and updating doors, drawers, and hardware, you can achieve a stunning new look without the expense of full replacements. With a few tools and some patience, your kitchen can look brand-new in no time.
If your cabinets are structurally sound but outdated, refacing is the perfect solution. Start by cleaning and repairing any damage, then choose new finishes or veneers to update their appearance. Replacing knobs and handles can also add a modern touch. Whether you’re on a tight budget or just want a quick refresh, refacing gives your kitchen a fresh, stylish look with less effort than a full remodel.

How to Reface Old Kitchen Cabinets for a Fresh Look
Understanding Cabinet Refacing
Refacing kitchen cabinets is a smart way to give your kitchen a new appearance without the need to replace entire cabinets. It involves updating the visible parts, such as doors and drawer fronts, while keeping the existing box structures intact. This process saves money and time while still providing a significant style boost.
Reasons to Reface Cabinets Instead of Replacing
Refacing is ideal for cabinets that are sturdy but look outdated. It is more affordable than complete replacement, reducing demolition mess. Additionally, refacing can often be completed in just a few days, minimizing kitchen downtime. It is also environmentally friendly, as it reduces waste by reusing existing cabinet frames.
Preparation Before Reface
Before starting the refacing process, thorough preparation is essential for a smooth project. Inspect your cabinets for damage or structural issues. Clean all surfaces thoroughly to remove grease, dirt, and grime. Remove hardware like hinges, handles, and knobs and store them safely for reuse or replacement.
Choosing the Right Materials for Reface
Selecting the best materials is crucial for a professional-looking finish. Options include:
- Laminate: durable, available in many colors and textures.
- Veneer: offers wood-like appearance at a lower cost.
- Painted surfaces: provide a modern, clean look, especially with high-quality paint.
Consider your budget, style preferences, and the level of durability needed for your kitchen when choosing materials.
Measuring and Planning Your Reface Project
Accurate measurements prevent costly mistakes. Measure cabinet doors, drawer fronts, and surfaces carefully, noting dimensions for each piece. Create a detailed plan, including a list of materials and tools needed. Visualizing your new look with sketches or digital mock-ups can help you make confident decisions.
Removing Old Doors and Drawer Fronts
Start by unscrewing hinges and hardware to detach doors and drawer fronts. Use a screwdriver to carefully remove these parts without damaging the cabinet boxes. Store all hardware in labeled containers for easy reinstallation or future updates.
Repairing and Cleaning Cabinets
Examine cabinet boxes for damage like loose frames or warped wood. Repair or reinforce areas as needed with wood filler or braces. Clean all surfaces with a degreaser or mild soap to ensure a smooth bonding surface for new finishes.
Options for Updating Cabinet Hardware
Hardware greatly influences the overall look. Consider replacing outdated handles and knobs with modern styles. For a cohesive aesthetic, select hardware that complements your new cabinet finish and kitchen decor. Using new hardware can also improve functionality and ease of use.
Applying Surface Finish to Cabinets
Choose the surface finish that best matches your style:
- Paint: offers endless color options and a smooth, uniform look.
- Varnish or clear sealant: enhances natural wood grain and adds protection.
- Laminates or Contact Paper: simple DIY options for quick updates.
For painted finishes, sand surfaces lightly before applying primer and paint to ensure adhesion. Follow manufacturer instructions for drying times and number of coats.
Installing New Doors and Drawer Fronts
Once the finish is dry, reattach hinges to the cabinet frames. Hang the new doors and secure drawer fronts, adjusting hinges as needed for proper alignment. Use a level to ensure even placement and avoid crooked panels.
Fine-Tuning and Final Touches
After installation, check all doors and drawers for smooth operation. Tighten or realign hardware if necessary. Add accessories like new handles, knobs, or decorative hardware to personalize the cabinets further. Consider adding trim or molding for a polished look.
Tips for Success in Cabinet Refacing
- Take precise measurements to prevent fitting issues.
- Choose high-quality materials for longevity.
- Keep workspace clean and organized to avoid accidents.
- Patience during painting and drying ensures a durable finish.
- Don’t rush the process; taking your time results in a professional appearance.
Cost Considerations for Refacing Cabinets
Refacing is generally more budget-friendly than full cabinet replacement. Expenses include materials, hardware, tools, and possible professional assistance if needed. You can save more by doing most of the work yourself, especially with simple materials like paint or contact paper.
DIY vs. Hiring a Professional
While DIY refacing is feasible for many homeowners, complex projects may benefit from professional help. Experts ensure precise measurements, flawless finishes, and quick completion. Decide based on your skill level, time availability, and desired outcome.
Related Topics
Explore additional options such as:
- Painting kitchen cabinets for a quick update.
- Installing new hardware to modernize your kitchen.
- Choosing the right countertops and backsplashes to complement your refreshed cabinets.
Refacing old kitchen cabinets can significantly change your space without the expense of full replacement. By carefully selecting materials, planning your steps, and executing with patience, you can achieve a beautiful, fresh look that transforms your kitchen into a space you’ll love.
Cabinet Refacing so much cheaper than new cabinets.
Frequently Asked Questions
What are the essential tools and materials needed to reface kitchen cabinets effectively?
To reface kitchen cabinets successfully, gather tools such as a screwdriver, paint scraper, sanding block or electric sander, painter’s tape, and a paintbrush or roller. You’ll also need materials like new cabinet veneer or laminate, wood filler, primer, paint or stain, and finishing hardware like new handles or knobs. Ensuring you have all these beforehand helps streamline the project and achieve a polished look.
How can I prepare my cabinets before applying new veneer or paint?
Begin by removing all cabinet doors, drawers, and hardware to access the surfaces thoroughly. Clean the surfaces with a degreaser to eliminate grease and grime. Sand the cabinets smoothly to remove the old finish and create a good bonding surface for the new veneer or paint. Fill any holes or dents with wood filler, then sand again after it dries. Wipe away dust with a damp cloth before proceeding.
What techniques should I use to ensure a smooth and even finish on refoamed cabinets?
Apply primer evenly over the surface and allow it to dry completely. Use a high-quality brush or roller to apply paint or stain in thin, consistent coats. Sand lightly between coats to eliminate brush strokes and achieve a sleek finish. Take your time to work in well-ventilated areas and finish with a protective top coat for durability. Properly prepared and carefully applied layers result in a professional appearance.
How can I update the hardware to complement the new cabinet appearance?
Choose hardware that matches your new style and enhances the overall look of your kitchen. Remove the old handles or knobs and measure the existing holes to select hardware with compatible screw spacing. Install the new hardware securely, ensuring each piece is aligned properly. Regularly cleaning or polishing the hardware keeps your cabinets looking fresh and inviting.
What are some common mistakes to avoid during the cabinet refacing process?
Avoid rushing the preparation steps, as skipping sanding or cleaning can lead to uneven finishes or peeling paint. Don’t apply thick coats of paint or veneer, which can cause drips or bubbles. Make sure to use quality materials suited for kitchen environments to prevent damage from moisture or heat. Taking your time and paying attention to detail ensures a professional and long-lasting result.
Final Thoughts
In conclusion, how to reface old kitchen cabinets for a fresh look involves simple steps like cleaning, sanding, and applying paint or veneer. Choose new hardware to add modernity and style effortlessly. This process refreshes your space without the expense of full cabinet replacement. By following these tips, you ensure your kitchen looks inviting and updated with minimal effort.