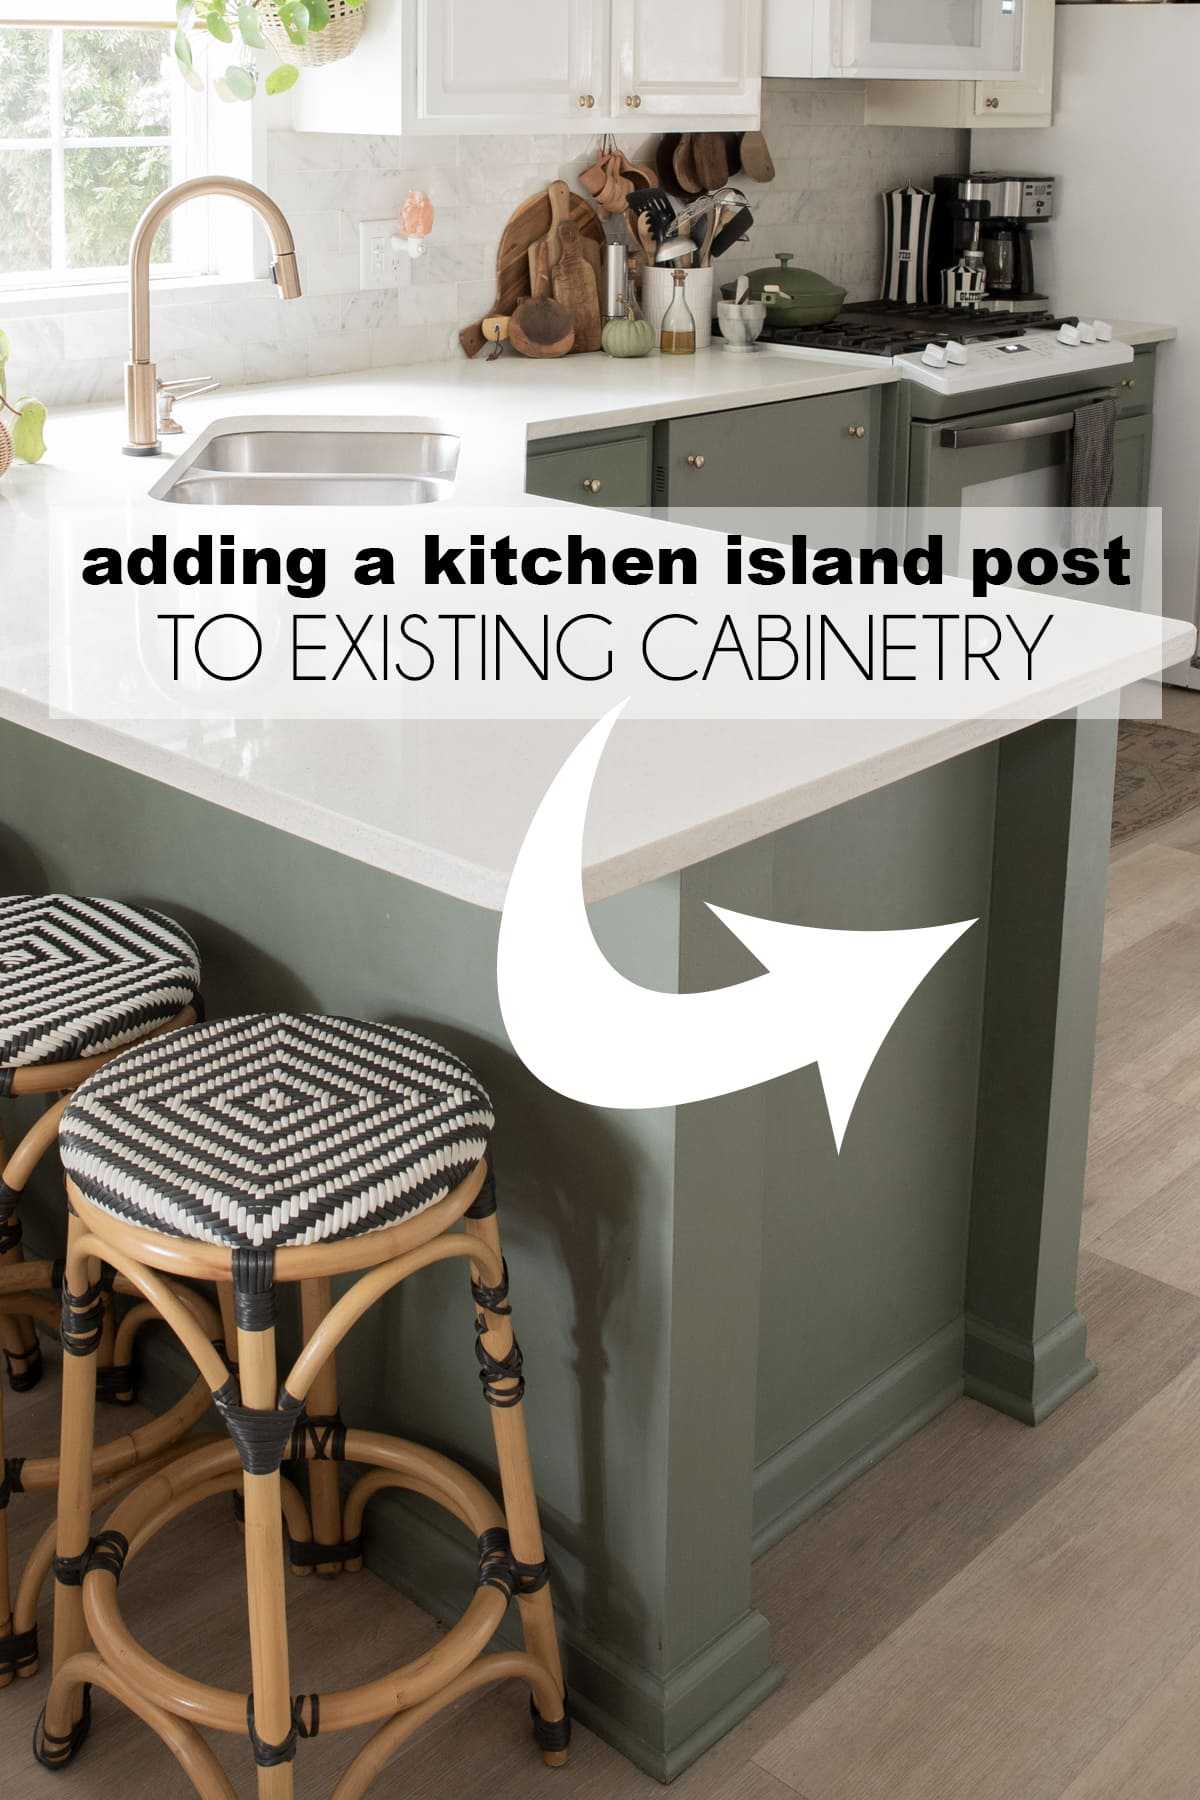
Start by measuring your space carefully and planning the layout to ensure the island fits comfortably without crowding. Consider your kitchen’s workflow, style, and existing appliances to determine the best size and placement. Once you’ve mapped out these details, select a design that complements your current decor, and prioritize proper plumbing, electrical, and ventilation needs. With thoughtful planning and precise execution, adding an island can transform your kitchen into a more functional and stylish space.
Adding an island to an existing kitchen requires measuring your area, planning the layout, and coordinating with professionals for plumbing and electrical work. Choosing a design that harmonizes with your current kitchen style will ensure a seamless integration. Proper planning makes the upgrade smooth and enhances your kitchen’s overall functionality.
Thinking about transforming your kitchen into a more efficient and inviting space? An island can be the perfect solution, offering extra prep area, storage, and a gathering spot for family and friends. The key to success is careful planning: start with measuring your available space, then sketch out a layout that fits comfortably into your existing design. Consider the flow of movement and work zones to ensure the island enhances your kitchen’s functionality. Don’t forget to address technical details like plumbing and electrical connections early on, so installation goes smoothly. With these steps, you can create a stunning, practical centerpiece that elevates your entire cooking and entertaining experience.

How to add an island to an existing kitchen layout
Understanding the Benefits of Adding a Kitchen Island
Adding an island can make your kitchen more functional and stylish. It offers extra counter space for cooking and prep work. An island also creates a central gathering spot for family and friends.
Assessing the Space Available for Your Kitchen Island
Before planning your island, measure your kitchen carefully. This helps determine the size and placement of the island. Remember, there should be enough space for easy movement around it.
Measuring Your Kitchen Dimensions
Use a tape measure to find the length and width of your kitchen. Note where existing appliances, cabinets, and doors are located. This information is essential for planning a suitable island size.
Maintaining Clear Pathways
Ensure at least 36 to 48 inches of clearance around the island. This allows for comfortable movement and easy access to appliances or cabinets. Think about foot traffic and work zones when positioning your island.
Designing Your Kitchen Island
Deciding on the style and features of your island is an exciting step. Think about how it will fit with your current kitchen design and your needs.
Choosing the Size and Shape
Select a size that complements your space. Rectangular islands are common, but you could also opt for L-shaped or rounded designs. The shape should maximize utility without crowding your kitchen.
Configuring the Layout and Features
Decide if your island will include seating, storage, or appliances. Integrating features like a sink or cooktop can add convenience. Include electrical outlets for small appliances or charging stations.
Visualizing the Design
Use design software or graph paper to sketch your ideas. Pinpoint where the island will sit and how it will look within your existing layout. This visualization helps avoid surprises during installation.
Planning Structural and Electrical Requirements
Adding an island often involves more than just placing furniture. Structural changes may be necessary to support new features.
Assessing Floor Strength and Support
Ensure your floor can bear the weight of the island, especially if it includes heavy materials like stone or concrete. Reinforcement may be needed under the floor.
Addressing Plumbing Needs
If your island will contain a sink, plan for water supply and drainage lines. These lines should be accessible and properly installed to prevent leaks.
Electrical Installations
Add outlets to power appliances and gadgets. Hire a licensed electrician to ensure wiring complies with safety standards. Proper placement guarantees easy access and reduces clutter.
Selecting Materials and Finishes
Choose durable, easy-to-clean materials for your island surface and cabinetry.
Countertop Materials
Popular options include granite, quartz, butcher block, or laminate. Each offers different benefits in terms of durability, style, and maintenance.
Cabinet and Storage Choices
Opt for cabinets that match your existing kitchen or choose contrasting styles for a focal point. Include drawers, shelves, or open racks to maximize storage.
Designing for Cohesion
Coordinate colors and finishes with your existing kitchen design. Consistency creates a seamless look that enhances your space’s overall aesthetic.
Installing Your Kitchen Island
Proper installation ensures your island is safe, stable, and functional.
Preparing the Floor and Support Structures
Clear the area and reinforce the floor if necessary. Build or position a sturdy base or cabinetry to support the weight of the countertop.
Plumbing and Electrical Hook-Ups
Coordinate with professionals to install water lines, drainage, and electrical wiring. Proper installation prevents issues like leaks or electrical hazards.
Assembling and Securing the Island
Follow your design plan to assemble the components. Secure the island to the floor if necessary for added stability and safety.
Finishing Touches and Final Adjustments
Adding accessories and making adjustments enhances the usability of your island.
Adding Seating and Lighting
Incorporate stools for seating and install adequate lighting over the island area. Consider pendant lights or under-cabinet lighting for ambiance and visibility.
Organizing Storage and Accessories
Utilize drawers and shelves for utensils, pots, and pans. Add hooks or magnetic strips for easy access to frequently used tools.
Ensuring Safety and Functionality
Double-check all electrical outlets and plumbing connections. Verify that the island is stable and balanced, with no wobbling or uneven surfaces.
Additional Tips for a Successful Island Addition
Here are some extra ideas to make your island a perfect fit for your kitchen.
- Plan for future needs by choosing versatile features.
- Involve family members in designing to meet everyone’s needs.
- Choose timeless styles to ensure your island remains attractive over time.
- Consult professionals for complex plumbing or electrical tasks.
- Use high-quality materials for longevity and value.
Related Topics to Consider
Explore options like integrating a wine rack, a breakfast bar, or additional storage compartments. Think about incorporating smart technology for a modern touch. Additionally, consider how your island’s design impacts overall kitchen flow and aesthetics.
Adding an island to your existing kitchen can be straightforward with careful planning and proper execution. Measuring your space accurately, choosing the right design, and professional installation are key steps. With these details in mind, your new kitchen island will become a practical and attractive centerpiece for your home.
Do NOT Make this Mistake with your Kitchen Island
Frequently Asked Questions
What are the initial steps to plan adding an island to my current kitchen layout?
Start by measuring your kitchen space accurately to ensure the island fits comfortably without crowding. Consider the work triangle — the relationship between the sink, stove, and refrigerator — and plan the island’s placement to enhance functionality. Sketch a layout to visualize the new arrangement and identify potential obstacles like doorways or windows. This planning phase helps you determine the appropriate size and style of the island suited to your needs.
How do I ensure proper electrical and plumbing connections when installing an island?
Before installing the island, consult a professional to evaluate existing electrical and plumbing systems. Determine if you need additional outlets or water access, and plan extensions accordingly. During installation, ensure that electrical wiring is safely routed to power outlets on the island, and plumbing lines are properly connected for sinks if you include one. Proper planning and professional help guarantee safety and code compliance.
What factors influence the choice of materials and design for my kitchen island?
Select materials that match your overall kitchen aesthetic and stand up to daily use. For surfaces, consider durability, maintenance, and style—granite, quartz, or wood are popular options. The design should complement your existing cabinetry while providing enough workspace or storage. Additionally, think about integrating features like seating or storage to maximize functionality based on your household’s needs.
Are there specific clearance requirements I should consider around the island?
Yes, maintaining at least 36 to 48 inches of clearance around the island ensures easy movement and workflow within the kitchen. The space allows multiple people to work comfortably without obstruction. Consider the placement of appliances, cabinets, and pathways to optimize circulation and usability in your kitchen layout.
What are some common challenges faced during island installation, and how can I address them?
Challenges include limited space, electrical or plumbing modifications, and structural support requirements. To address space constraints, carefully plan the size and placement of the island. For utilities, hire professionals to ensure safe wiring and piping connections. If structural support is needed, reinforce the floor or add supports to bear the weight of the island. Proper planning and expert assistance help prevent issues during installation.
Final Thoughts
Adding an island to an existing kitchen layout involves assessing space, measuring carefully, and planning layout adjustments. Ensure there’s enough room for movement around the island without crowding the workspace. Choose a design that complements your current style and meets your functional needs.
Start by marking the desired location and calculating clearance space for comfortable use. Consider plumbing and electrical needs early in the planning process.
In conclusion, how to add an island to an existing kitchen layout depends on proper planning, measuring, and choosing a design that fits your space. With careful execution, your new island will enhance both style and functionality.