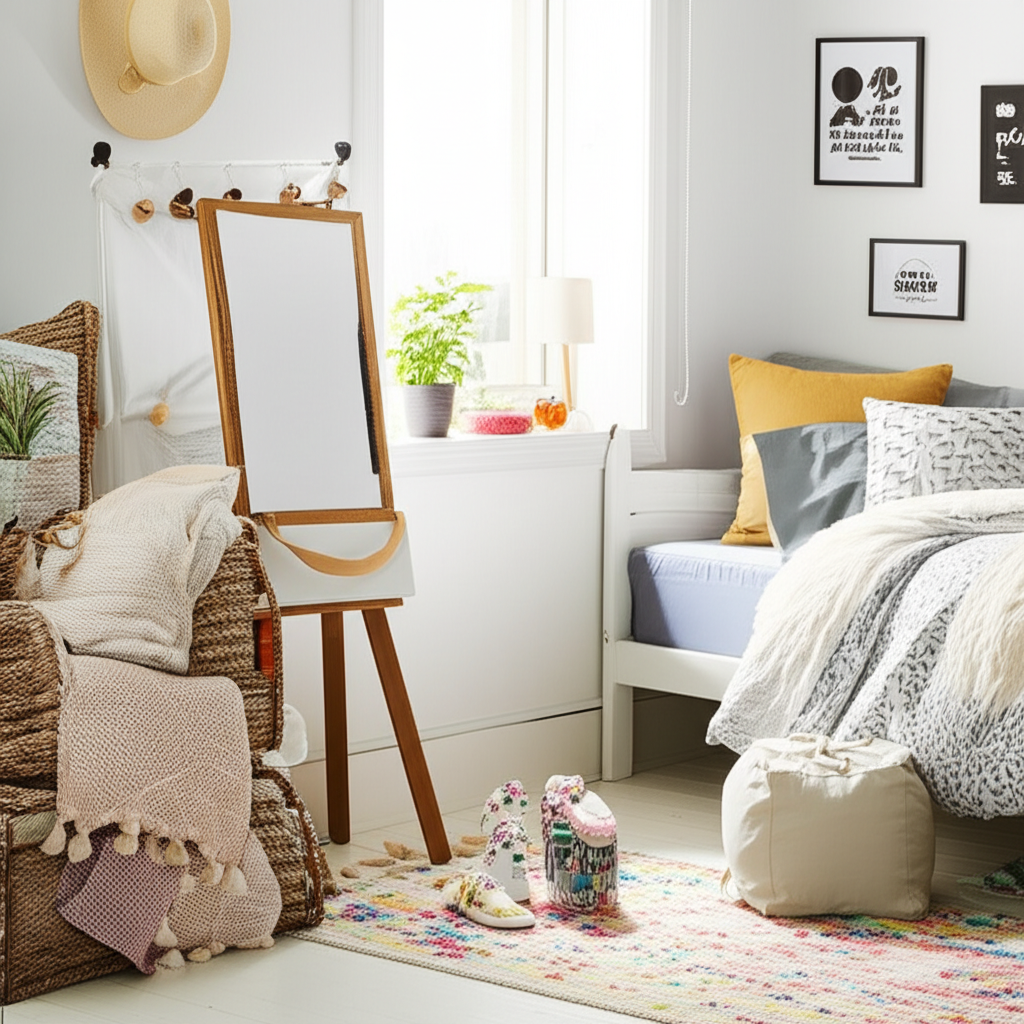
Transform your teen’s room into a personalized haven with these 7 amazing DIY decor ideas! From cool wall art to clever storage, discover budget-friendly, easy-to-follow projects that reflect their unique style and personality.
Does your teen’s room feel a little… blah? Are they craving a space that truly feels like them, but you’re not sure where to start without breaking the bank? It’s totally normal to feel a bit stuck when it comes to teen room decor. They’re growing and changing, and their style evolves just as fast!
The good news is, you don’t need a huge budget or professional design skills to create a space they’ll love. We’re going to dive into some super fun and easy DIY projects that are perfect for teens. Get ready to unleash some creativity and make their room awesome!
Let’s explore 7 amazing DIY room decor ideas that are simple, stylish, and totally teen-approved. You’ll find inspiration for every taste, from minimalist cool to bohemian vibes.
7 Amazing DIY Room Decor Ideas for Teens
Creating a teen’s room is all about tapping into their personality. These DIY projects are designed to be adaptable, allowing teens to put their own spin on them. Let’s get crafting!
1. Photo Collage Wall Art
A photo collage wall is a fantastic way for teens to display memories, friends, and favorite things. It’s personal, trendy, and incredibly easy to customize. They can use photos of family, pets, vacations, or even their favorite artists and movie stars.
What You’ll Need:
- Printed photos (various sizes and orientations)
- Washi tape, command strips, or small nails
- Optional: String lights, small decorative clips, postcards, magazine cutouts
How to Do It:
- Gather Photos: Have your teen select their favorite photos. You can print these at home or at a local photo center. Mix up sizes for visual interest.
- Plan the Layout: Before sticking anything, lay out the photos on the floor or a large table to get an idea of the arrangement. They can go for a structured grid or a more free-form, scattered look.
- Attach to the Wall: Use washi tape for a temporary, colorful option. For a more permanent display, use removable command strips (great for renters!) or small picture nails.
- Add Embellishments (Optional): Drape string lights around the photos, or use small clips to attach postcards, ticket stubs, or inspiring quotes. This adds extra texture and personality.
This project is perfect for expressing individual style and can be updated easily as new memories are made. It’s a great way to make a blank wall feel instantly more personal and vibrant.
2. Upcycled Furniture Makeover
Giving an old piece of furniture a new lease on life is not only eco-friendly but also a fantastic way to create a unique statement piece. Think old dressers, nightstands, or even chairs.
What You’ll Need:
- Old furniture piece
- Sandpaper (medium and fine grit)
- Primer
- Paint (chalk paint, acrylic, or spray paint)
- Paintbrushes or rollers
- New hardware (knobs, pulls)
- Optional: Stencils, contact paper, decorative decoupage paper
How to Do It:
- Clean and Prep: Thoroughly clean the furniture. Lightly sand the surface to create a smooth base for painting. Wipe away any dust.
- Prime: Apply a coat of primer. This helps the paint adhere better and ensures a more even color. Let it dry completely.
- Paint: Apply your chosen paint color. You might need 2-3 coats for full coverage. Let each coat dry thoroughly between applications.
- Add Details (Optional): Once the base paint is dry, use stencils to add patterns, or line the drawers with decorative contact paper for a pop of surprise.
- Install New Hardware: Swap out old knobs or pulls for something more modern or fun. This small change can make a big difference!
This DIY project teaches valuable skills and results in a one-of-a-kind piece that reflects your teen’s taste. It’s a sustainable and stylish choice. For more on furniture refurbishment, check out resources from This Old House.
3. DIY Geometric Wall Art
Geometric patterns are modern, stylish, and surprisingly simple to create. This can add a sophisticated yet playful touch to a teen’s room.
What You’ll Need:
- Canvas or plywood board
- Painter’s tape
- Paint (various colors)
- Paintbrushes
- Optional: Ruler, pencil
How to Do It:
- Plan Your Design: Decide on a geometric pattern. This could be simple triangles, chevrons, or more complex intersecting shapes. Sketch it out on paper first.
- Tape It Off: Use painter’s tape to create the lines of your geometric design on the canvas or board. Ensure the tape is pressed down firmly to prevent paint bleeding.
- Paint the Sections: Fill in the taped-off sections with your chosen paint colors. You can use contrasting colors or a more subtle palette.
- Remove Tape: While the paint is still slightly wet (or completely dry, depending on the paint type – test a small area first!), carefully peel off the painter’s tape. This reveals the crisp geometric lines.
- Touch Up (If Needed): If any paint has bled under the tape, you can carefully touch it up with a small brush.
This project allows for endless color combinations and pattern variations. It’s a great way to add a focal point to the room that feels custom-made. If you’re inspired by modern design, explore more creative ideas in our guide to 10 Best Kitchen Decor Themes.
4. String Light Garland with Photos or Art
Fairy lights or string lights instantly add a cozy, magical ambiance to any room. Combining them with photos or artwork makes them even more special.
What You’ll Need:
- String lights (battery-operated or plug-in)
- Small clothespins or decorative clips
- Photos, postcards, small prints, or lightweight artwork
- Optional: Command hooks or small nails to hang the lights
How to Do It:
- Hang the Lights: Drape the string lights along a wall, around a headboard, or across a shelf. Use command hooks or small nails to secure them.
- Clip on Items: Use the small clothespins or clips to attach photos, artwork, or inspiring quotes onto the string lights. Space them out evenly or cluster them together.
- Arrange and Admire: Adjust the placement of the items until you’re happy with the look. Turn on the lights in the evening for a warm, inviting glow.
This is a super simple and effective way to personalize a teen’s space. It’s easy to change out the photos or art, keeping the decor fresh and relevant to their current interests.
5. DIY Headboard Project
A headboard can be a major design element in a bedroom. Creating one yourself can save money and add a custom touch.
Option A: Upholstered Headboard (Beginner Friendly)
This involves covering a piece of plywood or foam board with fabric.
What You’ll Need:
- Plywood or sturdy foam board (cut to desired headboard size)
- Batting (optional, for extra cushioning)
- Fabric of choice
- Staple gun and staples
- Scissors
- Measuring tape
How to Do It:
- Cut Your Base: Cut your plywood or foam board to the desired headboard shape and size. Sand any rough edges on plywood.
- Layer Materials: Lay your fabric right-side down on a clean floor. Place the batting (if using) on top, then your headboard base.
- Wrap and Staple: Pull the fabric tightly over the edges of the board and staple it securely to the back. Work your way around, ensuring the fabric is smooth and taut. Fold corners neatly like wrapping a gift.
- Attach to Bed Frame or Wall: You can attach this directly to the wall using heavy-duty command strips or picture hanging hardware, or attach it to the bed frame using brackets (depending on your bed frame and headboard design).
Option B: Pallet Wood Headboard (Rustic Charm)
This offers a more rustic, industrial look.
What You’ll Need:
- Wooden pallets (ensure they are heat-treated, marked ‘HT’, not chemically treated)
- Saw
- Sandpaper
- Wood screws
- Drill
- Optional: Wood stain or paint
How to Do It:
- Disassemble Pallets: Carefully take apart the pallet wood, removing nails. Websites like Family Handyman offer tips on this.
- Cut to Size: Cut the pallet planks to the desired length for your headboard.
- Sand and Finish: Sand all the pieces smooth to remove splinters. You can leave the wood natural, stain it, or paint it.
- Assemble: Arrange the planks side-by-side on a flat surface. Use wood screws to attach them to horizontal support beams on the back, creating a solid panel.
- Mount: Secure the finished headboard to the wall behind the bed using appropriate hardware.
A DIY headboard is a fantastic way to make a big impact in a bedroom, turning a simple bed into a cozy sanctuary. For those who love rustic styles, our post on 10 Wooden Kitchen Decor Ideas offers similar natural charm for other spaces.
6. DIY Custom Throw Pillows
Throw pillows add comfort and color to a bed or seating area. Making custom ones allows teens to choose exact colors, patterns, and even add their own designs.
What You’ll Need:
- Plain pillow covers or fabric to make them
- Fabric paint, markers, or iron-on transfers
- Existing throw pillows for stuffing (or pillow inserts)
- Optional: Stencils, embroidery floss, patches
How to Do It:
- Prepare the Pillow Cover: If using plain covers, slide them over a pillow form or a piece of cardboard to keep the fabric flat and prevent paint from bleeding through.
- Decorate: Let your teen get creative! They can paint designs, write favorite quotes, use stencils for patterns, or iron on pre-made transfers or patches.
- Let Dry: Allow any paint or ink to dry completely according to the product instructions.
- Stuff the Pillow: Once dry, insert the pillow form into the cover and zip or close it up.
This is a great project for adding personality and comfort. Teens can even coordinate pillows with other decor elements in their room.
7. Floating Shelves with a Personal Touch
Floating shelves are sleek, modern, and perfect for displaying decor, books, or collections without taking up floor space. They’re also surprisingly easy to install.
What You’ll Need:
- Floating shelf kit (available at hardware stores)
- Stud finder
- Level
- Drill and appropriate drill bits
- Pencil
- Optional: Paint or stain to match room decor
How to Do It:
- Choose Location: Decide where you want to place the shelves. Use a stud finder to locate wall studs, which provide the strongest support.
- Mark Placement: Hold the shelf bracket against the wall at your desired height. Use a level to ensure it’s straight, and mark the screw hole locations with a pencil.
- Drill Holes: Drill pilot holes at your marked spots. If you are not drilling into studs, you will need to use appropriate wall anchors as recommended by the shelf kit instructions. Refer to guides from reputable sources like the Popular Mechanics for detailed installation tips.
- Install Bracket: Screw the floating shelf bracket securely into the wall.
- Slide on Shelf: Slide the shelf onto the bracket. Some kits may have small set screws on the underside to secure the shelf.
- Decorate: Once installed, teens can arrange their favorite books, photos, plants, or decorative items on the shelves.
Floating shelves offer a clean, minimalist look and are incredibly versatile for displaying personal items. They make the room feel more organized and visually appealing. If you’re drawn to minimalist design, check out our tips for 10 Minimal Decor Ideas for Kitchens to extend the aesthetic throughout your home.
DIY Room Decor Budget & Time Investment Table
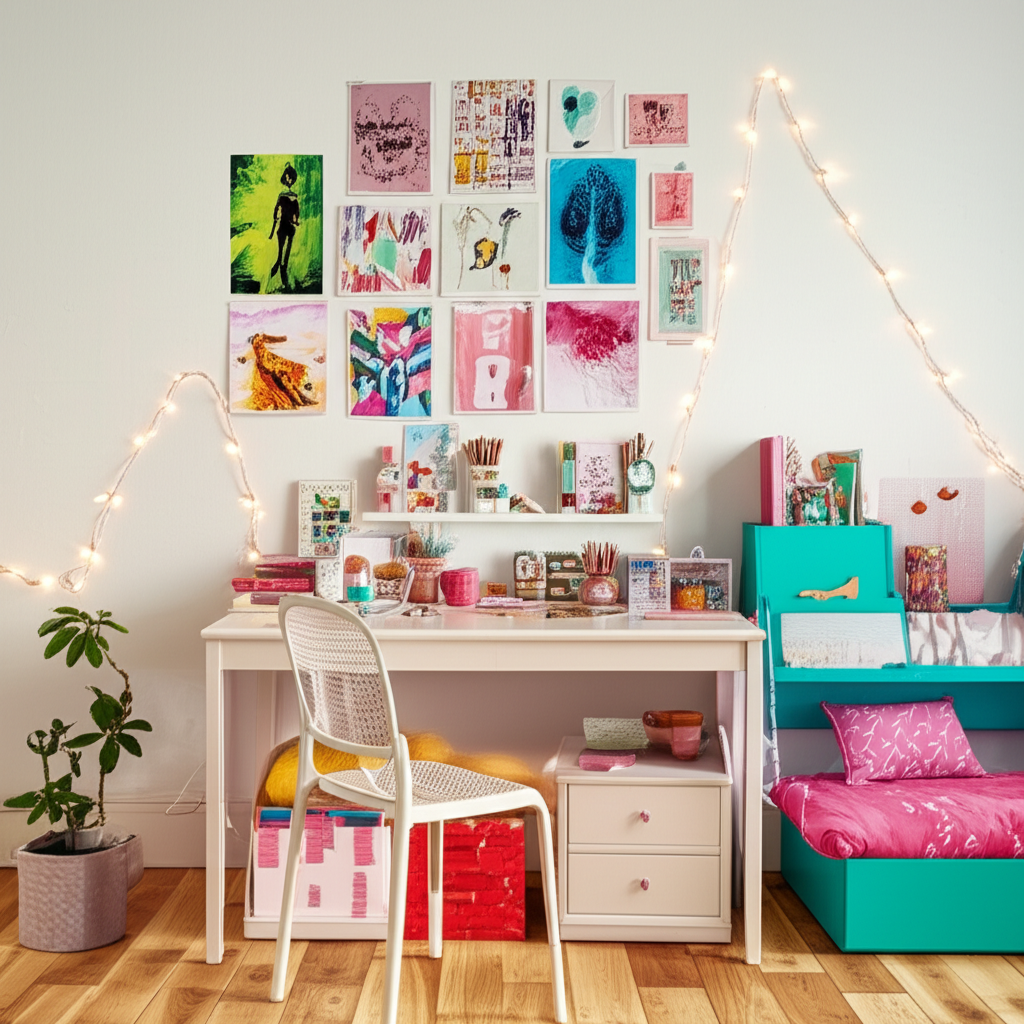
To help you decide which projects to tackle first, here’s a quick look at the general budget and time commitment for each idea. Remember, these are estimates and can vary based on materials chosen and your teen’s specific design!
| DIY Project | Estimated Cost (Low-High) | Estimated Time | Skill Level |
|---|---|---|---|
| Photo Collage Wall Art | $10 – $50 (depending on prints & embellishments) | 1-3 hours | Beginner |
| Upcycled Furniture Makeover | $20 – $100 (depending on furniture piece & supplies) | 4-10 hours (spread over days for drying) | Beginner-Intermediate |
| DIY Geometric Wall Art | $15 – $40 (canvas/board & paint) | 2-4 hours | Beginner |
| String Light Garland | $15 – $40 (lights & clips) | 1-2 hours | Beginner |
| DIY Headboard (Upholstered) | $30 – $100 (fabric & board) | 3-5 hours | Beginner |
| DIY Headboard (Pallet) | $20 – $70 (if pallets are free/cheap) | 6-12 hours (disassembly & assembly) | Intermediate |
| DIY Custom Throw Pillows | $10 – $30 (per pillow, depending on materials) | 1-2 hours (per pillow) | Beginner |
| Floating Shelves | $30 – $80 (per shelf kit) | 1-3 hours (per shelf installation) | Beginner-Intermediate |
Tips for a Successful DIY Decor Project with Teens
Getting teens involved in decorating their own space is a fantastic way to foster independence and creativity. Here are some tips to make the process smooth and enjoyable:
- Let Them Lead: Encourage them to choose the projects and the style. Your role is more of a guide and assistant.
- Set a Budget Together: Decide on a budget beforehand to manage expectations and make smart choices about materials.
- Focus on Safety: Supervise when using tools like drills, saws, or staple guns. Ensure good ventilation when painting.
- Embrace Imperfection: DIY is about the process and the personal touch, not factory perfection. A few quirks can add character!
- Make it Fun: Put on some music, grab some snacks, and enjoy the creative time together.
- Break it Down: If a project seems big, break it into smaller steps that can be tackled over a few days.
Frequently Asked Questions (FAQ)
What are the easiest DIY room decor ideas for teens?
Photo collage walls and string light garlands are typically the easiest and quickest. They require minimal tools and allow for a lot of personal expression without complex steps.
How can I make teen room decor on a tight budget?
Focus on upcycling old items, using free printables for wall art, and repurposing materials you already have. Thrifting for furniture or decor pieces to customize is also a great budget-saver.
What if my teen has a very specific or unusual style?
DIY is perfect for this! You can tailor projects precisely to their taste. For example, if they love a certain band, you can incorporate their album art into a collage or paint a related design. The key is to let their interests guide the project.
How do I ensure the DIY decor is durable?
Use quality materials where it counts – like good paint, sturdy hardware for shelves, and strong adhesives. For fabric projects, consider pre-washing fabric and using a durable stitch if sewing.
What are some trendy DIY decor ideas for teens right now?
Things like galaxy-themed murals, custom neon signs (DIY versions are available!), macrame wall hangings, and personalized LED light strips are quite popular and can be achieved with DIY methods.
How can I involve my teen without them losing interest quickly?
Keep the projects manageable and give them choices at each step. Celebrate small wins along the way. If a project is taking too long, consider simplifying it or switching to a different, quicker idea.
Can these DIY ideas work for small rooms?
Absolutely! Floating shelves are excellent for small spaces as they don’t take up floor area. Wall art, like collages or geometric designs, adds personality without clutter. Smaller DIY projects like custom pillows also make a big impact without consuming much space.
Conclusion
Decorating a teen’s room doesn’t have to be a chore or an expensive undertaking. With these 7 amazing DIY room decor ideas, you and your teen can collaborate to create a space that is stylish, functional, and most importantly, a true reflection of who they are. From simple photo displays to more involved furniture makeovers, there’s a project for every skill level and interest.
Remember, the goal is to have fun, express creativity, and build a room that your teen will love spending time in. So grab your supplies, put on some tunes, and get ready to transform their room into their personal sanctuary. Happy decorating!