Transform your kitchen on a budget with 10 smart makeover tips that maximize savings and style. Discover affordable hacks for a fresh, modern look without breaking the bank. Get ready for amazing savings!
Dreaming of a Kitchen Refresh? You Can Do It on a Budget!
Does your kitchen feel a little… tired? Maybe the cabinets are a bit dated, the countertops are showing their age, or the backsplash just isn’t inspiring you anymore. You’re not alone! Many of us dream of a kitchen that’s both beautiful and functional, but the thought of renovation costs can be overwhelming.
It’s easy to feel stuck when you see those glossy magazine kitchens and think they’re out of reach. But what if I told you that a stylish kitchen update is totally achievable, even with a tight budget? You don’t need to spend a fortune to make a big difference.
This guide is packed with 10 brilliant, budget-friendly tips to help you transform your kitchen. We’ll cover simple tricks that deliver maximum impact, so get ready to fall in love with your kitchen all over again!
1. Paint Power: The Ultimate Budget Transformer
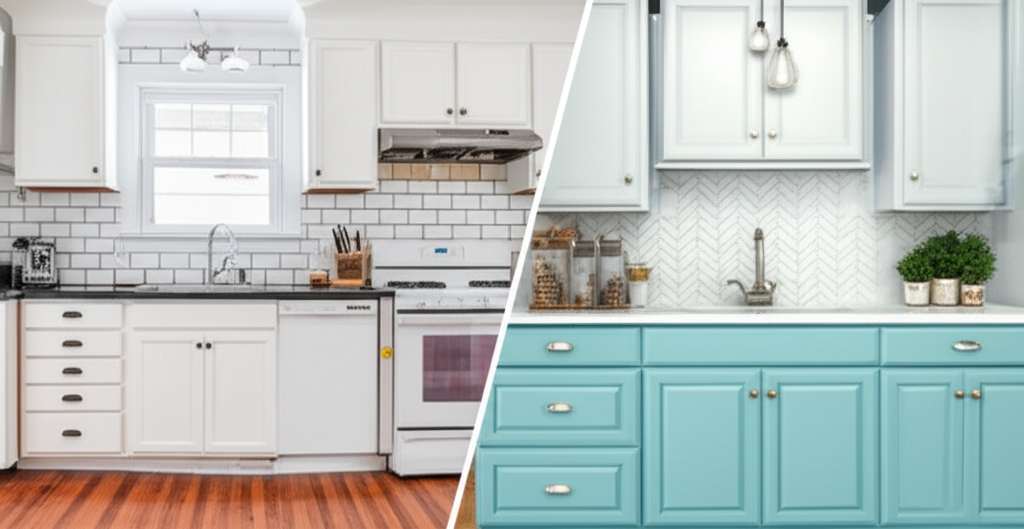
If there’s one thing that can instantly update a kitchen for minimal cost, it’s paint. A fresh coat of paint on your cabinets, walls, or even your backsplash can completely change the feel of the room.
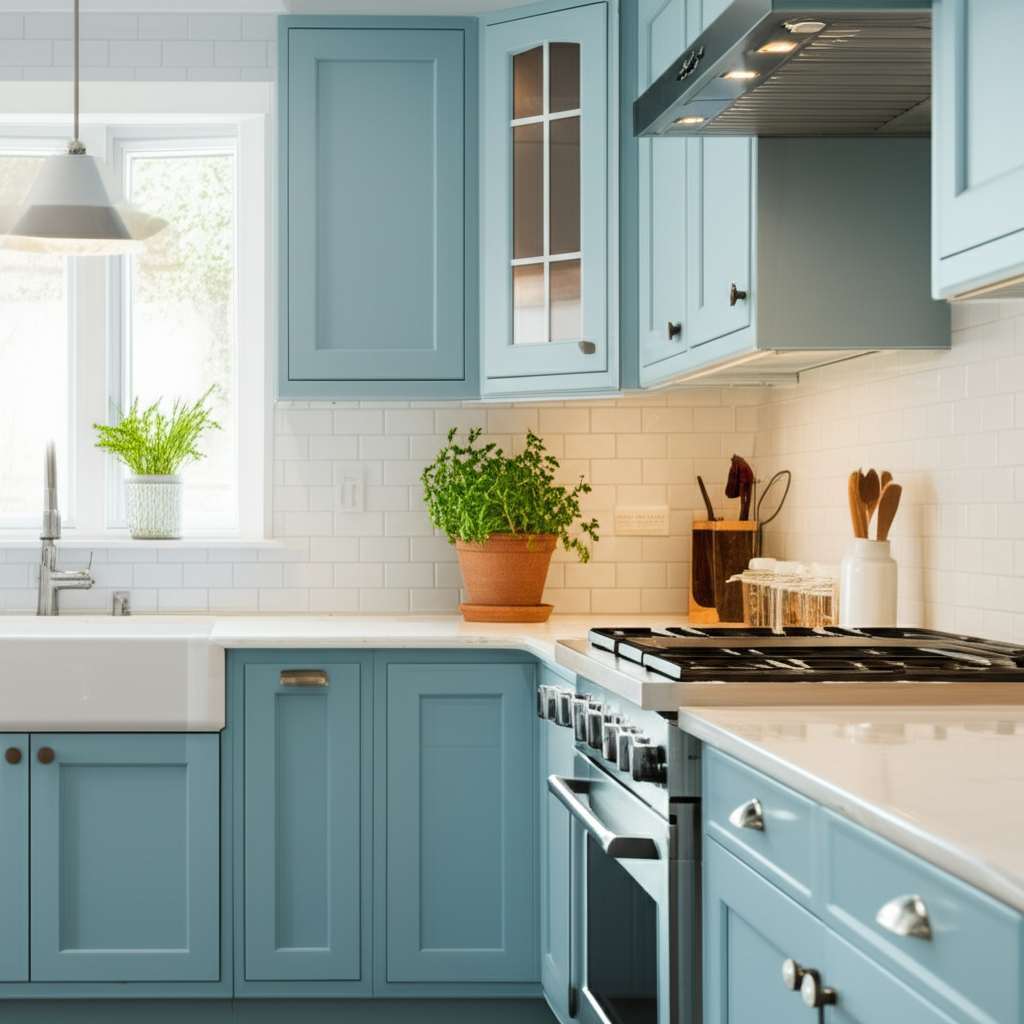
Cabinet Refinishing: Instead of replacing cabinets, consider painting them. This is often the most impactful DIY project for a kitchen makeover. Choose a durable cabinet paint and follow the proper prep steps (cleaning, sanding, priming) for a professional-looking finish. Lighter colors can make a small kitchen feel much larger and brighter.
Wall Colors: A new wall color can also make a huge difference. Opt for a light, neutral shade to keep the space feeling open and airy, or choose a bolder accent color for a statement wall. Consider a washable finish, as kitchens can get splattered!
Backsplash Painting: For a temporary or budget-friendly backsplash update, consider painting an existing tile backsplash. Special tile paints are available that can adhere to ceramic or laminate tiles, offering a new look without the cost of new materials. For more inspiration on tile styles, check out our guide to 12 Tile Ideas For Kitchen Walls.
2. Hardware Upgrade: Small Changes, Big Impact
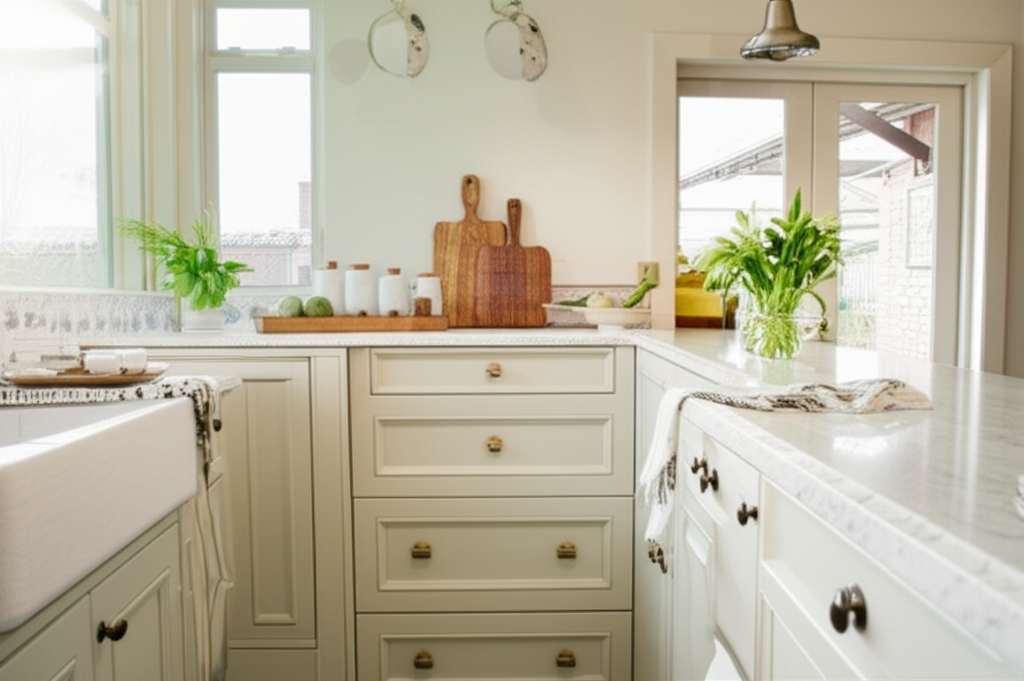
Don’t underestimate the power of new hardware! Swapping out old, dated cabinet knobs and drawer pulls for something fresh and modern can dramatically elevate the look of your kitchen cabinets.
This is one of the easiest and most affordable DIY upgrades you can make. You can find stylish hardware in a variety of finishes like brushed nickel, matte black, or gold at big box stores, online retailers, or even thrift shops.
Tip: Measure the distance between screw holes on your existing hardware before buying new pieces to ensure a perfect fit and avoid drilling new holes. Most standard hardware uses either a 3-inch or 96mm screw hole spacing.
3. Lighting: Brighten Up Your Space (Literally!)
Good lighting can transform the atmosphere of your kitchen. Often, builder-grade fixtures are uninspiring and don’t provide adequate light. Upgrading your lighting can make a huge difference, and you don’t always need an electrician.
Pendant Lights: Replacing an old overhead fixture with a stylish pendant light can add a touch of sophistication. Look for affordable options at home improvement stores or online.
Under-Cabinet Lighting: This is a game-changer for both function and ambiance. LED strip lights are inexpensive, easy to install (many are peel-and-stick!), and provide task lighting for your countertops while adding a warm glow.
Task Lighting: Ensure you have enough light where you need it most. Consider adding a stylish desk lamp or plug-in sconce if a particular corner of your kitchen feels dim.
4. Embrace Contact Paper & Peel-and-Stick Solutions
For renters or those looking for a super budget-friendly and temporary solution, contact paper and peel-and-stick materials are your best friends.
Countertops: You can find incredibly realistic-looking marble, granite, or butcher block contact paper that can temporarily cover your existing countertops. It’s surprisingly durable and water-resistant, making it a great option for a quick refresh. Be sure to follow application instructions carefully for the smoothest finish.
Backsplashes: Peel-and-stick tiles are another fantastic option. They come in various styles, from subway tiles to intricate patterns, and can be applied directly over existing tiles or drywall. They’re easy to cut and install, making them a beginner-friendly project.
Cabinet Facelifts: For a dramatic change, you can even use large-format vinyl sheets or contact paper to cover the front of your cabinet doors. This is a commitment, so choose a design you love!
5. DIY Backsplash: Style Without the Splurge
A backsplash can add a lot of personality to your kitchen, but professional installation can be pricey. Luckily, there are several DIY-friendly and budget-conscious backsplash options.
Peel-and-Stick Tiles: As mentioned, these are incredibly popular for a reason. They offer the look of real tile with minimal effort and cost. You can find them at most home improvement stores and online marketplaces.
Paintable Wallpaper or Stencils: For a truly unique and affordable option, consider using paintable wallpaper or stencils. You can create custom patterns and colors that perfectly match your kitchen’s style. Seal with a waterproof, grease-resistant sealant for durability.
Tin Tiles (Painted): Authentic tin tiles can be expensive, but sometimes you can find faux tin tiles or even paint over old metal ceiling tiles to create a vintage-inspired backsplash. This requires careful sealing to protect against moisture and grease.
For more information on backsplash materials and installation, check out this guide from This Old House on installing a tile backsplash.
6. Open Shelving: Airy and Affordable
Removing upper cabinet doors and installing open shelving can make your kitchen feel more spacious and modern. It also provides an opportunity to display your favorite dishes and decor.
This is a relatively simple DIY project. You can use affordable wooden planks and brackets from a hardware store. Sand and stain or paint the shelves to match your kitchen’s color scheme. Ensure they are securely mounted into wall studs for safety and stability.
Pros of Open Shelving:
- Makes the kitchen feel more open and airy.
- Easier access to frequently used items.
- Allows for decorative display of dishware and accessories.
- Can be more budget-friendly than replacing cabinets.
Cons of Open Shelving:
- Requires more frequent dusting and cleaning.
- Items on display can look cluttered if not organized well.
- May not provide as much concealed storage as cabinets.
7. Upgrade Your Faucet and Sink Fixtures
While replacing an entire sink and faucet can be a significant expense, upgrading just the faucet can make a noticeable difference in the look and functionality of your kitchen.
A new faucet in a modern finish like brushed nickel, matte black, or even a sleek chrome can instantly modernize your sink area. Look for a faucet with good reviews for durability and ease of use. Many are designed for DIY installation, often requiring just basic tools and some plumbing knowledge.
Consider the style of the faucet to match your overall kitchen aesthetic. A high-arc faucet can add a dramatic touch, while a pull-down sprayer enhances usability.
8. Refresh Your Hardware: Knobs, Pulls, and Hinges
We touched on cabinet hardware earlier, but it’s worth emphasizing! This is one of the most impactful and affordable ways to give your kitchen a facelift.
Knobs and Pulls: Swapping out old knobs and pulls for new ones is a quick DIY project that can dramatically change the look of your cabinets and drawers. You can find a huge variety of styles, finishes, and materials to suit any taste and budget.
Hinges: If your cabinet doors have visible hinges, consider updating those too. You can often find replacement hinges in coordinating finishes, or you might be able to paint existing ones for a cohesive look.
This simple change can make your cabinets look brand new and much more stylish.
9. Add a Pop of Color with Accessories
Sometimes, a full renovation isn’t necessary. You can inject personality and style into your kitchen with carefully chosen accessories.
New Dishware & Utensils: Invest in a set of colorful or stylish dishware that you love. Even everyday items can add to the aesthetic.
Textiles: Update your kitchen with new tea towels, oven mitts, placemats, or a colorful rug. These small touches can tie your color scheme together.
Plants & Decor: A few strategically placed plants, a fruit bowl, or some attractive canisters can add life and character to your kitchen. Consider a small herb garden on your windowsill for both decor and culinary use. For more plant-inspired ideas, explore our collection of 8 Kitchen Plant Decor Ideas.
Tip: Look for sales at home goods stores or even consider thrift stores for unique finds.
10. Declutter and Organize: The Free Makeover
Before you spend a dime, take the time to declutter and organize your kitchen. A clean, organized space instantly feels larger, more functional, and more inviting.
Go through your cabinets and drawers. Get rid of anything you don’t use, need, or love. Donate unopened food items you won’t consume. Consolidate cleaning supplies.
Once decluttered, focus on organization. Use drawer dividers, shelf risers, and stackable containers to maximize your space. This free makeover will make your kitchen feel brand new! For clever storage solutions that blend style and function, don’t miss our roundup of 10 Stylish Kitchen Storage Accessories.
For excellent organization tips, the Environmental Protection Agency (EPA) offers great advice on reducing waste and organizing household items, which can be applied to your kitchen decluttering efforts.
Budget Kitchen Makeover: Cost Breakdown Example
To give you an idea of how these tips can add up, here’s a hypothetical budget breakdown for a small kitchen makeover. Prices are estimates and can vary widely based on location, brands, and sales.
| Project Area | Budget Tip | Estimated Cost Range | DIY Potential |
|---|---|---|---|
| Cabinets | Paint & New Hardware | $150 – $400 | High |
| Walls | Fresh Paint | $50 – $150 | High |
| Backsplash | Peel-and-Stick Tiles | $100 – $300 | Medium |
| Lighting | Under-Cabinet LEDs & Pendant | $75 – $200 | Medium |
| Faucet | New Faucet Fixture | $75 – $250 | Medium |
| Accessories | Textiles & Decor | $50 – $150 | High |
| Organization | Drawer Organizers, Shelf Risers | $30 – $100 | High |
| Total Estimated Cost | $530 – $1,550 |
As you can see, even with a few projects, you can achieve a significant transformation for under $1,500. If you opt for even more budget-friendly materials or focus on fewer projects, you can bring this cost down even further. For instance, simply painting cabinets and updating hardware can make a huge difference for under $400!
Frequently Asked Questions (FAQ)
Can I really make over my kitchen for under $500?
Yes, absolutely! If you focus on DIY-friendly projects like painting cabinets and walls, updating hardware, decluttering, and adding stylish accessories, you can achieve a noticeable refresh for well under $500. Prioritizing these high-impact, low-cost changes is key.
What’s the easiest DIY kitchen update for beginners?
The easiest and most impactful DIY update for beginners is usually painting cabinets or walls, and changing out cabinet hardware (knobs and pulls). These tasks require minimal specialized tools and can be learned with online tutorials.
How do I choose the right paint color for my kitchen cabinets?
Consider the overall style of your kitchen and the amount of natural light. Lighter colors like white, cream, or light gray can make the space feel larger and brighter. Darker colors like navy or charcoal can create a dramatic, modern look. Always test paint samples in your kitchen before committing to a full can.
Is contact paper a good solution for countertops?
Contact paper can be a fantastic, budget-friendly temporary solution for countertops, especially for renters. It’s easy to apply and comes in many realistic finishes. However, it may not be as durable as laminate or stone, and it can be prone to scratches or heat damage if not cared for properly. Always follow application and care instructions.
How can I make my small kitchen look bigger?
To make a small kitchen feel larger, use light and bright colors on walls and cabinets, maximize natural light, consider open shelving instead of bulky upper cabinets, and ensure the space is well-organized and clutter-free. Strategic use of mirrors can also create an illusion of more space.
What are the best budget-friendly flooring options for a kitchen?
For budget-friendly kitchen flooring, consider luxury vinyl plank (LVP) or vinyl sheet flooring. They are durable, water-resistant, and come in a wide variety of styles that mimic wood or tile. Peel-and-stick vinyl tiles are also an inexpensive option for DIY installation.
How long does a budget kitchen makeover typically take?
The timeline for a budget kitchen makeover can vary greatly depending on the scope of work and your DIY skills. Simple updates like painting cabinets and changing hardware might take a weekend or two. Projects involving backsplash installation or faucet replacement could take a few days. Decluttering and organizing can be done in a day.
Conclusion: Your Stylish Kitchen Awaits!
See? Transforming your kitchen doesn’t have to mean emptying your savings account. With a little creativity, some elbow grease, and these budget-friendly tips, you can achieve a kitchen that’s not only beautiful but also incredibly functional and inspiring.
Remember, even small changes can make a massive difference. Painting those cabinets, swapping out those knobs, or adding some fresh accessories can completely revitalize your space. And don’t forget the power of a good declutter – it’s the most budget-friendly makeover of all!
So, roll up your sleeves, gather your supplies, and get ready to fall in love with your kitchen all over again. You’ve got this!