Discover how to transform your child’s room with exciting wall decor, all without the need for drills or permanent damage. This guide explores innovative, temporary solutions like removable decals, peel-and-stick wallpaper, and damage-free adhesive hooks to create vibrant, personalized spaces that can evolve as your child grows. Learn to decorate kids room walls without drilling safely and creatively, making updates simple and stress-free for renters and homeowners alike.
How to Decorate Kids Room Walls Without Drilling
Creating a magical, inspiring, and ever-changing space for your child is one of the joys of parenting. But when it comes to decorating their walls, the thought of drilling holes can be daunting. Maybe you’re renting and need to avoid permanent alterations, or perhaps you just want the flexibility to update the room’s theme as your child grows without patching and repainting every few years. Whatever your reason, you’re in the right place!
This comprehensive guide will show you exactly how to decorate kids room walls without drilling a single hole. We’ll explore a world of damage-free, creative, and utterly adorable solutions that will transform their space into a dream room. Get ready to embrace flexibility, fun, and fantastic wall decor without the commitment of permanent fixtures. Let’s dive in!
Key Takeaways
- Prioritize Damage-Free Solutions: Always opt for temporary adhesives (like Command strips, wall putty, or wall-safe tape) and removable wall decor products to protect your walls and allow for easy, frequent updates.
- Clean Walls Are Crucial: Before applying any adhesive or decor, ensure your walls are meticulously clean, dry, and free of dust or grime. This step is vital for strong adhesion and clean removal.
- Test Adhesives in an Inconspicuous Spot: To prevent potential damage, always test a small piece of any new adhesive product in a hidden area of your wall (e.g., behind a door) to confirm it removes cleanly.
- Embrace Removable Wall Decor: Leverage the versatility of vinyl decals, fabric stickers, and peel-and-stick wallpaper for quick, impactful room transformations that are easy to apply, reposition, and remove without residue.
- Leverage Lightweight Items for Gallery Walls: Create captivating gallery walls using lightweight frames, printed art, and banners, all securely hung with damage-free adhesive hooks or strips, planning your layout on the floor first.
- Think Beyond Flat Surfaces: Incorporate small adhesive shelves, clipboards, or even creative Washi tape designs to add dimension, function, and unique artistic flair to the room without needing to drill.
- Follow Manufacturer Instructions Diligently: For best results and damage-free removal, always read and adhere to the specific application and removal instructions provided by the manufacturers of your chosen adhesive products.
Understanding Your Walls and Damage-Free Adhesives
Before you start sticking, it’s smart to know a little about your walls and the temporary adhesives available. Not all walls are created equal, and neither are all sticky solutions!
Wall Types and Considerations
- Painted Walls: Most common. Ensure paint is fully cured (if freshly painted) before applying adhesives. Smooth paint is easiest; textured paint can be trickier for some products.
- Wallpapered Walls: Be extra cautious. Some adhesives might pull off wallpaper upon removal. Test extensively in an inconspicuous spot.
- Textured Walls (e.g., knockdown, orange peel): Adhesives might not get full contact, reducing their hold. Look for products specifically designed for textured surfaces or opt for larger adhesive areas.
Your Damage-Free Adhesive Arsenal
These are your best friends when you want to decorate kids room walls without drilling:
- Command Strips & Hooks: These are gold standard for hanging picture frames, small shelves, and various decor. They come in different weight capacities and are designed for clean removal.
- Mounting Putty/Poster Putty: Great for lightweight posters, photos, and small paper cutouts. It’s reusable but can leave oily marks on some wall types if left too long.
- Removable Double-Sided Foam Tape: Offers a strong, temporary hold for slightly heavier items than putty. Look for “removable” or “wall-safe” versions.
- Adhesive Hooks (Plastic/Metal): Beyond Command hooks, many brands offer adhesive hooks for lightweight items like garlands, banners, or even lightweight art.
- Wall-Safe Washi Tape: Perfect for creating patterns, framing art directly on the wall, or securing lightweight papers. It’s decorative and usually very gentle.
- Velcro Brand HANGables: These offer a repositionable solution for hanging items. One side sticks to the wall, the other to your item, and they detach from each other for easy swapping.
Always Test First!
No matter what product you choose, always, always test it in an inconspicuous spot (like behind a door or in a closet) for 24-48 hours. Remove it to ensure it doesn’t peel paint or leave residue. This small step can save you a lot of headache!
Method 1: Wall Decals and Stickers
Wall decals are perhaps the easiest and most impactful way to decorate kids room walls without drilling. They come in an endless array of designs, colors, and themes.
Visual guide about How to Decorate Kids Room Walls Without Drilling
Image source: homeprofy.nyc3.cdn.digitaloceanspaces.com
Types of Wall Decals
- Vinyl Decals: The most common. They are thin, often look hand-painted, and come in intricate designs. Generally easy to apply and remove, but check if they are “repositionable” or “one-time use.”
- Fabric Wall Stickers: Often thicker, slightly textured, and highly repositionable. These are fantastic for kids’ rooms because they can be peeled off and re-stuck multiple times without losing adhesion or damaging walls.
- Cutouts & Shapes: Think stars, dots, animals, or geometric patterns that can be arranged to create unique murals.
Application Tips for Decals
- Clean the Wall: Wipe down the wall with a damp cloth and let it dry completely.
- Plan Your Layout: For larger decals or multiple stickers, lay them out on the floor first or use painter’s tape to temporarily hold them on the wall before sticking.
- Peel Slowly: Start peeling the backing paper from one corner or edge.
- Smooth as You Go: As you apply, use a credit card or a specific decal squeegee to smooth out any air bubbles, working from the center outwards.
- Remove Carefully: To remove, gently peel from a corner at a 45-degree angle. If it’s sticking too much, a little heat from a hairdryer on a low setting can help soften the adhesive.
Ideas for Decal Decor
- Themed Murals: Create a full-wall forest, outer space, underwater, or fairy tale scene.
- Personalized Names: A large decal of your child’s name instantly personalizes the room.
- Growth Charts: Adhesive growth charts are practical and decorative.
- Educational Elements: Alphabet, numbers, or world map decals can be both fun and learning tools.
Method 2: Removable Wallpaper & Peel-and-Stick Murals
Want the dramatic effect of wallpaper without the paste, mess, or commitment? Removable wallpaper is your answer when you want to decorate kids room walls without drilling!

Visual guide about How to Decorate Kids Room Walls Without Drilling
Image source: shuntool.com
Benefits of Peel-and-Stick Wallpaper
- No Paste Needed: It has an adhesive backing, just peel and stick.
- Damage-Free Removal: Designed to come off cleanly without damaging paint or leaving residue.
- Repositionable: Most brands allow you to reposition strips during application for perfect alignment.
- Variety of Designs: From subtle textures to bold patterns and full-wall murals, the options are endless.
Application Process
- Prep the Wall: Clean the wall thoroughly and ensure it’s completely dry. For best results, walls should be smooth and free of major imperfections.
- Measure and Cut: Measure your wall height and cut your wallpaper strips, leaving a few extra inches at the top and bottom for trimming.
- Start from the Top: Begin with the first strip in a corner. Peel back a few inches of the backing paper from the top.
- Align and Smooth: Carefully align the strip with the ceiling line and side wall. Slowly peel more of the backing paper, smoothing the wallpaper onto the wall with a squeegee or clean cloth as you go, working out any bubbles.
- Match Patterns: For subsequent strips, carefully align the pattern with the previous strip before adhering.
- Trim Excess: Once all strips are applied, use a utility knife and a straight edge to trim the excess wallpaper at the ceiling, floor, and corners.
Choosing Designs for Kids
- Nature Scenes: Forests, mountains, skies, or ocean themes are soothing.
- Geometric Patterns: Stripes, polka dots, or abstract shapes add modern flair.
- Character Themes: If your child loves a specific character, a mural can be a showstopper.
- Chalkboard Wallpaper: A functional and fun option that allows for endless drawing and creativity.
Method 3: Gallery Walls with Adhesive Hooks & Strips
A gallery wall is a fantastic way to display art, photos, and cherished mementos. And yes, you can create a stunning gallery wall when you want to decorate kids room walls without drilling!
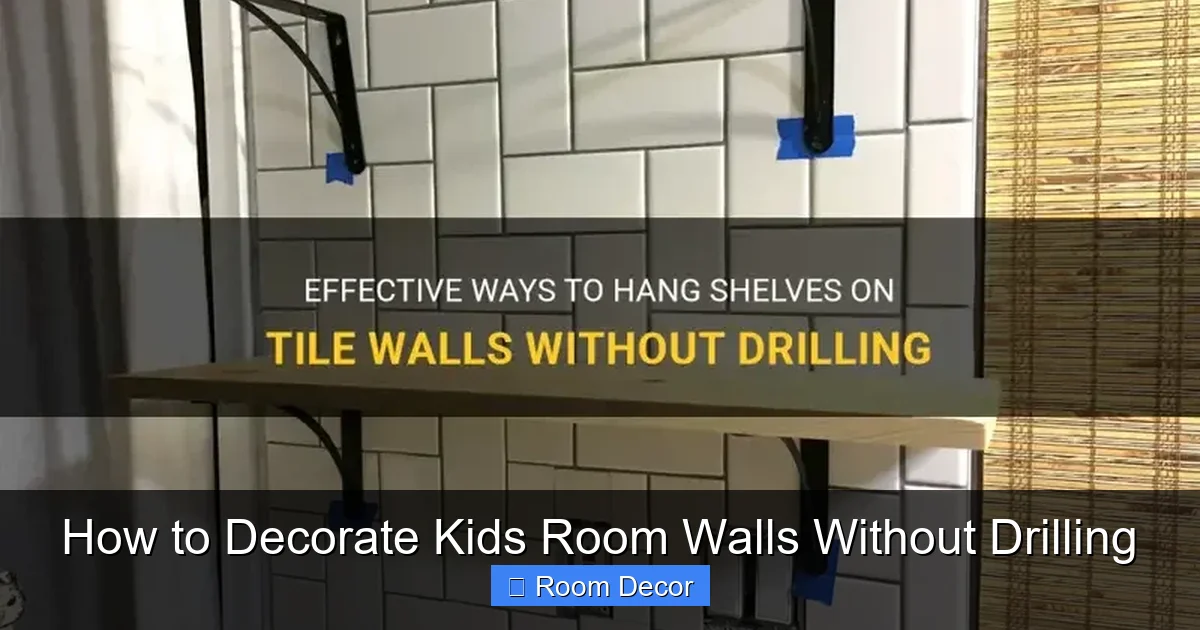
Visual guide about How to Decorate Kids Room Walls Without Drilling
Image source: shuntool.com
Choosing Lightweight Items
The key here is lightweight. Heavy frames are a no-go for temporary adhesives. Opt for:
- Lightweight Frames: Plastic, thin wood, or composite frames with acrylic “glass” instead of real glass.
- Canvas Prints: Often very light and easy to hang.
- Prints & Photos: Can be hung directly with wall-safe tape or mounting putty, or in lightweight frames.
- Banners & Garlands: Fabric or paper banners are perfect.
- Kids’ Artwork: Display their masterpieces directly or in lightweight frames.
Planning Your Layout
This step is crucial for a balanced and appealing gallery wall:
- Lay it Out on the Floor: Arrange all your items on the floor first. Experiment with different configurations until you find a layout you love.
- Trace Templates (Optional): If you want to be super precise, trace the outlines of your frames onto craft paper, cut them out, and temporarily tape them to the wall. This lets you visualize and adjust without any commitment.
Using Command Strips & Hooks
- Check Weight Limits: Always match the weight of your item to the appropriate Command strip or hook. Don’t overload them!
- Clean and Prep: Wipe down the wall and the back of your frame/item with rubbing alcohol. Let it dry. This ensures maximum adhesion.
- Apply Strips: Apply the Command strips (or hooks) according to the package directions, pressing firmly.
- Press to Wall: Press the item firmly against the wall for 30 seconds.
- Wait: For maximum hold, remove the frame/item by peeling it away from the wall (the strips stay on the wall) and wait one hour before re-hanging. This allows the adhesive to cure.
Method 4: Fabric and Textile Decor
Fabric adds softness, texture, and warmth to a room. It’s also incredibly versatile when you want to decorate kids room walls without drilling.
Wall Tapestries
Large fabric tapestries can act like an instant mural, providing color and pattern. They are typically very lightweight.
- Hanging Methods: Use small Command hooks, adhesive picture hangers, or even a few thumbtacks (if your landlord allows) along the top edge. For a taut look, you can add hooks at the bottom corners too.
Banners and Garlands
Bunting banners, felt garlands, or string lights with decorative elements can add whimsy.
- Hanging Methods: Small clear adhesive hooks are perfect for stringing garlands across a wall or window. Washi tape can also be used to create fun arrangements.
Fabric as a Backdrop
Consider using a piece of fabric as a temporary backdrop for a specific area, like behind a bed or desk. This can be stretched taut and secured with fabric-friendly adhesive strips or even removable double-sided tape around the edges.
Method 5: Creative Wall Art & Displays
Think outside the traditional frame box! Many creative displays can be achieved when you want to decorate kids room walls without drilling.
Washi Tape Designs
Washi tape is low-tack, decorative, and typically leaves no residue. It’s excellent for:
- Geometric Patterns: Create stripes, grids, triangles, or abstract art directly on the wall.
- “Framing” Art: Use Washi tape to create a colorful border around posters, photos, or your child’s drawings that are directly stuck to the wall with mounting putty.
- Mini Gallery: Hang a string across the wall using small Command hooks, then use Washi tape or tiny clothespins to attach photos or art to the string.
Clipboards and Magnetic Boards
These offer dynamic ways to display art, notes, or rotating collections.
- Hanging Methods: Use Command hooks or strips designed for frames. Small, lightweight clipboards can be hung individually. For a larger magnetic board, ensure it’s lightweight and use appropriate heavy-duty Command strips.
Lightweight Mirrors
Mirrors can make a room feel larger and brighter. Look for decorative mirrors that are explicitly designed to be lightweight.
- Hanging Methods: Use specific Command Picture Hanging Strips (check weight limits carefully) or specialized adhesive mirror squares/strips designed for damage-free removal.
Method 6: Functional Decor with Adhesive Solutions
Decorate kids room walls without drilling and add functionality too!
Command Shelves and Ledges
Yes, Command makes shelves! These are fantastic for displaying lightweight collectibles, small books, or decorative items.
- Weight Limits: Adhere strictly to the weight limits specified by Command. These are usually for very lightweight items, not a stack of hardcover books.
- Ideas: Display small action figures, tiny plants (artificial), a single lightweight storybook, or small decorative trinkets.
Adhesive Wall Pockets and Organizers
For small toys, craft supplies, or even pajamas, adhesive wall pockets can be a lifesaver for organization.
- Types: Look for fabric pockets with adhesive backing or hang lightweight fabric organizers with small Command hooks.
Displaying Toys and Books
Beyond shelves, you can get creative:
- Toy “Art”: Use Command hooks to hang lightweight, decorative toys (like stuffed animals with loops or small toy airplanes).
- Book Sling: Attach two Command hooks on either side, then drape a piece of fabric between them to create a simple book sling for displaying a few favorite bedtime stories.
Tips for Success and Troubleshooting
To ensure your no-drill decorating adventure is a complete success, keep these tips in mind:
General Best Practices
- Clean Walls are Essential: This cannot be stressed enough. Dust, dirt, or grease will compromise any adhesive. Use rubbing alcohol (for painted walls) or a mild soap and water solution, then let it dry thoroughly.
- Read Instructions Carefully: Every adhesive product has specific instructions for application and removal. Follow them to the letter to avoid damage and ensure maximum hold.
- Patience is a Virtue: Especially with Command products, often there’s a recommended waiting period for the adhesive to “cure” before applying weight. Don’t rush it!
- Check Weight Limits: Never exceed the stated weight limit for any adhesive product. Better to use a stronger product or more strips than risk your decor falling down.
- Prepare Your Space: Clear the area, have all your tools (scissors, squeegee, level, tape measure) ready.
Troubleshooting Common Issues
- Adhesive Not Sticking on Textured Walls:
- Solution: Opt for products designed for textured surfaces. If using decals, choose thicker, fabric-based ones. For hanging, use more adhesive strips/hooks than recommended to compensate for reduced surface contact.
- Bubbles in Decals/Wallpaper:
- Solution: Use a squeegee or credit card to gently push bubbles towards the nearest edge. For stubborn tiny bubbles, a pinprick can release the air, then smooth it down.
- Paint Peeling During Removal:
- Solution: This usually happens if the paint was very old, poorly applied, or the adhesive was removed too quickly or at the wrong angle. Always remove adhesives slowly, pulling straight down or at a specific angle as instructed by the manufacturer. If a hairdryer helps soften adhesive, use it.
- Residue Left Behind:
- Solution: Most quality removable adhesives shouldn’t leave residue. If they do, try a little rubbing alcohol on a soft cloth, or a specialized adhesive remover like Goo Gone (test first!).
Conclusion
Decorating your kids’ room walls without drilling opens up a world of creative possibilities. You gain incredible flexibility, peace of mind knowing your walls are safe, and the freedom to update themes as quickly as your child’s interests change. From vibrant decals and stunning removable wallpapers to personalized gallery walls and functional adhesive storage, the options are limitless.
So, gather your supplies, embrace these damage-free methods, and start transforming their room into a space that sparks joy, imagination, and comfort. Enjoy the process of creating a dynamic and delightful environment for your little one, knowing that every change is easy, every update is fun, and every wall remains perfectly intact!