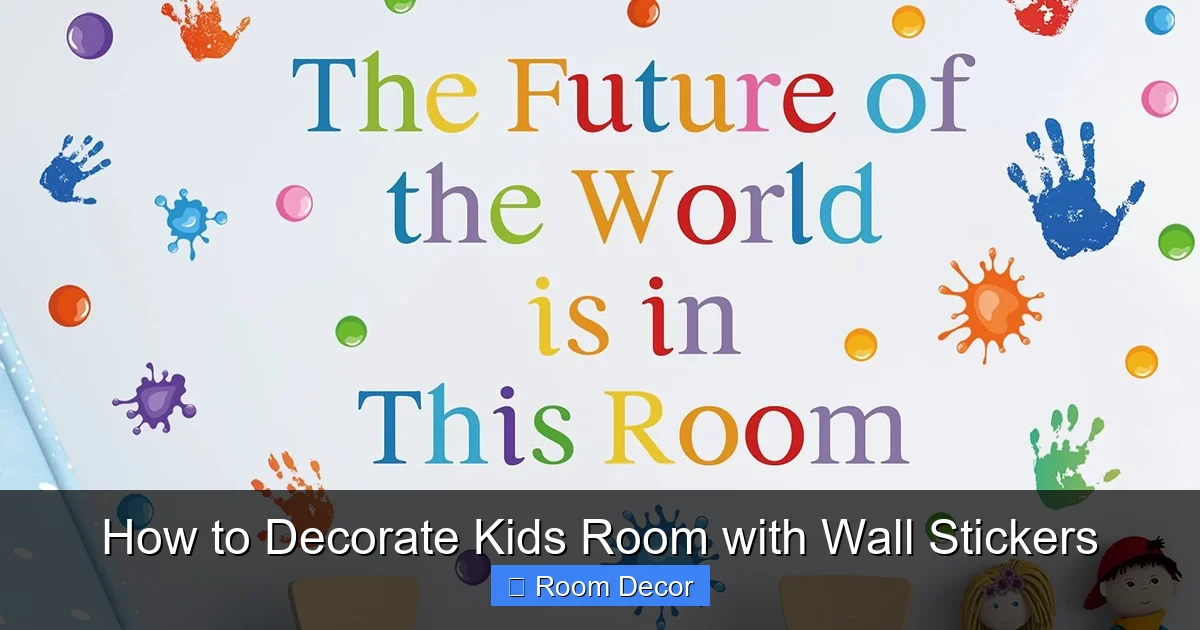
Decorating a kids room with wall stickers is a fantastic, versatile way to transform any space into a magical haven. This comprehensive guide will walk you through everything, from choosing the perfect theme and preparing your walls to applying stickers flawlessly and troubleshooting common issues. Discover how to create an engaging, personalized environment that grows with your child, all while making the process fun and easy.
How to Decorate Kids Room with Wall Stickers
Every child’s room is a canvas, a place where imagination runs wild and dreams take flight. As parents, we want to create spaces that inspire, comfort, and delight our little ones. But let’s be honest, traditional painting or wallpapering can be a big commitment, time-consuming, and expensive. That’s where the magic of wall stickers comes in!
Wall stickers offer an incredibly versatile, affordable, and easy way to transform any kids’ room into a personalized wonderland. Whether you want to create a fantastical forest, a starry night sky, a vibrant cityscape, or a whimsical animal safari, wall stickers provide endless possibilities. Plus, they’re typically temporary, meaning you can update the decor as your child grows and their interests evolve without a major renovation.
In this comprehensive guide, we’re going to show you exactly how to decorate kids room with wall stickers. We’ll cover everything from choosing the perfect design and preparing your walls to applying the stickers like a pro and making them last. Get ready to unleash your creativity and give your child a room they’ll adore!
Key Takeaways
- Plan Your Design: Define a theme, consider your child’s age, and measure accurately before purchasing wall stickers to decorate kids room.
- Prepare the Wall: Ensure walls are clean, dry, smooth, and fully cured from recent paint to ensure optimal adhesion for wall stickers.
- Mock-Up Before Sticking: Use painter’s tape to arrange stickers on the wall first, visualizing the final layout and making adjustments.
- Apply Carefully: Follow specific application instructions (peel-and-stick vs. transfer), smoothing out bubbles with a squeegee or cloth.
- Troubleshoot Effectively: Address common issues like bubbles, peeling, or non-adhesion with simple fixes to maintain your decor.
- Involve Your Child: Make the decorating process a fun, collaborative activity, empowering your child in their room’s design.
- Clean and Maintain: Gently wipe wall stickers with a damp cloth to keep them vibrant and ensure their longevity in your kids’ room decor.
Step 1: Dream Big – Planning Your Wall Sticker Adventure
Before you even think about peeling off a backing, the most crucial step is planning. A little preparation goes a long way in ensuring your wall stickers look fantastic and meet your expectations. This is where you get to brainstorm and envision the perfect space for your child.
Define the Theme and Style
This is the fun part! What kind of atmosphere do you want to create? Think about your child’s passions, their favorite colors, and characters. For a toddler’s nursery, perhaps gentle pastel animals or a calming cloud scene. For an older child, maybe a superhero cityscape, a space exploration theme, or a vibrant floral design. Wall stickers come in an incredible array of themes, making it easy to find something that sparks joy. Consider the existing furniture and overall style of the room to ensure the stickers complement the space.
Consider Your Child’s Age and Interests
What appeals to a two-year-old might not excite a ten-year-old. When you decorate kids room with wall stickers, choosing age-appropriate designs is key. For younger children, large, simple, colorful designs are engaging. For older kids, more detailed, intricate, or graphic designs can reflect their evolving personalities. Involving your child in this decision-making process can make them feel more connected to their room and the decorating project.
Measure Your Space and Sticker Size
Don’t just guess! Grab a measuring tape and measure the wall (or walls) where you plan to apply the stickers. Consider the height, width, and any obstructions like windows, doors, or furniture. Compare these measurements with the dimensions of the wall stickers you’re considering. Visualizing how the stickers will fit the space is crucial. Do you want a large focal point piece, a repeating pattern, or a scattering of smaller decals? Knowing your dimensions prevents unwelcome surprises when your order arrives.
Choose the Right Type of Wall Sticker
Not all wall stickers are created equal! Understanding the different types will help you select the best option for your needs:
- Vinyl Peel-and-Stick Decals: These are the most common and easiest to apply. They come with an adhesive backing that you simply peel off and stick to the wall. Great for temporary decor and a wide variety of designs.
- Fabric Wall Decals: Made from woven fabric, these are often more durable, have a matte finish, and are usually repositionable and reusable. They tend to be a bit pricier but offer a premium look and feel. They are a fantastic choice when you want to decorate kids room with wall stickers that can be moved around.
- Transfer Stickers (or Die-Cut Vinyl): These often come with a clear transfer tape on top. You apply the entire piece, rub it onto the wall, and then carefully peel away the transfer tape, leaving just the vinyl design. These can create a “painted on” look but require a bit more precision during application.
- Removable vs. Permanent: Most wall stickers are designed to be removable without damaging paint, especially those labeled for kids’ rooms. However, always check the product description.
Set a Budget
Wall stickers range widely in price depending on size, material, and complexity. Determine how much you’re willing to spend. Remember, you don’t have to deck out every wall. Sometimes, a single statement piece or a smaller cluster of stickers can make a huge impact without breaking the bank.
Step 2: Gather Your Tools – Preparation is Key
With your design chosen, it’s time to gather everything you’ll need. Proper preparation of both your tools and your wall surface will make the application process much smoother and ensure your wall stickers adhere beautifully.
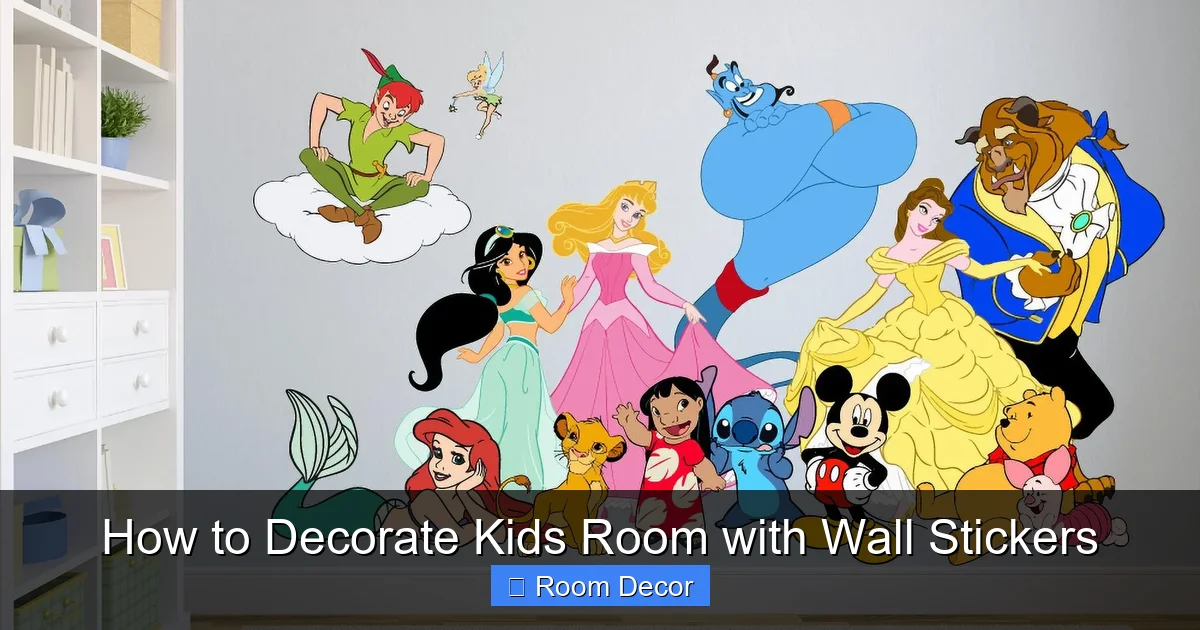
Visual guide about How to Decorate Kids Room with Wall Stickers
Image source: i5.walmartimages.com
Essential Supplies You’ll Need
Most of these items you might already have around the house:
- Measuring tape: For precise placement.
- Pencil (light-colored): For making light, temporary marks on the wall.
- Level: To ensure your stickers are perfectly straight.
- Painter’s tape: Crucial for mocking up your design before final application.
- Clean, lint-free cloth or sponge: For cleaning the wall.
- Mild cleaner (e.g., dish soap and water): If your walls need a good scrub.
- Squeegee or credit card: To smooth out bubbles during application.
- Scissors: To cut out individual sticker elements if they come on a large sheet.
- Hair dryer (optional): Can help with removal later or to slightly warm stiff stickers.
Prepare the Wall Surface
This is a critical step that many people overlook, leading to stickers that don’t stick or peel prematurely. To successfully decorate kids room with wall stickers, your walls must be ready.
- Clean: Dust and grime are enemies of adhesive! Wipe down the entire wall surface with a clean, lint-free cloth. If there are noticeable marks or dirt, use a mild, non-abrasive cleaner (like a drop of dish soap in water) and then wipe thoroughly with clean water.
- Dry: Ensure the wall is completely dry before applying any stickers. Moisture can prevent proper adhesion. Give it a few hours, or even a full day, after cleaning.
- Smooth: Wall stickers adhere best to smooth surfaces. While minor textures (like orange peel) are usually fine, heavily textured walls can make application difficult and reduce adhesion. If your walls are heavily textured, you might want to reconsider large, intricate stickers.
- Paint Curing Time: This is VERY important. If your walls have been freshly painted, you absolutely must wait for the paint to fully cure, not just dry. This typically takes 3-4 weeks, though some low-VOC paints may cure faster. Applying stickers to uncured paint can cause the paint to peel off when you remove the stickers later. Always check the paint manufacturer’s recommendations.
Unroll and Flatten Your Stickers
Many wall stickers arrive rolled up in a tube. Before application, gently unroll them and lay them flat on a clean surface. Place heavy books or other flat objects on top for a few hours, or even overnight, to help them flatten out. This makes them much easier to work with and reduces the chances of them curling up during application.
Step 3: Design Layout – Mock-Up Your Masterpiece
You wouldn’t start painting a mural without a sketch, right? The same goes for wall stickers! Mocking up your design before permanently sticking is a game-changer. This step allows you to experiment, adjust, and achieve the perfect aesthetic to decorate kids room with wall stickers.
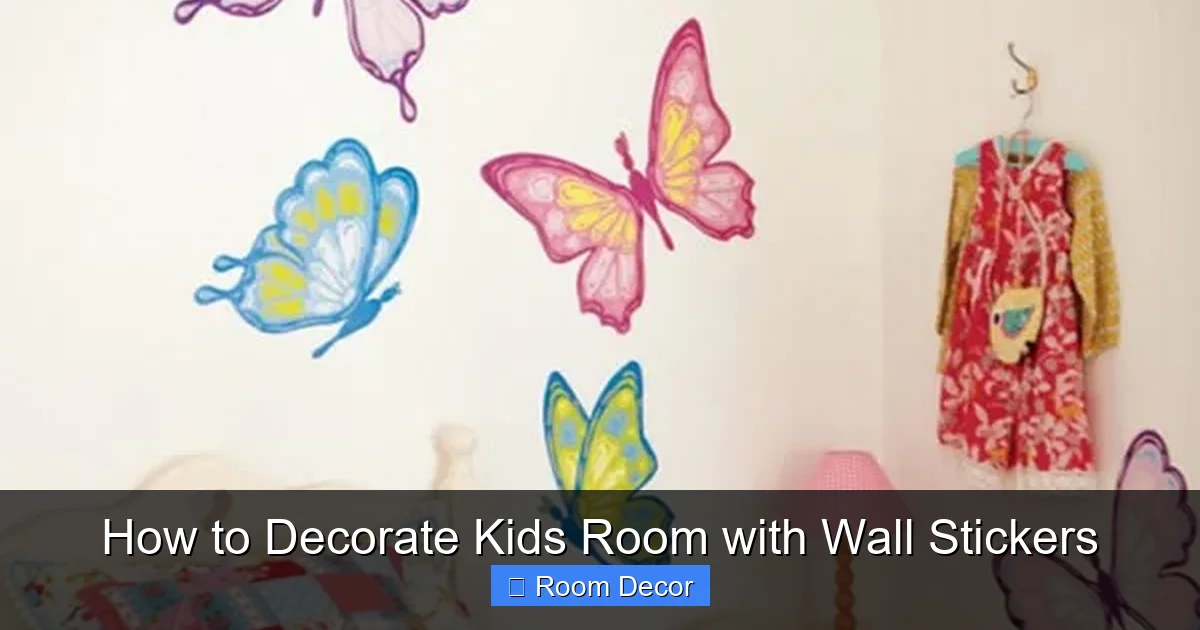
Visual guide about How to Decorate Kids Room with Wall Stickers
Image source: 4.bp.blogspot.com
Test Placement with Painter’s Tape
This is where your painter’s tape comes in handy. If your stickers come in individual pieces or multiple components of a larger design, carefully cut them out (keeping the backing on). Then, use small pieces of painter’s tape to temporarily stick them to the wall in your desired arrangement. Painter’s tape is gentle on paint and won’t leave residue.
Step Back and Evaluate
Once you have a temporary layout, step back! View the wall from different angles in the room. How does it look from the door? From the bed? Is it balanced? Do you have a clear focal point? Are there any elements that feel out of place or too cluttered? This is your chance to make changes without any commitment. You can move pieces around freely until you’re completely happy with the composition.
Get Your Child Involved
Remember, this is their room! If your child is old enough, invite them to participate in the mock-up process. Let them offer suggestions on where to place certain characters or elements. This not only makes the process more fun and collaborative but also gives them a sense of ownership over their newly decorated space. It’s a wonderful way to personalize their room even further.
Step 4: The Art of Application – Sticking with Confidence
Now for the main event! With your wall prepped and your design mocked up, it’s time to apply those beautiful wall stickers. Precision and patience are your best friends here.
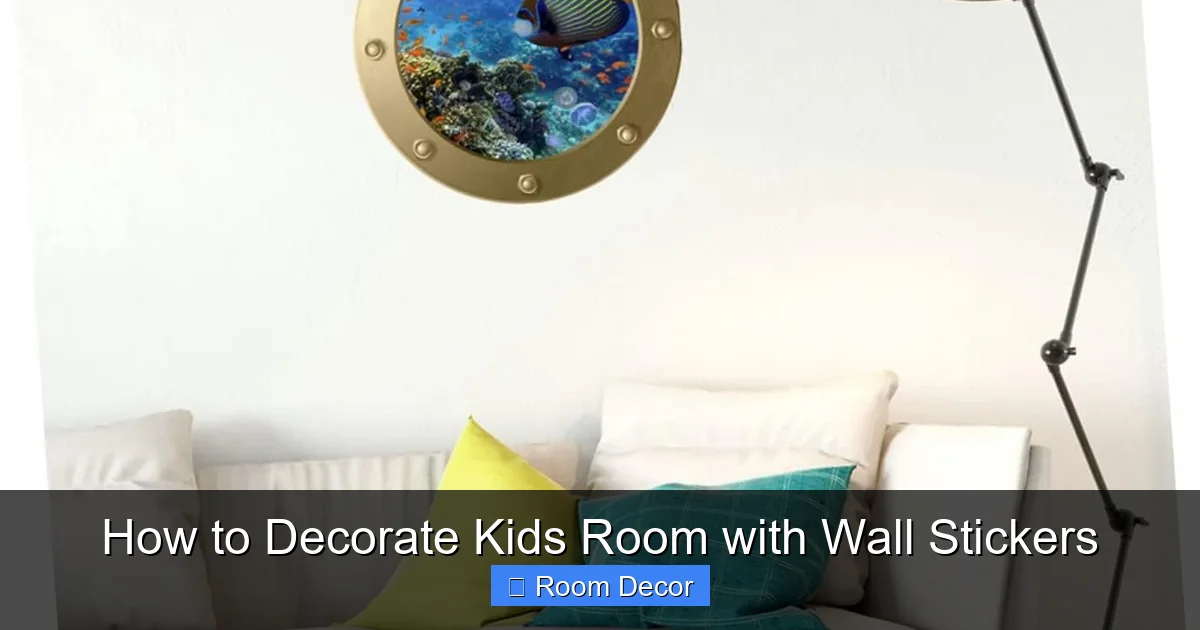
Visual guide about How to Decorate Kids Room with Wall Stickers
Image source: m.media-amazon.com
General Application Steps (for Peel-and-Stick Decals)
Most wall stickers, especially those for kids’ rooms, are of the peel-and-stick variety. Follow these general steps for smooth application:
- Start Small: For larger stickers, it’s often easiest to start by peeling back only a small portion of the backing paper (about an inch or two) from the top edge.
- Align and Stick: Carefully align the top edge of the sticker with your marked position on the wall. Gently press down the exposed adhesive portion onto the wall.
- Slowly Peel and Smooth: As you slowly peel more of the backing paper away with one hand, use your squeegee or credit card with the other hand to smooth the sticker onto the wall from the center outwards. Work in small sections, applying even pressure to prevent air bubbles.
- Work Downwards: Continue this process, gradually peeling off more backing paper and smoothing downwards and outwards until the entire sticker is applied.
Specific Steps for Transfer Stickers
Transfer stickers require a slightly different approach:
- Prepare the Sticker: Lay the sticker flat, design-side up. Use your squeegee to firmly rub over the clear transfer tape (the top layer) to ensure the vinyl design adheres well to it.
- Peel Backing Paper: Carefully peel the backing paper away from the transfer tape and vinyl design. The vinyl design should lift completely with the clear transfer tape. If any part of the design sticks to the backing, press the backing paper back down and rub again before trying to peel.
- Position on Wall: Once the design is fully on the transfer tape, carefully position it on your wall, using your painter’s tape guides.
- Apply to Wall: Press the entire transfer tape (with the design) firmly onto the wall. Use your squeegee to rub over the entire design, ensuring every part of the vinyl adheres to the wall.
- Slowly Remove Transfer Tape: Begin to slowly peel the clear transfer tape away from the wall, starting at an acute angle (almost flat against the wall). Watch carefully to ensure the vinyl design is sticking to the wall and not lifting with the tape. If any part lifts, press the tape back down, rub over that area again, and then try peeling again.
- Final Smoothing: Once the transfer tape is removed, use your squeegee or a soft cloth to give the applied vinyl a final rub-down.
Tips for Smooth Application (Avoiding Bubbles and Wrinkles)
- Slow and Steady Wins the Race: Rushing is the number one cause of mistakes. Take your time with each step.
- Work from Center Out: Always smooth from the middle of the sticker towards the edges. This pushes any trapped air outwards.
- Overlap Strokes: When using your squeegee, overlap your strokes slightly to ensure even pressure and no missed spots.
- Tiny Bubbles: If you see very small bubbles, sometimes you can gently press them out with your thumb. For stubborn tiny bubbles, a pin or a sharp needle can be used to poke a minuscule hole, then you can smooth the air out. Be very gentle to avoid tearing the sticker.
- Large Stickers: For really big wall stickers, having a second person to help hold and align can be invaluable.
Step 5: Finishing Touches and Maintenance – Making it Last
Your wall stickers are up, and the room looks amazing! A few final steps will ensure they stay looking their best for a long time.
Gently Smooth Out Any Imperfections
After a few minutes, take another look. Sometimes, small bubbles or creases might become more apparent. Gently go over the entire sticker with your squeegee or a soft cloth, working from the center out to catch any remaining air or adherence issues.
Cleaning and Care for Your Stickers
Wall stickers are generally low maintenance. To keep them vibrant and clean:
- Dust Regularly: Just like your walls, stickers can collect dust. A light dusting with a dry, soft cloth will keep them looking fresh.
- Gentle Cleaning: If they get dirty, gently wipe them with a damp, soft cloth using plain water. Avoid harsh chemical cleaners or abrasive sponges, as these can damage the sticker’s finish or color.
- Avoid Direct Heat/Sun: While many are UV resistant, prolonged direct sunlight can cause some colors to fade over time. Excessive heat can also affect the adhesive.
Troubleshooting Common Wall Sticker Woes
Even with careful application, sometimes little issues pop up. Don’t worry, most problems have simple solutions!
Bubbles Underneath
This is the most common issue. If you have large bubbles, you might need to gently lift a portion of the sticker from the edge closest to the bubble and re-apply, smoothing carefully. For smaller bubbles, a tiny prick with a pin or needle will release the trapped air, allowing you to smooth it flat with your finger or squeegee.
Stickers Not Sticking
If parts of your wall stickers aren’t adhering, double-check your wall preparation. Was the wall clean and dry? Was the paint fully cured? Heavily textured walls or certain paint finishes (like stain-resistant or low-VOC paints sometimes) can be tricky. You might try using a hair dryer on a low setting to gently warm the sticker and wall, then press firmly. For stubborn edges, a tiny dab of clear craft adhesive (like a clear-drying glue stick or Mod Podge) applied to the backing might help, but be careful not to use too much or it could damage the paint.
Difficulty Removing
Most quality wall stickers are designed to be removable without damage. If you’re having trouble, or if they’re leaving residue, a hair dryer can be your friend. Gently warm the sticker with a hair dryer on a low setting. The heat softens the adhesive, making it easier to peel away slowly at an acute angle. Any sticky residue can often be removed with a clean cloth and a little rubbing alcohol or Goo Gone, but test in an inconspicuous area first.
Peeling Edges
Over time, edges might start to peel. This can happen due to high humidity, wall texture, or frequent touching. Use your squeegee or finger to press the edge back down firmly. If it keeps peeling, a small amount of clear craft adhesive can be applied to the back of the peeling edge to secure it. Again, less is more, and test first.
Tips for a Picture-Perfect Kids Room
Decorating a kids room with wall stickers is just one piece of the puzzle. Here are some extra tips to create a truly cohesive and inviting space:
Mix and Match with Other Decor
Wall stickers don’t have to be the sole decor element. Coordinate them with bedding, rugs, curtains, and even small accessories. If your stickers feature stars, bring in a star-themed pillow. If you have a jungle theme, add a plush animal or a leafy green plant. This creates a layered, well-designed look.
Create a Focal Point
Sometimes, less is more. Instead of covering every wall, consider using a large, impactful wall sticker on one main wall to create a strong focal point. This draws the eye and makes a powerful statement without overwhelming the room. Smaller, complementary stickers can then be used sparingly on other walls.
Future-Proofing Your Decor
Kids grow fast, and their interests change even faster! When you decorate kids room with wall stickers, remember that they are temporary. This is a huge advantage. Choose designs that can evolve, or be prepared to update them. For instance, a basic landscape background can be updated with different characters as your child ages. Or, opt for easily removable and reusable fabric decals that can be moved or stored away for later.
Conclusion
Decorating a kids room with wall stickers is a fantastic journey of creativity and personalization. It’s a way to bring your child’s imagination to life, transforming a simple room into a magical sanctuary. From choosing whimsical themes and vibrant colors to precise application and easy maintenance, this guide has equipped you with all the knowledge you need to embark on this fun project.
Remember, the goal is to create a space that your child loves and feels comfortable in. Don’t be afraid to experiment, involve your child in the process, and most importantly, have fun! With a little planning and patience, you’ll create a stunning and inspiring kids’ room that will be cherished for years to come. So go ahead, peel, stick, and watch your child’s room transform!