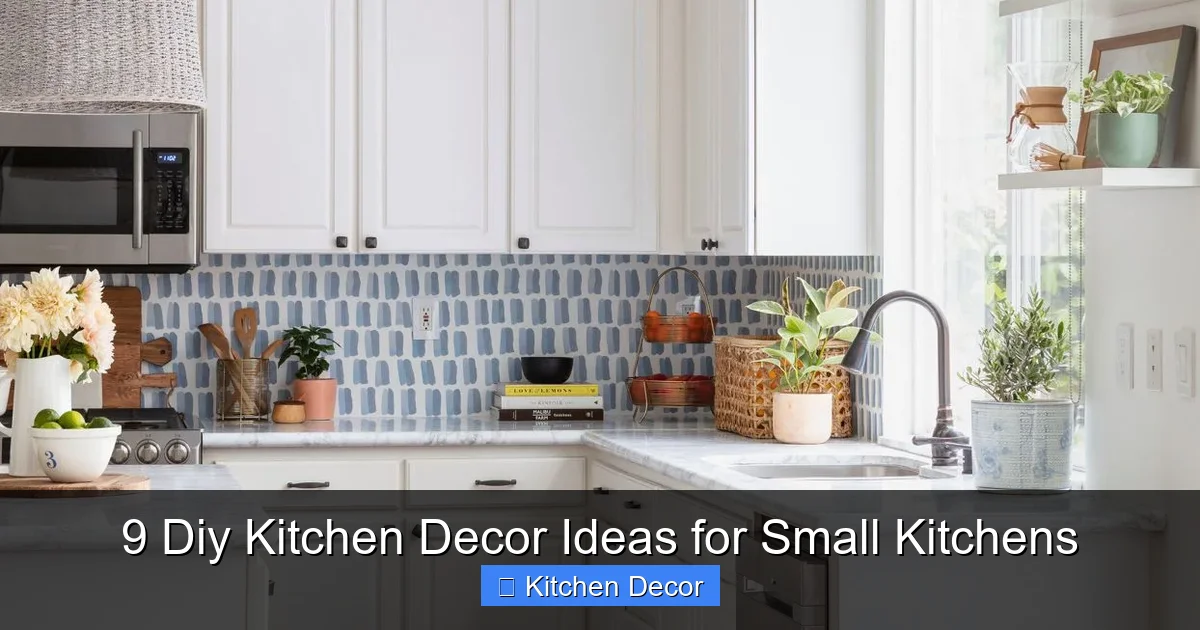
Revitalize your compact cooking space with these 9 clever DIY kitchen decor ideas for small kitchens. Discover how to effortlessly maximize every inch, inject personality, and boost functionality through creative projects like open shelving, peel-and-stick backsplashes, and upcycled storage. You’ll learn practical, budget-friendly ways to make your small kitchen feel bigger, brighter, and more organized, turning it into a truly inspiring heart of your home.
9 Diy Kitchen Decor Ideas for Small Kitchens
Welcome to the ultimate guide for transforming your compact culinary haven! If you’ve been dreaming of a kitchen that feels bigger, brighter, and more functional without a major renovation, you’ve come to the right place. Living with a small kitchen can sometimes feel challenging, but it also presents a wonderful opportunity to get creative and make every inch count. This guide will walk you through 9 fantastic DIY kitchen decor ideas specifically tailored for small kitchens.
We’ll focus on projects that are budget-friendly, easy to execute, and have a big impact on both aesthetics and practicality. From maximizing vertical space to adding pops of personality, these DIY kitchen decor tips will help you create a kitchen you absolutely love. Get ready to roll up your sleeves and give your small kitchen the stylish upgrade it deserves!
Key Takeaways
- Embrace Vertical Space: Utilize walls for storage and decor with open shelves, magnetic racks, and hanging planters to keep countertops clear in small kitchens.
- Brighten and Expand Visually: Incorporate light colors, reflective surfaces, and strategic lighting (like under-cabinet LEDs) to make your small kitchen feel more open and airy.
- Choose Multi-Functional Items: Opt for decor that doubles as storage or serving pieces, such as a portable island or upcycled jars, maximizing utility in a compact area.
- Personalize with DIY Touches: Add character and charm through projects like chalkboard paint sections, DIY herb gardens, or unique backsplashes that reflect your style.
- Prioritize Organization: Smart storage solutions like pantry organizers and spice racks are crucial for maintaining a clutter-free and efficient small kitchen environment.
- Budget-Friendly Transformations: Many impactful decor changes for small kitchens can be achieved using inexpensive materials, repurposed items, and a bit of DIY effort.
- Focus on Readability and Flow: Keep design elements simple and cohesive. Too much clutter, even decorative, can overwhelm a small kitchen, so less is often more.
1. Maximize Vertical Space with Open Shelving
Open shelving is a game-changer for small kitchens. It not only provides essential storage but also makes the space feel more open and less cramped than traditional upper cabinets. Plus, it gives you a chance to display beautiful dishes, glassware, or decorative items. This is a classic DIY kitchen decor solution that never goes out of style for small kitchens.
Materials You’ll Need:
- Wood planks (cut to desired length and depth)
- Shelf brackets
- Drill and screws
- Level
- Stud finder
- Sanding paper
- Paint or stain (optional)
Step-by-Step Instructions:
-
Plan Your Layout: Before drilling, decide where your shelves will go. Consider areas above your sink, counter, or even an unused wall. Mark the height and length of each shelf with a pencil.
-
Prepare Your Wood: If your wood isn’t pre-finished, sand it smooth. Apply a coat of paint or stain if you want to match your existing decor or add a pop of color. Let it dry completely.
-
Locate Studs: Use a stud finder to locate studs in the wall. Attaching shelves directly to studs ensures maximum stability, which is crucial for holding heavy items. Mark the stud locations.
-
Install Brackets: Hold the first bracket against your wall mark, ensuring it’s level. Mark the screw holes. Pre-drill pilot holes, then attach the bracket securely with screws. Repeat for the second bracket, ensuring it’s perfectly level with the first.
-
Attach the Shelf: Place your prepared wood plank onto the installed brackets. Secure it to the brackets from underneath with short screws if your brackets allow. This prevents the shelf from shifting.
-
Repeat for More Shelves: Continue the process for any additional shelves you plan to install. Remember to use a level for each one.
Practical Tips for Small Kitchens:
- Don’t Overload: Keep open shelves organized and somewhat sparse. Too many items can quickly make a small kitchen feel cluttered.
- Mix Function and Form: Display pretty dishes, but also practical everyday items like mugs or spice jars.
- Consider Corner Shelves: Don’t forget those often-underutilized corner spaces! Small corner shelves can be incredibly useful.
2. Brighten Up with Peel-and-Stick Backsplashes
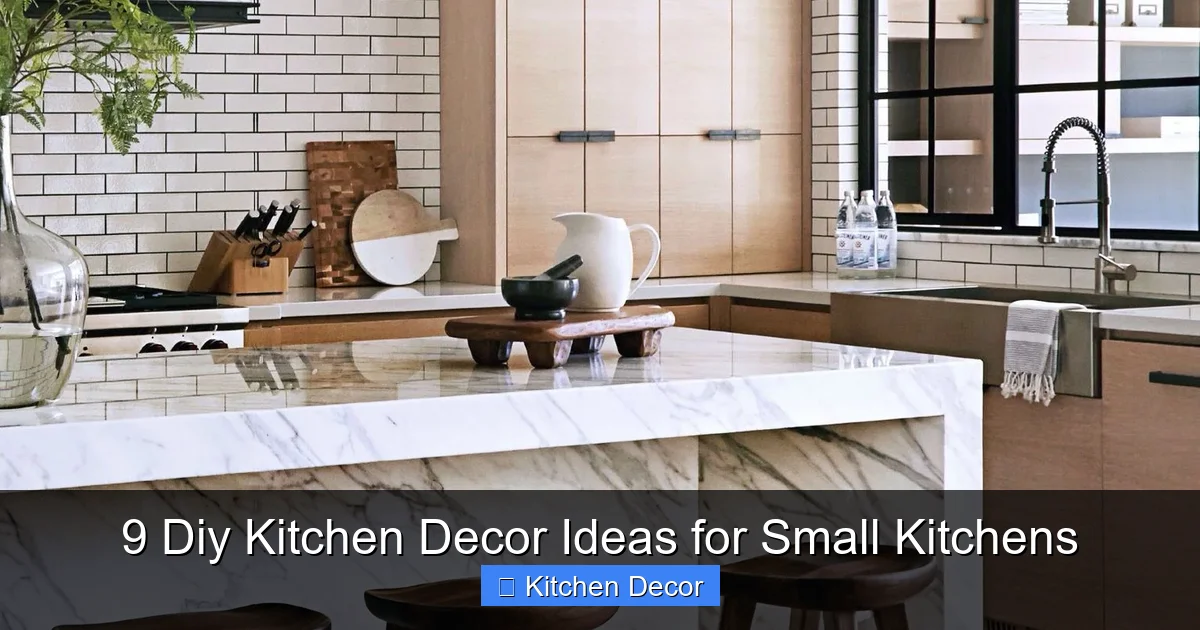
A backsplash adds visual interest and protects your walls from splashes, but traditional tiling can be a big, messy, and costly job. For small kitchens, peel-and-stick backsplashes are a fantastic DIY solution. They’re affordable, easy to install, and come in a huge variety of styles, from subway tile to mosaic patterns. This quick DIY kitchen decor update can dramatically change the look and feel of your space.
Materials You’ll Need:
- Peel-and-stick tile sheets
- Measuring tape
- Utility knife or sharp scissors
- Ruler or straight edge
- Pencil
- Clean cloth and all-purpose cleaner
Step-by-Step Instructions:
-
Clean and Prep Your Surface: Ensure the wall surface is clean, dry, and smooth. Wipe down the area thoroughly with a cleaner and let it dry completely.
Visual guide about 9 Diy Kitchen Decor Ideas for Small Kitchens
Image source: i.pinimg.com
-
Measure and Plan: Measure the area where you want to apply the backsplash. It’s often helpful to lay out your tile sheets on a table first to visualize the pattern and how they will fit. Start from an inconspicuous corner or the center and work your way out.
-
Cut Your First Tile: For your first piece, you might need to trim it to fit perfectly against a corner or edge. Measure carefully, mark with a pencil, and cut with a utility knife or sharp scissors. Use a ruler for straight cuts.
-
Apply the First Tile: Peel off a small portion of the backing paper from the top edge. Align the tile precisely where you want it to go. Once aligned, slowly peel off the rest of the backing paper while pressing the tile firmly onto the wall, smoothing out any air bubbles as you go.
-
Continue Applying Tiles: Overlap the edges of subsequent tiles according to the manufacturer’s instructions (most have interlocking edges for a seamless look). Press firmly, ensuring good adhesion. Use your utility knife for cuts around outlets or tricky corners.
-
Finishing Touches: Once all tiles are applied, go over the entire surface with a clean, dry cloth, pressing firmly to ensure all edges are securely stuck. If any edges lift, you can sometimes use a hair dryer to gently warm the adhesive and press it back down.
Practical Tips for Small Kitchens:
- Light Colors Work Wonders: For small kitchens, choose lighter-colored tiles to reflect light and make the space feel larger and brighter.
- Pattern Play: Even subtle patterns can add depth and interest without overwhelming a small space.
- Start Small: If you’re nervous, try a small section first, like behind the sink, before tackling a larger area.
3. Create a Faux Built-In Look with Pantry Organizers
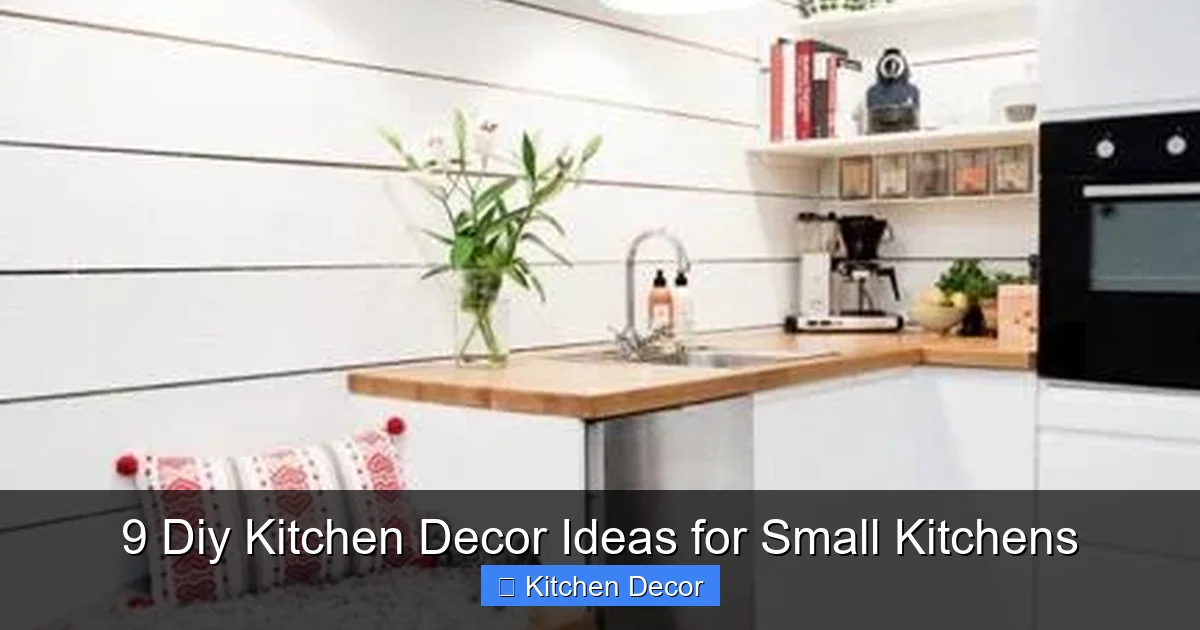
Storage is king in a small kitchen. Sometimes, standalone pantry units can look bulky. Creating a “faux built-in” pantry effect using freestanding organizers can maximize space and make your kitchen look custom-designed. This clever DIY kitchen decor idea combines functionality with a sleek aesthetic.
Materials You’ll Need:
- Several matching freestanding pantry shelves or narrow bookcases
- Baskets or bins for organization
- Measuring tape
- Level
- Optional: paint, decorative trim, wall anchor kits
Step-by-Step Instructions:
-
Measure Your Space: Identify an empty wall or an alcove in your small kitchen that could house a pantry system. Measure the width, height, and depth carefully.
Visual guide about 9 Diy Kitchen Decor Ideas for Small Kitchens
Image source: lushome.com
-
Select Your Organizers: Choose freestanding shelving units or narrow bookcases that fit your measurements. Aim for units that are the same height and depth for a cohesive look. Ideally, they should fill the width of your chosen space as much as possible to create that “built-in” feel.
-
Assemble the Units: Follow the manufacturer’s instructions to assemble your chosen shelving units. This is a crucial step in preparing your DIY kitchen decor.
-
Arrange and Level: Place the assembled units side-by-side in your designated spot. Use a level to ensure they are straight. If desired, you can use wall anchor kits to secure the units to the wall for safety, especially if you have children or pets.
-
Organize with Bins and Baskets: Fill the shelves with matching baskets, bins, or containers. This helps to conceal clutter and gives a uniform, organized appearance. Labeling them can add to the “custom” feel.
-
Optional: Add Finishing Touches: For a true built-in look, you could paint the units to match your wall color, or add simple decorative trim pieces around the top and sides to create a seamless transition with your walls.
Practical Tips for Small Kitchens:
- Go Vertical: Choose tall, narrow units to take advantage of ceiling height.
- Consistency is Key: Using matching units and storage bins creates a clean, streamlined look that’s essential for small kitchens.
- Think Outside the Box: Not just for food! These units can store small appliances, extra dishes, or even cleaning supplies.
4. Add Greenery with DIY Herb Gardens
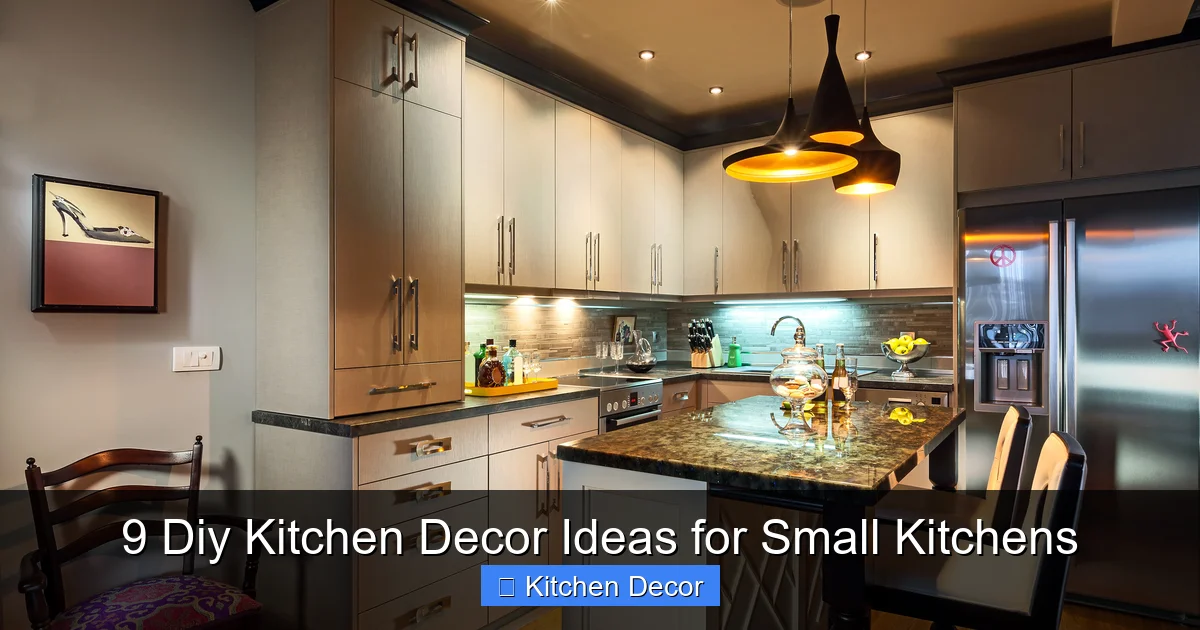
Bringing a touch of nature into your kitchen not only brightens the space but also provides fresh herbs for cooking. A DIY herb garden is a perfect piece of DIY kitchen decor that adds life and freshness to small kitchens. Plus, it smells wonderful!
Materials You’ll Need:
- Small pots or containers (terra cotta, repurposed cans, or small ceramic pots)
- Potting soil
- Herb seeds or small herb plants (basil, mint, thyme, rosemary, parsley are great choices)
- Optional: Chalkboard paint and chalk for labels, small wall-mounted planters, S-hooks and a tension rod.
Step-by-Step Instructions:
-
Choose Your Location: Select a spot in your small kitchen that receives adequate sunlight – a windowsill, near a window, or even under a grow light if natural light is scarce.
Visual guide about 9 Diy Kitchen Decor Ideas for Small Kitchens
Image source: stlouiskitchendesign.xyz
-
Select Your Planters: Decide on your containers. You can use pretty small pots, or get creative with repurposed items like cleaned tin cans or mason jars. If using cans or jars, ensure they have drainage holes (you might need to drill them). For a space-saving solution, consider small wall-mounted planters or hang pots from a tension rod in front of a window using S-hooks.
-
Prepare the Soil: Fill your chosen pots with good quality potting soil, leaving about an inch of space from the rim.
-
Plant Your Herbs: If using seeds, follow the package directions for depth and spacing. If using small plants, gently remove them from their nursery pots and plant them in your prepared containers. Water thoroughly after planting.
-
Label Your Herbs: Label each pot so you know what’s growing! You can use small plant markers, write directly on the pot if it’s terra cotta, or attach chalkboard labels to repurposed containers.
-
Ongoing Care: Place your herb garden in its sunny spot. Water regularly (check soil moisture before watering) and harvest leaves as needed. Rotate the pots occasionally for even growth.
Practical Tips for Small Kitchens:
- Window Sill Wonders: Your windowsill is prime real estate for a small herb garden.
- Vertical Gardens: Wall-mounted planters or tiered hanging baskets save counter space and add a beautiful green wall.
- Choose Dwarf Varieties: Look for compact or dwarf varieties of herbs if space is extremely limited.
5. Enhance Functionality with Magnetic Spice Racks
Spice jars can quickly clutter precious counter or cabinet space in small kitchens. A magnetic spice rack is an ingenious DIY kitchen decor idea that keeps your spices organized, easily accessible, and adds a modern touch. It uses vertical space efficiently and frees up valuable storage.
Materials You’ll Need:
- Magnetic strip or magnetic paint
- Small metal tins with clear lids (or jars with metal lids)
- Strong magnets (if using regular jars)
- Label maker or permanent marker
- Spices!
- Drill and screws (if installing a magnetic strip)
Step-by-Step Instructions:
-
Choose Your Magnetic Surface: You have a few options:
- Option A (Magnetic Strip): Purchase a magnetic knife strip or a similar strong magnetic strip.
- Option B (Magnetic Paint): Paint a section of your wall or the inside of a cabinet door with magnetic primer, then topcoat with your desired color.
- Option C (DIY Magnetic Board): Attach a thin metal sheet to a wall or cabinet door.
-
Install Your Magnetic Surface:
- For a magnetic strip: Use a level to ensure it’s straight, then screw it into the wall or cabinet door according to the manufacturer’s instructions.
- For magnetic paint: Apply several coats of magnetic primer as directed, allowing each to dry. Then paint over with your chosen finish color.
- For a metal sheet: Secure it to the wall with small screws or strong adhesive.
-
Prepare Your Spice Containers:
- If using metal tins: Fill each tin with a spice. Label the bottom or the lid clearly with the spice name.
- If using regular jars: Attach strong magnets to the bottom of your spice jars using super glue. Make sure the magnets are strong enough to hold the jar and its contents. Label the lids.
-
Arrange Your Spices: Once your magnetic surface is installed and your spice containers are ready, simply stick them onto the magnetic surface. Arrange them alphabetically, by frequency of use, or by color for a visually appealing display.
Practical Tips for Small Kitchens:
- Utilize Cabinet Doors: The inside of a cabinet door is an often-overlooked space perfect for a magnetic spice rack.
- Under Cabinets: If you have an overhang, you can install a magnetic strip on the underside of an upper cabinet.
- Vertical Rows: Arrange your spices in neat vertical rows to emphasize height and organization.
6. Personalize with Chalkboard Paint Areas
Chalkboard paint is incredibly versatile and a fantastic DIY kitchen decor tool for small kitchens. It allows you to create a dynamic, customizable surface for notes, grocery lists, recipes, or even just fun drawings. It adds a touch of rustic charm and functionality.
Materials You’ll Need:
- Chalkboard paint (and primer if painting over a dark or glossy surface)
- Paint roller or brush
- Painter’s tape
- Drop cloth
- Chalk and eraser
Step-by-Step Instructions:
-
Choose Your Area: Identify a suitable spot in your small kitchen for a chalkboard. This could be a section of a wall, the side of a cabinet, the back of a pantry door, or even a small piece of wood cut to fit a specific space.
-
Prepare the Surface: Clean the area thoroughly. If the surface is glossy or very dark, you might want to apply a primer first to ensure good adhesion of the chalkboard paint. Use painter’s tape to tape off the edges of the area you want to paint to create clean lines.
-
Apply Chalkboard Paint: Stir the chalkboard paint well. Apply thin, even coats using a roller or brush. Allow each coat to dry completely before applying the next. Most chalkboard paints require 2-3 coats for a durable, opaque finish.
-
Cure the Paint: This is a crucial step! Read the manufacturer’s instructions, but typically you need to let the paint cure for at least 3 days (or up to a week) before seasoning it.
-
Season the Chalkboard: Once cured, take a piece of chalk and rub it horizontally over the entire painted surface, then vertically. Erase it completely with a dry cloth or eraser. This primes the surface and prevents “ghosting” from your first writings.
-
Start Decorating! Now your chalkboard is ready for use. Write your grocery list, a favorite recipe, or a fun message. This DIY kitchen decor element is always changing!
Practical Tips for Small Kitchens:
- Back of a Door: The back of your pantry or kitchen entry door is a perfect, out-of-the-way spot for a full-sized chalkboard.
- Small Sections: You don’t need a whole wall. A small framed section or a slim vertical strip can be just as effective.
- Magnetic Chalkboard: Paint a piece of metal with chalkboard paint, then attach magnets to the back to create a removable magnetic chalkboard.
7. Upcycle Jars for Storage and Decor
Don’t throw away those old glass jars! Mason jars, pickle jars, or even coffee jars can be beautifully repurposed into practical and charming DIY kitchen decor for small kitchens. They’re perfect for storing dry goods, utensils, or even as decorative vases.
Materials You’ll Need:
- Clean glass jars with lids (various sizes)
- Optional: Paint (spray paint or chalk paint), labels, twine, fabric scraps, wooden beads.
- Optional: Strong adhesive (e.g., E6000) for attaching knobs or handles.
Step-by-Step Instructions:
-
Clean and Dry Jars: Thoroughly wash and dry all your jars. Remove any old labels by soaking them in hot soapy water and scraping. Make sure they are completely dry before moving on.
-
Decide on Your Use: Think about what you’ll store in them.
- For Dry Goods: Use larger jars for pasta, rice, flour, sugar, or coffee beans.
- For Utensils: Medium to large jars can hold spatulas, whisks, or wooden spoons.
- For Smaller Items: Small jars are great for cotton swabs, tea bags, or even paper clips.
- For Decor: Use them as vases for flowers, holders for candles, or simply as decorative pieces.
-
Decorate (Optional):
- Paint: Spray paint the jars a solid color (outside only) or use chalk paint for a matte, distressed look. You can also paint the lids.
- Labels: Create custom labels for your dry goods. You can handwrite them, print them, or use chalkboard labels.
- Wrap: Wrap twine or decorative ribbon around the neck of the jars.
- Add Knobs: For a more refined look, glue a small drawer knob or decorative pull onto the center of the jar lids (ensure they are dry before using).
-
Fill and Arrange: Fill your decorated jars with their intended contents. Arrange them neatly on open shelves, countertops, or in a cabinet. Matching sets of jars look especially cohesive in small kitchens.
Practical Tips for Small Kitchens:
- Visibility is Key: Clear jars allow you to easily see what’s inside, which is helpful in a busy small kitchen.
- Stack if Possible: Some jars are designed to be stackable, maximizing vertical space in cabinets.
- Cohesive Look: Stick to a consistent style or color scheme for your jars to maintain a tidy appearance.
8. Illuminate with Under-Cabinet LED Lighting
Good lighting can dramatically change the perception of space in small kitchens, making them feel larger, brighter, and more inviting. Under-cabinet LED lighting is an easy, affordable DIY kitchen decor upgrade that adds both ambiance and practical task lighting.
Materials You’ll Need:
- Under-cabinet LED strip lights (battery-operated or plug-in)
- Measuring tape
- Scissors (if strip lights are cuttable)
- Cleaning supplies (rubbing alcohol, cloth)
- Optional: Cable clips (if using plug-in lights)
Step-by-Step Instructions:
-
Measure Your Cabinets: Measure the underside of your upper cabinets where you want to install the lights. Decide if you want lights along the entire length or just in specific task areas.
-
Clean the Surface: Wipe down the underside of your cabinets thoroughly with rubbing alcohol and a clean cloth. This ensures that the adhesive on the LED strips will stick properly.
-
Prepare the LED Strips: Unroll your LED strip lights. If they are cuttable, trim them to the desired length according to the markings on the strip. For battery-operated lights, insert the batteries into the pack. For plug-in lights, ensure the power cord reaches an outlet.
-
Install the Lights: Peel off the adhesive backing from the LED strip. Carefully press the strip firmly onto the underside of your cabinets, starting from one end and working your way across. Apply consistent pressure to ensure good adhesion.
-
Secure Wires (if plug-in): If using plug-in lights, neatly tuck away any excess wire. Use small cable clips to secure the power cord along the underside of the cabinet, down the back, or along the wall to an outlet, keeping it out of sight.
-
Test and Adjust: Turn on your lights! Adjust brightness or color settings if your kit includes these features. Enjoy the immediate transformation in your small kitchen.
Practical Tips for Small Kitchens:
- Light Colors: The reflected light from lighter countertops and backsplashes will amplify the effect of your under-cabinet lighting.
- Battery-Operated for Renters: If you rent, battery-operated LED strips are a fantastic, commitment-free option.
- Warm White Glow: A warmer white light (2700K-3000K) typically creates a cozier, more inviting atmosphere in a small kitchen.
9. Smarten Up with a Portable Kitchen Island/Cart
A kitchen island might seem like a luxury for small kitchens, but a compact, portable kitchen island or cart is a genius solution. It provides extra counter space for prep, storage, and can even serve as a small dining area, all while being movable to free up floor space when needed. This is a powerful piece of DIY kitchen decor that adds immense functionality.
Materials You’ll Need:
- A sturdy small cart or narrow bookcase on wheels
- A cutting board or piece of wood for a top (if the cart doesn’t have a solid top)
- Optional: Paint, hooks, baskets, drawer pulls
Step-by-Step Instructions:
-
Find Your Base: Look for a sturdy, narrow cart or a small bookcase with wheels (or add wheels to a regular one). Thrift stores, online marketplaces, or IKEA are great places to find suitable bases. Ensure it’s proportional to your small kitchen space and can easily move around.
-
Upgrade the Top (Optional): If your cart has an unsuitable top (e.g., wire shelves), add a cutting board or a custom-cut piece of wood to create a solid, usable work surface. Secure it to the cart with screws from underneath or strong adhesive. Sand and seal the wood if needed.
-
Personalize with Paint (Optional): Give your cart a fresh coat of paint to match your kitchen’s existing decor or to add a vibrant accent color. Allow it to dry completely.
-
Add Storage and Functionality:
- Hooks: Attach small hooks to the sides of the cart for hanging dishtowels, oven mitts, or small cooking utensils.
- Baskets/Bins: Utilize the shelves with attractive baskets or bins for storing produce, cookbooks, or small appliances.
- Drawer Pulls: If your cart has drawers, replace generic pulls with decorative ones for an elevated look.
-
Position and Use: Place your portable island where it’s most useful. Wheel it out for food prep, bring it to the dining area for serving, or tuck it away when you need more floor space. Remember, flexibility is key for small kitchens.
Practical Tips for Small Kitchens:
- Locking Wheels: Ensure your cart has locking wheels for stability during food prep.
- Slim Profile: Opt for a narrow design to prevent it from overwhelming the space.
- Hidden Storage: Use closed baskets or containers on the shelves to keep visual clutter at bay.
General Tips for Decorating Small Kitchens
- Think Multi-Functional: Every item should ideally serve more than one purpose.
- Go Vertical: Always look up! Walls are your best friend for storage and decor.
- Light and Bright: Lighter colors on walls, cabinets, and backsplashes reflect light, making the space feel larger.
- Keep it Clutter-Free: Small kitchens can quickly feel overwhelmed by too many items. Edit ruthlessly.
- Reflective Surfaces: Mirrors, glossy tiles, or stainless steel appliances can help bounce light around.
- Scale Appropriately: Choose furniture and decor items that are proportional to the size of your kitchen. Avoid bulky items.
- Consistent Color Palette: Sticking to a limited color scheme helps create a cohesive, calm feel.
Conclusion
Transforming a small kitchen doesn’t have to be a daunting task. With these 9 DIY kitchen decor ideas for small kitchens, you have a wealth of creative, budget-friendly projects at your fingertips. From ingenious storage solutions to delightful decorative touches, each idea is designed to enhance both the beauty and functionality of your compact space.
Remember, the key is to be strategic, embrace vertical space, and inject your personal style without adding clutter. Take these ideas, adapt them to your taste, and get ready to enjoy a kitchen that feels spacious, organized, and truly yours. Happy DIY-ing!