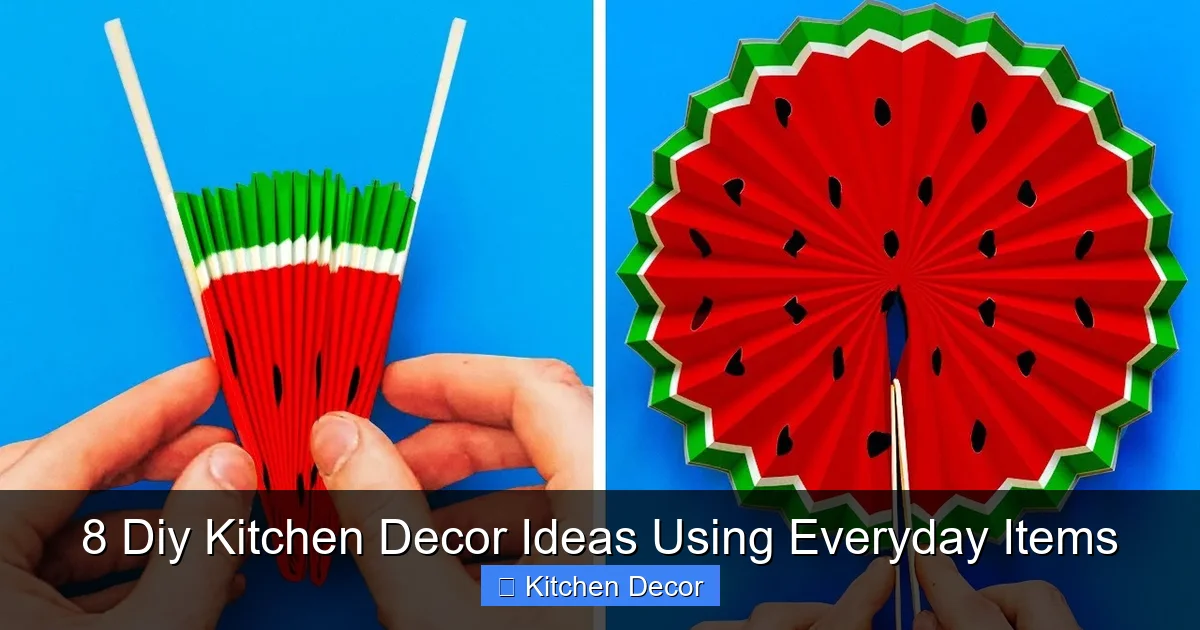
Discover how to effortlessly elevate your kitchen’s style without breaking the bank. This guide provides 8 creative DIY kitchen decor ideas, teaching you to transform common household items into charming and functional accents. Get ready to personalize your space with unique, budget-friendly projects that add warmth and character to your home, proving that beautiful design doesn’t require a hefty price tag.
8 Diy Kitchen Decor Ideas Using Everyday Items
Welcome to your guide for transforming your kitchen! Do you dream of a kitchen that feels warm, inviting, and truly “you,” but worry about the cost of redecorating? You are in the right place. This comprehensive how-to guide will show you exactly how to achieve a stylish and personalized kitchen without spending a fortune. We believe that some of the best decor pieces are those you create yourself, using items you might already have around your house.
In this guide, we’ll walk you through 8 fantastic DIY kitchen decor ideas. These projects are designed to be easy, fun, and incredibly rewarding. We’ll focus on everyday items that are simple to find and repurpose. Get ready to unleash your creativity and turn ordinary objects into extraordinary decor. You will learn practical tips, step-by-step instructions, and examples to inspire you. By the end, your kitchen will feel fresh, personal, and utterly charming. Let’s dive into the wonderful world of DIY kitchen decor!
Key Takeaways
- Embrace Budget-Friendly Decor: Learn to create stunning kitchen decor using items you already own or can find cheaply, saving money while enhancing your space.
- Repurpose and Reinvent: Discover innovative ways to give new life to everyday objects like mason jars, cutting boards, and old mugs, transforming them into functional and beautiful accents.
- Personalize Your Kitchen: Each DIY project offers opportunities to infuse your unique style and personality, making your kitchen truly reflect who you are.
- Simple & Accessible Projects: These DIY kitchen decor ideas require minimal specialized skills or tools, making them perfect for beginners and seasoned crafters alike.
- Add Warmth and Character: Handcrafted items bring a unique charm and story to your kitchen, creating a cozy and inviting atmosphere.
- Boost Functionality and Style: Many projects double as practical storage or organizational solutions, blending aesthetics with utility.
1. Mason Jar Magic: Versatile Storage & Display
Mason jars are the ultimate chameleon of DIY kitchen decor. They are inexpensive, readily available, and incredibly versatile. You can use them for everything from practical storage to charming decorative accents.
Transforming Mason Jars into Utensil Caddies
Say goodbye to cluttered utensil drawers! Mason jars make excellent holders for your kitchen tools.
- Clean and Dry: Wash your mason jars thoroughly with soap and water. Make sure they are completely dry to prevent rust or moisture issues.
- Decorate (Optional): For a rustic look, leave them as is. For a pop of color, consider spray painting them with a primer suitable for glass, followed by your chosen color. You can also wrap them in twine, burlap, or fabric scraps for added texture.
- Organize: Group similar utensils together. For instance, put spatulas in one jar, whisks in another, and wooden spoons in a third. This makes cooking more efficient and looks neat on your countertop.
Practical Tip: Line the bottom of taller jars with a few small pebbles or marbles to give them more stability, especially if you’re putting heavy utensils inside.
Creating Spice & Dry Goods Storage
Mason jars are perfect for keeping your pantry organized and your spices fresh.
- Select Sizes: Use smaller jars for spices and larger ones for dry goods like pasta, rice, flour, or oats.
- Clean and Label: Ensure jars are clean and dry. Use chalkboard labels, adhesive labels, or even a permanent marker directly on the glass to clearly mark contents. This makes it easy to find what you need.
- Arrange: Display them on open shelving for a rustic farmhouse look, or keep them neatly organized in your pantry.
Example: Imagine a row of clear mason jars, each filled with colorful spices, neatly labeled and sitting on a floating shelf. It’s functional art!
Charming Vases & Candle Holders
Mason jars can add a touch of simple elegance as vases or candle holders.
- Vases: Fill a clean jar with water and add fresh flowers or even sprigs of herbs from your garden. Group several jars of different sizes for a dynamic centerpiece.
- Candle Holders: Place a small votive or tea light candle inside a jar. For a safer option, use battery-operated LED candles. You can add sand, pebbles, or coffee beans to the bottom for an interesting base.
DIY Kitchen Decor Ideas Tip: For a frosted look, spray the outside of the jar with a matte finish spray paint or glass frosting spray. This diffuses the light beautifully.
2. Cutting Board Canvas: Decorative Wall Art & More
Don’t hide your cutting boards away! Old or new, cutting boards can become stunning pieces of DIY kitchen decor. They add warmth and a touch of rustic charm to any kitchen space.
Decorative Wall Art
Transform a simple cutting board into a unique piece of wall art.
- Clean & Prep: Make sure the cutting board is clean and dry. If it’s old and worn, a light sanding can smooth out imperfections.
- Decorate:
- Paint: Use acrylic paints to freehand a design, or use stencils for quotes, patterns, or images related to food and cooking.
- Wood Burning: If you have a wood-burning tool, you can create intricate designs or personalized messages.
- Decoupage: Apply pretty paper napkins, fabric scraps, or printed designs onto the board using decoupage glue.
- Seal & Hang: Once dry, seal your artwork with a food-safe sealant if you ever plan to use it for serving, or a regular clear sealant for purely decorative purposes. Drill a small hole at the top (if it doesn’t have one) and thread a piece of twine or ribbon for hanging.
Example: A rectangular cutting board painted with a witty “Eat Local” message or a stenciled herb pattern would look fabulous hanging by your pantry.
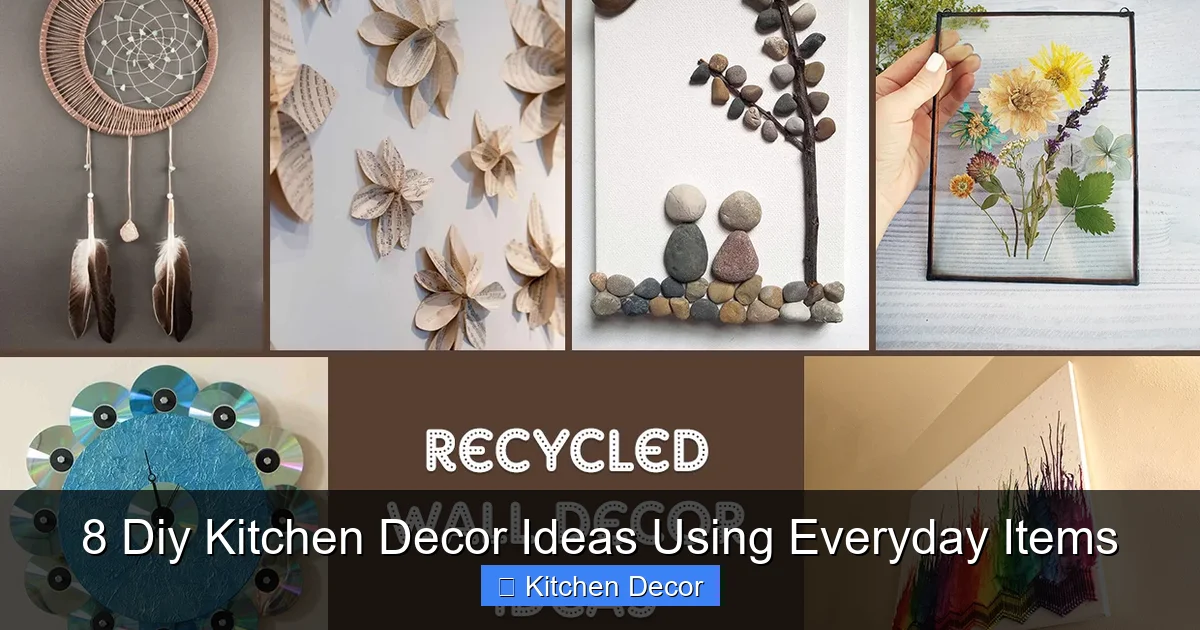
Visual guide about 8 Diy Kitchen Decor Ideas Using Everyday Items
Image source: cloudfrontgharpediabucket.gharpedia.com
Stylish Trivets & Pot Stands
Protect your countertops with personalized cutting board trivets.
- Choose Smaller Boards: Smaller cutting boards or even thicker wood coasters are ideal for this.
- Decorate: Paint, stain, or simply oil them to enhance their natural wood grain. You can also add cork or felt pads to the bottom to protect surfaces even further.
- Display: Keep them stacked neatly near your stovetop or dining area, ready for use. When not in use, they still look like intentional DIY kitchen decor.
Practical Tip: If using for hot items, ensure any paint or sealant used is heat-resistant, or only decorate the non-contact side.
Chalkboard Message Boards
A cutting board can easily become a functional message center.
- Prep: Clean and dry a flat cutting board.
- Apply Chalkboard Paint: Using painter’s tape to create a clean border if desired, apply several thin coats of chalkboard paint to one side of the cutting board. Allow ample drying time between coats.
- Season & Hang: Once fully cured, “season” the chalkboard by rubbing the side of a piece of chalk over the entire surface, then wiping it clean. Hang it in a prominent spot and use it for grocery lists, recipes, or daily affirmations.
DIY Kitchen Decor Ideas Tip: Use a piece of jute twine to attach a small piece of chalk to the board so it’s always handy.
3. Repurposed Bottle Vases: Elegant Floral Displays
Don’t throw away those empty wine bottles, olive oil bottles, or specialty soda bottles! Their unique shapes and sizes make them perfect candidates for beautiful and free DIY kitchen decor vases.
Simple Single Stems
Sometimes, less is more. A single flower or a sprig of greenery can make a big impact.
- Clean Thoroughly: Remove all labels and glue residue. Soaking bottles in hot, soapy water often helps. Use a scrubbing brush for the inside.
- Fill with Water: Add water and a single bloom, a eucalyptus branch, or a few blades of ornamental grass.
- Arrange: Place individual bottles on windowsills, shelves, or as part of a centerpiece.
Practical Tip: For stubborn glue residue, try using rubbing alcohol, nail polish remover, or even cooking oil. Let it sit for a few minutes before scrubbing.
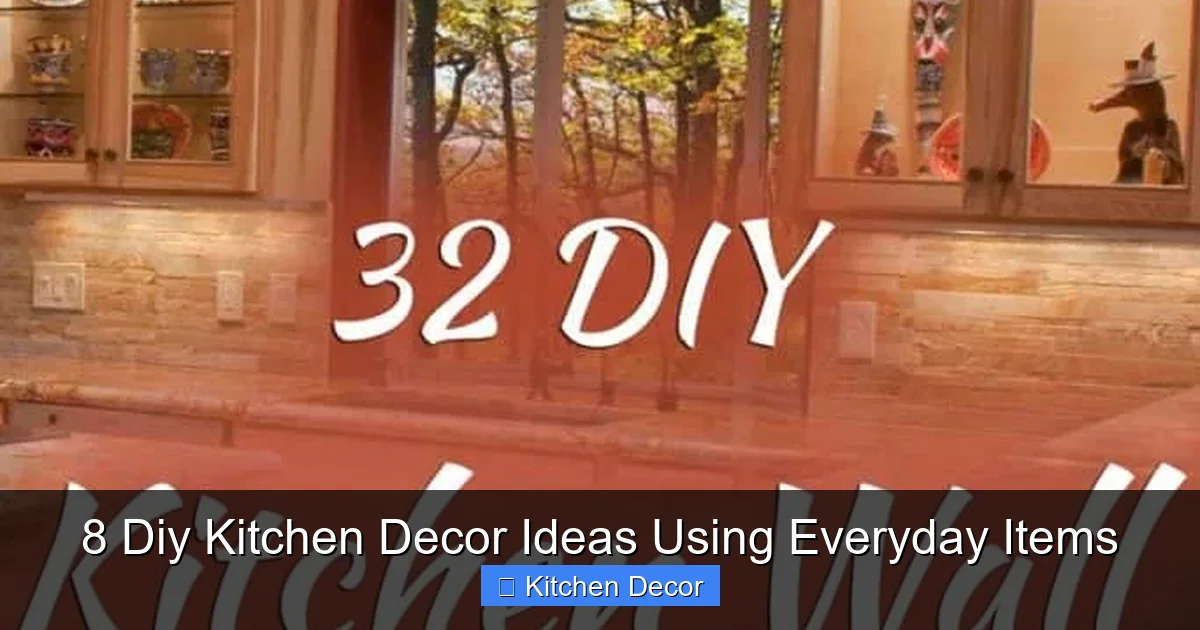
Visual guide about 8 Diy Kitchen Decor Ideas Using Everyday Items
Image source: homedecorbliss.com
Grouped Collections
Create a visually interesting display by grouping several bottles together.
- Gather Variety: Collect bottles of different shapes, sizes, and even subtle colors (like green wine bottles or amber beer bottles).
- Arrange: Group them together on a tray, a wooden block, or directly on your counter. You can fill them with a mix of fresh flowers, dried botanicals, or simply leave some empty for visual interest.
Example: A collection of clear and green glass bottles, some holding white daisies, others with small branches, arranged on a rustic wooden tray creates an elegant and natural focal point.
Painted or Wrapped Bottles
Give bottles a fresh look with paint or textured wraps.
- Prep: Clean bottles thoroughly. For painting, lightly sand the surface for better paint adhesion, then wipe clean.
- Decorate:
- Spray Paint: Use a matte or glossy spray paint in a color that complements your kitchen. You can paint them entirely or use painter’s tape to create stripes or geometric patterns.
- Twine/Yarn Wrap: Apply a thin line of craft glue along the bottom edge of the bottle, then carefully wrap twine or yarn around the bottle, pressing it firmly as you go. Continue adding glue and wrapping until the desired area is covered.
- Display: These decorated bottles make wonderful standalone pieces or can still hold simple floral arrangements.
DIY Kitchen Decor Ideas Tip: Use a primer before spray painting glass for the best, most durable finish.
4. Mug & Teacup Planters: Mini Gardens & Storage
Those chipped mugs, forgotten teacups, or mis-matched sets collecting dust in your cupboard? Give them a new purpose as adorable DIY kitchen decor planters or organizers!
Mini Herb Gardens
Grow fresh herbs right on your kitchen windowsill.
- Choose Mugs: Select mugs or teacups that are aesthetically pleasing. Deeper mugs are better for herbs with longer roots.
- Add Drainage (Optional but Recommended): Since most mugs don’t have drainage holes, place a layer of pebbles or small stones at the bottom before adding soil. This helps prevent root rot. Alternatively, only water sparingly.
- Plant Herbs: Fill with good potting soil and plant small herb seedlings like basil, mint, chives, or thyme.
- Place & Enjoy: Arrange them on a sunny windowsill or a tiered stand. Fresh herbs are not only functional but also add vibrant green DIY kitchen decor.
Practical Tip: If you don’t want to drill holes, use plants that don’t need much water, like succulents, or be very careful not to overwater.
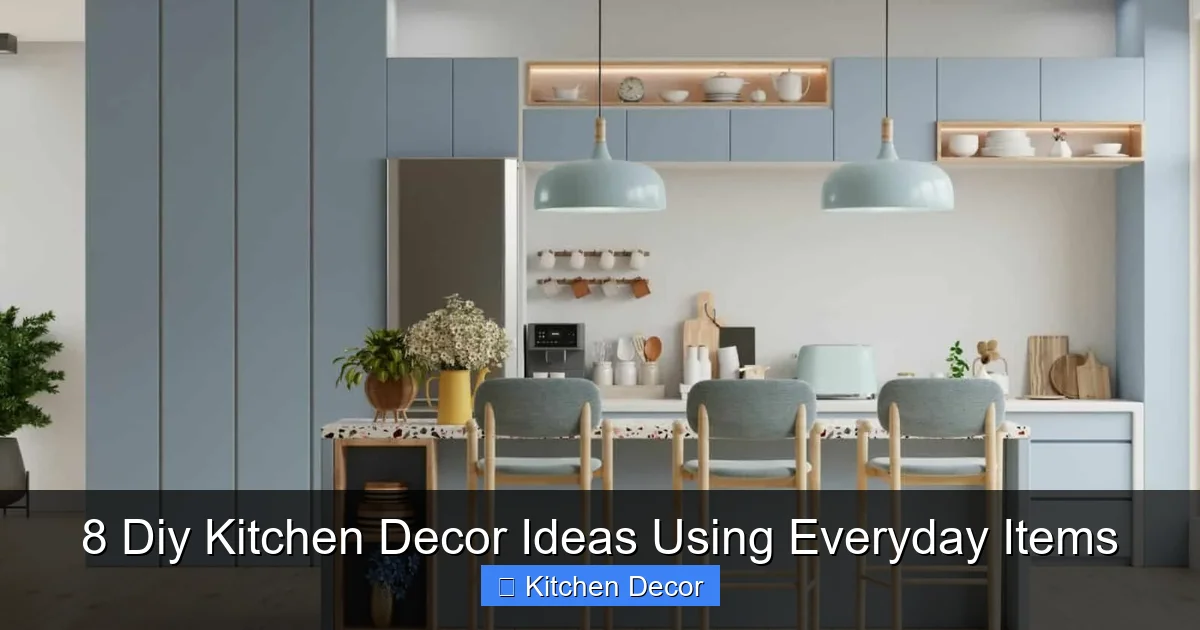
Visual guide about 8 Diy Kitchen Decor Ideas Using Everyday Items
Image source: thehomeatlas.com
Succulent Displays
Succulents are low-maintenance and look fantastic in teacup and mug planters.
- Select Succulents: Choose small succulent varieties that fit well within your chosen mug or teacup.
- Plant: Use a fast-draining succulent potting mix. Place a layer of pebbles at the bottom, then fill with soil and plant your succulent.
- Arrange: Group several different mugs with succulents together for a charming display on your counter, open shelves, or a breakfast nook table.
Example: A vintage floral teacup holding a tiny Echeveria succulent adds a delicate, cottage-core touch to your kitchen.
Storage for Small Items
Mugs and teacups can also double as organizers for small kitchen essentials.
- Clean & Prep: Ensure mugs are clean and dry.
- Organize: Use them to hold sugar packets, stirrers, tea bags, pens, small notepads, or even tiny kitchen gadgets like corn holders or bag clips.
- Display: Place them on your coffee station, near the phone, or on a small shelf.
DIY Kitchen Decor Ideas Tip: Use a decorative plate or saucer underneath for a cohesive look and to catch any drips from planters.
5. Tray Chic: Decorative Serving Trays & Organizers
Old serving trays, baking sheets, or even picture frames with the glass removed can be reinvented as stylish DIY kitchen decor. They are perfect for corralling clutter or simply adding a touch of elegance.
Countertop Organization
Keep your frequently used items neat and tidy on a stylish tray.
- Choose Your Tray: Select a tray that fits your style and the space. Metal, wood, or even plastic trays can work.
- Decorate (Optional):
- Paint: Spray paint a metal tray for a sleek, modern look.
- Contact Paper: Apply decorative contact paper to the bottom surface for an instant pattern or texture.
- Handles: Attach decorative handles to an old cutting board or a flat piece of wood to create a custom tray.
- Arrange Items: Place your coffee essentials (sugar, creamer, mugs), frequently used spices, or even a small vase with flowers on the tray.
Example: A sleek black tray holding your olive oil, salt and pepper shakers, and a small plant creates a designated “cooking zone” on your counter.
Decorative Serving Trays
Elevate your serving game with a custom-decorated tray.
- Refurbish: Clean and polish an existing tray. If it’s wooden, you might want to sand and re-stain it. If it’s metal, consider a fresh coat of paint.
- Personalize: Add stencils, freehand designs, or even a layer of decoupage with pretty paper.
- Protect: If using for serving, ensure any paints or sealants are food-safe or use a clear glass or acrylic sheet over the decorated surface.
Practical Tip: A clear coat of epoxy resin can make a tray highly durable and give it a professional, glossy finish, perfect for serving.
Wall Decor Accents
Trays aren’t just for tabletops; they can be stunning on your walls too.
- Select & Decorate: Choose lightweight, decorative trays. Paint them, cover them in fabric, or even apply wallpaper samples to their centers.
- Hang: Attach picture hangers to the back of the trays. Arrange a collection of different-sized and shaped trays on a blank kitchen wall for an artistic display.
DIY Kitchen Decor Ideas Tip: Mix and match vintage trays with modern painted ones for an eclectic gallery wall.
6. Upcycled Canister Organizers: Stylish & Functional
From old coffee cans to food tins, empty cans can be transformed into fantastic DIY kitchen decor organizers. They’re perfect for reducing clutter and adding a touch of personalized style.
Utensil Holders
Keep your cooking utensils within easy reach and add a pop of color.
- Clean & Deburr: Thoroughly wash and dry cans. Crucially, check for and carefully deburr any sharp edges around the rim with sandpaper or a metal file.
- Prime & Paint: Apply a metal-friendly primer, then spray paint or brush paint the cans in colors that complement your kitchen. Matte finishes often look more sophisticated.
- Decorate (Optional): Add decorative labels, wrap them in fabric, or stencil on designs.
- Organize: Place groups of utensils (e.g., whisks, spatulas, serving spoons) into separate cans.
Practical Tip: For a seamless look, use cans of similar size. For a more varied, eclectic vibe, mix and match different heights and widths.
Pantry Storage
Bring order and style to your pantry or open shelving with upcycled cans.
- Prepare Cans: Clean and paint cans as desired.
- Label: Label each can clearly with its contents. Chalkboard paint sections work well for this, allowing you to change labels easily.
- Store Dry Goods: Use them for smaller dry goods like tea bags, bouillon cubes, baking sprinkles, or even small snacks.
Example: A row of uniformly painted cans (perhaps a soft cream or pastel blue) with elegant handwritten labels for “Tea,” “Cocoa,” and “Sprinkles” creates a charming and organized pantry display.
Desk Organizers (for Kitchen Nooks)
If your kitchen has a small desk area or command center, upcycled cans are perfect for organizing supplies.
- Decorate: Get creative with paint, decorative paper, or fabric scraps.
- Fill: Use them to hold pens, pencils, scissors, sticky notes, or even charging cables.
- Place: Arrange them on your kitchen desk or shelf for a tidy and functional workspace.
DIY Kitchen Decor Ideas Tip: Group 2-3 decorated cans of varying heights together for a more dynamic and stylish organizational unit.
7. Spice Rack Refresh: Clever Display Solutions
A well-organized spice rack is both functional and a beautiful piece of DIY kitchen decor. You don’t need to buy an expensive ready-made one; you can create your own using simple items.
Simple Wall-Mounted Shelves
Create a custom spice display using basic shelves.
- Source Materials: Use small, inexpensive wooden planks, old fence pickets, or even repurposed drawers mounted sideways.
- Cut & Finish: Cut your chosen material to the desired length. Sand, paint, or stain them to match your kitchen aesthetic.
- Mount: Securely attach the shelves to an empty wall space in your kitchen using L-brackets or hidden shelf supports.
- Arrange Spices: Arrange your spice jars neatly on the shelves. Consider using uniform jars for a cohesive look.
Practical Tip: Ensure the shelves are wide enough to comfortably hold your spice jars without them falling off.
Repurposed Crate or Box Display
An old wooden crate or a sturdy wooden box can be transformed into a charming spice rack.
- Find a Crate: Look for sturdy wooden crates (wine crates, fruit crates, or small craft store crates).
- Clean & Prep: Clean the crate thoroughly. Sand down any rough edges and apply a coat of paint, stain, or just a clear sealant.
- Mount or Stand: You can mount the crate horizontally on the wall, or simply place it on your countertop or a pantry shelf.
- Organize: Arrange your spices inside. You can also add small dividers within the crate using thin pieces of wood or cardboard for better organization.
Example: An antique-looking wooden crate, stained dark, filled with clearly labeled spice jars would make a lovely statement piece on your counter.
Magnetic Spice Rack
Utilize metal surfaces for a space-saving spice solution.
- Collect Jars: Find small, lightweight metal tins or jars.
- Attach Magnets: Glue strong magnets to the back of each jar. Ensure the glue is permanent and the magnet is strong enough to hold the jar’s weight when full.
- Fill & Label: Fill jars with spices and clearly label the top or side.
- Mount a Strip: Install a magnetic knife strip or a thin sheet of metal on an empty wall space, inside a cabinet door, or on the side of your refrigerator.
- Display: Attach your spice jars to the magnetic strip. This is a brilliant way to keep spices accessible and visible.
DIY Kitchen Decor Ideas Tip: This is especially great for small kitchens, as it frees up valuable counter and cabinet space.
8. Tea Towel Tapestry: Fabric Art & Flair
Tea towels aren’t just for drying dishes anymore! With their endless patterns, colors, and designs, they can become delightful and unexpected pieces of DIY kitchen decor, adding softness and personality to your space.
Framed Art
Turn a beautiful tea towel into a captivating piece of wall art.
- Choose Your Towel: Select a tea towel with a design you love. Look for unique prints, vintage patterns, or witty phrases.
- Find a Frame: Choose a picture frame that complements the size of your towel. You can find inexpensive frames at thrift stores or craft shops.
- Prep & Frame: Iron the tea towel perfectly flat. Place it carefully into the frame, ensuring it’s centered and smooth. You might need to trim the edges slightly to fit.
- Hang: Hang your framed tea towel on a bare wall to create an instant focal point.
Practical Tip: For a more professional look, consider using a mat board inside the frame to give the towel some breathing room and draw the eye to the design.
Decorative Drape
Simply draping a pretty tea towel can add charm and color.
- Select Towels: Choose towels with attractive patterns or textures.
- Drape: Neatly fold or drape a tea towel over the handle of your oven, refrigerator, or a drawer pull. You can also lay one artfully over a cutting board display.
- Rotate: Change them out seasonally or when you want a quick refresh. This is one of the easiest DIY kitchen decor ideas for a changeable look.
Example: A tea towel featuring a vibrant lemon print draped over your oven handle can instantly brighten a kitchen and add a touch of summery cheer.
Drawer/Cabinet Pull Decor
Add a subtle touch of textile flair to your cabinetry.
- Small or Thin Towels: This works best with thinner tea towels or even decorative hand towels.
- Knot or Tie: Fold a towel lengthwise and tie a simple knot or bow around a cabinet knob or drawer pull.
- Color & Texture: Use this method to introduce a new color or pattern to an otherwise plain set of cabinets.
DIY Kitchen Decor Ideas Tip: Ensure the towel is not so long that it gets in the way of opening doors or drawers, or drags on the floor.
General Troubleshooting & Tips for DIY Kitchen Decor
Creating your own DIY kitchen decor should be an enjoyable process. Here are some general tips to help you along the way:
- Start Small: Don’t try to overhaul your entire kitchen at once. Pick one or two projects that excite you and build confidence from there.
- Cleanliness is Key: Always start with clean, dry materials. This ensures paint adheres well, glues stick properly, and your finished product looks professional.
- Patience is a Virtue: Allow adequate drying time for paints, glues, and sealants. Rushing can lead to messy results.
- Safety First: When using tools like drills, spray paints, or sharp objects, always follow manufacturer instructions and wear appropriate safety gear (gloves, safety glasses). Work in a well-ventilated area for spray painting.
- Embrace Imperfection: Handcrafted items have a unique charm. Don’t strive for factory perfection; a little handmade touch adds character.
- Make it Your Own: These are just ideas! Feel free to adapt them, change colors, materials, and designs to perfectly match your personal style and kitchen’s existing aesthetic.
- Gather Supplies: Before you start, make sure you have all the necessary items for your chosen DIY kitchen decor project. This prevents interruptions and makes the process smoother.
- Think Outside the Box: Keep an eye out for potential DIY materials in unexpected places—thrift stores, garage sales, and even your own recycling bin can be treasure troves.
Conclusion
There you have it – 8 fantastic DIY kitchen decor ideas to infuse your cooking space with personality, warmth, and style, all while staying within your budget. From clever mason jar organizers to charming tea towel art, these projects demonstrate that beautiful design doesn’t have to be expensive or complicated.
By repurposing everyday items, you’re not only creating unique decor but also embracing sustainability and adding a personal touch that store-bought items simply can’t replicate. So, gather your supplies, roll up your sleeves, and get ready to transform your kitchen into a place you truly love. We hope this guide has inspired you to look at common objects with a fresh, creative eye and embark on your next exciting DIY kitchen decor adventure! Happy crafting!