Ready to personalize your room without breaking the bank? This comprehensive guide will show you how to make amazing decor for your room. We’ll cover everything from simple wall art and cozy textiles to unique storage solutions and inspiring lighting. Learn creative techniques and find the perfect projects to reflect your style and make your space truly your own.
Are you looking to add some personality to your living space? Do you want a room that truly reflects who you are but don’t want to spend a fortune? Making your own decor is a fantastic solution! It’s fun, rewarding, and allows you to create one-of-a-kind pieces that you won’t find anywhere else. This guide will walk you through everything you need to know about how to make decor for your room. We’ll explore various crafting techniques, offer practical tips, and provide step-by-step instructions for some exciting projects. Get ready to unleash your creativity and transform your room into a stylish haven!
Making decor for your room is more than just a hobby; it’s a way to express yourself. It allows you to curate a space that feels comfortable, inspiring, and uniquely yours. Whether you’re a seasoned crafter or a complete beginner, there’s a DIY decor project out there for you. We’ll start with the basics and move on to more intricate ideas. Let’s dive in!
Key Takeaways
- Personalize Your Space: DIY decor allows you to create items that perfectly match your aesthetic and needs, making your room unique.
- Budget-Friendly Creations: Many decor projects utilize affordable or recycled materials, saving you money compared to store-bought items.
- Boost Creativity and Skill: Engaging in DIY projects can be a fun way to explore your artistic side and learn new crafting skills.
- Eco-Conscious Decorating: Upcycling and repurposing existing items for decor reduces waste and promotes sustainability.
- Tailor to Your Needs: You can design and build decor items that are perfectly sized and functional for your specific room layout and storage requirements.
- Sense of Accomplishment: Completing a DIY decor project provides a rewarding sense of achievement and pride in your own creations.
Understanding Your Room and Style
Before you start gathering supplies, take a moment to assess your room. What’s the overall vibe you’re going for? Are you aiming for a minimalist, bohemian, modern, or cozy feel? Understanding your desired aesthetic will guide your choices in materials, colors, and project types.
Assess Your Current Space
* Color Palette: What colors are already present in your room? Do you want to complement them or introduce new ones?
* Furniture Style: Does your furniture lean towards modern, rustic, vintage, or something else? Your decor should harmonize with this.
* Room Size and Layout: Consider the scale of your decor. Oversized pieces might overwhelm a small room, while tiny accents can get lost in a large one.
* Existing Decor: What do you already have? Can any of it be incorporated or updated with a DIY touch?
Define Your Personal Style
* Inspiration Gathering: Look at Pinterest, Instagram, home decor magazines, or even nature for inspiration. Save images of decor you love.
* Keyword Association: Think of words that describe your ideal room: calm, vibrant, eclectic, sophisticated, playful, natural, industrial.
* Trial and Error: Don’t be afraid to experiment. You might discover a style you love along the way.
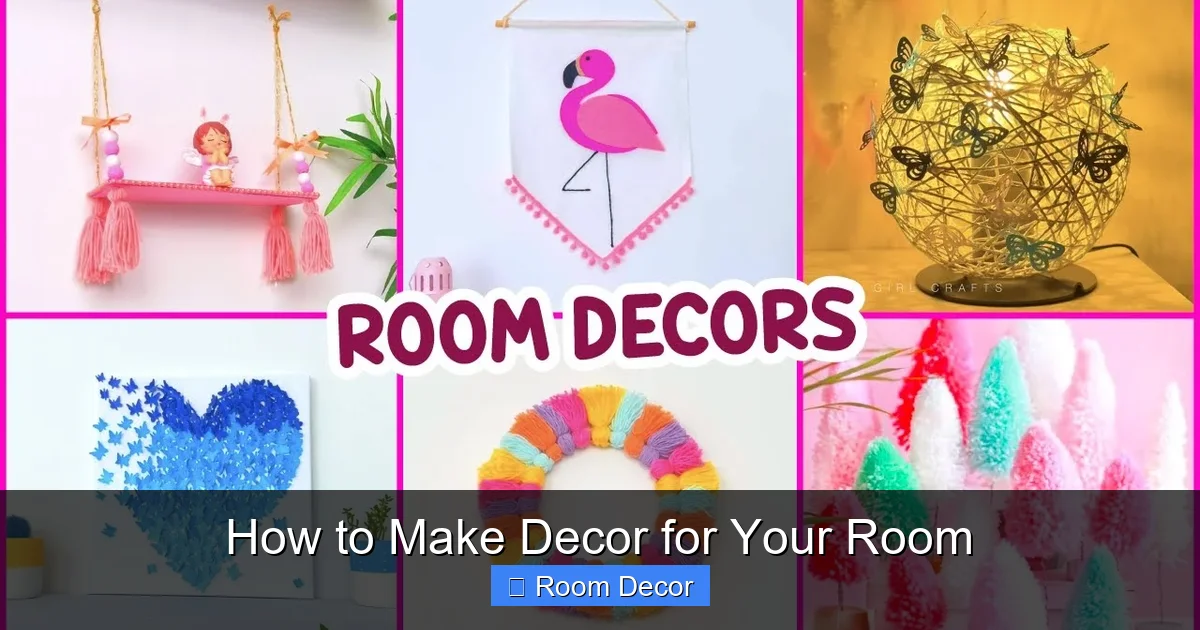
Essential Tools and Materials
Visual guide about How to Make Decor for Your Room
Image source: i.ytimg.com
You don’t need a professional workshop to make decor for your room. Many projects use common household items or easily accessible craft supplies.
Basic Crafting Tools
* Scissors: A good pair of fabric scissors and a general-purpose pair are essential.
* Craft Knife/X-Acto Knife: For precise cutting of paper, cardstock, and thin materials.
* Ruler/Measuring Tape: For accurate measurements.
* Pencil/Pen: For marking and drawing.
* Glue Gun and Glue Sticks: A lifesaver for quick and strong adhesion for various materials.
* Various Adhesives: White craft glue, hot glue, spray adhesive, double-sided tape.
* Paintbrushes: A variety of sizes for different applications.
* Clamps or Binder Clips: Useful for holding things together while glue dries.
* Cutting Mat: Protects your work surface.
Common Materials
* Paper and Cardstock: For wall art, banners, and embellishments.
* Fabric Scraps: For pillows, wall hangings, and decorative accents.
* Yarn or Twine: For macrame, pom-poms, tassels, and hanging decor.
* Paint (Acrylic, Chalk, Spray Paint): To add color and finish to various items.
* Wood Scraps or Pallets: For shelves, signs, and rustic decor.
* Glass Jars or Bottles: For vases, candle holders, or storage.
* Old Magazines or Books: For unique collage art or paper crafts.
* Natural Elements: Pinecones, dried leaves, branches (ensure they are clean and dry).
* Recycled Items: Tin cans, cardboard boxes, plastic containers.
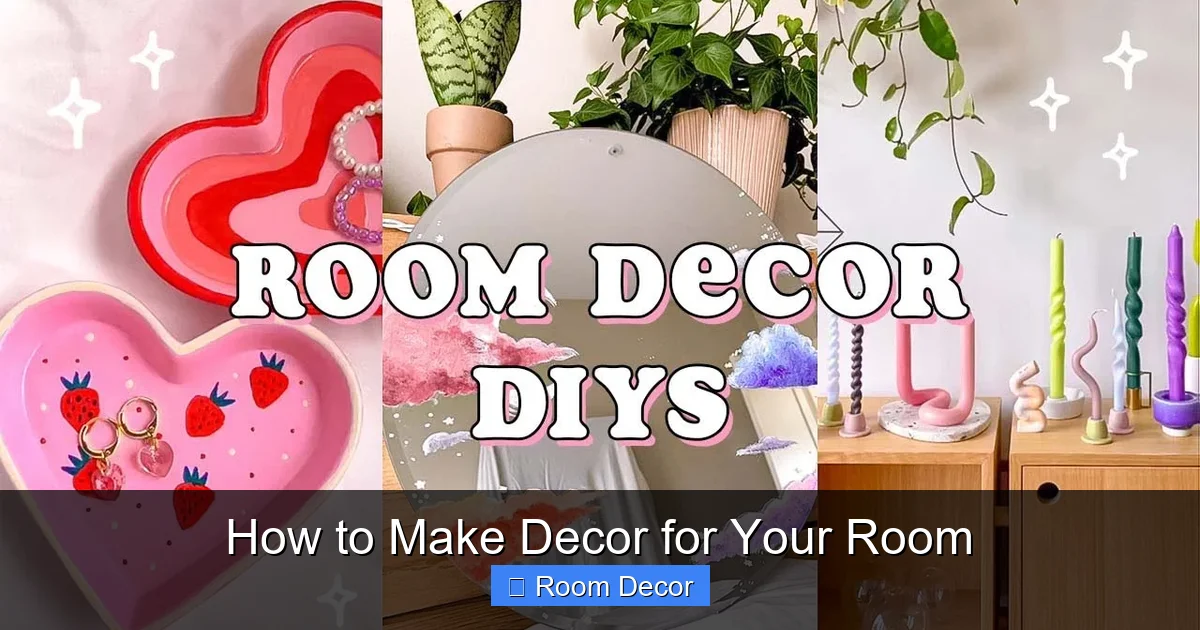
DIY Decor Projects: Step-by-Step
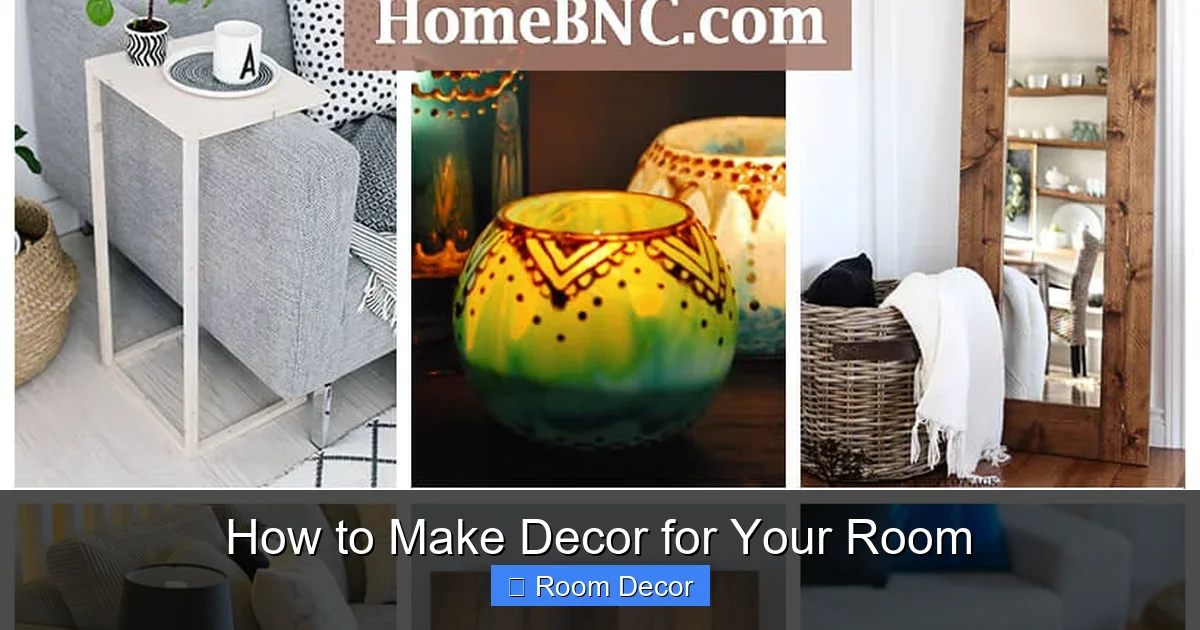
Visual guide about How to Make Decor for Your Room
Image source: homebnc.com
Now, let’s get to the fun part! Here are some popular and achievable DIY decor projects.
Project 1: Creative Wall Art
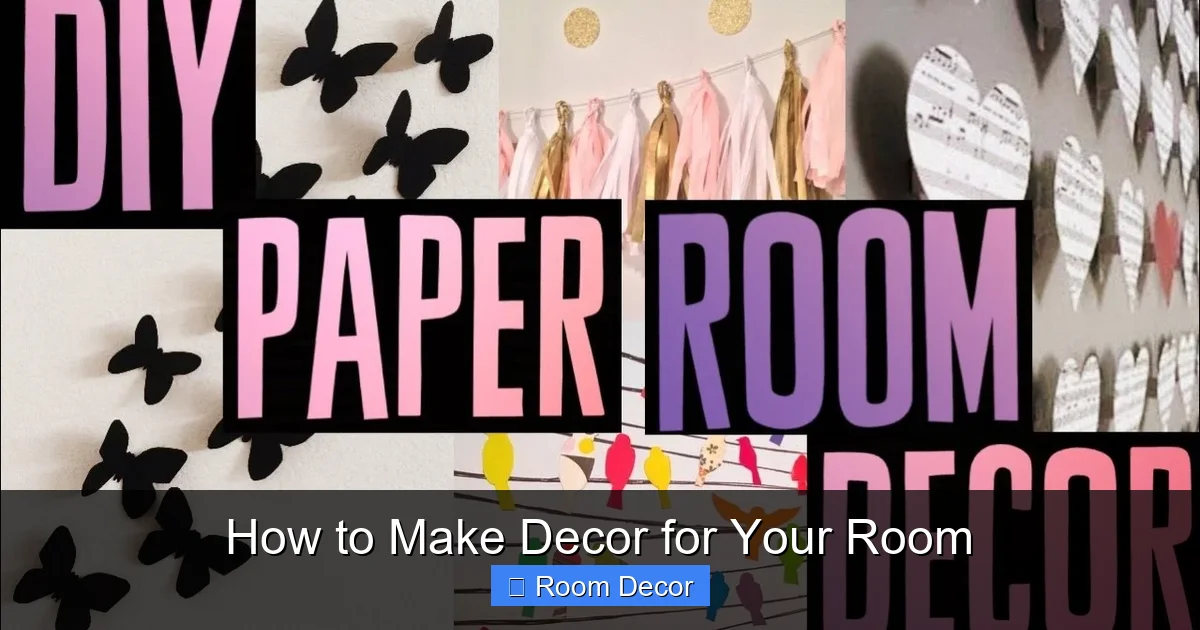
Visual guide about How to Make Decor for Your Room
Image source: i.ytimg.com
Empty walls can make a room feel unfinished. Wall art is a great way to add personality and color.
Option A: Painted Canvas Art
Materials:
- Blank canvas (any size)
- Acrylic paints in your desired colors
- Paintbrushes (various sizes)
- Palette or paper plate for mixing paints
- Water cup for rinsing brushes
- Optional: Stencils, masking tape, sponges
Instructions:
- Prepare Your Space: Cover your work area with newspaper or a drop cloth.
- Sketch Your Design (Optional): Lightly sketch your design onto the canvas with a pencil. Keep it simple if you’re a beginner.
- Start Painting: Begin applying paint. You can use broad strokes, abstract patterns, geometric shapes, or even try splattering paint for a dynamic effect.
- Layering and Details: Allow layers to dry before adding more. Use smaller brushes for details. Masking tape can create sharp lines for geometric designs.
- Drying: Let the canvas dry completely. This might take several hours depending on the paint thickness.
- Hang It Up: Once dry, find the perfect spot to hang your masterpiece.
Tip:
For a modern look, try an abstract splatter paint design. Tape off sections of the canvas and use a toothbrush or stiff brush to flick paint onto the canvas.
Option B: Yarn Wall Hanging
Materials:
- Wooden dowel or sturdy branch
- Yarn in various colors and textures
- Scissors
- Comb (for brushing out fringe)
- Optional: Beads, rings
Instructions:
- Cut Your Yarn: Cut strands of yarn to your desired length. They should be twice the length of your finished wall hanging.
- Attach Yarn to Dowel: Fold each yarn strand in half. Loop the folded end over the dowel and pull the loose ends through the loop (this is a lark’s head knot). Repeat across the dowel, spacing the strands evenly.
- Create a Pattern: You can vary the yarn colors and textures.
- Trim the Bottom: Once all the yarn is attached, decide on the shape of the bottom edge. You can leave it straight, create a V-shape, or cut it into layers.
- Add Fringe (Optional): Use a comb to gently brush out the yarn strands at the bottom to create a fringe effect.
- Add Hanging Cord: Tie a piece of yarn or twine around each end of the dowel to create a loop for hanging.
Tip:
Experiment with different knotting techniques like square knots for a more intricate macrame-style piece.
Project 2: Cozy Textile Creations
Soft furnishings add warmth and comfort to any room.
Option A: No-Sew Throw Pillow Covers
Materials:
- Old t-shirts or fabric scraps (larger than your pillow insert)
- Pillow insert
- Fabric scissors
- Fabric glue or iron-on hemming tape
- Optional: Fabric paint, embroidery floss, buttons
Instructions:
- Measure Your Pillow: Lay your pillow insert on your fabric and cut a piece of fabric that is about 1-2 inches larger on all sides than your insert.
- Prepare the Fabric: If using t-shirts, cut off the sleeves and collar. You’ll need a large rectangular panel.
- Create the Envelope Closure (if needed): For the back of the pillow, cut two pieces that overlap in the middle. Hem the raw edges of these two pieces using fabric glue or hemming tape.
- Assemble the Pillow: Place your pillow insert on the right side of your front fabric piece. Lay the two back pieces on top, ensuring the hemmed edges overlap and create an envelope opening.
- Secure the Edges: Fold the fabric over the pillow insert and use fabric glue or hemming tape to secure all four raw edges. Let dry completely.
- Add Embellishments (Optional): Use fabric paint to stencil a design, embroider a pattern, or sew on buttons for extra flair.
Tip:
Upcycle old sweaters for incredibly soft and cozy pillow covers. Just make sure to finish the raw edges to prevent unraveling.
Option B: Tassel Garland
Materials:
- Yarn in desired colors
- Scissors
- Twine or strong thread for the garland string
- Optional: Beads
Instructions:
- Make the Tassels: Wrap yarn around a piece of cardboard (the wider the cardboard, the thicker the tassel) about 20-30 times.
- Tie the Top: Cut a separate piece of yarn and tie it tightly around the top of the wrapped yarn.
- Cut the Bottom: Slide the cardboard out and cut through the loops at the bottom of the wrapped yarn to create the tassel.
- Secure the Tassel: Take another piece of yarn and tie it securely around the top of the tassel to create a hanging loop. Trim any uneven strands.
- Repeat: Make as many tassels as you need for your garland.
- Assemble the Garland: Thread your twine or thread through the hanging loops of each tassel, spacing them evenly.
Tip:
Mix and match tassel colors and sizes for a more dynamic garland.
Project 3: Functional Decor
Decor doesn’t have to be just for looking at; it can also be useful!
Option A: Decorated Storage Jars
Materials:
- Glass jars (e.g., mason jars, old jam jars)
- Acrylic paints or chalk paint
- Paintbrushes
- Spray paint (optional)
- Twine or ribbon
- Optional: Stencils, decoupage paper
Instructions:
- Clean the Jars: Wash and thoroughly dry your glass jars. Remove any labels.
- Paint the Jars: You can paint the inside or outside of the jars.
- Outside: Use acrylic paints or chalk paint for a matte finish. Apply in thin, even coats. You might need 2-3 coats for full coverage.
- Inside: Pour paint into the jar and swirl it around to coat the interior. Pour out excess paint. This gives a smooth, glossy exterior.
- Spray Paint: For a quick and even coat, use spray paint outdoors or in a well-ventilated area.
- Add Embellishments (Optional): Once dry, use stencils to add patterns, or decoupage with pretty paper.
- Finish with Twine/Ribbon: Tie a piece of twine or ribbon around the neck of the jar for a decorative touch.
- Use for Storage: Fill with pens, makeup brushes, craft supplies, or use as a vase.
Tip:
For a rustic look, use twine to wrap around the entire jar, securing with glue as you go.
Option B: Repurposed Crate Shelving
Materials:
- Wooden crates (from craft stores or repurposed)
- Sandpaper (medium and fine grit)
- Wood stain or paint
- Paintbrushes or rags for staining
- Wood screws or strong brackets
- Screwdriver or drill
- Optional: Wall anchors
Instructions:
- Prepare the Crates: If using raw wood crates, sand them down to a smooth finish. Remove any splinters.
- Stain or Paint: Apply your chosen wood stain or paint according to the product instructions. Allow to dry completely.
- Plan Your Arrangement: Decide how you want to arrange the crates on your wall. Stack them, place them side-by-side, or create a staggered pattern.
- Secure to the Wall: This is a crucial step for safety.
- Option 1 (Screws): Locate wall studs if possible. Screw directly through the back of the crate into the wall studs.
- Option 2 (Brackets): Attach L-shaped brackets to the back of the crate and then to the wall.
- Option 3 (Wall Anchors): If you cannot find studs, use heavy-duty wall anchors designed for the weight of the crate and its contents.
- Test Stability: Gently push on the crates to ensure they are securely attached.
- Decorate and Organize: Fill your new shelves with books, plants, photos, and other decor items.
Tip:
For a more industrial look, use spray paint in metallic finishes like silver or copper.
Project 4: Lighting Ambiance
Lighting can dramatically change the mood of a room.
Option A: Jar Fairy Lights
Materials:
- Glass jars or bottles
- Battery-operated fairy lights (LED strings)
- Optional: Twigs, colored glass fragments, glitter
Instructions:
- Clean the Jar: Ensure your jar is clean and dry.
- Insert Lights: Gently feed the battery pack end of the fairy lights into the jar. You might need to leave the battery pack outside the jar if it’s too large.
- Arrange Lights: Coil the lights inside the jar, distributing them evenly.
- Add Decorative Elements (Optional): If desired, add small twigs, colorful glass fragments, or a sprinkle of glitter before closing the jar.
- Turn On: Switch on the lights and enjoy the soft, magical glow.
Tip:
For a more permanent installation, you can drill a small hole in the back of the jar near the bottom to feed the battery pack through.
Troubleshooting Common DIY Decor Issues
Even with the best intentions, DIY projects can sometimes present challenges.
Problem: Glue Not Sticking
* Solution: Ensure both surfaces are clean and dry. For some materials like certain plastics or fabrics, you might need a specialized adhesive. Hot glue is great for quick bonds but can sometimes fail over time on smooth surfaces. Consider using a stronger craft glue or even screws for heavier items.
Problem: Paint Not Covering Properly
* Solution: Apply thin, even coats rather than one thick coat. Allow each coat to dry completely before applying the next. Use a primer if you’re painting over a dark or glossy surface.
Problem: Project Doesn’t Look as Expected
* Solution: This is part of the learning process! Don’t be discouraged. Sometimes a small tweak can make a big difference. You can repaint, add embellishments, or even repurpose the item into something else. Embrace imperfections; they often add character to handmade items.
Problem: Materials Are Too Expensive
* Solution: Get creative with sourcing materials. Look for sales, use coupons, shop at thrift stores, or focus on projects that utilize household recyclables like cardboard, tin cans, or old clothing.
Conclusion
Making decor for your room is a rewarding and accessible way to infuse your space with personality and style. By following these steps and exploring the suggested projects, you can create beautiful, functional, and unique pieces that you’ll love. Remember to start simple, have fun with the process, and don’t be afraid to experiment. Your room is your sanctuary, and what better way to make it yours than by filling it with items you’ve created yourself? So gather your supplies, unleash your inner crafter, and start transforming your room into a reflection of your unique taste and creativity! Happy decorating!