Quick Summary: Transform your space affordably with these 7 DIY room decor ideas! Discover simple, budget-friendly projects perfect for beginners, proving that stylish homes don’t require big spending. Get inspired to create a beautiful room you’ll love, no matter your budget.
Feeling like your room needs a refresh but your wallet is feeling a little thin? You’re not alone! Many of us dream of stylish, cozy spaces, but the thought of redecorating can quickly become overwhelming when you see the price tags. It’s easy to think that a beautiful home is out of reach unless you have a lot of money to spend.
But what if I told you that you can create a stunning room with a few clever tricks and a little bit of creativity? You absolutely can! This guide is packed with easy, budget-friendly DIY room decor ideas that will help you transform your space without breaking the bank.
Get ready to unleash your inner decorator and make your home shine! We’ll walk through simple projects that deliver big style wins.
7 DIY Room Decor Ideas That Are Budget Wins
Decorating your home doesn’t have to be expensive. With a little imagination and some readily available materials, you can craft beautiful pieces that reflect your personal style. These 7 DIY ideas are perfect for beginners and focus on maximizing impact while minimizing cost.
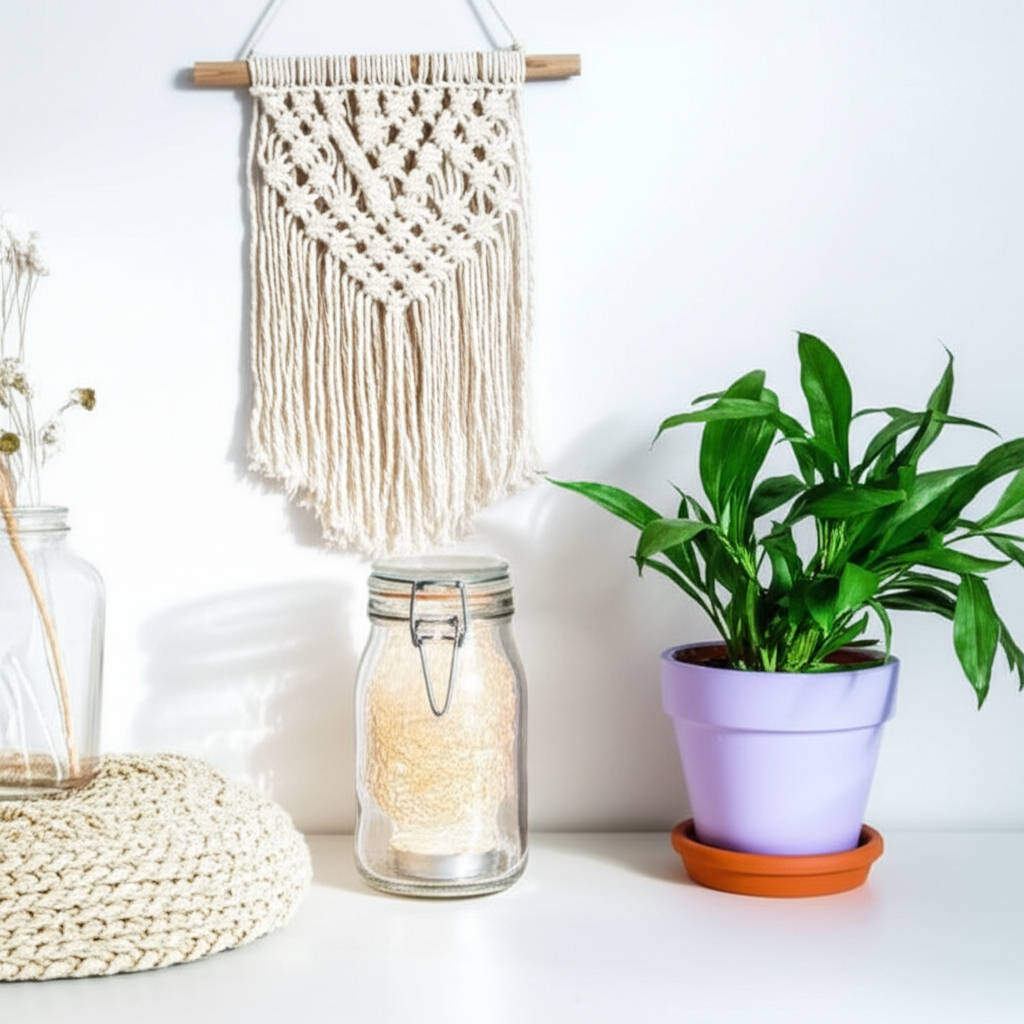
1. Upcycled Jars and Bottles: Chic Storage & Vases
Those empty jam jars, pickle jars, and wine bottles are goldmines for stylish decor! With a bit of cleaning and a few simple embellishments, they can become attractive storage solutions or elegant vases.
Why it’s a budget win: You’re using items you already have, so the cost is practically zero. Plus, it’s a fantastic way to reduce waste.
How to do it:
- Clean Thoroughly: Wash jars and bottles with soap and warm water. Remove any labels by soaking them in hot, soapy water or using a Goo Gone-like product.
- Paint or Decorate:
- Spray Paint: Use spray paint in matte black, white, gold, or a color that matches your room’s palette. Apply thin, even coats in a well-ventilated area.
- Chalk Paint: This gives a lovely matte, rustic finish. You can paint the inside or outside.
- Twine or Rope: Wrap twine or jute rope around the neck or body of the jar for a bohemian or rustic look. Secure with hot glue.
- Fabric Scraps: Cut pieces of attractive fabric and glue them onto the jar for a textured or patterned effect.
- Use as:
- Vases: Perfect for fresh flowers or dried arrangements.
- Storage: Store pens, makeup brushes, small craft supplies, or kitchen utensils.
- Candle Holders: Place a tea light inside for a warm glow.
For spray painting, it’s always a good idea to check out environmental guidelines on VOCs to ensure proper ventilation during your DIY projects.
2. DIY Wall Art: Personalize Your Space
Blank walls can make a room feel unfinished. Instead of buying expensive art, create your own! DIY wall art is a fantastic way to inject personality and color into your home.
Why it’s a budget win: You can use inexpensive materials like canvas panels, poster board, or even repurposed cardboard. The artistic freedom means you get exactly what you want.
Ideas for DIY Wall Art:
- Abstract Canvas Painting:
- Materials: Cheap canvas panels (often found at craft stores), acrylic paints, brushes, a palette knife (optional).
- How-to: Mix colors that complement your room. Don’t be afraid to experiment with brush strokes, splatters, or using a palette knife for texture. Watch YouTube tutorials for inspiration on abstract techniques.
- Pressed Flower/Leaf Art:
- Materials: Flowers or leaves from your garden or a park, heavy books, parchment paper, a frame, white cardstock.
- How-to: Press flowers/leaves between sheets of parchment paper inside heavy books for 1-2 weeks until completely dry. Arrange them on cardstock and frame.
- String Art:
- Materials: A wooden board, small nails, hammer, string or yarn in various colors, a printed template (optional).
- How-to: Hammer nails into the board in the shape of your design. Wrap string around the nails to fill in the shape.
- Gallery Wall with Personal Photos:
- Materials: Printed photos, frames (thrift stores are great for inexpensive frames you can paint), command strips or nails.
- How-to: Arrange your favorite photos. Mix and match frame styles and sizes. You can paint all frames one color for a cohesive look.
Cost Breakdown Example (Abstract Canvas):
| Item | Estimated Cost | Notes |
|---|---|---|
| Canvas Panels (set of 3) | $10 – $20 | Look for sales at craft stores. |
| Acrylic Paints (basic set) | $15 – $30 | Can be reused for many projects. |
| Brushes | $5 – $15 | A basic set is sufficient. |
| Total Estimated Cost: | $30 – $65 | Significantly less than a single large piece of art. |
Looking to expand your creative wall art ideas? Explore our guide on 12 Kitchen Wall Art Ideas for more inspiration that can easily be adapted to any room.
3. DIY Throw Pillows: Instant Comfort & Style
Throw pillows add comfort and a pop of color or texture to sofas, beds, and chairs. Making your own is surprisingly easy and budget-friendly.
Why it’s a budget win: Fabric can be expensive, but you can often find affordable remnants, clearance items, or even repurpose old clothing or curtains.
Methods for DIY Pillows:
- Sewing Method:
- Materials: Fabric of your choice, pillow insert (or old pillow to stuff), sewing machine or needle and thread, scissors, pins.
- How-to: Cut two pieces of fabric to your desired pillow size plus seam allowance (usually 1/2 inch on all sides). Place them right sides together and sew around three sides. Turn right side out, insert your pillow form, and hand-sew the opening shut.
- No-Sew Method (using fabric glue or fusible webbing):
- Materials: Fabric, pillow insert, fabric glue or iron-on fusible webbing, scissors, an iron (for fusible webbing).
- How-to: Cut fabric as above. Fold under the edges of one side to create an opening. Apply fabric glue or fusible webbing along the edges of three sides and the folded opening. Press firmly and let dry, or iron according to fusible webbing instructions.
- Pillow Covers: If you have existing plain pillows, create envelope-style covers that slip over them. This is even simpler and requires less sewing.
Fabric Ideas:
- Old sweaters (for cozy texture)
- Thrift store curtains or tablecloths
- Fabric remnants from a craft store
- Discounted upholstery fabric (durable and stylish)
4. Mirror Makeover: Thrifted Finds Get a Glam Up
Mirrors can make a small room feel larger and brighter. Thrift stores and flea markets often have unique mirrors with outdated frames just waiting for a transformation.
Why it’s a budget win: You can find a basic mirror for a few dollars and dramatically change its look with paint or added embellishments.
Transformation Steps:
- Find Your Mirror: Scout thrift stores, garage sales, or even ask friends if they have an old mirror they no longer want.
- Clean the Mirror: Clean the glass thoroughly with glass cleaner.
- Prep the Frame: If the frame is wood, lightly sand it. Wipe away any dust. If it’s plastic or ornate, you might just need a good cleaning.
- Paint or Embellish:
- Spray Paint: A coat of metallic spray paint (gold, silver, bronze) can instantly update a dated frame.
- Chalk Paint: Gives a soft, matte finish that works well with rustic or farmhouse styles.
- Add Embellishments: Glue on small seashells, mosaic tiles, beads, or even rope for a unique texture and look.
- Seal (Optional): For durability, especially if painting, consider a clear sealant spray.
A great resource for understanding different types of finishes and paints for furniture and decor can be found on sites like Popular Mechanics’ guide to painting furniture, which offers practical tips applicable to mirror frames.
5. Floating Shelves: Stylish & Functional Storage
Floating shelves offer a clean, modern look and are perfect for displaying decor, books, or essentials without taking up floor space.
Why it’s a budget win: You can buy affordable wood planks (or even repurpose old ones) and simple floating shelf hardware. The DIY aspect saves considerably on retail prices.
What You’ll Need:
- Wood plank (pine is affordable and easy to work with)
- Measuring tape
- Level
- Stud finder
- Screws and wall anchors (if not screwing into studs)
- Floating shelf brackets (available at hardware stores)
- Drill
- Sandpaper
- Paint or stain
Installation Steps:
- Measure and Mark: Decide where you want your shelf. Use a level to mark a straight line for the brackets.
- Locate Studs: Use a stud finder to locate wall studs. Attaching brackets to studs provides the strongest support. If studs aren’t available, use appropriate heavy-duty wall anchors.
- Install Brackets: Attach the floating shelf brackets to the wall according to their instructions, ensuring they are level.
- Prepare the Shelf: Cut your wood plank to the desired length. Sand it smooth. Paint or stain it to match your decor. Let it dry completely.
- Attach Shelf to Brackets: Slide the wood plank onto the installed brackets. Some brackets may have screws to secure the shelf from underneath.
Tips for Using Floating Shelves:
- Don’t overload them; check the weight capacity of your brackets.
- Arrange items artfully – mix books with small plants, picture frames, or decorative objects.
- Consider grouping shelves for a more impactful display.
For more clever storage solutions that blend style and function, check out our article on 10 Stylish Kitchen Storage Accessories—many ideas can be adapted for living rooms or bedrooms.
6. DIY Rugs: Add Texture Underfoot
Rugs can tie a room together, but new ones can be a significant expense. Get creative and make your own!
Why it’s a budget win: You can use inexpensive materials like sisal rope, old t-shirts, or even modify existing flat rugs.
Budget-Friendly Rug Ideas:
- Sisal Rope Rug:
- Materials: Large roll of sisal rope, hot glue gun and glue sticks, scissors, a drop cloth or old sheet.
- How-to: Start coiling the rope in the center of your drop cloth, applying hot glue as you go to secure the coils together. Continue coiling outwards until you reach your desired rug size. Trim any excess rope.
- T-Shirt Yarn Rug (Braided or Crocheted):
- Materials: Old t-shirts (cut into strips to make “yarn”), scissors, a large crochet hook (for crochet) or safety pins/needle and thread (for braiding).
- How-to (Braided): Cut 3 strips of t-shirt yarn. Braid them together, adding new strips as needed. Once you have a long braid, coil it and stitch or glue it together to form a rug.
- Painted Drop Cloth Rug:
- Materials: A sturdy canvas drop cloth, fabric paint, stencils (optional), paintbrushes, ruler, painter’s tape.
- How-to: Lay the drop cloth flat. Use painter’s tape to create geometric patterns or borders. Use stencils to add designs. Paint the sections and let dry completely. Seal with a fabric sealant for durability.
For the painted drop cloth rug, ensure you use paints designed for fabric to prevent cracking. The Federal Trade Commission (FTC) provides information on care labels, which can be helpful when choosing materials for home textiles.
7. Repurposed Furniture Facelifts: Paint & Hardware Magic
Old furniture doesn’t have to be discarded. A fresh coat of paint and new hardware can completely revitalize a tired dresser, table, or bookshelf.
Why it’s a budget win: You can find amazing pieces at thrift stores, flea markets, or even curbside for free or very cheap. The transformation is often dramatic and cost-effective.
Revamp Process:
- Find a Piece: Look for solid wood furniture with good bones. Minor damage is often repairable.
- Clean and Prep: Thoroughly clean the furniture. Lightly sand the surface if you’re painting or staining to ensure adhesion.
- Repair (if needed): Fix any wobbly legs, fill small dents with wood filler, or replace missing hardware.
- Paint or Stain:
- Painting: Use chalk paint for a matte finish, latex paint for a smooth finish, or spray paint for a quick application. Apply multiple thin coats.
- Staining: If the wood is beautiful, a new stain can bring out its natural grain.
- Update Hardware: Replace old knobs and pulls with new ones that match your style. You can find affordable options online or at hardware stores.
- Seal: Apply a clear coat of sealant (polyurethane or wax) to protect your paint or stain, especially on high-traffic items like dressers.
Hardware Inspiration:
- Modern: Sleek metal pulls in brushed nickel, matte black, or brass.
- Farmhouse: Black iron, ceramic, or rustic wooden knobs.
- Bohemian: Unique ceramic, glass, or painted wooden pulls.
When choosing paint, consider the surface you’re painting. For furniture, specialized furniture paints or durable interior paints are recommended. Resources like Housing and Construction often have guides on home improvement projects, including painting techniques.
Love the idea of refreshing furniture on a budget? Discover even more inspiration with our guide to 10 Wooden Kitchen Decor Ideas, featuring rustic charm that works in any room.
Frequently Asked Questions (FAQ)

Q1: What are the easiest DIY decor projects for beginners?
The easiest projects usually involve minimal tools and focus on simple transformations. Upcycling jars and bottles, creating simple abstract art on canvas, or giving a mirror a quick spray paint makeover are great starting points.
Q2: How much can I expect to spend on these DIY projects?
The beauty of these ideas is their affordability. Many can be done for under $20, using materials you might already have. Even more involved projects, like building floating shelves or tackling a furniture facelift, can typically be completed for $50-$100, depending on the materials chosen.
Q3: Where can I find cheap materials for DIY projects?
Thrift stores, garage sales, flea markets, and discount craft stores are excellent sources for affordable materials. Don’t forget to check clearance sections and look for fabric remnants. Repurposing items you already own is the cheapest option!
Q4: Do I need special tools for these DIY projects?
For most of these projects, basic tools like scissors, a hot glue gun, a paintbrush, and perhaps a drill or screwdriver are sufficient. More involved projects like building shelves might require a few more specific tools, but many can be borrowed or rented if needed.
Q5: How can I make my DIY decor look professional and not “homemade”?
Pay attention to detail! Ensure clean lines, smooth finishes (sanding and priming are key), and consistent color palettes. Practice techniques before applying them to your final piece. Using quality materials, even on a budget, also makes a difference.
Q6: Can I do these DIY projects in a small apartment?
Yes! Most of these projects are small-scale and can be done in a limited space. For painting or spray painting, ensure good ventilation by opening windows or doing it on a balcony if possible. Use drop cloths to protect surfaces.
Conclusion
See? Transforming your living space doesn’t require a massive budget or professional design skills. By embracing DIY and a little creativity, you can craft a home that feels stylish, personal, and incredibly welcoming. These 7 DIY room decor ideas are just the beginning of what you can achieve.
Whether you’re upcycling glass jars into chic vases, painting a thrift store dresser, or creating your own unique wall art, each project adds character and charm to your home. Remember, the most beautiful spaces are often those filled with items that tell a story and reflect the personality of the people who live there.
So, gather your supplies, put on some music, and get ready to enjoy the rewarding process of making your home your own, one budget-friendly, DIY win at a time. Happy decorating!