Transform your space affordably and easily with 10 essential DIY room decor crafts! These beginner-friendly projects use simple materials and techniques to add personality and style to any room, proving that stunning decor doesn’t require a big budget or design expertise. Get ready to create beautiful, personalized pieces that reflect your unique taste.
Feeling like your home could use a little sparkle, but the thought of expensive decor makes your wallet weep? You’re not alone! Many of us dream of stylish spaces but find the reality of decorating can be overwhelming and costly.
Don’t worry! Creating a beautiful and personal home is totally achievable, even if you’re a total beginner. We’re diving into 10 fantastic DIY room decor crafts that are not only easy to make but also incredibly budget-friendly.
These projects are designed to be fun, stress-free, and perfect for adding that special touch to your bedroom, living room, or any corner that needs some love. Let’s get crafting! For more inspiration on minimalist styling that pairs well with handmade pieces, check out our guide to 10 Minimal Decor Ideas For Kitchens.
1. Mason Jar Lanterns: Cozy Ambiance in Minutes
Mason jars are incredibly versatile, and turning them into charming lanterns is a breeze. They cast a warm, inviting glow, perfect for creating a cozy atmosphere in any room, especially for evenings or as bedside decor.
What You’ll Need:
- Clean mason jars (any size)
- Twine or jute rope
- Scissors
- Optional: Craft paint, glitter, artificial flowers, LED fairy lights, or tea lights
How to Make Them:
- Clean your mason jars thoroughly and let them dry completely.
- Wrap twine or jute rope around the neck of the jar multiple times. Tie a secure knot and trim the excess.
- If you want to paint the jars, do so now and let them dry. You can paint the entire jar, just the bottom, or create patterns. Glitter can be added for extra sparkle!
- For light, you can either place an LED fairy light string inside the jar or put a battery-operated tea light at the bottom. For a safer option, skip actual candles and opt for LED alternatives.
- Add a small bunch of artificial flowers tied with twine to the neck for an extra decorative touch.
These lanterns are wonderful for adding a touch of rustic charm or a whimsical feel, depending on how you decorate them. They are a favorite for many DIY enthusiasts because of their simplicity and beautiful results.
2. Upcycled Tin Can Planters: Greenery with Style
Bring a touch of nature indoors with these stylish planters made from old tin cans. This is a fantastic way to repurpose household items and add vibrant greenery to your space without spending a fortune. For more plant-based decor ideas, explore our collection of 8 Kitchen Plant Decor Ideas.
What You’ll Need:
- Clean, empty tin cans (soup cans, vegetable cans, etc.)
- Sandpaper (medium grit)
- Craft paint or spray paint
- Optional: Stencils, decorative paper, Mod Podge, sealant
- Small plants or succulents
- Drill or hammer and nail (for drainage holes)
How to Make Them:
- Thoroughly wash and dry your tin cans. Remove any labels; if residue remains, use a bit of oil or rubbing alcohol to clean it off.
- Lightly sand the outside of the cans to create a surface for the paint to adhere to. Wipe away any dust.
- Paint the cans using your chosen craft paint or spray paint. Apply 2-3 thin coats for even coverage, allowing each coat to dry.
- Get creative! Use stencils to add patterns, or decoupage them with decorative paper using Mod Podge. Seal the outside with a clear sealant if you used paper or want extra durability.
- Once the paint is completely dry, carefully drill or hammer a few small drainage holes in the bottom of each can. This is crucial for plant health.
- Add a layer of small stones or gravel at the bottom of the can, then fill with potting soil and your plant.
These planters are perfect for windowsills, shelves, or desks. They add a pop of color and life to any room. For more detailed guidance on proper drainage and soil for different plants, the Royal Horticultural Society (RHS) offers excellent resources.
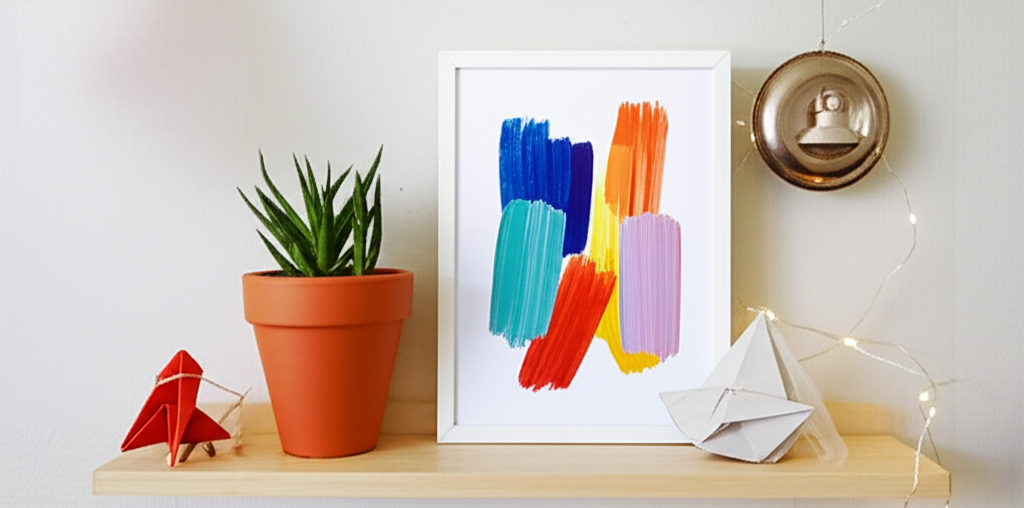
3. DIY Wall Art: Canvas Creations
Elevate your walls with custom art that speaks to your style. Creating your own canvas art is surprisingly simple and allows you to personalize your space exactly how you envision it.
What You’ll Need:
- Blank canvas (available at craft stores in various sizes)
- Acrylic paints in your desired colors
- Paintbrushes (various sizes)
- Optional: Sponges, palette knife, masking tape, stencils
How to Make Them:
- Lay out your canvas on a protected surface.
- Decide on your design. You can go abstract with splatters and washes of color, create geometric patterns using masking tape, or even try simple landscapes.
- Start painting! Don’t be afraid to experiment. Layer colors, blend them together, or use different tools like sponges for texture.
- For geometric designs, apply masking tape to the canvas to create sections, paint each section, and then carefully peel off the tape while the paint is still slightly wet.
- Let your masterpiece dry completely. You can hang it as is, or frame it for a more finished look.
Creating your own wall art is a fantastic way to inject personality into your home. It’s also a great activity for a relaxing afternoon. For inspiration on color palettes and abstract techniques, sites like Tate Modern provide insights into abstract art. If you’re looking to extend your creative wall decor into the kitchen, don’t miss our post on 12 Kitchen Wall Art Ideas.
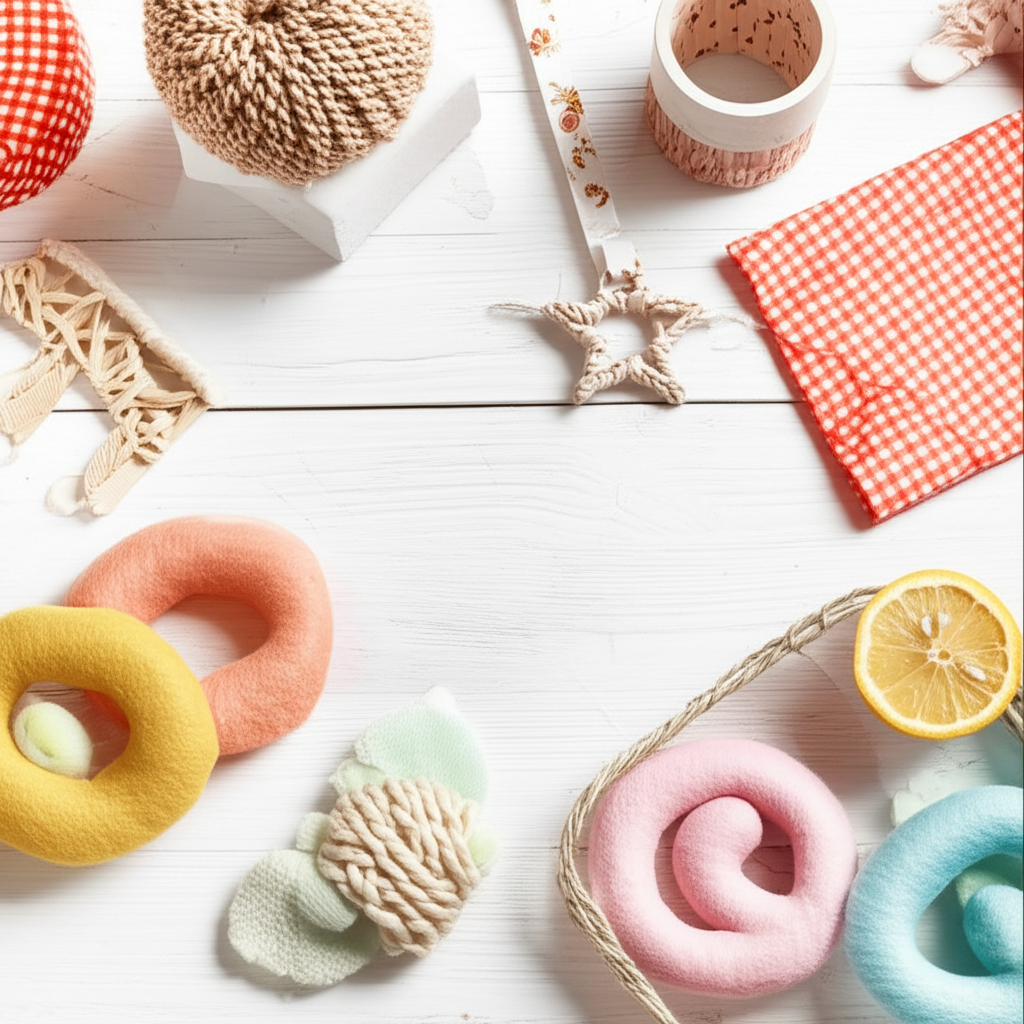
4. Pom-Pom Garland: Playful and Cheerful
Add a touch of fun and whimsy with a handmade pom-pom garland. These fluffy decorations are perfect for parties, holidays, or just to add a cheerful vibe to a bedroom or playroom.
What You’ll Need:
- Yarn in various colors
- Scissors
- Cardboard (or a pom-pom maker tool)
- String or twine for the garland
- Needle
How to Make Them:
- Make the Pom-Poms: Cut two identical cardboard circles with a hole in the middle. Wrap yarn around the circles until they are quite thick. Cut the yarn around the outer edge of the circles, then tie a knot around the center with a separate piece of yarn. Remove the cardboard and fluff into a pom-pom. Trim any uneven bits. (Alternatively, use a pom-pom maker tool for easier, uniform pom-poms).
- Prepare the String: Cut your string or twine to the desired length for your garland.
- Attach the Pom-Poms: Thread a needle with yarn or a separate piece of string. Carefully push the needle through the center of a pom-pom and then tie it securely to the main garland string.
- Repeat: Continue attaching pom-poms along the garland string, spacing them out as desired.
- Hang: Once all pom-poms are attached, your garland is ready to hang!
Pom-pom garlands are incredibly adaptable. You can use any color combination to match your decor or a specific theme. They are a beloved craft for their simplicity and the joyful impact they have.
5. DIY Coasters: Protect Surfaces in Style
Keep your furniture safe from drink rings while adding a stylish touch with these easy DIY coasters. They are functional, customizable, and make great gifts!
Option 1: Tile Coasters
What You’ll Need:
- Plain ceramic tiles (4×4 inches are common)
- Acrylic paints or permanent markers
- Clear sealant (e.g., Mod Podge, polyurethane)
- Felt or cork sheet for the back
- Glue (hot glue or strong craft glue)
How to Make Them:
- Clean the tiles thoroughly.
- Decorate the tiles using acrylic paints or permanent markers. You can draw patterns, write quotes, or create abstract designs.
- Once the design is dry, apply 2-3 coats of clear sealant, allowing each coat to dry completely. This protects your artwork.
- Cut pieces of felt or cork to the size of the tile for the backing.
- Glue the felt/cork backing onto the back of the tiles to prevent scratching surfaces and provide grip.
Option 2: Fabric Scrap Coasters
What You’ll Need:
- Fabric scraps in coordinating patterns
- Fabric glue or fusible interfacing
- Scissors
- Cardboard or thick felt
How to Make Them:
- Cut out squares from your fabric scraps.
- Cut out matching squares from cardboard or thick felt for the base.
- Arrange your fabric scraps on the cardboard/felt base, layering them as desired.
- Use fabric glue to secure the scraps, or if using fusible interfacing, follow its instructions to iron the fabric onto the backing.
- Trim any excess fabric for a neat edge.
These coasters are a practical DIY project that adds a personal touch to your living space. For more advanced fabric techniques, resources like Craftsy offer helpful tutorials.
6. Mirror Frame Makeover: Glam Up Your Reflection
Give a plain, boring mirror a glamorous new look with a DIY frame. This is a fantastic way to update an existing mirror or add a focal point to a wall.
What You’ll Need:
- A plain mirror (e.g., a cheap wall mirror, a vanity mirror)
- Frame materials: Wood strips, cardboard, craft sticks, rope, mosaic tiles, shells
- Craft glue or hot glue gun
- Paint, stain, or decorative paper (optional)
- Scissors or craft knife
- Protective surface
How to Make Them:
- Clean the mirror and its existing frame (if any).
- For Wood/Cardboard Frame: Cut your wood strips or sturdy cardboard to size to create a border around the mirror. You can paint or stain these pieces before attaching. Glue them securely around the mirror.
- For Mosaic Frame: Glue small mosaic tiles, broken ceramic pieces, or even painted pebbles onto the mirror’s edge, leaving small gaps between them. Grout the gaps once the pieces are dry, or leave them as is for a more rustic look.
- For Rope/Shell Frame: Wrap jute rope or twine around the mirror frame, securing with glue. You can also glue shells, buttons, or beads onto the frame for added texture and detail.
- Ensure all glue is completely dry before hanging.
A well-decorated mirror can make a room feel larger and brighter. This project allows for endless creativity, from rustic charm to modern elegance. For tips on grout application if you choose the mosaic route, This Old House provides practical advice.
7. Fabric Wall Hanging: Textile Art for Your Walls
Add warmth and texture to your walls with a simple fabric wall hanging. This project is perfect for showcasing beautiful textiles or creating a boho-inspired look.
What You’ll Need:
- A piece of fabric you love (e.g., a vintage scarf, a patterned remnant, a tea towel)
- A wooden dowel or a sturdy stick
- Twine or string for hanging
- Scissors
- Optional: Hot glue gun, embroidery floss, beads
How to Make Them:
- Cut your fabric to the desired size and shape for your wall hanging. Hem the edges if you want a cleaner finish, or leave them raw for a more relaxed look.
- Fold over the top edge of the fabric about 1-2 inches to create a channel for the dowel or stick. Secure this fold with fabric glue or by sewing it.
- Slide the wooden dowel or stick through the channel you created.
- Cut a length of twine or string. Tie one end to each side of the dowel/stick, creating a loop for hanging.
- Optional: You can add decorative elements like embroidery stitches, beads, or tassels to the bottom edge of the fabric for extra flair.
Fabric wall hangings add a soft, artistic element to any room. They are a great way to incorporate patterns and colors without committing to a large painted mural. For inspiration on textile art, exploring galleries online can be very motivating.
8. Photo Display Collage: Cherished Memories on Show
Turn your favorite photos into a beautiful display. This DIY collage is a personal way to showcase memories and add character to your walls.
What You’ll Need:
- Photos (printed at home or from a service)
- Cardboard or a corkboard
- Scissors or a craft knife
- Glue stick or tape
- Optional: String, clothespins, decorative paper, washi tape, paint
How to Make Them:
- Prepare Your Base: Cut your cardboard or corkboard to the desired size. You can cover it with decorative paper or paint it to match your room’s color scheme.
- Arrange Your Photos: Lay out your photos on the base in a pleasing arrangement. You can overlap them, create a grid, or go for a more freeform look.
- Attach Photos: Glue or tape your photos securely to the base. For a more dynamic look, you can use mini clothespins to attach photos to a string that’s stretched across the board.
- Add Embellishments: Use washi tape to frame photos, add stickers, or write captions directly on the board.
- Hang: Attach a hook or string to the back of your collage board for hanging.
This is a wonderful way to personalize your space with things that are meaningful to you. It’s a project that can be updated easily as you collect new memories. For photo printing services and options, many online retailers offer affordable solutions.
9. Floating Shelves: Stylish Storage Solutions
Add both storage and decorative space with simple DIY floating shelves. These shelves create a clean, modern look by making the brackets disappear.
What You’ll Need:
- Wooden board (e.g., pine, pre-finished shelf)
- Floating shelf brackets (available at hardware stores)
- Screws and wall anchors (appropriate for your wall type)
- Drill
- Level
- Measuring tape
- Pencil
- Optional: Sandpaper, paint, or stain
How to Make Them:
- Prepare the Shelf: Cut your wooden board to the desired length. Sand and finish it with paint or stain if desired. Let it dry completely.
- Install Brackets: Follow the manufacturer’s instructions for your floating shelf brackets. This typically involves marking the wall with a level, drilling pilot holes, and securing the brackets with screws and anchors. Ensure the brackets are sturdy and can support the weight you intend to place on the shelf. The Family Handyman has excellent guides on secure wall mounting.
- Attach Shelf: Slide the wooden board onto the installed brackets. Some brackets have screws that secure the shelf to the bracket from underneath.
- Check Stability: Ensure the shelf is level and firmly attached.
Floating shelves are incredibly practical for displaying decor, books, or storing essentials without clutter. They offer a minimalist aesthetic that fits many interior styles. Always prioritize safety and structural integrity when installing shelves; using appropriate wall anchors is key. For more smart storage ideas, see our roundup of 10 Stylish Kitchen Storage Accessories.
10. DIY Rope Basket: Chic Storage
Create a stylish and functional storage solution with a DIY rope basket. These are perfect for holding blankets, toys, magazines, or anything else you need to tidy away.
What You’ll Need:
- Thick cotton rope (e.g., clothesline rope)
- Hot glue gun and plenty of glue sticks
- Scissors
- Optional: Fabric lining, handles (rope or leather straps)
How to Make Them:
- Start by coiling the end of the rope into a flat spiral for the base of the basket.
- Apply hot glue to the edge of the coil and press the next section of rope onto it, continuing to coil outwards until you reach your desired base diameter.
- Once the base is complete, start coiling the rope upwards, applying glue to the side of the previous coil and pressing the new coil against it to form the basket walls.
- Continue coiling and gluing upwards until the basket reaches your desired height.
- To finish, cut the rope and glue the end securely to the inside of the basket.
- Optional: You can add fabric lining inside the basket for a cleaner look or attach rope handles by gluing or tying them securely to the sides.
Rope baskets add a natural, textured element to your decor and are incredibly useful for organization. They bring a cozy, handmade feel to any room. For understanding different types of rope and their best uses, a craft supply store’s website often has helpful descriptions.
Frequently Asked Questions (FAQ)
Q1: Are DIY room decor crafts really cheaper than buying?
Yes, generally DIY crafts are significantly cheaper. You often use materials you already have or can purchase inexpensive supplies from craft or dollar stores. This is especially true when compared to buying pre-made decorative items of similar style and quality.
Q2: What are the easiest DIY room decor crafts for beginners?
The easiest crafts for beginners are typically those that require minimal tools and simple techniques. Mason jar lanterns, pom-pom garlands, and decorating tin can planters are excellent starting points as they involve basic cutting, wrapping, and painting.
Q3: How can I make my DIY decor look professional and not “crafty”?
Pay attention to detail! Ensure clean lines, even paint coats, and secure attachments. Using quality materials, finishing edges properly (like sealing painted items or hemming fabric), and choosing a cohesive color palette for your room will elevate the look. Sometimes, a good sealant or a well-chosen frame can make a big difference.
Q4: Where can I find inspiration for DIY room decor projects?
Inspiration is everywhere! Pinterest, Instagram, home decor blogs, and even magazines are fantastic resources. Look for ideas that align with your personal style and the existing aesthetic of your home. Don’t be afraid to adapt and combine different ideas.
Q5: Do I need special tools for these DIY projects?
Most of these projects require only basic tools like scissors, a hot glue gun, paintbrushes, and perhaps a drill for the floating shelves. You can usually find these items at affordable prices at craft stores or general retailers. Invest in a good hot glue gun, as it’s incredibly useful for many DIY projects.
Q6: How long do these DIY crafts usually take to make?
The time varies greatly depending on the project and your experience. Simple crafts like mason jar lanterns or pom-pom garlands can take under an hour. More involved projects like mosaic mirror frames or floating shelves might take a few hours, including drying time for paint or glue.
Conclusion
See? Decorating your home doesn’t have to be a daunting or expensive task. With a little creativity and some simple supplies, you can transform your living space into a personalized haven that reflects your unique style and personality.
These 10 essential DIY room decor crafts are just the beginning. They offer achievable results for beginners and are perfect for students, renters, or anyone looking to add charm to their home on a budget. Each project is designed to be fun, easy to follow, and rewarding.
So, gather your materials, put on some music, and get ready to enjoy the process of creating something beautiful. You’ll be amazed at what you can accomplish, and more importantly, you’ll love the stylish, cozy, and personal space you’ve created. Happy crafting!