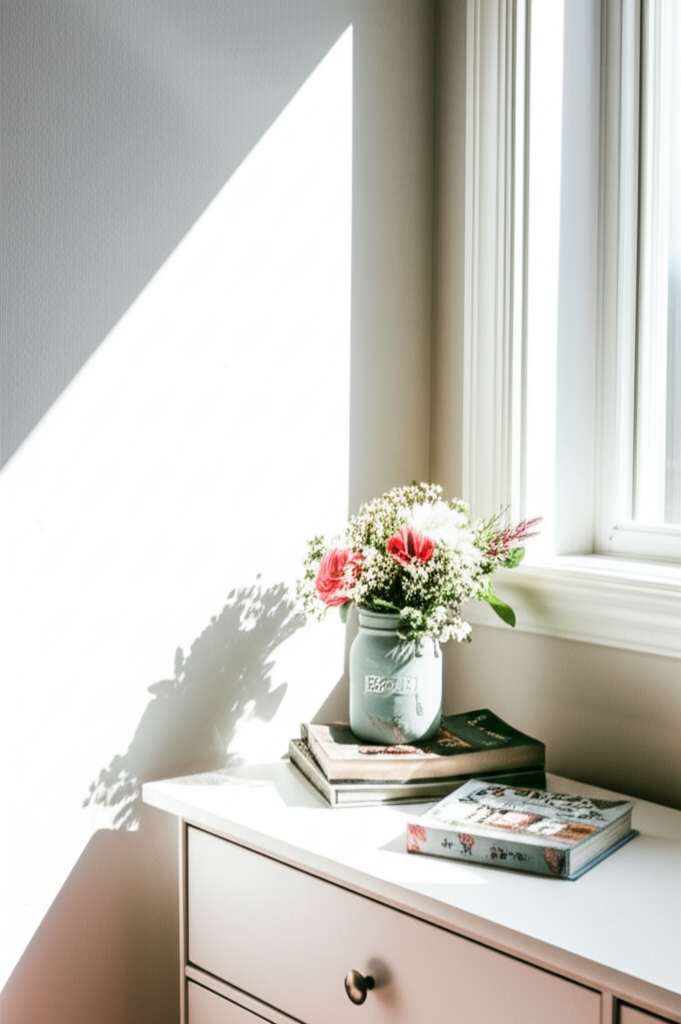
Transform your mom space with 10 budget-friendly DIY decor ideas that are easy, stylish, and perfect for busy parents. Create a relaxing haven without breaking the bank!
Feeling like your personal space is more “stuff” than sanctuary? You’re not alone! Many moms find their own rooms get pushed to the bottom of the to-do list, cluttered with forgotten items and lacking that personal touch.
But what if you could create a beautiful, calming retreat without spending a fortune or hiring a designer? This guide is packed with simple, creative DIY ideas specifically for moms on a budget.
Get ready to discover how to refresh your personal oasis, one easy project at a time. We’ll cover everything from clever storage to personalized touches that make a big impact.
Why Your “Mom Room” Deserves Some Love
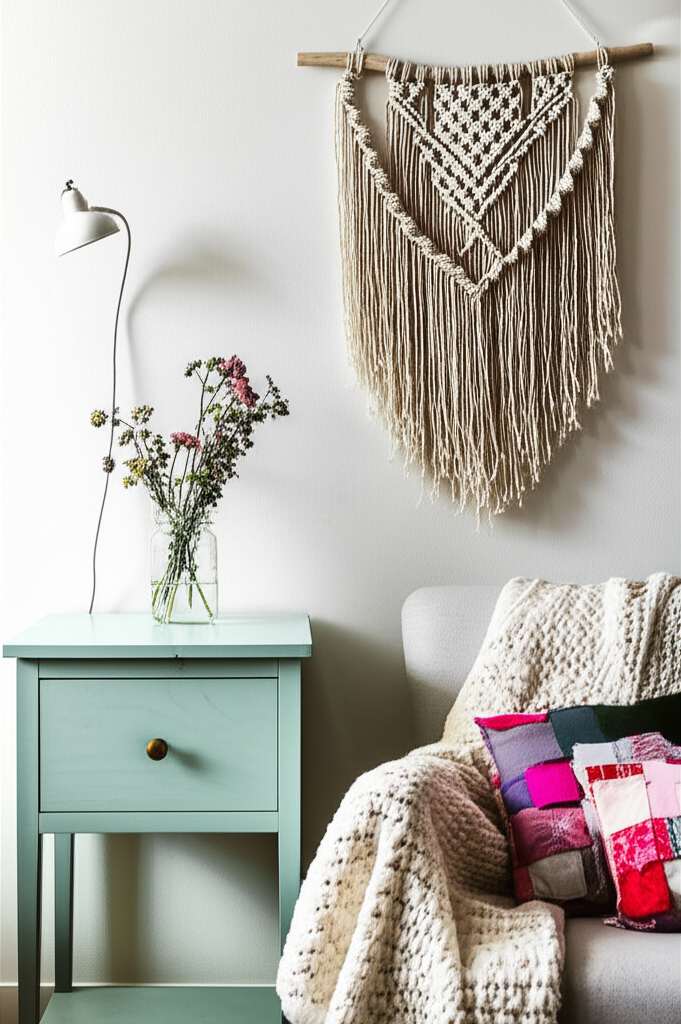
As moms, we pour so much energy into our families, our homes, and our careers. It’s easy for our own personal spaces, like our bedrooms or a dedicated “mom cave,” to become an afterthought. They can end up feeling like storage units for kids’ toys, laundry overflow, or just general clutter.
But your room should be your sanctuary! It’s the one place you can retreat, recharge, and be truly yourself. Creating a space that feels peaceful and reflects your personality isn’t selfish; it’s essential for your well-being.
The good news is, you don’t need a huge budget or professional skills to make a big difference. With a little creativity and some DIY magic, you can transform your space into a haven you’ll love.
10 Budget Mom Room Decor Ideas: Essential DIY
Let’s dive into some fantastic, budget-friendly ideas that will help you create a stylish and functional mom room. These projects are designed to be achievable, even on your busiest days.
1. DIY Floating Shelves for Chic Storage
Floating shelves are incredibly versatile and can instantly add style and storage to any wall. They’re perfect for displaying cherished photos, books, or small decorative items, helping to clear surfaces and reduce clutter.
Why it’s great for moms: They keep items off the floor and countertops, making it easier to tidy up. Plus, they add a modern, uncluttered look.
- Materials: Wood planks (pine is affordable), L-brackets or floating shelf hardware, screws, wall anchors (if needed), sandpaper, paint or stain.
- Tools: Stud finder, level, drill, measuring tape, screwdriver.
- DIY Steps:
- Measure and cut your wood planks to the desired size.
- Sand the wood smooth.
- Paint or stain the planks to match your room’s color scheme.
- Locate wall studs using a stud finder for secure mounting.
- Attach L-brackets or floating shelf hardware to the wall, ensuring they are level.
- Place the shelf onto the hardware and secure it from underneath if using L-brackets.
For more detailed instructions on installing floating shelves, check out this helpful guide from This Old House.
2. Upcycled Jar Organizers
Glass jars, whether from jam, pickles, or pasta sauce, are fantastic for organizing small items. Clean them thoroughly, remove labels, and use them to store makeup brushes, hair ties, cotton swabs, or even small office supplies on your desk or vanity.
Why it’s great for moms: It’s a free way to get organized and keeps small, easily lost items contained. Plus, they look charming!
- Materials: Clean glass jars, optional: spray paint, twine, decorative labels.
- Tools: Optional: hot glue gun.
- DIY Steps:
- Wash and dry jars thoroughly.
- Remove any stubborn label residue (soaking in hot, soapy water usually works).
- Optional: Spray paint the outside of the jars for a uniform look, or tie twine around the neck for a rustic touch.
- Arrange on shelves or countertops to hold various items.
3. DIY Photo Display Wall Art
Personalize your space with your favorite memories! Instead of just scattering photos, create a focal point. You can string twine across a wall and use mini clothespins to hang photos, or arrange framed pictures in a gallery wall.
Why it’s great for moms: It adds a personal, heartwarming touch to your room and celebrates your family.
- Materials: Twine or string, mini clothespins, photos, or picture frames. Command strips are great for renters!
- Tools: Scissors, hammer and nails (if using), or a level and command strips.
- DIY Steps:
- Determine the area for your photo display.
- Securely attach the twine to the wall using small nails or Command Hooks.
- Use mini clothespins to attach your photos to the twine.
- Alternatively, arrange framed photos on a wall, planning your layout on the floor first. Use a level for a professional look.
4. No-Sew Pillow Covers
Fresh throw pillows can instantly update the look of your bed or a reading chair. You don’t need to be a sewing expert to make your own! Fabric glue or fusible webbing can create no-sew pillow covers from beautiful fabric remnants.
Why it’s great for moms: Adds comfort and a pop of color or pattern to your room without the cost of buying new pillows.
- Materials: Fabric of your choice, existing pillow form or an old pillow, fabric glue or fusible webbing, scissors.
- Tools: Iron (if using fusible webbing).
- DIY Steps:
- Measure your pillow form. Cut two pieces of fabric larger than the pillow form to allow for seams and overlap.
- For a simple envelope closure: Hem one long edge of each fabric piece.
- Lay one piece of fabric right-side down. Lay the second piece on top, overlapping the hemmed edges to create a pocket that fits your pillow.
- Apply fabric glue or fusible webbing along the raw edges (except the overlap).
- Press the edges firmly. If using fusible webbing, iron according to package directions.
- Once dry, insert your pillow form.
For a visual guide on no-sew pillow covers, explore resources from sewing blogs or craft sites. Many offer step-by-step tutorials with pictures.
5. DIY Room Divider with Fabric Panels
If your room serves multiple purposes or you simply want to create a cozy nook, a DIY room divider can be a game-changer. This can be as simple as hanging a large, beautiful piece of fabric from the ceiling or using a lightweight screen.
Why it’s great for moms: Helps define spaces, adds softness, and can hide less attractive areas.
- Materials: Large piece of fabric (burlap, linen, or a patterned textile), curtain rod or strong hooks, screws, optional: PVC pipes and connectors for a freestanding frame.
- Tools: Drill, level, measuring tape.
- DIY Steps:
- Measure the desired width and height for your divider.
- Hem the edges of your fabric. You can create a rod pocket along the top edge.
- Install a curtain rod securely into the ceiling or wall using appropriate hardware.
- Alternatively, create a freestanding frame using PVC pipes and connectors, then attach the fabric.
- Hang your fabric divider.
6. Repurposed Furniture Makeover
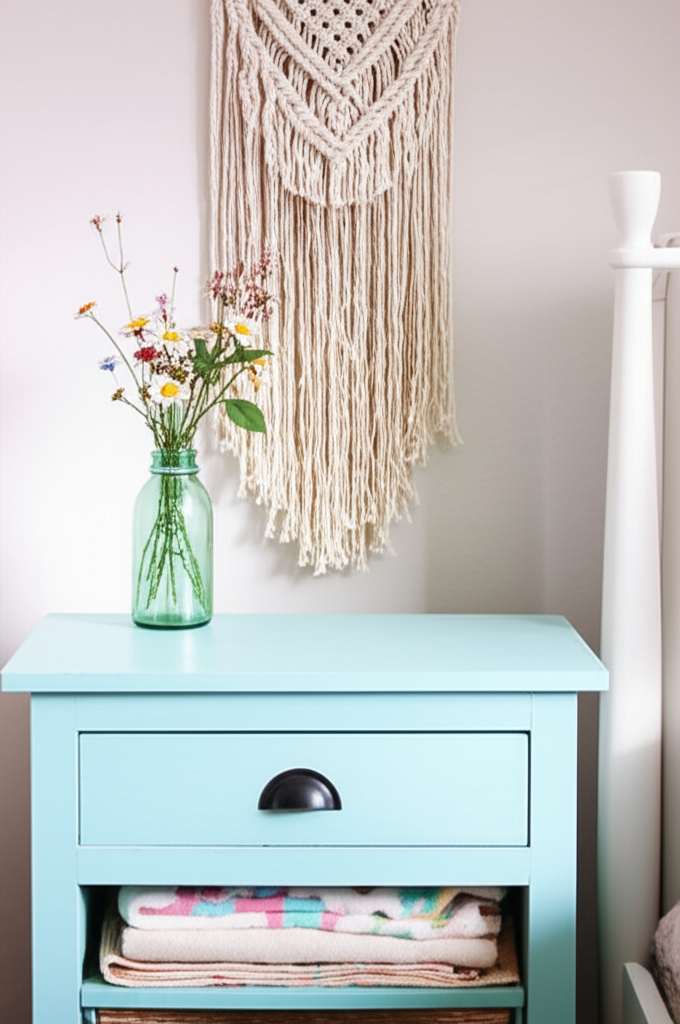
Don’t underestimate the power of a fresh coat of paint! An old dresser, nightstand, or even a plain wooden chair can be completely transformed with a DIY makeover. Chalk paint is a popular choice for a distressed, matte finish that requires minimal prep.
Why it’s great for moms: It’s a sustainable way to get new furniture and allows you to customize pieces to your exact style.
Before & After Table: Furniture Makeover Examples
| Item | Original Condition | DIY Makeover Idea | Budget Impact |
|---|---|---|---|
| Old Wooden Dresser | Scratched, outdated finish | Clean, sand lightly, paint with chalk paint (e.g., soft grey), add new hardware. | Saves hundreds on a new dresser. |
| Plain Nightstand | Basic laminate | Sand surface, apply a bold wallpaper or contact paper to drawer fronts, seal with a clear coat. | Adds personality for the cost of wallpaper. |
| Basic Bookshelf | Cheap particle board | Paint the frame a bright color, line the back with decorative paper or fabric. | Transforms a utilitarian piece into decor. |
- Materials: Furniture piece, sandpaper, primer, paint (chalk paint, latex, spray paint), paintbrushes, rollers, new hardware (knobs, pulls), optional: wax, sealant, decorative paper.
- Tools: Screwdriver, drop cloth, cleaning supplies.
- DIY Steps:
- Clean the furniture piece thoroughly.
- Lightly sand the surface to create a surface for paint to adhere. Wipe away dust.
- Apply primer if needed, especially for dark to light color changes or laminate surfaces. Let dry.
- Apply your chosen paint in thin, even coats, allowing adequate drying time between coats.
- Optional: Apply wax or a sealant to protect chalk paint finishes.
- Replace old hardware with new knobs or pulls.
For tips on furniture painting, including surface preparation and choosing the right paint, resources like EPA guidelines on lead-safe paint removal are crucial if dealing with older furniture.
7. DIY Wall Art with Stencils
Don’t want to hang a lot of frames? Create your own large-scale wall art! Stencils offer a professional look without requiring artistic talent. You can find affordable stencils online or at craft stores, or even create your own using cardstock.
Why it’s great for moms: It’s a customizable and relatively quick way to add a significant decorative element to a blank wall.
- Materials: Large piece of plywood or canvas, stencil, paint, painter’s tape, sponge brush or roller.
- Tools: Pencil, measuring tape.
- DIY Steps:
- Prepare your canvas or plywood by painting it a base color if desired.
- Position your stencil on the wall or canvas and secure it with painter’s tape.
- Using a sponge brush or small roller, gently dab or roll paint over the stencil. Avoid over-applying paint, which can cause bleeding.
- Carefully remove the stencil while the paint is still slightly wet.
- Allow to dry completely.
8. Create a Cozy Reading Nook
Every mom deserves a quiet spot to escape with a book or just enjoy a moment of peace. You don’t need a whole room for this; a corner can be transformed with a comfortable chair, a soft rug, and good lighting.
Why it’s great for moms: It carves out a personal retreat within your existing space.
- Essential elements:
- Comfortable Seating: A plush armchair, a floor cushion, or even a strategically placed beanbag.
- Soft Lighting: A floor lamp or a string of fairy lights can create a warm, inviting ambiance.
- Personal Touches: A small side table for a drink and book, a cozy blanket, and a few favorite decorative items.
- Privacy (Optional): A sheer curtain or a small screen can enhance the sense of escape.
Consider adding a plant for a touch of nature. Researching “biophilic design principles” can offer insights into incorporating nature for well-being.
9. DIY Headboard Upgrade
Your bed is often the focal point of your room. A DIY headboard can add a touch of luxury and personality without the high cost of a store-bought one. Think upholstered panels, reclaimed wood, or even a painted design directly on the wall behind your bed.
Why it’s great for moms: It makes your bed feel more like a statement piece and can elevate the entire room’s aesthetic.
- Materials: Plywood or MDF board, foam padding, fabric, staple gun, screws or mounting hardware.
- Tools: Saw, measuring tape, scissors, drill.
- DIY Steps:
- Cut your plywood or MDF board to your desired headboard size and shape.
- Cut foam padding to fit the board.
- Stretch your fabric over the foam and board, pulling it taut on the back.
- Use a staple gun to secure the fabric to the back of the board.
- Mount the finished headboard to the wall or attach it to your bed frame.
10. Smart Lighting Solutions
Lighting can dramatically change the mood of a room. Instead of relying on harsh overhead lights, opt for layered lighting. String lights, table lamps, and floor lamps create a warm, inviting atmosphere.
Why it’s great for moms: Soft lighting is crucial for relaxation and can make winding down easier. It also makes feeding or comforting a baby at night much more pleasant.
- Budget-friendly ideas:
- Fairy Lights/String Lights: Drape them around a mirror, headboard, or along a wall for a magical glow.
- Lamp Upgrades: Update an old lamp with a new, inexpensive lampshade.
- Smart Bulbs: Consider smart bulbs that allow you to control brightness and color temperature from your phone, aiding in relaxation or task lighting.
- Dimmer Switches: If you’re comfortable with basic electrical work or can hire an electrician, a dimmer switch can offer significant mood control. Learn more about energy-efficient lighting choices from the Department of Energy.
Frequently Asked Questions (FAQ)
Q1: I have a very small mom room. Can these ideas still work?
Absolutely! Small spaces benefit greatly from smart organization and thoughtful decor. Floating shelves, upcycled jar organizers, and a well-placed reading nook can make a small room feel larger and more functional. The key is to maximize vertical space and keep surfaces clear.
Q2: I’m not very handy. Are these DIY projects beginner-friendly?
Yes! The ideas listed are chosen for their simplicity and minimal skill requirement. Projects like upcycled jar organizers, photo displays, and no-sew pillow covers require very little technical skill. Even painting furniture or installing shelves can be tackled with basic tools and clear instructions.
Q3: How can I make my mom room feel more like a retreat and less like a family space?
Designate your room as a “no-kid-zone” during certain hours if possible. Incorporate calming colors, soft textures (like plush rugs or cozy blankets), and personal items that bring you joy. Good lighting is also key – opt for warm, ambient light over harsh overheads.
Q4: What are the best budget-friendly materials for DIY decor?
Look for materials like reclaimed wood, glass jars, fabric remnants, and affordable craft supplies. Painting existing furniture is also a fantastic budget saver. Thrift stores and dollar stores can be treasure troves for decor items and materials.
Q5: How can I declutter my mom room effectively?
Start small with one drawer or shelf. Use the “one in, one out” rule for new purchases. For items that belong elsewhere, immediately put them away or place them in a designated “to be moved” basket. Regularly schedule short decluttering sessions rather than waiting for it to become overwhelming.
Q6: Are there any DIY decor ideas that don’t require buying new tools?
Many projects can be done with basic household items. For example, upcycled jars and photo displays require minimal tools. For painting, you might only need brushes you already own. For shelves, a drill is usually necessary, but you can often borrow tools from friends or family.
Conclusion
Creating a beautiful and functional “mom room” doesn’t have to be an expensive or overwhelming endeavor. By embracing DIY projects, upcycling existing items, and focusing on personal touches, you can craft a sanctuary that nurtures and rejuvenates you.
These 10 budget-friendly ideas are just the beginning. The most important element is to infuse your space with things that bring you joy and peace. So grab a cup of tea, put on some music, and get ready to transform your personal space into the haven you deserve!