Transforming small spaces into stylish, functional havens is achievable with these DIY decor ideas. Maximize every inch with clever solutions, creative touches, and budget-friendly projects. Effortless style for compact living is within reach!
Living in a small space doesn’t mean you have to sacrifice style or functionality. It can sometimes feel like a puzzle, trying to fit everything you need and love into a cozy area. Many of us face this challenge, whether we’re in a studio apartment, a small bedroom, or just a compact living room.
But don’t worry! Decorating a small space can be incredibly rewarding and surprisingly fun. It’s all about making smart choices and embracing creativity.
This guide is packed with easy DIY home decor ideas specifically designed for small spaces. We’ll walk through simple projects and clever tricks to make your home feel bigger, brighter, and more stylish.
Ready to unlock the full potential of your small space? Let’s get started!
Why Small Space Decorating Can Feel Tricky
Small spaces often present unique challenges. Limited square footage can make it tough to find room for furniture, storage, and personal touches without making the area feel cluttered or cramped.
It’s easy to feel overwhelmed when you’re trying to make a tiny room feel both functional and aesthetically pleasing. You might worry about making the wrong choices or spending too much money on decor that doesn’t quite work.
The good news is that with the right approach, you can create a beautiful and practical home, no matter the size. It’s about working with your space, not against it.
The Magic of DIY for Small Spaces
DIY projects are a fantastic way to inject personality into your home without breaking the bank. For small spaces, DIY is especially powerful because it allows for custom solutions tailored to your exact needs and dimensions.
You can create pieces that serve multiple purposes or fit perfectly into awkward nooks. This means less wasted space and more style! Plus, the satisfaction of making something yourself is a wonderful bonus.
We’ll explore simple DIY ideas that are beginner-friendly and deliver big on impact, helping you achieve effortless style. For example, if you’re looking to refresh your kitchen with minimal effort, check out our guide on 10 Minimal Decor Ideas For Kitchens for inspiration that scales beautifully in compact areas.
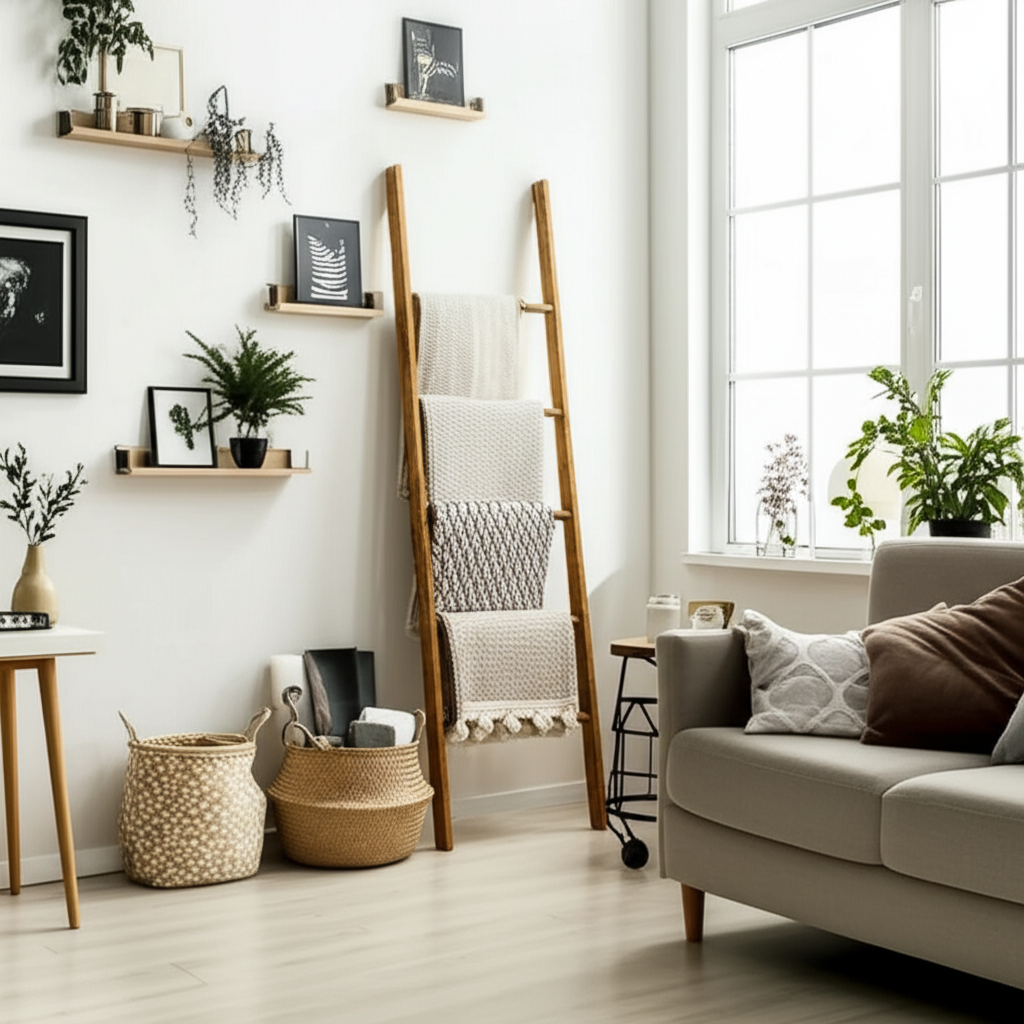
Smart Storage Solutions: The Foundation of Small Space Style
In any small space, smart storage is key. Clutter is the enemy of style, especially when you don’t have a lot of room to play with. DIY storage solutions can be both practical and beautiful.
Think vertically! Walls are your best friends when floor space is limited. Utilizing wall space for storage can free up precious floor area and make your room feel more open.
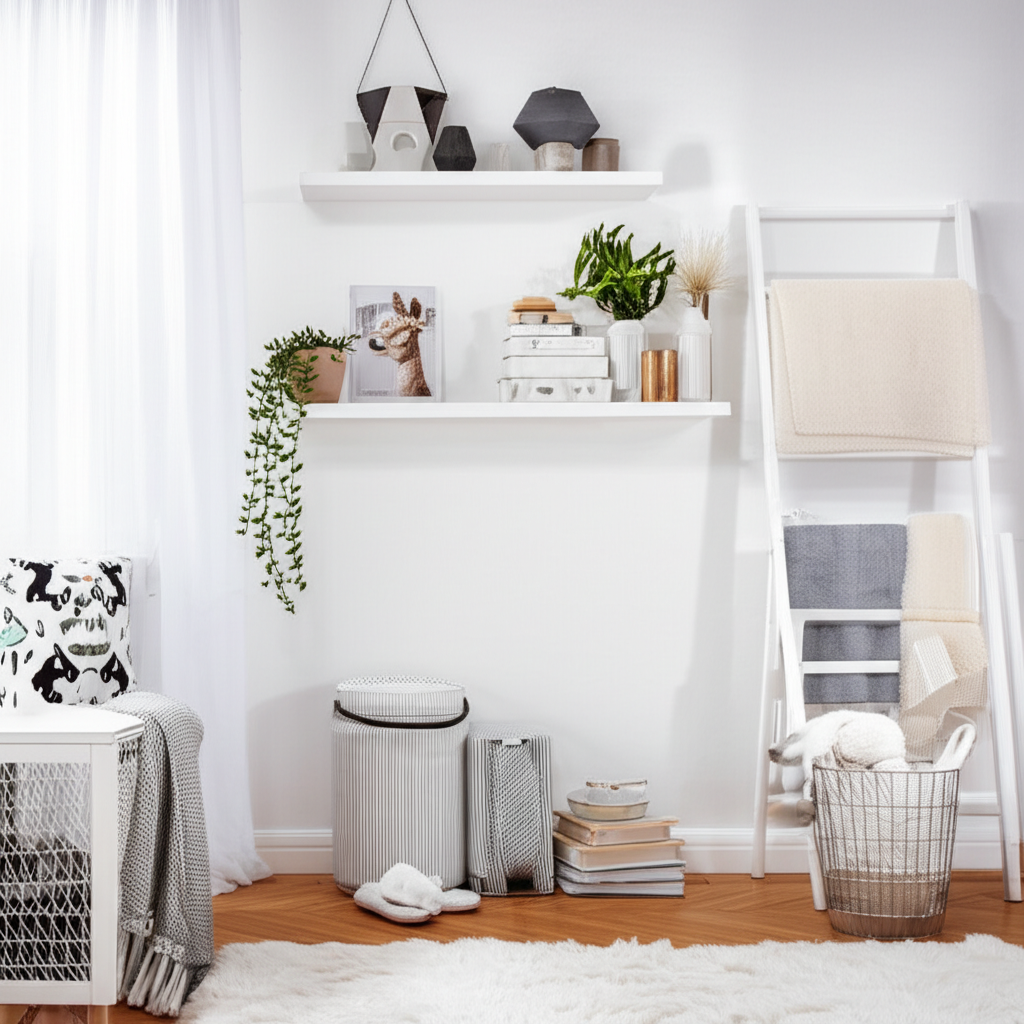
DIY Floating Shelves
Floating shelves are incredibly versatile and can be used in almost any room. They provide display space for decor and essential storage without the bulk of traditional shelving units.
Materials You’ll Need:
- Wooden boards (cut to your desired size)
- Sandpaper
- Wood stain or paint
- Floating shelf brackets
- Screws and wall anchors (ensure they are suitable for your wall type)
- Drill
- Level
Simple Steps:
- Sand your wooden boards smooth.
- Stain or paint the boards to match your decor. Let them dry completely.
- Determine the placement of your shelves. Use a level to mark where the brackets will go on the wall.
- Install the brackets according to the manufacturer’s instructions, using appropriate wall anchors if needed. For heavy loads, locating wall studs is recommended. You can learn more about choosing the right wall anchors from resources like This Old House.
- Slide the shelves onto the brackets.
These shelves are perfect for displaying plants, books, or decorative items in your living room, bedroom, or even kitchen. For more kitchen-specific storage inspiration, explore our roundup of 10 Stylish Kitchen Storage Accessories that blend form and function seamlessly.
DIY Under-Bed Storage Bins
The space under your bed is often overlooked but can hold a surprising amount of storage. Creating your own bins ensures they fit perfectly and match your style.
Materials You’ll Need:
- Cardboard boxes (sturdy ones, like wardrobe boxes or moving boxes)
- Fabric or decorative paper
- Scissors or craft knife
- Spray adhesive or fabric glue
- Optional: Casters (wheels)
Simple Steps:
- Measure the height of your bed frame to ensure the bins will fit underneath.
- Cut down cardboard boxes to your desired height and length. You can also use existing shallow boxes.
- Cover the outside of the boxes with your chosen fabric or decorative paper. Use spray adhesive or glue, smoothing out any wrinkles.
- If you want to add casters for easier access, carefully attach them to the bottom of the reinforced cardboard using screws and washers.
- Fill with linens, out-of-season clothing, or extra blankets.
These custom bins keep your belongings tidy and out of sight, maintaining a clean look in your bedroom.
Repurposed Pallet Wall Organizer
Wooden pallets can be transformed into rustic and functional wall organizers. They are great for holding mail, keys, small plants, or even kitchen utensils.
Materials You’ll Need:
- Wooden pallet (ensure it’s heat-treated, not chemically treated – look for an “HT” stamp)
- Sandpaper
- Paint or wood sealant
- Screws and wall anchors
- Drill
- Optional: Small hooks, jars, or baskets
Simple Steps:
- Clean the pallet thoroughly.
- Sand down all rough edges and surfaces.
- Paint or seal the wood for protection and aesthetics.
- Mount the pallet securely to the wall using strong screws and anchors. Consider the weight it will hold.
- Add hooks, jars, or baskets to create compartments for organizing.
This DIY project adds a touch of farmhouse charm and provides valuable vertical storage.
Maximizing Light and Space: Creating an Airy Feel
Small spaces can sometimes feel dark or enclosed. Simple DIY decor tricks can make a huge difference in how bright and open your room feels. Light colors and reflective surfaces are your best friends.
Mirrors are a classic small-space solution because they bounce light around and create the illusion of more space. You can also use paint colors strategically.
DIY Mirror Frame Upgrade
A plain mirror can become a statement piece with a little DIY effort. This is a quick way to add personality and visual interest.
Materials You’ll Need:
- A plain mirror (with or without a basic frame)
- Craft supplies for decoration: mosaic tiles, seashells, small decorative stones, beads, rope, or paint
- Strong adhesive (like E6000 or a hot glue gun)
- Optional: Painter’s tape
Simple Steps:
- Clean your mirror and its existing frame thoroughly.
- If you’re painting, use painter’s tape to protect the mirror surface. Paint the frame in a light, reflective color, or a bold accent color.
- If using mosaic tiles, stones, or shells, arrange them around the frame. Apply adhesive to sections of the frame and press the decorative elements firmly into place.
- For a rope or twine look, start at one corner and wrap the material tightly around the frame, securing with glue as you go.
- Let everything dry completely before hanging.
Place this upgraded mirror in an entryway or living room to instantly brighten the space and make it feel larger.
DIY Painted Accent Wall
A well-chosen accent wall can add depth and character to a small room. Using light or cool colors can make the space feel more expansive.
Materials You’ll Need:
- Paint in your chosen color (consider light blues, greens, or soft neutrals)
- Paint rollers and brushes
- Painter’s tape
- Drop cloth
- Primer (if necessary)
Simple Steps:
- Choose the wall you want to highlight. Often, the wall behind your bed or sofa works well.
- Clean the wall and prep the area with a drop cloth.
- Use painter’s tape to create clean edges around trim, windows, and ceilings.
- Apply primer if needed, especially if painting a dark color over a light one, or vice versa.
- Paint the wall with your chosen color. Two coats are usually best for even coverage.
- Remove painter’s tape while the paint is still slightly wet for the cleanest lines.
A light, cool-toned accent wall can visually push the walls back, making the room feel more open and airy. For more on color psychology in interior design, check out resources from the Color Marketing Group, a respected industry authority.
Multi-Functional Furniture Hacks
In small spaces, furniture that does double duty is a game-changer. DIY can help you create or adapt pieces to be more versatile and space-saving.
Think about ottomans that open for storage, or coffee tables that lift to become dining surfaces. These items reduce the need for multiple pieces of furniture. If you’re focusing on the kitchen, discover how multi-functional design shines in our article on 10 Cozy Small Kitchen Ideas.
DIY Storage Ottoman from a Crate
A simple wooden crate can be transformed into a stylish and functional storage ottoman. It’s perfect for a living room or bedroom footrest.
Materials You’ll Need:
- Wooden crate (sturdy, with solid sides)
- Sandpaper
- Paint or wood stain
- Foam padding or an old cushion
- Fabric for upholstery
- Staple gun
- Optional: Casters
Simple Steps:
- Sand the crate smooth and paint or stain it to your liking.
- Cut foam padding or use an existing cushion to fit the top of the crate.
- Cut a piece of fabric large enough to wrap around the cushion and tuck underneath.
- Place the foam/cushion on top of the crate. Drape the fabric over it, pulling it taut.
- Use the staple gun to secure the fabric to the underside of the crate lid or directly to the crate’s top edges.
- If desired, attach casters to the bottom of the crate for easy mobility.
This ottoman provides extra seating, a footrest, and hidden storage for blankets, magazines, or toys.
DIY Wall-Mounted Fold-Down Desk
A fold-down desk is an excellent solution for a home office in a small apartment. It takes up minimal space when not in use.
Materials You’ll Need:
- Plywood or a sturdy wooden board (sized for your needs)
- Hinges
- Cabinet legs or folding brackets
- Screws and wall anchors
- Drill
- Sandpaper
- Paint or stain
Simple Steps:
- Cut your wooden board to the desired desk size. Sand and finish it with paint or stain.
- Attach hinges to one edge of the board.
- Mark the desired height for your desk on the wall. Ensure it’s a height that’s comfortable for working.
- Securely attach the other side of the hinges to the wall using strong screws and appropriate wall anchors. It’s crucial to mount this into wall studs if possible for stability.
- Attach your cabinet legs or folding brackets to the underside of the desk board to support it when open.
- Test its stability before placing any items on it.
This provides a dedicated workspace that disappears when you’re done, keeping your main living area clear.
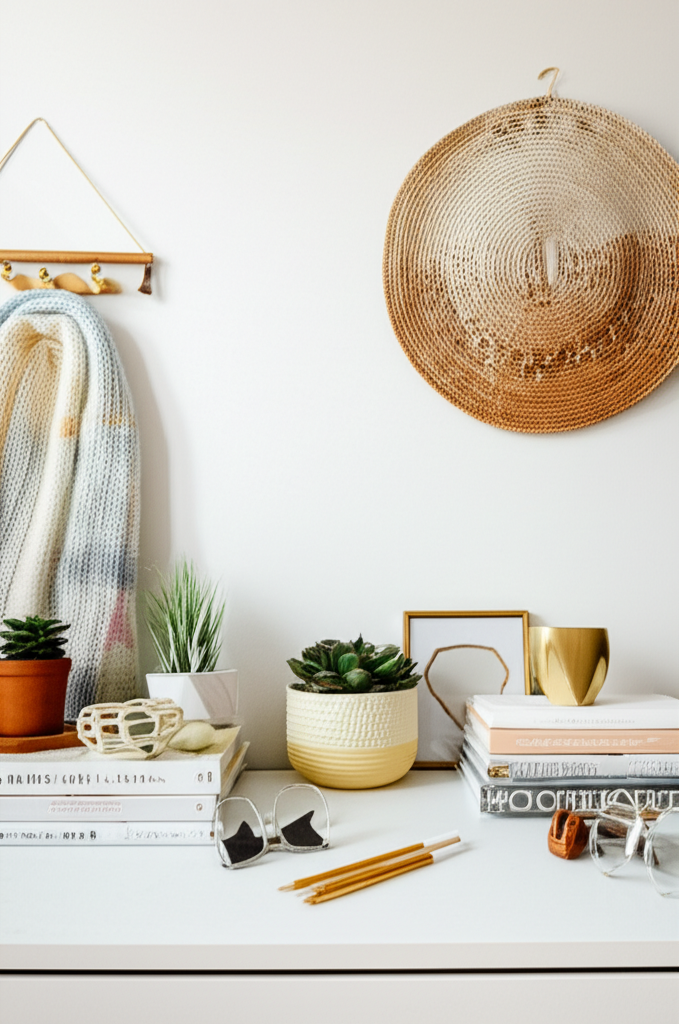
Adding Personality with DIY Art & Decor
Don’t let the size of your space deter you from adding personal touches. DIY art and decorative elements are a fantastic way to express your style without taking up too much room.
Think about creating pieces that are visually interesting but also compact or have a sculptural quality. Wall art is especially effective in small spaces.
DIY Abstract Wall Art
Creating your own abstract art is a fun and rewarding project. You don’t need to be an artist to create something beautiful for your walls.
Materials You’ll Need:
- Canvas or sturdy art paper
- Acrylic paints in your desired colors
- Paintbrushes of various sizes
- Palette or old plate for mixing paint
- Optional: Sponges, palette knives, masking tape
Simple Steps:
- Lay out your canvas and paints.
- Start by applying larger blocks of color or broad strokes. Don’t overthink it – embrace spontaneity!
- Use different brush sizes, sponges, or palette knives to add texture and layers.
- Experiment with techniques like dripping, splattering, or using masking tape to create sharp lines.
- Continue layering and adding details until you’re happy with the result.
- Let it dry completely. You can frame it or hang it as is.
This personalized art adds a unique focal point to your living area or bedroom.
DIY Macrame Plant Hangers
Bring a touch of bohemian charm and greenery into your home with DIY macrame plant hangers. They utilize vertical space and add natural texture.
Materials You’ll Need:
- Macrame cord (cotton or jute)
- A metal or wooden ring
- Scissors
- Measuring tape
- A plant pot with a plant
Simple Steps:
- Cut several lengths of macrame cord (the exact number and length depend on your desired hanger size and complexity – a good starting point is 8 strands, each about 10-12 feet long).
- Fold each cord in half and attach it to the ring using a lark’s head knot.
- Separate the cords into groups (e.g., four groups of two cords each).
- Create decorative knots (like square knots or spiral knots) along each group of cords, working your way down.
- At the desired height for your plant pot, create a gathering knot to form a basket for the pot.
- Trim any excess cord to create a tassel effect.
- Place your plant pot into the hanger.
Hanging plants draws the eye upward, making the room feel taller and more spacious. For detailed knot tutorials, resources like Hometalk offer great visual guides.
DIY Geometric Wall Decor
Geometric shapes can add modern flair to your walls without overwhelming the space. They are simple to create and highly customizable.
Materials You’ll Need:
- Thin wooden dowels or craft sticks
- Wood glue or a strong craft glue
- Paint or wood stain
- Optional: Small saw if you need to cut dowels to size
Simple Steps:
- Decide on your geometric shape (e.g., hexagon, diamond, triangle).
- Cut your dowels or craft sticks to the lengths needed to form the sides of your chosen shape.
- Glue the pieces together at the corners to form your geometric frame. Let it dry completely.
- Paint or stain the geometric shape in your desired color.
- Once dry, you can hang it on the wall using small nails or picture hooks. For larger or heavier pieces, consider using command strips or more robust hanging hardware.
These minimalist pieces add visual interest without cluttering your walls.
Table: Small Space Decorating Do’s and Don’ts
Here’s a quick reference guide to help you make the most of your small space:
| Do’s | Don’ts |
|---|---|
| Utilize vertical space with shelves and wall storage. | Overcrowd surfaces with too many knick-knacks. |
| Choose furniture that serves multiple purposes. | Buy bulky, oversized furniture that dominates the room. |
| Use light and reflective colors on walls and decor. | Use dark, heavy colors everywhere, which can make a space feel smaller. |
| Incorporate mirrors to create the illusion of depth. | Block windows or natural light sources with heavy curtains or furniture. |
| Keep flooring consistent to create a sense of flow. | Use too many different patterns and textures that can make a space feel busy. |
| Opt for streamlined, minimalist designs. | Clutter your entryway; keep it clear for a welcoming first impression. |
Frequently Asked Questions (FAQ)
Q1: How can I make my small living room feel bigger?
A1: To make a small living room feel bigger, focus on light colors, ample lighting (natural and artificial), mirrors to reflect light and space, and multi-functional furniture. Vertical storage solutions like floating shelves also help by drawing the eye upward and keeping floor space clear.
Q2: What’s the best way to organize a small bedroom without a closet?
A2: For a small bedroom without a closet, invest in a bed with built-in storage drawers or a storage headboard. Use wall-mounted shelves and hooks for clothing and accessories. A stylish garment rack can also serve as a functional and decorative clothing display.
Q3: Are dark colors okay for small spaces?
A3: Dark colors can be used in small spaces, but sparingly and strategically. They are best used as accent colors or for specific pieces of furniture to add depth and sophistication, rather than painting all the walls. Light, neutral colors generally make a space feel more open and airy.
Q4: How do I avoid making my small kitchen feel cramped with DIY storage?
A4: In a small kitchen, maximize vertical space with wall-mounted spice racks, magnetic knife strips, and hanging pot racks. Consider a DIY rolling cart for extra counter and storage space that can be moved as needed. Keep countertops as clear as possible by storing appliances away when not in use.
Q5: What kind of DIY art works best in small apartments?
A5: Compact and visually striking art pieces are ideal for small apartments. Think about DIY abstract canvases that add color without being too literal, geometric wall hangings, or even a collection of small framed prints arranged artfully. Macrame plant hangers also add decorative elements without taking up wall space.
Q6: How can I decorate a small entryway effectively?
A6: For a small entryway, focus on a slim console table or floating shelf for keys and mail. A well-placed mirror can make the space feel larger and brighter. Add a DIY coat rack or hooks for essentials, and consider a narrow shoe storage bench if space allows. Keep it clutter-free to create a welcoming first impression.
Conclusion
Decorating a small space doesn’t have to be a source of stress. With these DIY home decor ideas, you can easily infuse your compact living areas with effortless style, smart functionality, and a whole lot of personality.
Remember, it’s all about working with your space, thinking creatively about storage, maximizing light, and adding those personal touches that make a house feel like a home. From clever storage solutions to eye-catching wall art, these projects are designed to be achievable for beginners and deliver big on impact.
So, grab your tools, get inspired, and start transforming your small space into a stylish sanctuary you’ll love. Happy decorating!