Transform your personal space into a stunning oasis with our ultimate guide on how to decorate your bedroom with LED lights. Learn to choose the perfect lights, master creative placement techniques, and ensure safe installation to create an atmosphere that truly reflects your style. This comprehensive guide provides all the steps and tips you need to beautifully illuminate your bedroom and enhance its ambiance effortlessly.
How to Decorate Bedroom with Led Lights
Welcome to the exciting world of bedroom transformation! If you’re looking for a way to add personality, warmth, and a touch of modern flair to your private sanctuary, decorating with LED lights is an absolute game-changer. LED lights offer incredible versatility, energy efficiency, and a vast spectrum of colors and effects that can instantly elevate the mood and style of your bedroom.
In this comprehensive guide, we’ll walk you through everything you need to know about how to decorate your bedroom with LED lights. From choosing the perfect lights to innovative placement ideas, safe installation, and clever customization tips, you’ll gain the confidence and knowledge to create a space that not only looks fantastic but also feels uniquely yours. Get ready to illuminate your imagination and transform your bedroom into the cozy, vibrant, or serene haven you’ve always dreamed of!
Key Takeaways
- Plan Your Vision: Before buying, decide on the mood and style you want to achieve. Consider where you want to place the lights and the overall effect (e.g., cozy, vibrant, minimalist) to guide your choices.
- Choose the Right LED Type: Understand the differences between LED strip lights, fairy lights, smart lights, and puck lights. Each offers unique benefits and applications suitable for various decorative purposes in a bedroom.
- Prioritize Safe and Secure Installation: Always clean surfaces thoroughly before applying adhesive strips, ensure proper power supply, and route cables neatly. Secure installation prevents accidents and ensures longevity of your setup.
- Explore Creative Placement Ideas: Think beyond basic outlines. Utilize LED lights to highlight architectural features, create backlighting for furniture, illuminate artwork, or add a starry effect to ceilings for unique and impactful designs.
- Master Control and Customization: Leverage smart features, remote controls, or app integration to easily change colors, brightness, and modes. This allows you to adapt your lighting to different moods and activities.
- Don’t Forget Safety and Maintenance: Use appropriate power adapters, avoid overloading circuits, and keep lights away from flammable materials. Regular dusting and checking connections will prolong the life and safety of your LED decor.
Step 1: Envision Your Bedroom’s New Look and Plan
Before you dive into buying any lights, take a moment to imagine what kind of atmosphere you want to create in your bedroom. Do you want a calming, soft glow for relaxation? A vibrant, party-like ambiance for entertainment? Or a subtle, modern touch that highlights certain features? Planning is crucial for a successful and cohesive LED light setup.
H3: Define Your Desired Mood and Style
Think about the overall aesthetic of your bedroom. Is it minimalist, bohemian, modern, or traditional? Your LED lighting should complement this style. For example, warm white lights often suit a cozy, traditional space, while color-changing RGB strips are perfect for a modern, dynamic room. Consider the existing color palette of your walls, furniture, and bedding.
H3: Identify Key Areas for Illumination
Walk around your bedroom and identify areas that could benefit from LED lighting.
- Behind the headboard: Creates a beautiful halo effect.
- Under shelves or cabinets: Highlights decor and provides accent lighting.
- Around mirrors: Great for vanity lighting or adding depth.
- Along ceiling edges or coves: Provides ambient room lighting.
- Under the bed: Gives a floating bed effect.
- Around windows or doorframes: Adds a dramatic outline.
- Behind TVs or monitors: Reduces eye strain and enhances viewing.
Having a clear idea of where you want to place the lights will help you determine the types of LED lights you’ll need and their required lengths.
H3: Set a Budget
LED lights come in a wide range of prices. Basic strip lights are affordable, while smart, app-controlled systems can be more of an investment. Decide how much you’re willing to spend, as this will influence your choices in terms of features and quality.
Step 2: Choose the Right Type of LED Lights for Your Bedroom
The market offers a fantastic variety of LED lights, each with its unique characteristics. Understanding these will help you pick the best ones for your specific decorative needs.
H3: LED Strip Lights (Tape Lights)
These are perhaps the most popular choice for bedroom decor. They are flexible strips with multiple LED chips, often backed with adhesive, making them easy to install almost anywhere.
- Monochromatic (Single Color): Emits one continuous color (e.g., warm white, cool white, blue).
- RGB (Red, Green, Blue): Can produce a wide range of colors by mixing red, green, and blue light. Often comes with a remote control.
- RGBW (Red, Green, Blue, White): Adds a dedicated white LED chip for a purer white light than RGB can achieve.
- Addressable (Dreamcolor/Chasing): Each LED chip can be controlled individually, allowing for multiple colors and dynamic chasing effects simultaneously on one strip.
Pro Tip: Look for strips with a high lumen output if you need brighter ambient light, or lower output for subtle accent lighting. Check the IP rating; while not usually necessary for bedrooms, it indicates dust and water resistance.
H3: LED Fairy Lights (String Lights)
These delicate, small lights on a thin wire are perfect for creating a magical, whimsical, or romantic ambiance. They are less about strong illumination and more about adding a sparkling accent.
- Battery-operated: Offers ultimate portability and can be placed anywhere without needing an outlet. Great for temporary decor or areas far from power.
- Plug-in: Provides consistent power and brighter light, usually with more extensive strands.
Fairy lights are excellent for draping over headboards, around mirrors, inside sheer curtains, or even artfully arranged in glass jars.
H3: Smart LED Bulbs and Lamps
If you prefer a more traditional lamp setup but want the benefits of LED technology, smart LED bulbs are a great option. They screw into existing fixtures and can be controlled via an app or voice commands, allowing for color changes, dimming, and scheduling. Smart lamps often come with built-in LED panels for specific effects.
H3: LED Puck Lights
Small, disc-shaped lights perfect for task lighting or accentuating specific objects. They can be battery-operated or plug-in, and often come with adhesive backing for easy installation under shelves, inside closets, or around artwork.
Step 3: Gather Your Tools and Prepare the Installation Area
Once you’ve selected your LED lights, it’s time to get ready for installation. A little preparation goes a long way to ensure a smooth and lasting setup.
H3: Essential Tools and Supplies
Gather the following:
- Measuring tape: For accurate lengths.
- Scissors (for strip lights): To cut LED strips at designated cutting points.
- Cleaning supplies: Rubbing alcohol or degreaser and a clean cloth for surfaces.
- Adhesive promoters (optional): For extra strong adhesion, especially on textured surfaces.
- Cable clips or ties: To manage wires neatly.
- Extension cords (if needed): Ensure they are rated for the appropriate power.
- Power adapters/drivers: Most LED strips come with these, but ensure you have the correct voltage.
- Ladder or step stool: For high placements like ceilings.
H3: Clean and Dry Surfaces Thoroughly
This step is critical, especially for LED strip lights with adhesive backing. Any dust, dirt, or grease on the surface will prevent the adhesive from sticking properly.
Use rubbing alcohol or a mild degreaser on a clean cloth to wipe down all areas where the lights will be applied. Let the surface dry completely before proceeding.

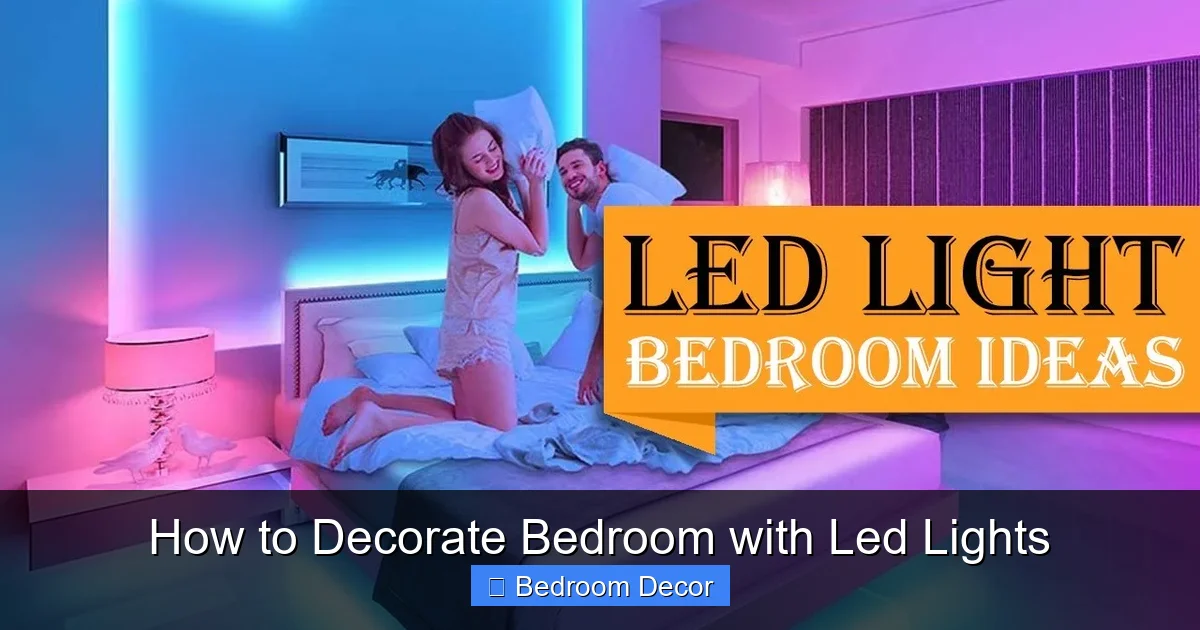
Visual guide about How to Decorate Bedroom with Led Lights
Image source: i.pinimg.com
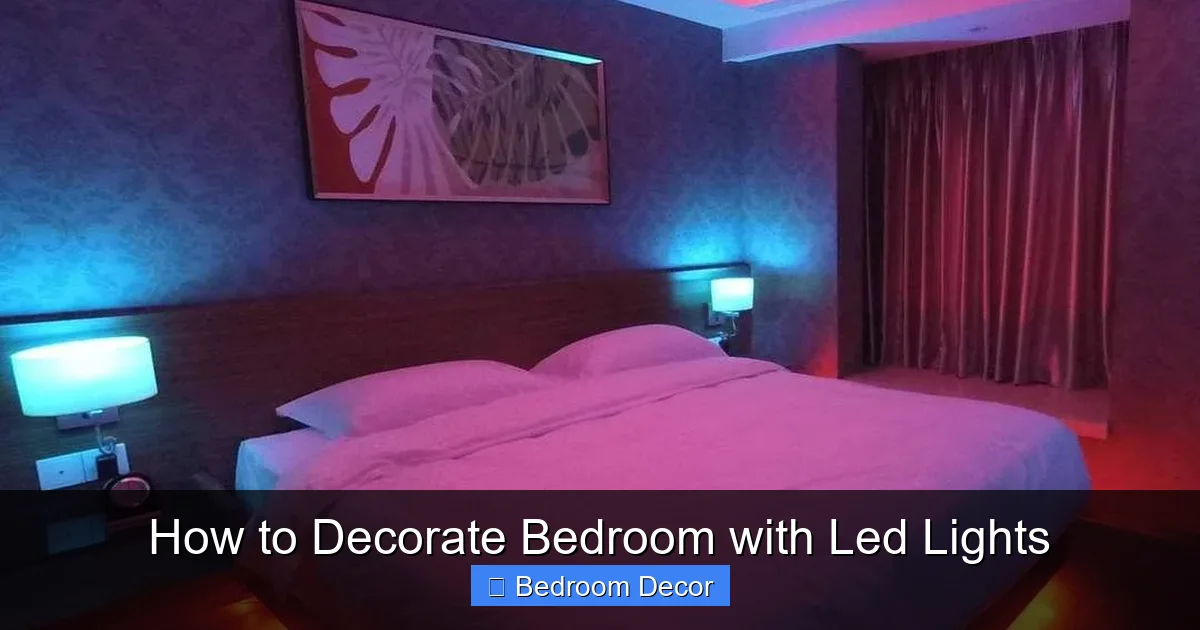
Visual guide about How to Decorate Bedroom with Led Lights
Image source: i.pinimg.com
H3: Test Your Lights Before Installation
Before peeling off any adhesive or cutting strips, plug in your LED lights and test them. Ensure all colors work, the remote functions, and there are no defects. This saves you the headache of installing faulty lights.
Step 4: Install Your LED Lights with Precision and Care
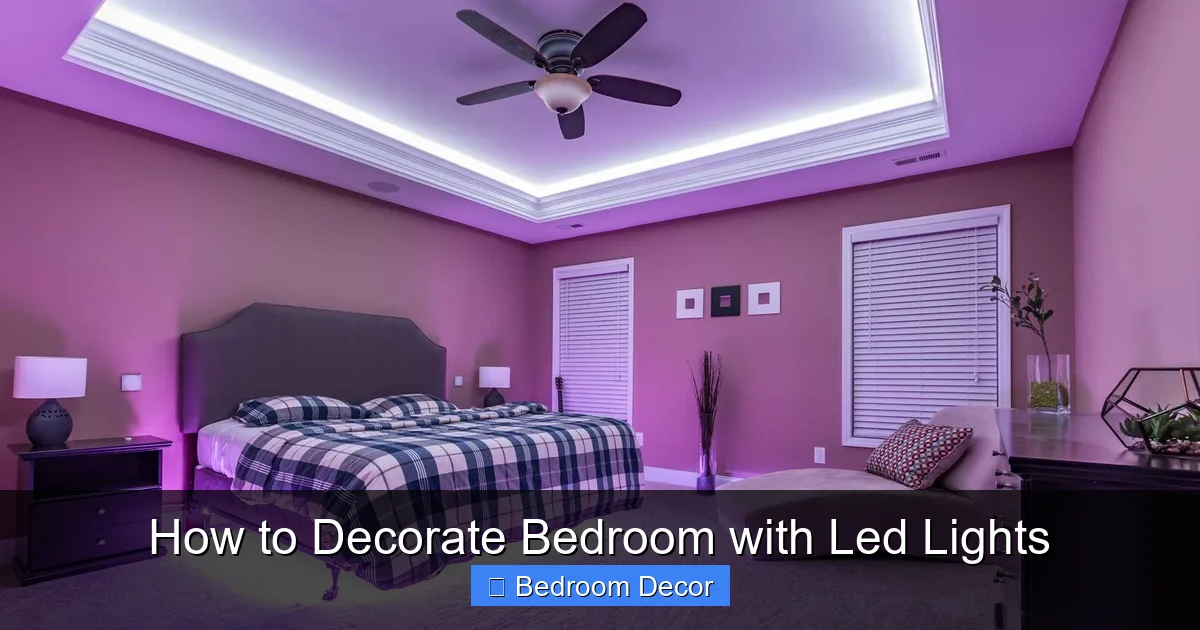
Visual guide about How to Decorate Bedroom with Led Lights
Image source: loxone.com
Now for the fun part – bringing your vision to life! The installation process will vary slightly depending on the type of LED lights and their placement.
H3: Installing LED Strip Lights
- Measure and Cut: Carefully measure the length you need. LED strips have designated cutting points, usually marked with a copper line and a scissor icon. Cut only at these points to avoid damaging the circuit.
- Peel and Stick: Start at one end, carefully peeling off a small section of the adhesive backing. Press the strip firmly onto the clean, dry surface, working your way along the desired path. Apply even pressure as you go.
- Cornering (if necessary): For sharp corners, you can gently bend the strip, use specific LED corner connectors, or cut the strip and use solderless connectors to join segments. Bending too sharply can damage the strip.
- Connect to Power: Plug the LED strip into its controller (if it’s an RGB/RGBW strip) and then connect the controller to the power adapter. Finally, plug the adapter into a wall outlet.
- Secure Loose Wires: Use cable clips or ties to neatly secure any excess wiring, preventing tripping hazards and creating a clean look.
H3: Installing LED Fairy Lights
- Drape or Wrap: Fairy lights are incredibly flexible. Drape them over your headboard, weave them through sheer curtains, or wrap them around bedposts or decorative branches.
- Container Lighting: For a charming effect, coil fairy lights into clear glass jars, vases, or lanterns.
- Mounting (Optional): If you want a more structured display, use clear adhesive hooks or small nails to hold the string in place around windows or across a wall.
H3: Integrating Smart LED Bulbs and Lamps
- Screw into Fixtures: Simply replace your existing light bulbs with smart LED bulbs.
- Connect to App/Hub: Follow the manufacturer’s instructions to connect the bulbs to their respective app or smart home hub (e.g., Philips Hue, SmartThings, Google Home).
- Placement of Lamps: Position smart LED lamps where they can provide accent lighting or fill a dark corner effectively.
Step 5: Creative Placement Ideas to Elevate Your Bedroom Decor
The magic of LED lights truly shines with thoughtful placement. Here are some popular and creative ideas to inspire your bedroom decor:
H3: Behind the Headboard or Bed Frame
This is a classic for a reason! Installing LED strips behind your headboard creates a soft, inviting glow that acts as a stunning accent light, making your bed the focal point of the room. It gives the illusion of a floating bed and adds depth.
H3: Under Shelves, Cabinets, or Desks
Highlight your favorite books, decorative items, or create functional task lighting under shelves, wall-mounted cabinets, or your desk. This adds a sophisticated touch and makes items pop.
H3: Around Mirrors or Artwork
Frame your mirror with LED strips for excellent vanity lighting that eliminates shadows, or backlight a piece of art to make it stand out dramatically.
H3: Ceiling Coves or Crown Molding
If your bedroom has ceiling coves or crown molding, installing LED strips here provides beautiful, indirect ambient lighting that washes the ceiling with color or soft white light, making the room feel larger and more luxurious.
H3: Under the Bed for a “Floating” Effect
Attach LED strips to the underside of your bed frame, facing the floor. This creates a striking “floating” effect, especially when paired with a dim, colored light. It’s great for late-night movement without turning on bright overhead lights.
H3: Inside Closets or Wardrobes
For both functionality and style, LED strips inside closets or wardrobes make it easier to find clothes and add a boutique feel.
H3: Along Window or Door Frames
Outline your windows or door frames with LED strips to create a striking architectural feature, especially effective from outside looking in, or for dramatic internal lighting.
Step 6: Control and Customize Your Lighting Experience
One of the best features of modern LED lights is their ability to be controlled and customized to suit any mood or occasion.
H3: Remote Controls
Many LED strip lights come with simple IR or RF remote controls. These allow you to change colors, adjust brightness, select preset modes (like fade, jump, flash), and turn the lights on/off.
H3: Smartphone Apps
Smart LED lights (strips, bulbs, lamps) often connect to a dedicated smartphone app via Bluetooth or Wi-Fi. Apps offer much more granular control:
- Color Wheel Selection: Precisely choose any color from millions of options.
- Custom Modes: Create your own lighting sequences or color transitions.
- Music Sync: Some lights can react to the beat of music, perfect for parties.
- Scheduling: Set lights to turn on/off or change colors at specific times.
- Group Control: Control multiple lights simultaneously or individually.
H3: Voice Control (Smart Home Integration)
If you have a smart home assistant like Amazon Alexa or Google Assistant, many Wi-Fi enabled LED lights can be integrated for voice control. Imagine saying, “Alexa, set bedroom lights to sunset” or “Hey Google, dim the bedroom lights to 50%.”
Step 7: Safety First and Maintenance Tips
While LED lights are generally safe and low-power, it’s essential to follow some safety guidelines and proper maintenance for longevity and peace of mind.
H3: Safety Guidelines
- Use Correct Power Supplies: Always use the power adapter provided with your LED lights, or ensure any replacement matches the voltage and amperage requirements. Overloading or using the wrong adapter can be a fire hazard.
- Avoid Covering Heat Sinks: While LEDs produce less heat than traditional bulbs, strip lights can still get warm. Avoid installing them in completely enclosed spaces where heat cannot dissipate, especially if they are high-density strips.
- Secure All Wiring: Loose wires are a tripping hazard and can get damaged. Use cable clips, ties, or raceways to keep all wires neat and out of the way.
- Do Not Cut Live Strips: Always unplug LED strips from the power source before cutting or performing any adjustments.
- Keep Away from Water: Unless specifically rated for wet environments (IP44+), keep LED lights away from moisture sources.
H3: Maintenance Tips
- Dust Regularly: Dust can accumulate on LED strips and covers, dulling their brightness. Gently wipe them down with a dry, soft cloth occasionally.
- Check Connections: Periodically check all connections (strip to controller, controller to adapter, adapter to outlet) to ensure they are secure and not loose.
- Clean Surfaces for Re-adhesion: If a section of your LED strip starts to peel, clean the surface again thoroughly and apply a new adhesive (like double-sided tape or a stronger adhesive promoter) for a lasting fix.
Step 8: Troubleshooting Common Issues
Even with careful installation, you might encounter a few hiccups. Here’s how to address common problems.
H3: Lights Not Turning On
- Check Power Connection: Ensure all plugs are firmly seated – from the wall outlet to the power adapter, and from the adapter to the LED strip controller/strip itself.
- Test Outlet: Plug another device into the outlet to ensure it’s working.
- Remote Battery: If using a remote, check if its battery needs replacing.
- Controller Issue: Sometimes the controller unit itself might be faulty. If possible, try bypassing it briefly (if the strip can be directly powered without it for a basic test) or replace it.
H3: Sections of the Strip Not Lighting Up
- Damaged Section: The strip might be damaged at a specific point. If it’s a small section, you might need to cut it out and re-connect the working parts with a connector, or replace the entire strip.
- Poor Connection: Check the connection points where the strip connects to the controller or where multiple strips are joined. Ensure the pins are correctly aligned and making firm contact.
H3: Adhesive Not Sticking
- Surface Preparation: Most often, this is due to inadequate surface cleaning. Re-clean the area with rubbing alcohol and let it dry completely.
- Temperature: Extreme temperatures can affect adhesive. Ensure the room temperature is moderate during installation.
- Use Reinforcements: For stubborn surfaces (e.g., textured walls, painted drywall), use extra-strong double-sided tape, adhesive promoters, or small clear cable clips to provide additional support.
H3: Remote Control Not Working
- Battery Check: Replace the remote battery.
- Line of Sight: For IR remotes, ensure there’s a clear line of sight between the remote and the IR receiver on the LED strip controller.
- Interference: Other electronics or strong light sources can sometimes interfere with IR signals.
Conclusion
Congratulations! You’ve now got all the knowledge and tips you need to beautifully decorate your bedroom with LED lights. From choosing the right type of lighting to creative placement, safe installation, and smart control, you’re well-equipped to transform your personal space.
Remember, the beauty of LED lighting is its flexibility and versatility. Don’t be afraid to experiment with different colors, brightness levels, and effects to match your mood and activities. Whether you’re aiming for a calming retreat, a vibrant party zone, or a modern, stylish haven, LED lights are a fantastic tool to achieve your dream bedroom. So go ahead, get creative, and light up your world!