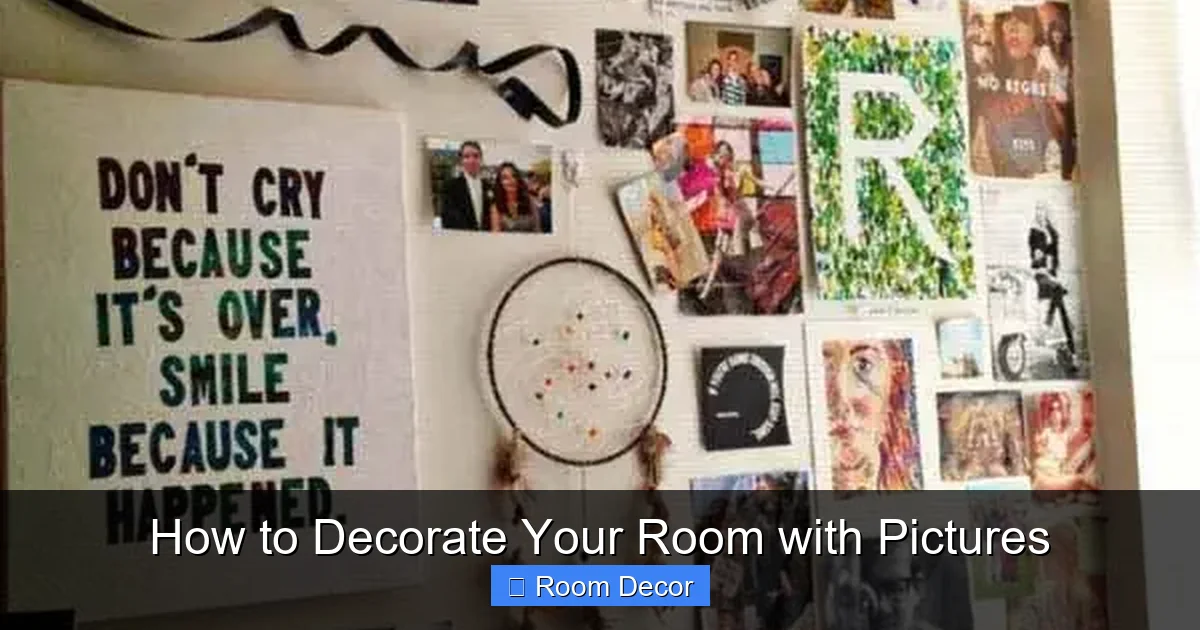
Transform your living space by decorating with pictures! This comprehensive guide walks you through every step, from selecting the perfect images to arranging and hanging them flawlessly. Learn how to create a visually appealing and personalized room that reflects your unique style and memories. Discover the power of pictures to tell your story and enhance your home’s ambiance.
Decorating your room with pictures is a fantastic way to infuse personality and warmth into your space. Photos aren’t just images; they’re memories, stories, and reflections of who you are. Whether you have a collection of cherished family moments, inspiring art prints, or a mix of both, the way you display them can dramatically change the feel of your room. This guide will take you through the entire process, from the initial idea to the final, perfectly hung picture.
Ready to turn those blank walls into a captivating display? Let’s dive in!
Key Takeaways
- Define Your Style: Before you start, understand the overall aesthetic you want to achieve to ensure your picture choices complement your room’s existing decor.
- Curate Your Collection Wisely: Select a mix of personal photos, art prints, and inspiring images that resonate with you and tell a story.
- Consider Placement and Scale: Think about where you’ll hang your pictures, considering wall space, furniture placement, and the size of your chosen frames.
- Master the Art of Arrangement: Explore different layout options, from a cohesive gallery wall to a single statement piece, to create visual interest.
- Proper Hanging Techniques are Crucial: Learn how to measure, level, and secure your pictures to prevent damage to your walls and ensure longevity.
- Don’t Forget Lighting: Think about how natural and artificial light will affect your pictures and consider accent lighting to highlight your display.
- Embrace Personalization: Ultimately, decorating with pictures is about making your space feel like *you*. Don’t be afraid to experiment and have fun!
Step 1: Envision Your Picture Decor Style
Before you even think about picking out frames, it’s essential to have a vision for your room’s overall aesthetic. Decorating with pictures isn’t a one-size-fits-all approach. What kind of vibe are you going for?
Define Your Room’s Theme
Think about the existing style of your room. Is it modern and minimalist, cozy and bohemian, classic and elegant, or something else entirely? Your pictures and their presentation should complement this.
* Modern: Clean lines, geometric shapes, black and white photos, abstract art, and sleek frames.
* Bohemian: Eclectic mixes of art, vintage photos, travel snapshots, natural elements, and a variety of frame styles.
* Classic: Traditional portraits, landscapes, framed vintage posters, and ornate or simple wooden frames.
* Rustic: Photos with natural textures, wood frames, landscapes, and perhaps even dried flowers incorporated.
Consider Your Color Palette
Look at the dominant colors in your room. Do you want your pictures to blend in or stand out?
* **Harmonious:** Choose photos or prints with colors that are already present in your room’s decor. This creates a cohesive and calming feel.
* **Contrasting:** If you want a bolder statement, select pictures with colors that pop against your wall color or furniture.
Think About the Mood You Want to Create
Pictures can evoke strong emotions. Do you want your room to feel energetic and vibrant, peaceful and serene, or nostalgic and comforting?
* **Energetic:** Bright, colorful images, action shots, or dynamic abstract art.
* **Peaceful:** Soothing landscapes, calm seascapes, nature photography, or gentle portraits.
* **Nostalgic:** Black and white photos, vintage prints, or pictures of special memories.
Step 2: Curate Your Picture Collection
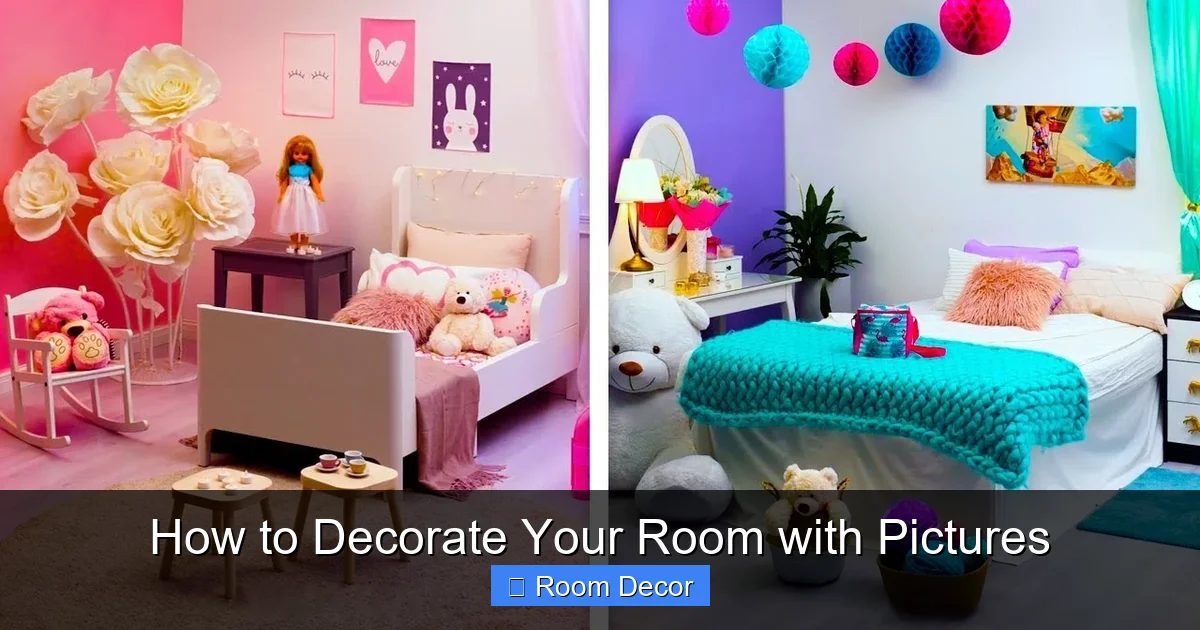
Visual guide about How to Decorate Your Room with Pictures
Image source: i.ytimg.com
Now for the fun part – selecting the images that will adorn your walls! This is where you get to tell your story.
What to Include?
The beauty of decorating with pictures is the sheer variety of what you can display.
* Personal Photographs: This is often the heart of picture decorating. Include family photos, pictures of friends, vacations, pets, and significant life events.
* Art Prints: These can range from famous masterpieces to contemporary illustrations. They add a sophisticated or artistic touch.
* Posters: Movie posters, concert posters, travel posters, or motivational quotes can inject personality.
* Vintage Images: Old family photos, historical pictures, or vintage advertisements add a unique charm.
* Text and Typography: Quotes, lettering art, or even handwritten notes can be visually striking.
* Nature and Landscapes: Beautiful scenery, botanical prints, or wildlife photography can bring the outdoors in.
Creating a Cohesive Theme
Even with a mix of images, a subtle theme can tie everything together.
* Color Scheme: Group photos that share a similar color palette, or choose frames that unify them.
* Subject Matter: All travel photos, all portraits, or a mix of black and white images.
* Time Period: A collection of vintage photos or contemporary art.
Step 3: Plan Your Layout and Arrangement
How you arrange your pictures is just as important as the pictures themselves. This is where you create visual interest and flow.
Gallery Walls
A gallery wall is a collection of pictures of various sizes and styles hung close together. They create a dynamic focal point.
* Symmetrical Gallery Wall: Arrange pictures in a grid with equal spacing. This looks very neat and organized.
* Asymmetrical Gallery Wall: Mix and match sizes and orientations freely. This can feel more organic and eclectic.
Tips for Creating a Gallery Wall:
- Lay it out on the floor: Before you start hammering nails, arrange your pictures on the floor to visualize the final look.
- Start with the largest piece: Place your biggest or most important piece first, then build around it.
- Vary sizes and orientations: Mix horizontal and vertical frames, and larger and smaller pieces.
- Maintain consistent spacing: Aim for about 2-3 inches between frames. Use a ruler or tape measure.
- Consider negative space: Don’t cram too many pictures together. Allow some breathing room.
Single Statement Piece
Sometimes, one large, impactful picture is all you need.
* Above a Sofa or Bed: A large artwork or a collection of photos framed as one large piece can anchor a room.
* Above a Fireplace: This is a natural focal point that can be enhanced by a striking image.
Linear Displays
Hanging pictures in a straight line can create a sense of order and sophistication.
* Along a Staircase: Use this to guide the eye up or down.
* Above a Console Table or Desk: A row of uniformly sized frames can look very polished.
Grouping Smaller Pictures
If you have several small pictures, grouping them can create a bigger impact than hanging them individually.
* In a Square or Rectangle: Arrange them neatly within defined boundaries.
* Cascading or Overlapping: For a more artistic, less formal look.
Step 4: Choose Your Frames Wisely

Visual guide about How to Decorate Your Room with Pictures
Image source: thespruce.com
Frames are the unsung heroes of picture decor. They protect your pictures and enhance their presentation.
Frame Styles
The style of your frame should match your room’s decor and the picture itself.
* Simple and Sleek: Thin metal or minimalist wood frames are great for modern and contemporary spaces.
* Ornate and Detailed: Intricate carvings or elaborate designs add a touch of vintage or classic elegance.
* Rustic and Natural: Reclaimed wood, distressed finishes, or natural materials fit well in bohemian or rustic settings.
* Gallery Frames: These often come with mats and can be a great way to showcase individual photos.
* Frameless Options: Acrylic or metal prints offer a very modern, minimalist look.
Matching vs. Mismatched Frames
* Matching Frames: Using the same frame style and color for all your pictures creates a very cohesive and polished look, especially for gallery walls. This is a safe and effective choice.
* Mismatched Frames: Using a variety of frames can add character and an eclectic feel. If you go this route, try to find a common thread, like all black frames with different styles, or all vintage-inspired frames.
Matting
A mat (the cardboard-like border around the picture inside the frame) can make a significant difference.
* White or Off-White Mats: These are classic and make colors in the photo pop. They also create a visual buffer between the picture and the frame, making the artwork feel more substantial.
* Black Mats: These can create a more dramatic and modern look, especially for black and white photography.
* Colored Mats: Use sparingly to complement the colors within the picture.
Step 5: Measure and Hang with Precision
This is where your vision comes to life! Accurate measuring and careful hanging will make your display look professional.
Gather Your Tools
You’ll need:
* A tape measure
* A pencil
* A level (crucial!)
* Picture hanging hooks or nails
* A hammer
* Command strips (for lighter items or if you don’t want to put holes in the wall)
Hanging Techniques
* Determine the Right Height:
* **Eye Level Rule:** The general rule is to hang pictures so the center of the artwork is at eye level, typically around 57-60 inches from the floor.
* **Above Furniture:** When hanging a picture above a sofa, chair, or bed, leave about 6-10 inches of space between the top of the furniture and the bottom of the frame.
* Gallery Walls: Maintain consistent spacing between frames, usually 2-3 inches.
* Marking the Spot:
1. **Measure your frame:** Measure the height and width of the framed picture.
2. **Mark the center point:** Find the horizontal and vertical center of your frame.
3. **Determine hanging hardware placement:** Measure the distance from the top of the frame to where the hanging wire or hook will rest on the wall hook.
4. **Transfer to the wall:** Hold the frame up to the wall, or use your measurements, and lightly mark the spot where the hook will go with a pencil.
* Using a Level:
1. Once you’ve marked where your picture will hang, hold the picture up to the mark.
2. Place your level on top of the frame.
3. Adjust the frame until the bubble in the level is perfectly centered.
4. Carefully mark the wall where the hook needs to go.
* Installing the Hook:
1. Use your hammer to gently tap in your picture hook or nail at the marked spot. Ensure it’s secure.
2. For heavier items, use appropriate anchors and screws.
* Hanging the Picture:
1. Carefully hang your picture on the hook.
2. Step back and check with your level again.
3. Make minor adjustments as needed.
Using Command Strips
Command strips are a great alternative for lighter pictures or if you’re renting and can’t put holes in the walls.
1. Clean the wall surface and the back of the frame.
2. Apply the strips to the frame according to the package instructions.
3. Press the frame firmly against the wall for the recommended time.
4. Wait for the recommended time before hanging the picture.
Step 6: Lighting and Final Touches
Don’t underestimate the power of lighting in showcasing your pictures.
Natural Light
Position your pictures where they won’t be in direct, harsh sunlight, which can fade them over time. Soft, indirect natural light is ideal.
Artificial Light
* Accent Lighting: Consider picture lights that attach to the top of the frame or spotlights directed at your artwork.
* Ambient Lighting: Ensure your room’s general lighting complements your pictures rather than casting harsh shadows.
Don’t Forget to Edit
Periodically review your picture display. Do you still love every piece? Does it still fit your room? It’s okay to swap things out or rearrange as your tastes evolve.
Troubleshooting Common Picture Decorating Issues
* Pictures look too small for the wall:
* **Solution:** Group smaller pictures together to create a larger visual impact. Or, consider framing a single, larger print or a collection of photos in one large statement frame.
* Gallery wall looks messy or unbalanced:
* **Solution:** Lay everything out on the floor first to get the spacing and arrangement right. Use a level religiously. Ensure consistent spacing.
* Holes in the wall are a concern:
* **Solution:** Utilize Command strips or picture ledges that hold artwork without needing to drill.
* Pictures are crooked:
* **Solution:** This is why a level is your best friend! If a picture is slightly off, adjust it gently. For severely crooked hanging, you might need to re-hang the hook.
Conclusion
Decorating your room with pictures is a deeply personal and rewarding process. It transforms a house into a home, filling it with memories, personality, and style. By carefully considering your room’s aesthetic, curating a collection that speaks to you, planning your arrangement, choosing the right frames, and hanging with precision, you can create a space that is not only beautiful but also uniquely yours.
So go ahead, start gathering those cherished memories and artistic inspirations, and get ready to breathe new life into your room. Happy decorating!