Discover the joys of DIY room decor and give your living space a personal touch without breaking the bank. This guide offers practical, budget-friendly ideas and step-by-step instructions for creating unique decorations. Learn how to transform everyday items into stunning pieces that reflect your style.
How to DIY Room Decor
Feeling like your room needs a little refresh? Tired of seeing the same old decor everywhere? You’ve come to the right place! This guide is all about making your living space uniquely yours through the magic of DIY room decor. We’re going to dive into a world of creativity, where everyday items become stunning pieces and your personal style shines through. Whether you’re a crafting novice or have a few projects under your belt, you’ll find plenty of inspiration and easy-to-follow instructions here. Get ready to transform your room into a space you absolutely love, all while having fun and saving money.
DIY room decor isn’t just about making things look pretty; it’s about personal expression. It’s a chance to create something that truly speaks to you, something that tells a story. Plus, it’s incredibly rewarding to look around your room and know that *you* made that! So, let’s get started on this exciting journey of DIY room decor.
Key Takeaways
- Start Small and Build Confidence: Begin with simple DIY projects like painted jars or custom pillow covers to get comfortable with crafting techniques.
- Repurpose and Upcycle: Give old items new life by transforming them into stylish decor. Think old t-shirts for rugs or wine bottles for vases.
- Embrace Color and Texture: Use paint, fabric, and natural elements to add visual interest and personality to your room.
- Personalize Your Space: DIY decor allows you to create items that are uniquely yours, from custom art to photo displays.
- Budget-Friendly Solutions: Many amazing DIY room decor projects use inexpensive or free materials, making it an accessible way to update your home.
- Learn Basic Techniques: Mastering simple skills like painting, Mod Podging, and basic sewing can open up a world of DIY possibilities.
Why Embrace DIY Room Decor?
Before we jump into the how-to, let’s quickly touch on why DIY room decor is such a fantastic idea.
It’s Budget-Friendly: This is often the biggest draw. You can achieve a high-end look without the high-end price tag. Think of the money you’ll save compared to buying brand-new decorative items.
It’s Unique: Store-bought decor is mass-produced. Your DIY creations will be one-of-a-kind, reflecting your personal taste and creativity.
It’s Sustainable: Repurposing and upcycling old items is a wonderful way to reduce waste and give new life to things that might otherwise be thrown away.
It’s a Fun Hobby: Crafting can be a relaxing and enjoyable way to spend your time, helping you de-stress and boost your mood.
It’s Rewarding: There’s a special sense of accomplishment that comes from creating something beautiful with your own hands.
Getting Started: Your DIY Room Decor Toolkit
You don’t need a professional studio to create amazing DIY room decor. Most projects can be done with common household items and a few basic supplies.
Essential Supplies
Here’s a list of items that will come in handy for many DIY room decor projects. Don’t worry if you don’t have everything; you can build your collection as you go.
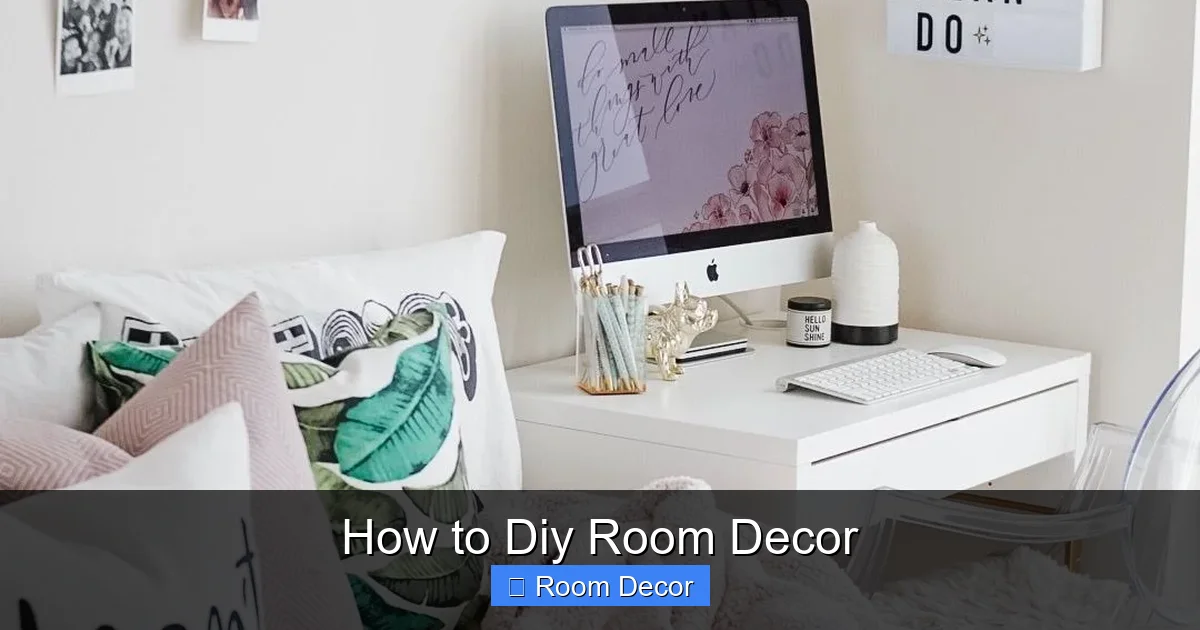
Visual guide about How to Diy Room Decor
Image source: nobroker.in
- Craft Paint (Acrylic): Available in countless colors, perfect for painting anything from jars to furniture.
- Paintbrushes: A variety of sizes will be useful.
- Glue (Hot Glue Gun, Craft Glue, Mod Podge): Hot glue is great for quick fixes and attaching items. Craft glue is good for paper and fabric. Mod Podge is amazing for decoupage and sealing.
- Scissors & Craft Knife: For cutting paper, fabric, and other materials.
- Measuring Tape & Ruler: For accuracy.
- Scissors: For cutting paper, fabric, and other materials.
- Fabric Scraps & Old Clothing: Perfect for pillow covers, wall hangings, and more.
- Jars & Bottles: Glass jars and bottles can be transformed into vases, candle holders, and storage.
- Cardboard & Cardstock: For creating stencils, structures, and decorative elements.
- Twine, Yarn, or String: For adding texture and hanging items.
- Sandpaper: For distressing wood or smoothing surfaces.
- Gloves: To protect your hands when painting or using adhesives.
- Drop Cloth or Newspaper: To protect your work surface.
Project Ideas: Step-by-Step
Now for the fun part! Let’s explore some popular and easy DIY room decor projects.
1. Painted Mason Jars: Versatile & Chic
Mason jars are a DIYer’s best friend. They’re inexpensive and can be transformed into countless decorative items.
What You’ll Need:
- Clean glass mason jars
- Acrylic craft paint in your desired colors
- Paintbrushes
- Optional: Twine, ribbon, stencils, spray paint
Steps:
Step 1: Prepare Your Jars
Ensure your mason jars are clean and completely dry. Remove any labels or sticky residue. You can soak them in warm, soapy water to help loosen stubborn labels.

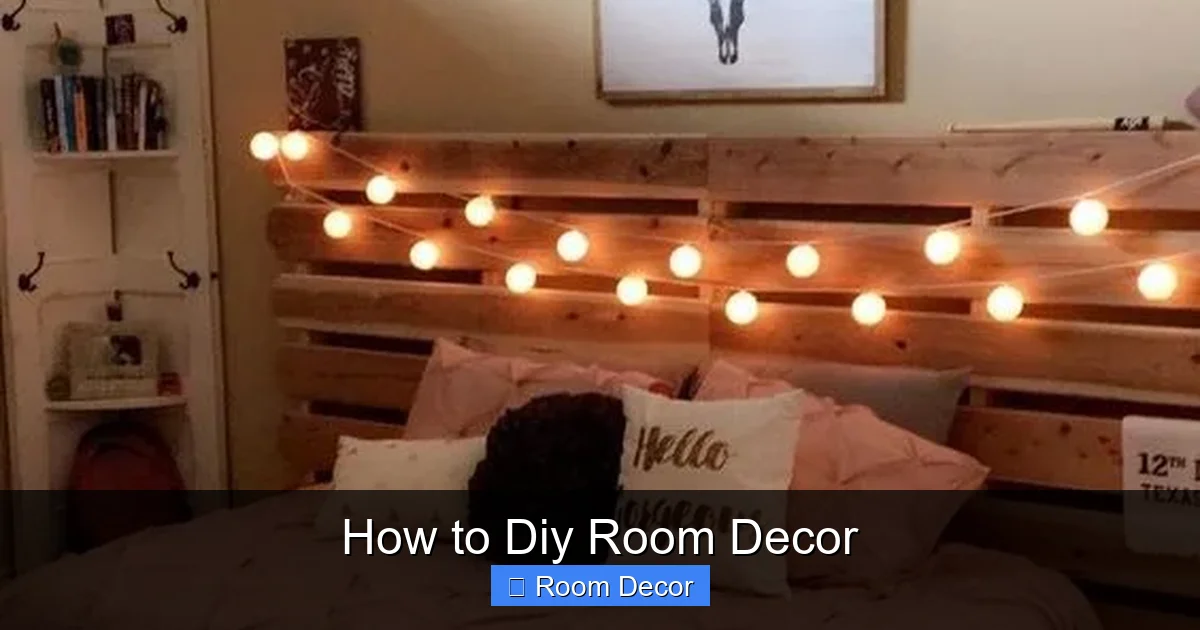
Visual guide about How to Diy Room Decor
Image source: cdn.shopify.com
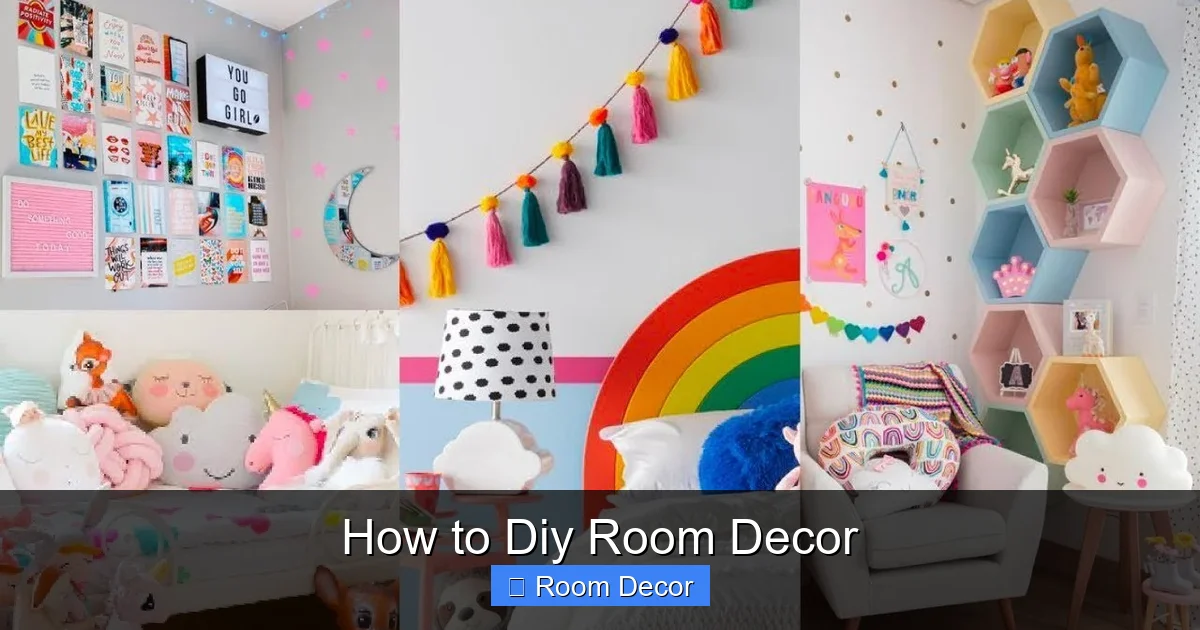
Visual guide about How to Diy Room Decor
Image source: i.ytimg.com
Step 2: Apply the Paint
You have a few options here:
- Inside Painting: Pour paint into the jar and swirl it around until the inside is coated. Pour out excess paint. This creates a smooth, glossy finish. Let it dry completely upside down.
- Outside Painting: Use a paintbrush to apply paint directly to the outside of the jar. You might need two to three coats for full coverage. Let each coat dry before applying the next.
- Spray Painting: For a quick and even finish, use spray paint. Ensure you’re in a well-ventilated area and use a drop cloth. Apply light, even coats.
Step 3: Add Embellishments (Optional)
Once the paint is dry, get creative:
- Twine or Ribbon: Wrap twine or ribbon around the neck of the jar for a rustic touch. Secure with a dab of hot glue.
- Stencils: Use stencils to add patterns or designs to the painted surface.
- Distressing: Lightly sand certain areas to create a distressed, vintage look.
Step 4: Use Your Jars!
Your painted mason jars can be used as vases for flowers, candle holders, storage for pens or makeup brushes, or simply as decorative accents on shelves.
2. Fabric Wall Art: Add Color and Texture
Wall art can be expensive, but creating your own fabric wall art is surprisingly simple and allows you to match your decor perfectly.
What You’ll Need:
- Canvas frames (various sizes) or sturdy cardboard
- Fabric scraps in coordinating colors and patterns
- Scissors
- Craft glue or Mod Podge
- Optional: Staple gun, ribbon, buttons
Steps:
Step 1: Choose Your Fabric
Select fabrics that complement your room’s color scheme. You can use one large piece of fabric or create a collage of smaller pieces.
Step 2: Prepare Your Base
If using canvas frames, you can either cover the entire canvas with fabric, or cut out shapes from fabric and glue them onto a painted canvas. If using cardboard, you can cover it entirely or cut it into desired shapes.
Step 3: Cut and Arrange
Cut your fabric into the desired shapes and sizes. Arrange them on your canvas or cardboard to create your design. Play around with different layouts until you’re happy.
Step 4: Attach the Fabric
Once you have your design, use craft glue or Mod Podge to adhere the fabric to the base. For canvas frames, you can also use a staple gun to wrap the fabric around the edges for a cleaner finish.
Step 5: Add Details (Optional)
Add buttons, ribbon, or other embellishments for extra texture and visual interest.
Step 6: Hang Your Art
Allow the glue to dry completely. You can then hang your new fabric wall art using command strips or small nails.
3. Upcycled Planters: Greenery with Personality
Bring the outdoors in with charming, upcycled planters. Almost anything can become a planter with a little creativity!
What You’ll Need:
- Old tin cans, teacups, old shoes, or small buckets
- Drill with a masonry bit (for drainage holes in certain materials)
- Paint (acrylic or spray paint)
- Optional: Twine, rope, decoupage materials, plants
Steps:
Step 1: Select Your Container
Look around your home or at thrift stores for interesting containers. Tin cans, old teacups, small buckets, or even old boots can work!
Step 2: Add Drainage Holes (Important!)
Plants need drainage to prevent root rot. If your container doesn’t have holes, you’ll need to create them. For tin cans, you can use a hammer and nail. For ceramic teacups or terra cotta, use a drill with a masonry bit on a low speed.
Step 3: Clean and Prepare
Wash your chosen container thoroughly. If you’re painting, ensure the surface is clean and dry.
Step 4: Decorate!
This is where the fun begins!
- Paint: Paint the outside of your container with acrylic or spray paint. You can do a solid color, stripes, polka dots, or even a stencil design.
- Decoupage: Use Mod Podge to adhere pieces of paper, fabric, or napkins to the container for a patterned effect.
- Wrap: Wrap twine or rope around the container for a rustic or nautical look.
Step 5: Add Your Plants
Once the decorations are dry, add a layer of gravel for drainage, then your potting soil and your favorite plant. Remember to place a saucer underneath to catch any water.
4. DIY Photo Display: Cherish Your Memories
Showcase your favorite photos in a creative and personal way. Forget boring frames – let’s get crafty!
What You’ll Need:
- A piece of driftwood, a branch, a wooden plank, or even a large picture frame
- Twine or string
- Mini clothespins
- Your favorite photos
- Optional: Small hooks or nails for hanging
Steps:
Step 1: Find Your Base
A piece of driftwood or a sturdy branch looks natural and beautiful. Alternatively, a painted wooden plank or even the frame of a large mirror can work.
Step 2: Attach the String
Cut lengths of twine or string to your desired lengths. You can attach them horizontally or vertically to your base. Use a staple gun, small nails, or strong glue to secure the ends of the twine to your base.
Step 3: Clip Your Photos
Use mini clothespins to attach your photos to the twine. You can arrange them in a pattern, mix and match sizes, or even add small notes or drawings.
Step 4: Hang and Enjoy
Hang your DIY photo display on a wall using hooks or nails. It’s a wonderful way to personalize your space and keep your favorite memories on display.
5. No-Sew Pillow Covers: Instant Comfort
Give your pillows a new look without any sewing! This is a fantastic project for beginners.
What You’ll Need:
- Old T-shirts or fabric yardage
- Existing pillow inserts
- Fabric scissors
- Fabric glue or a sewing machine (if you want a more durable finish)
Steps:
Step 1: Choose Your Fabric
Old T-shirts are perfect for this. Look for ones with cool graphics, patterns, or colors. You can also use any fabric yardage you have.
Step 2: Measure and Cut
Lay your existing pillow insert on top of your fabric. Cut a piece of fabric that is about 2 inches wider and 2 inches longer than your pillow insert. This extra inch on each side is for the seam allowance and the envelope closure.
Step 3: Create the Envelope Closure (No-Sew Method)
This method is super simple. You’ll essentially create an overlap for the pillow insert.
- Fold over one edge of the fabric by about 1/2 inch, then fold it over again by another 1/2 inch to create a hem. Secure this hem with fabric glue. Let it dry completely.
- On the opposite edge of the fabric, do the same: fold over 1/2 inch, then another 1/2 inch to create a hem. Secure with fabric glue and let dry.
You should now have two hemmed edges. Now, lay the fabric flat with the wrong side facing up. Place the pillow insert on top of one half of the fabric. Then, bring the other hemmed edge over to overlap the first edge, creating an envelope opening. You want enough overlap so that the pillow insert is securely held inside.
Step 4: Secure the Edges
Once you’re happy with the overlap, use fabric glue along the open sides (the ones that are NOT the envelope closure) to secure the two layers of fabric together. Ensure you get a good, strong bond.
Step 5: Insert Your Pillow
Once the glue is completely dry, turn your new pillow cover right-side out. Then, tuck your pillow insert into the envelope opening. Voila! Instant new decor.
Troubleshooting Common DIY Decor Issues
Even with the best intentions, sometimes things don’t go exactly as planned. Here are a few common issues and how to fix them.
Paint Not Sticking?
Problem: Your paint is peeling or not adhering to the surface.
Solution: The surface might not have been properly cleaned or prepped. Make sure it’s free of dust, grease, and old finishes. Sometimes, a primer is necessary, especially for slick surfaces like glass or laminate. Ensure you’re using the correct type of paint for the material.
Glue Not Holding?
Problem: Your glued items are falling apart.
Solution: Ensure you’re using the right glue for the materials. For example, hot glue is great for quick bonds on many surfaces, but it’s not always the strongest for heavy items. Ensure both surfaces are clean and dry before applying glue. For extra hold, clamp the items together while the glue dries.
Uneven Paint Coverage?
Problem: Your painted item has streaks or patchy areas.
Solution: This often happens when applying paint too thickly or not using enough coats. For a smooth finish, apply thin, even coats of paint, allowing each to dry before applying the next. For spray paint, use light, sweeping motions and stand back an appropriate distance.
Conclusion
You’ve now got a toolbox full of ideas and practical tips to start your DIY room decor journey! Remember, the most important ingredient is your own creativity. Don’t be afraid to experiment, make mistakes, and learn as you go. DIY room decor is all about infusing your personality into your living space, creating a home that feels uniquely yours. So, gather your supplies, unleash your inner artist, and start transforming your room into a haven of style and comfort. Happy crafting!