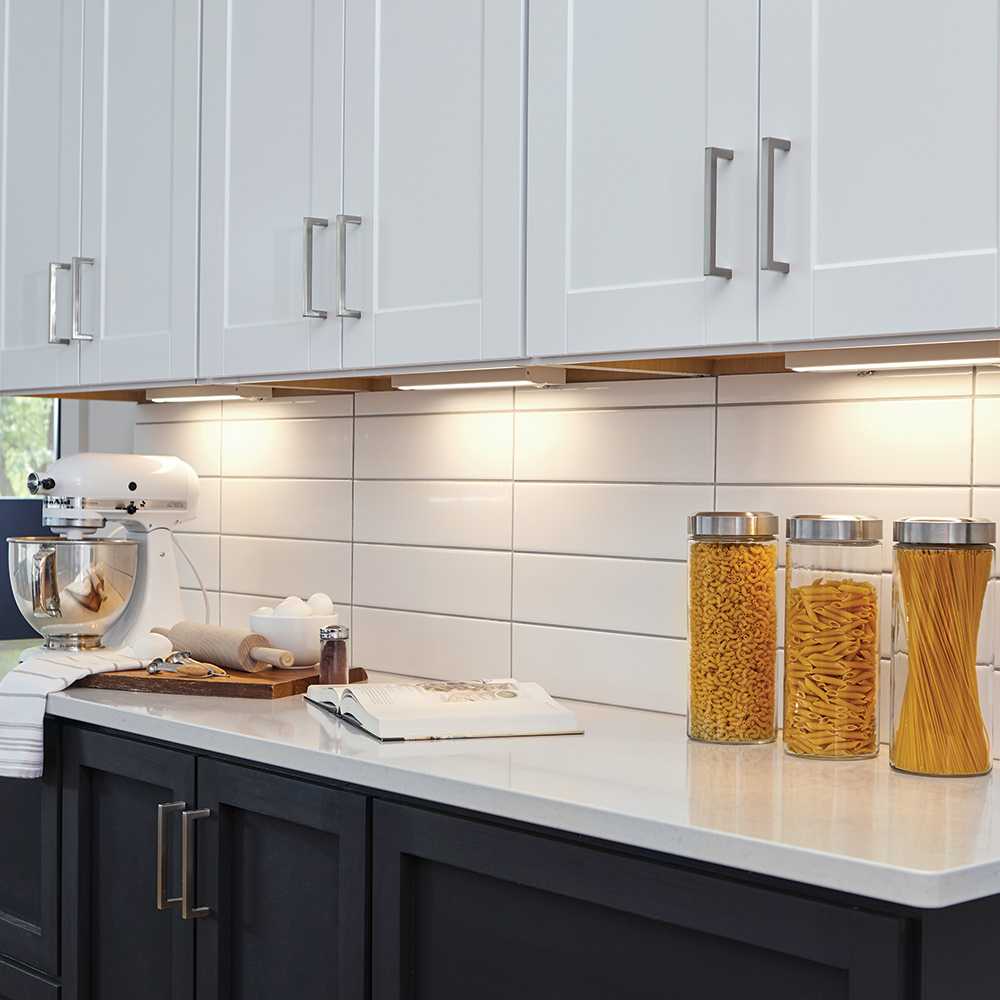
To install lighting around your kitchen cabinets efficiently, start by choosing the right type of lights, such as LED strip lights or puck lights, and plan your layout for even illumination. Carefully measure and mark where the fixtures will go, then install the mounting hardware and connect the lights to a power source. Finally, test everything to ensure your cabinets are beautifully lit and functioning properly.
Installing lighting around kitchen cabinets can truly transform your space, adding both style and functionality. Whether you want under-cabinet lighting for better visibility while cooking or decorative lights to highlight your cabinetry, the process is straightforward with the right tools and planning. First, pick the lighting style that best fits your kitchen’s look. Then, measure your cabinets carefully, mark where each light will go, and install the fixtures securely. With a little patience, you’ll achieve a sleek, well-lit kitchen that’s perfect for cooking, entertaining, or just enjoying your culinary space.

How to install lighting around kitchen cabinets
Adding lighting around kitchen cabinets can make your space brighter and more welcoming. Proper lighting also highlights your cabinets and makes cooking easier. This guide will walk you through each step to install the perfect lighting for your kitchen.
Understanding the types of kitchen cabinet lighting
Before starting, it’s important to know the different kinds of lighting options available. Each type serves a specific purpose and adds a unique touch to your kitchen.
Puck Lights
Puck lights are small, round fixtures that can be installed inside or beneath cabinets. They provide focused light, perfect for illuminating countertops. These are easy to install and come in both battery-operated and hardwired versions.
Strip Lights and LED Tape
Strip lights are flexible and can be placed along the underside or inside of cabinets. They produce a continuous line of light, creating a modern and sleek look. LED tape is energy-efficient and can be cut to fit any space.
Recessed Lighting
Recessed lights are installed into the ceiling and shine down on your cabinets. They offer a clean, unobtrusive appearance and provide ample overall illumination. This type requires some electrical work for proper installation.
Under-Cabinet Lights
Under-cabinet lighting is mounted underneath cabinets to brighten countertops specifically. It helps you see better while preparing meals and adds ambient light to your kitchen.
Planning your lighting layout
Proper planning ensures even and effective lighting around your cabinets. Think about the areas you want to highlight and how each light will be powered.
Determine the placement of lights
Decide whether you want to install lights inside cabinets, underneath, or both. For underneath lighting, position the fixtures evenly along the length of the cabinet base for balanced illumination.
Measure your space accurately
Use a tape measure to figure out the length of your cabinets and the placement for each fixture. Mark spots lightly with a pencil where lights will be installed.
Consider power sources
Decide if your lights will connect to existing outlets, wall switches, or require new wiring. Battery-powered options offer quick installation, while hardwired systems need electrical work.
Gathering the necessary tools and materials
Before starting, collect all tools and materials. Having everything on hand makes the process smoother and faster.
- Wire strippers and cutters
- Screwdriver (Phillips and flat-head)
- Drill and drill bits
- Measuring tape and pencil
- Level
- Electrical tape
- Connectors, mounting brackets, and screws
- Lights (puck lights, tape, or recessed fixtures)
- Optional: dimmer switch for adjustable lighting
Installing the lighting fixtures
Follow these detailed steps based on the type of lighting you choose. Always prioritize safety when working with electricity.
Installing Under-Cabinet Puck or Strip Lights
- Turn off power at the circuit breaker to prevent accidents.
- Mark the positions where the lights will go, using your measurements as a guide.
- Use a drill to create holes if mounting fixtures inside cabinets or on the underside.
- Attach mounting brackets or clips securely with screws.
- Connect the lights to power sources, following manufacturer instructions.
- Secure the fixtures into the brackets and turn the power back on to test lights.
Installing Recessed Ceiling Lights
- Mark the locations on the ceiling based on your lighting plan.
- Use a drill to create holes for the recessed fixtures.
- Run electrical wiring from existing switches or outlets to each fixture location.
- Connect the wiring to the fixtures, following safety guidelines and local electrical codes.
- Insert the fixtures into the holes and secure them with screws or clips.
- Restore power and test the lights to ensure proper functioning.
Electrical wiring tips and safety precautions
Working with electricity requires caution. Always turn off the power before starting any wiring work.
If you are not comfortable with electrical tasks, hire a licensed electrician. Use appropriate wire connectors, and ensure all connections are insulated and secure.
Using a dimmer switch
A dimmer switch allows you to adjust the brightness of your lights, creating a cozy atmosphere. Install it on the circuit controlling your cabinet lighting for maximum flexibility.
Final touches and tips for a professional look
Clean up any debris and check all fixtures for stability. Consider installing light diffusers or covers to soften the light and reduce glare.
Color temperature is also important; choose bulbs in warm white (around 2700K) for a cozy ambiance or cool white (around 4000K) for task lighting. Test all lights with the switch and adjust positioning if needed.
Additional considerations for your kitchen lighting project
Think about the overall design of your kitchen. Coordinating cabinet lighting with existing fixtures can enhance your space’s aesthetic.
Maintenance is key; opt for LED lights that last longer and are low maintenance. Also, consider adding a timer or smart controls for convenient operation.
In summary, installing lighting around kitchen cabinets involves careful planning, choosing the right fixtures, and ensuring safe electrical work. With some patience, you can achieve a well-lit, stylish kitchen that’s perfect for cooking and entertaining.
Frequently Asked Questions
What tools and materials are necessary for installing lighting around kitchen cabinets?
To install lighting around kitchen cabinets, gather essentials such as a drill, screwdriver, measuring tape, level, wire strippers, adhesive clips or brackets, LED strip lights or puck lights, electrical tape, and possibly a power source or extension cords. Having these tools and materials on hand ensures a smooth installation process and helps you secure the lighting fixtures properly.
How can I ensure the lighting is evenly distributed around my cabinets?
Measure the length of each cabinet section carefully and plan the placement of lights to avoid dark spots. Use a level to align fixtures straight and space them evenly, typically placing lights at regular intervals. Mark the spots where you’ll install each light before attaching them. This careful planning helps achieve uniform lighting that enhances the overall look of your kitchen.
What is the best way to hide wiring when installing under-cabinet lights?
Hide wiring by running it behind the cabinet surfaces or along the edges using adhesive cable clips. Conceal wires inside the cabinet gaps or use conduit covers designed for wiring concealment. If possible, connect the wiring to existing outlets or install a dedicated switch for a cleaner appearance. Properly hiding wires prevents clutter and maintains a neat cooking space.
How do I choose the right type of lighting for my kitchen cabinets?
Select lighting based on your needs—LED strip lights are energy-efficient and provide continuous illumination, while puck lights offer focused brightness. Consider the color temperature; warmer tones create a cozy atmosphere, while cooler tones brighten the space. Also, check the power requirements and compatibility with your existing electrical system to ensure safe and effective installation.
Are there safety tips I should follow when installing cabinet lighting?
Always turn off the power supply before beginning installation to prevent electrical shock. Use proper tools and wear safety gear such as gloves and safety glasses. Follow the manufacturer’s instructions carefully, especially when connecting wiring. If you’re uncertain about handling electrical components, consult a licensed electrician to ensure the installation meets safety standards.
Final Thoughts
How to install lighting around kitchen cabinets requires careful planning. Start by choosing the right type of lighting, such as LED strips or puck lights, for your space. Measure the areas precisely to ensure a clean, professional look.
Next, turn off the power supply and install mounting hardware or adhesive strips. Connect your lights to a power source, following safety guidelines.
In conclusion, understanding how to install lighting around kitchen cabinets simplifies the process and improves your kitchen’s ambiance. Proper installation enhances both functionality and style, making your space more inviting.