Transform your living space into a charming haven with our comprehensive guide to making cute room decor! Learn easy and budget-friendly DIY projects that will add personality and flair to any room. From whimsical wall art to cozy accents, we’ll show you how to create a space that’s uniquely yours, proving that you don’t need a big budget to achieve big style.
How to Make Cute Room Decor
Is your room feeling a little… meh? Do you scroll through Pinterest and Instagram, dreaming of a space that’s brimming with personality and charm? The good news is, you don’t need a celebrity decorator or a bottomless bank account to achieve that dreamy, cute room decor look. In fact, some of the most adorable and personal touches come from your own two hands!
This guide is your ultimate blueprint for crafting cute room decor that reflects your unique style. We’ll walk you through a variety of simple, fun, and budget-friendly DIY projects. Whether you’re a crafting novice or a seasoned DIYer, you’ll find inspiration and easy-to-follow instructions to transform your ordinary room into an extraordinary, cute sanctuary. Get ready to unleash your inner creative and make your space truly shine!
Key Takeaways
- Embrace DIY for a Personalized Space: Creating your own decor allows you to infuse your personality and style into your room, making it truly unique.
- Budget-Friendly Beautification: Many cute room decor projects utilize affordable materials, allowing you to refresh your space without breaking the bank.
- Simple Techniques, Stunning Results: This guide focuses on easy-to-follow steps suitable for beginners, ensuring impressive outcomes.
- Versatile Project Ideas: Explore a range of decor types, from wall art and lighting to organizational solutions and cozy textiles.
- Get Creative with Materials: Discover how to repurpose common items and use craft supplies effectively to achieve adorable decorations.
- Small Touches, Big Impact: Even minor decor updates can significantly enhance the ambiance and cuteness of your room.
Why Make Your Own Cute Room Decor?
Before we dive into the fun projects, let’s talk about *why* DIY is the way to go when it comes to cute room decor.
1. Uniqueness and Personalization
When you make your own decor, it’s guaranteed to be one-of-a-kind. You can choose colors, materials, and styles that perfectly match your taste. It’s your chance to tell your story through your surroundings.
2. Budget-Friendly Bliss
Store-bought decor can get expensive quickly. DIY projects often use affordable materials like craft supplies, repurposed items, or even things you already have around the house. You can achieve a high-impact look without the high price tag.
3. The Joy of Creating
There’s a certain satisfaction that comes from making something beautiful with your own hands. It’s a rewarding process that can be a great stress reliever and a source of pride.
4. Sustainability
Repurposing old items into new decor is a fantastic way to be eco-friendly. Giving forgotten objects a new lease on life is both good for the planet and great for your wallet.
Cute Room Decor Project Ideas: Step-by-Step

Visual guide about How to Make Cute Room Decor
Image source: images.squarespace-cdn.com
Let’s get down to business! Here are some fun and easy DIY projects to bring more cuteness into your room.
Project 1: Whimsical Wall Art
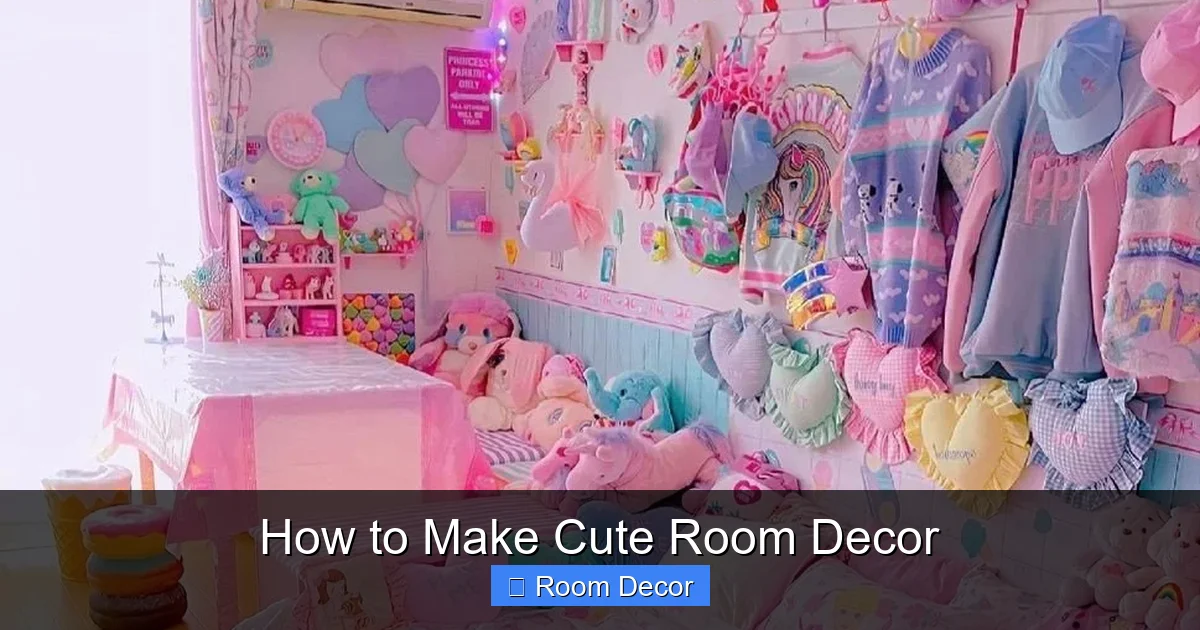
Visual guide about How to Make Cute Room Decor
Image source: i.pinimg.com
Walls are a blank canvas, and with a little creativity, you can turn them into delightful focal points.
H3: Glitter Galaxy Jar Art
This project is super simple and creates a mesmerizing visual effect.
Materials:
- Glass jars (various sizes work well)
- Glitter (various colors and sizes)
- Water
- Glycerin (optional, to make glitter fall slower)
- String or twine
- Hot glue gun or strong adhesive
Instructions:
- Clean Your Jars: Make sure your glass jars are clean and dry. Remove any labels.
- Add Glitter: Pour a generous amount of glitter into each jar. Don’t be shy! You can mix different types and colors of glitter for added depth.
- Fill with Water: Fill the jars almost to the top with water.
- Add Glycerin (Optional): If you want the glitter to swirl and fall more slowly, add a few drops of glycerin to the water.
- Secure the Lid: Tightly screw on the lids. For extra security, especially if you have little ones or pets, you can use a bead of hot glue around the rim of the jar before screwing on the lid.
- Decorate the Jar: Wrap string or twine around the neck of the jar, securing it with a knot or a dab of glue. You can even add a small charm or button.
- Hang or Display: You can either rest these jars on shelves or hang them from the ceiling or wall using fishing line or sturdy string. They look magical when light shines through them!
H3: Pom-Pom Garland
Pom-poms add instant softness and color.
Materials:
- Yarn (in your favorite colors)
- Scissors
- Cardboard or a pom-pom maker
- String or baker’s twine
- Darning needle
Instructions:
- Make the Pom-Poms:
- Using Cardboard: Cut two C-shaped pieces of cardboard, leaving a gap for the yarn. Wrap yarn around the cardboard until it’s as thick as you want your pom-pom. Cut the yarn around the edge of the cardboard. Tie a piece of string tightly around the center of the pom-pom, then remove the cardboard and fluff.
- Using a Pom-Pom Maker: Follow the instructions that come with your maker for easy, uniform pom-poms.
- Trim and Fluff: Once you have your pom-poms, trim any stray yarn to make them neat and round.
- String Them Together: Thread your darning needle with your string or baker’s twine. Carefully push the needle through the center of each pom-pom. Leave some space between each pom-pom to let them hang nicely.
- Tie Off: Once you’ve strung all your pom-poms, tie a knot at each end of the garland to secure them and create loops for hanging.
- Hang Your Garland: Drape it across a wall, shelf, or window for a pop of playful color.
Project 2: Cozy Textile Touches
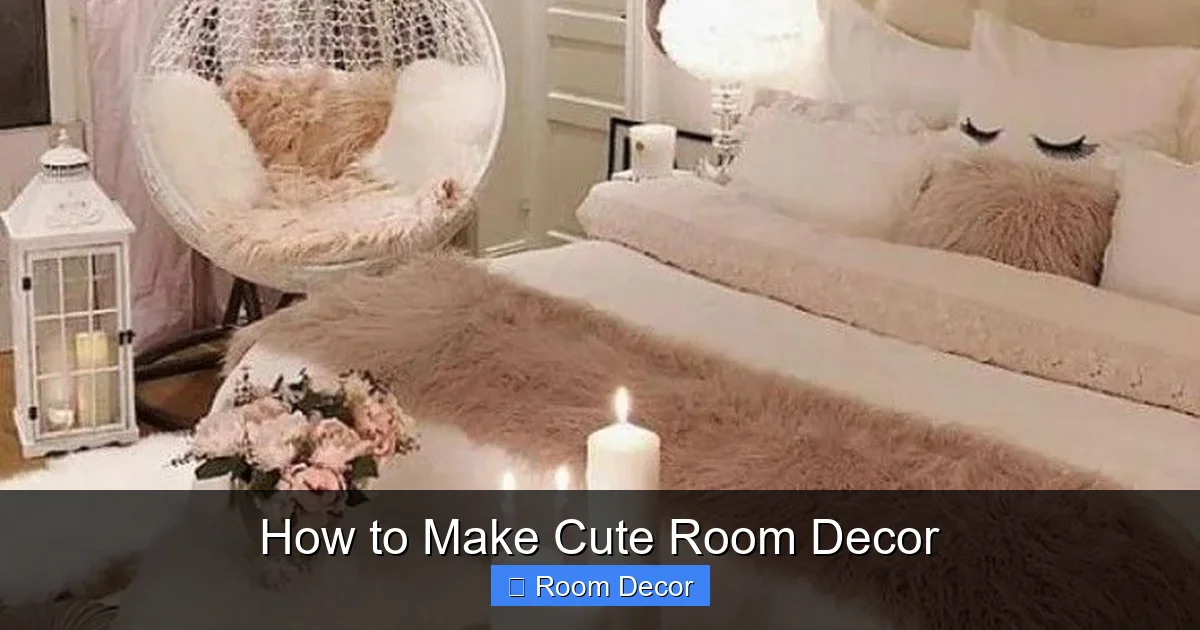
Visual guide about How to Make Cute Room Decor
Image source: images.squarespace-cdn.com
Soft textures and comforting colors can make any room feel more inviting and cute.
H3: No-Sew Tassel Pillow Cover
Add a bohemian flair to your existing pillows.
Materials:
- Plain pillow cover or an old t-shirt/fabric large enough to cover your pillow
- Yarn (in various colors for tassels)
- Scissors
- Fabric glue or sewing machine (if not using a no-sew method)
- Pillow insert
Instructions:
- Prepare Your Pillow Cover: If you’re starting with a plain cover, ensure it fits your pillow. If using fabric, cut two pieces to the size of your pillow, plus seam allowance.
- Make the Tassels:
- Wrap yarn around your fingers or a piece of cardboard about 4-6 inches long.
- Slide a separate piece of yarn under the wrapped yarn and tie it tightly around the middle to create the tassel neck.
- Cut through the loops of the yarn at the bottom.
- Trim the ends to your desired length.
- Attach the Tassels:
- No-Sew: Apply a strong fabric glue along the edges of your pillow cover. Press the looped end of each tassel firmly into the glue. Work your way around the entire edge, placing tassels as close or as far apart as you like. Let it dry completely.
- Sewing: Pin the tassels to the right side of your fabric along the edge. Sew them in place with a straight stitch. Then, place the other piece of fabric right sides together and sew around the edges, leaving an opening for the pillow insert.
- Insert Pillow: Once the glue is dry or the cover is sewn, insert your pillow.
- Admire! You’ve just made a cute, textured pillow.
H3: DIY Cozy Knit Throw Blanket (Beginner Friendly)
Arm knitting is surprisingly easy and creates a wonderfully chunky and soft blanket.
Materials:
- Chunky yarn (several skeins, depending on desired blanket size)
- Your arms!
Instructions:
- Casting On:
- Make a slip knot on your right arm.
- Create a slip knot with the yarn tail, and loop it over your left thumb.
- Insert your right index finger into the slip knot on your thumb, grab the working yarn (the yarn coming from the skein), and pull it through the loop on your thumb.
- This creates your first stitch. Repeat this process to cast on the desired number of stitches for your blanket width. Aim for about 15-20 stitches for a lap-sized blanket.
- Knit Stitch:
- With the stitches on your left arm, use your right hand to insert your right index finger into the first stitch on your left arm.
- Grab the working yarn with your right hand and pull it through the stitch, creating a new loop.
- Slide the old stitch off your left arm.
- You now have one new stitch on your right arm. Repeat this for all stitches on your left arm.
- Continue Knitting: Once you’ve knitted all stitches to your right arm, transfer them back to your left arm (simply slide them over). Continue knitting, transferring stitches back and forth between your arms.
- Binding Off:
- Knit two stitches as usual.
- Use your left hand to lift the first stitch over the second stitch and off your right arm.
- Knit one more stitch.
- Lift the first stitch over the second stitch again.
- Repeat this process until only one stitch remains on your right arm.
- Cut the yarn, leaving a tail of about 6 inches, and pull this tail through the last loop to secure it.
- Finishing: Weave in any loose yarn tails to hide them.
Project 3: Adorable Organization Solutions
Cute decor doesn’t just have to be pretty; it can also be practical!
H3: Decorated Storage Boxes
Tired of plain cardboard boxes? Jazz them up!
Materials:
- Cardboard boxes (any size)
- Craft paper, wrapping paper, or fabric scraps
- Scissors
- Mod Podge or strong craft glue
- Paintbrushes
- Optional: Stickers, washi tape, ribbon, glitter
Instructions:
- Prepare the Box: If your box has flaps, you can either fold them inside or cut them off. Ensure the box is clean.
- Measure and Cut Paper/Fabric: Measure the sides and bottom of your box. Cut your chosen paper or fabric to size, adding a little extra for overlap.
- Apply Adhesive: Using a paintbrush, apply a generous layer of Mod Podge or craft glue to one side of the box.
- Attach Paper/Fabric: Carefully lay your paper or fabric onto the glued surface, smoothing out any wrinkles or bubbles as you go. Wrap the edges around to the inside of the box for a neat finish.
- Cover All Sides: Repeat this process for all sides of the box. For the inside of the box, you can either glue paper directly or paint it.
- Seal (Optional but Recommended): Once the glue has dried, apply a layer of Mod Podge over the entire outside of the box to seal and protect it.
- Decorate Further: Once completely dry, add your personal touches with stickers, washi tape, ribbon, or even a touch of glitter.
- Fill with Goodies: Your cute storage boxes are ready to hold anything from craft supplies to stationery!
H3: Cute Jar Organizers
Glass jars can be transformed into charming holders for small items.
Materials:
- Clean glass jars (jam jars, mason jars, baby food jars)
- Paint (chalk paint or acrylic paint works well)
- Paintbrushes
- Sandpaper (fine grit)
- Optional: Twine, ribbon, labels
Instructions:
- Clean and Dry: Wash and thoroughly dry your jars.
- Paint the Jars: Apply your chosen paint to the outside of the jars. You might need a couple of coats for full coverage. Let each coat dry completely. For a distressed look, paint in one direction.
- Distress (Optional): Once the paint is dry, lightly sand the edges or raised parts of the jar with fine-grit sandpaper. This gives a charming, vintage feel.
- Decorate with Embellishments: Tie a piece of twine or ribbon around the neck of the jar. You can add a small tag or label if desired.
- Fill and Display: These are perfect for holding cotton balls, Q-tips, makeup brushes, pens, or even small plants.
Project 4: Whimsical Lighting
Ambiance is key to a cute room, and lighting plays a big role.
H3: Fairy Light Mason Jar Lanterns
These create a magical glow.
Materials:
- Mason jars or other glass jars
- Battery-operated fairy lights (warm white or colored)
- Optional: Glitter, faux snow, small decorative items
Instructions:
- Clean Your Jars: Make sure they are clean and dry.
- Add Decorative Elements (Optional): If you want to add a bit of sparkle, pour a small amount of glitter into the bottom of the jar. You can also add a sprig of faux greenery or other small decorative items.
- Insert Fairy Lights: Carefully feed the battery pack and string of fairy lights into the jar. You can either let the battery pack sit inside the jar or have it peek out slightly from under the lid or a decorative element.
- Secure the Lid (Optional): You can screw on the lid, or leave it off for a more open look. If you leave it off, ensure the battery pack is tucked away neatly.
- Turn On and Enjoy: Switch on the fairy lights and bask in the soft, magical glow. These are perfect for bedside tables or shelves.
Tips for Making Your Decor Extra Cute
* Color Palette: Stick to a cohesive color scheme. Pastels, soft neutrals, or a few bright pops can instantly elevate the cuteness factor.
* Texture: Mix different textures – fluffy yarn, smooth glass, rough burlap, soft fabric – to add visual interest.
* Sparkle and Shine: Glitter, sequins, metallic paints, and mirrored accents can add a touch of magic. Use them thoughtfully so they don’t become overwhelming.
* Nature-Inspired Elements: Dried flowers, small branches, or pressed leaves can add an organic and charming touch.
* Personal Touches: Incorporate photos, artwork, or mementos that are meaningful to you.
* Think Small: Sometimes, just a few well-placed cute accents can make a big difference. Don’t feel like you have to redecorate everything at once.
Troubleshooting Common DIY Decor Issues
* Paint Not Sticking? Ensure your surface is clean and dry. For tricky surfaces like glass or plastic, use a primer designed for that material before painting.
* Glue Not Holding? Use the right adhesive for the job. Hot glue is great for many crafts, but for heavier items or fabrics, a strong fabric glue or craft glue might be necessary. Always let glue dry completely before putting your creation to use.
* Fabric Fraying? If you’re not sewing, use pinking shears to cut fabric edges, or apply a fabric sealant to prevent fraying.
* Uneven Pom-Poms? Be patient when trimming! It might take a few passes to get them perfectly round. A sharp pair of scissors is your best friend here.
Conclusion
Making cute room decor is an incredibly rewarding and fun way to personalize your space. With these simple DIY projects and tips, you can transform your room into a cozy, charming, and uniquely *you* sanctuary without spending a fortune. So gather your supplies, unleash your creativity, and enjoy the process of bringing more cuteness into your world, one handmade creation at a time! Your dream cute room is just a craft project away!