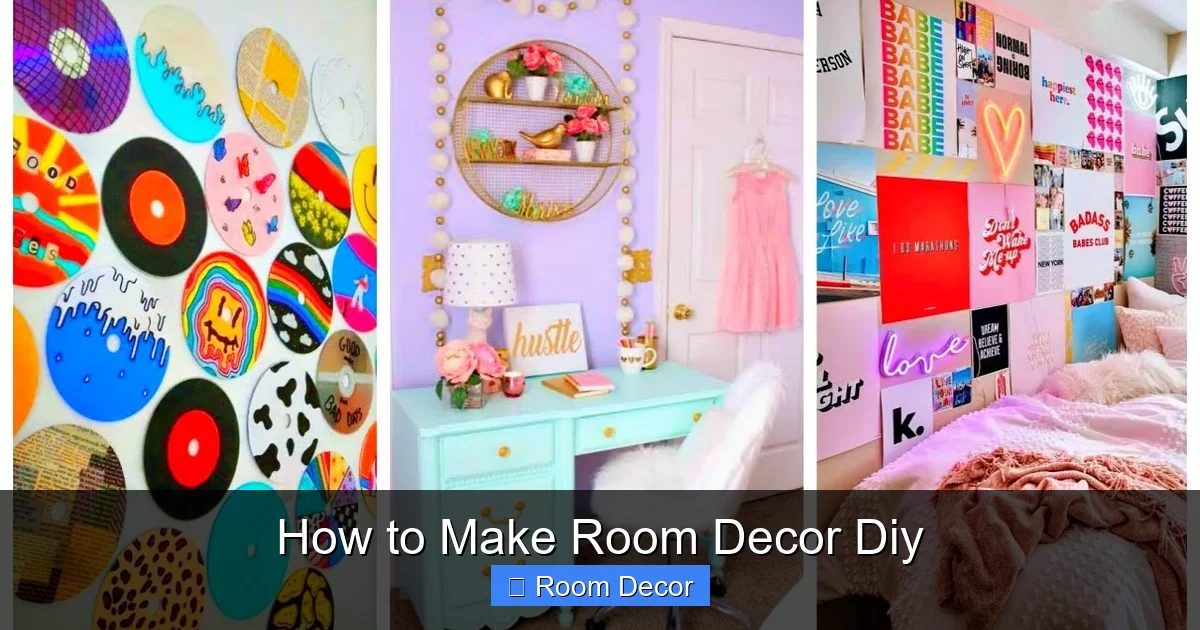
Ready to give your room a fresh look without breaking the bank? This comprehensive guide shows you how to make room decor DIY with simple, creative projects. You’ll learn to craft unique pieces that reflect your style, from wall art to organizational solutions, using readily available materials. Personalize your space and enjoy the satisfaction of making it your own!
Welcome to the ultimate guide on how to make room decor DIY! Are you looking to inject some personality into your living space without spending a fortune? Do you dream of a home that truly reflects your unique style? Then you’ve come to the right place. Creating your own room decor is not only budget-friendly but also incredibly rewarding. It allows you to craft pieces that are perfectly suited to your taste and needs. In this guide, we’ll walk you through a variety of easy and fun DIY projects that will transform your room from ordinary to extraordinary. We’ll cover everything from striking wall art to clever storage solutions and charming accents. Get ready to unleash your creativity!
Key Takeaways
- Start with a Vision: Before you begin, think about your room’s existing style, color palette, and the mood you want to create. This will guide your project choices.
- Embrace Repurposing: Many of the best DIY room decor projects involve upcycling everyday items. Look for jars, bottles, old clothing, and cardboard to transform into something new.
- Master Basic Techniques: Simple skills like painting, cutting, gluing, and basic sewing can unlock a world of DIY possibilities for your room decor.
- Focus on Impactful Elements: Wall art, lighting, and decorative storage can dramatically change the feel of a room. Prioritize these areas for the biggest visual impact.
- Don’t Fear Imperfection: DIY is about creativity and personal expression. Small quirks often add character and charm to handmade items.
- Experiment with Materials: Explore different textures and materials like fabric, wood, paper, yarn, and natural elements to add depth and interest to your decor.
Why Choose DIY Room Decor?
There are so many great reasons to dive into the world of DIY room decor. Firstly, it’s incredibly cost-effective. Store-bought decor can be expensive, but with DIY, you can often use materials you already have or can find affordably. Secondly, it allows for ultimate personalization. You can choose exact colors, sizes, and styles to perfectly match your existing decor or create a brand-new look. Thirdly, it’s a fantastic way to express your creativity and develop new skills. Finally, there’s a deep sense of satisfaction that comes from making something beautiful with your own two hands. Your room will feel more like *you*.
Getting Started: Planning Your DIY Decor
Before you grab your craft supplies, a little planning goes a long way. Think about the overall aesthetic you want for your room. Is it cozy and bohemian? Sleek and modern? Whimsical and colorful? Consider your existing color palette and furniture. You don’t want your new DIY pieces to clash.
Define Your Style and Color Palette
What look are you going for? Browse Pinterest, Instagram, or magazines for inspiration. Save images that catch your eye. Look for recurring themes, colors, and textures. This will help you narrow down your ideas. Your chosen color palette should complement your existing room. If you have a lot of neutral tones, you might want to add pops of vibrant color with your DIY projects. Or, you can stick to a monochromatic scheme for a sophisticated feel.
Assess Your Space and Needs
What does your room need? Are there empty wall spaces that need art? Is clutter a problem, requiring decorative storage? Do you need a statement piece to anchor a corner? Think about functional decor as well as purely decorative items. For example, a DIY shelf can be both useful and a display for smaller decorative items.
Gather Your Essential Tools and Materials
You don’t need a professional workshop to make great DIY room decor. Here are some common tools and materials you’ll find useful:
* Cutting Tools: Scissors, craft knife, utility knife, small saw (for wood projects).
* Adhesives: Hot glue gun, craft glue, strong tape (like duct tape or double-sided tape), Mod Podge.
* Painting Supplies: Assorted brushes, rollers, acrylic paints, spray paints, primer.
* Measuring Tools: Ruler, measuring tape.
* Hardware: Nails, screws, hooks, picture hanging kits.
* Crafting Staples: Cardboard, paper (various types), fabric scraps, yarn, twine, old jars and bottles, natural elements (like twigs or stones).
Don’t feel overwhelmed! Start with a few basic projects and you’ll naturally build up your collection of tools and materials.
DIY Room Decor Projects: Step-by-Step
Let’s dive into some popular and achievable DIY room decor projects.
1. DIY Wall Art: Canvas Painting with Geometric Shapes
Wall art can dramatically change the mood of a room. This project is simple but offers a modern, impactful result.
Materials:
- Blank canvas (any size)
- Acrylic paints in your chosen colors
- Paintbrushes (various sizes)
- Painter’s tape
- Pencil
- Ruler
Steps:
- Prepare Your Canvas: Place the canvas on a flat surface, covered with newspaper or a drop cloth.
- Plan Your Design: Lightly sketch out geometric shapes or lines with a pencil. Don’t worry about perfection; abstract designs work wonderfully.
- Apply Painter’s Tape: Carefully apply painter’s tape along the lines of your design. Press down firmly to ensure a clean seal. This tape will mask off areas you don’t want painted.
- Paint the Sections: Paint within the taped-off sections. You can use one color per section or create ombre effects. Let the first layer of paint dry completely before applying a second coat if needed.
- Reveal Your Art: Once the paint is completely dry (this is crucial!), carefully peel off the painter’s tape. Go slowly to avoid lifting any paint.
- Touch-Ups (if needed): If any paint bled under the tape, you can carefully touch it up with a small brush.
Tip: Experiment with different color combinations and tape arrangements for unique looks. You can also create a gallery wall by making several smaller canvases.
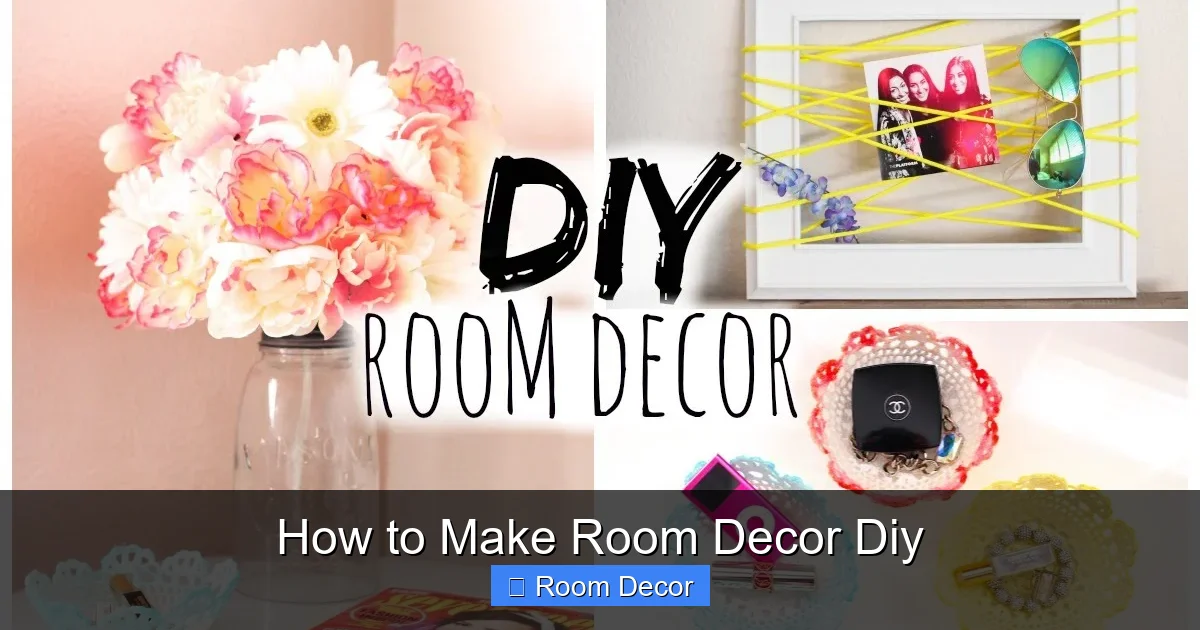
Visual guide about How to Make Room Decor Diy
Image source: i.ytimg.com
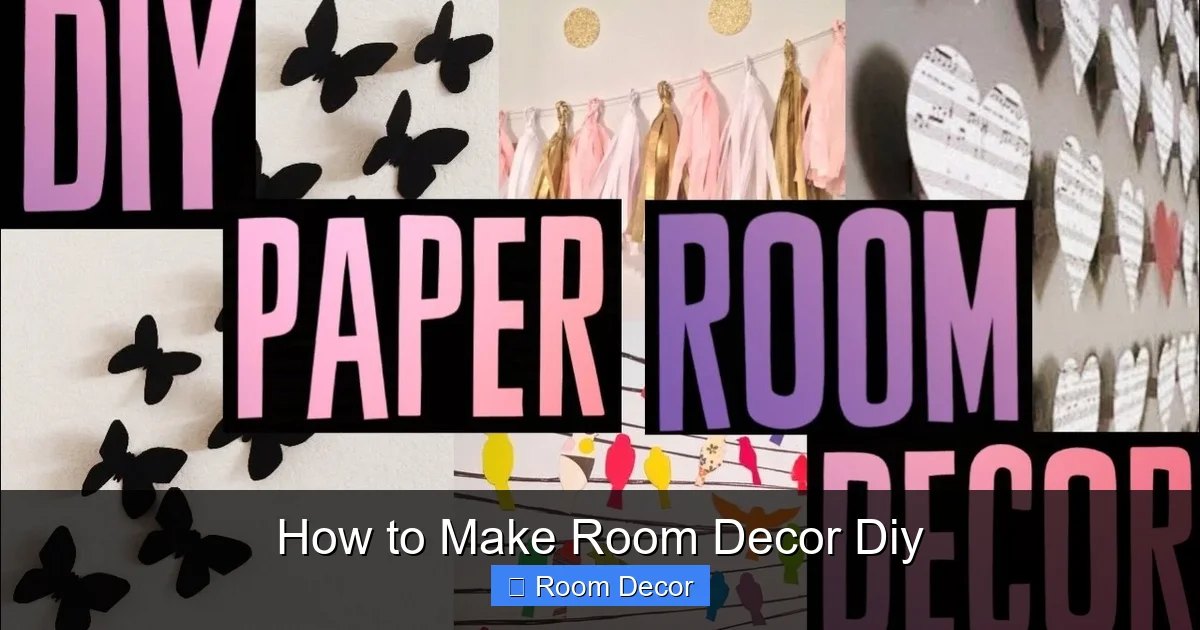
Visual guide about How to Make Room Decor Diy
Image source: i.ytimg.com
2. DIY Decorative Jars and Vases: Mod Podge Magic
Transform ordinary glass jars or vases into stylish decorative pieces using Mod Podge and decorative paper or fabric.
Materials:
- Glass jars or vases (cleaned and dried)
- Mod Podge (matte or glossy)
- Decorative paper (scrapbook paper, old maps, tissue paper) or fabric scraps
- Foam brush or paintbrush
- Scissors
- Optional: Twine, ribbon, glitter
Steps:
- Prepare Your Materials: Cut your chosen paper or fabric into pieces that will fit around the jar. If using fabric, ensure it’s ironed flat.
- Apply Mod Podge: Using a foam brush, apply an even layer of Mod Podge to a section of the jar. Work in small areas so the Mod Podge doesn’t dry out before you apply the paper/fabric.
- Adhere Your Decor: Carefully place your paper or fabric onto the Mod Podge. Smooth out any wrinkles or air bubbles with your fingers or a clean cloth. Overlap pieces slightly for a seamless look.
- Cover the Entire Jar: Continue applying Mod Podge and adhering your decor until the entire jar is covered.
- Apply Top Coat: Once the jar is completely covered, apply another even layer of Mod Podge over the entire surface. This acts as a sealant and gives it a finished look.
- Add Embellishments (Optional): While the Mod Podge is still wet, you can sprinkle glitter or wrap twine or ribbon around the neck of the jar.
- Dry Thoroughly: Let the jar dry completely, typically for a few hours, until it’s no longer tacky.
Tip: Different papers will give different effects. Tissue paper creates a translucent, stained-glass look, while thicker scrapbook paper offers more opacity and pattern.
3. DIY Floating Shelves: Simple and Stylish Storage
Floating shelves are minimalist and modern, and surprisingly easy to make.
Materials:
- Wooden board (pine, MDF, or a reclaimed piece) cut to your desired shelf length
- Floating shelf hardware kit (available at hardware stores)
- Screwdriver
- Drill with appropriate drill bits
- Sandpaper (medium and fine grit)
- Paint or wood stain
- Level
- Pencil
- Wall anchors (if not drilling into studs)
Steps:
- Prepare the Shelf: Sand the wooden board until smooth. Start with medium-grit sandpaper and finish with fine-grit. Wipe away all dust.
- Finish the Wood: Apply your chosen paint or wood stain according to the product instructions. Let it dry completely. You might need multiple coats.
- Install the Wall Brackets: Follow the instructions that come with your floating shelf hardware kit. Typically, this involves marking the wall where the brackets will go, ensuring they are level, and drilling pilot holes. If you’re not drilling into wall studs, use appropriate wall anchors. Securely screw the brackets into the wall.
- Attach the Shelf: Slide the wooden shelf onto the installed brackets. Some kits have screws that secure the shelf to the brackets from the underside.
- Check for Stability: Gently test the shelf to ensure it’s secure and level.
Tip: For longer shelves, it’s important to locate wall studs for maximum support, or use robust wall anchors. Don’t overload your shelves; check the weight capacity of your hardware.
4. DIY Macrame Plant Hanger: Boho Vibes
Add a touch of bohemian charm and bring greenery into your space with a handmade macrame plant hanger. This requires a bit more patience but is very rewarding.
Materials:
- Cotton macrame cord (4mm or 5mm is a good starting point)
- Metal or wooden ring
- Scissors
- Measuring tape
- Plant pot (to determine size)
Steps:
- Cut Your Cords: Cut 8 lengths of macrame cord. The length will depend on how long you want your hanger, but start with about 3-4 feet per cord for a medium-sized hanger.
- Attach Cords to Ring: Fold each cord in half. Loop the folded end through the ring and pull the cut ends through the loop (this is a lark’s head knot). Do this for all 8 cords.
- Create the Basket (Section 1): Separate the 8 cords into 4 groups of 2. About 2-3 inches down from the ring, tie a gathering knot with each pair of cords. To do this, take one cord, make a “U” shape, and wrap the other cord around it several times, then pull it through the loop. Tighten securely.
- Create the Basket (Section 2): Below the first set of knots, measure about 2-3 inches down. Now, take one cord from one group and one cord from the adjacent group. Tie a square knot using these two cords and their neighbors. You’ll be creating a net pattern. Repeat this around, creating a second row of knots.
- Continue Knotting: Continue creating rows of square knots, alternating the cords, until you have a net that will hold your plant pot securely. You might want to periodically place your pot inside to check the fit.
- Form the Base: Once your net is the desired size, gather all 8 cords together. Tie a large gathering knot at the bottom to secure the pot. Trim the excess cords to your desired length.
- Add Tassels (Optional): Unravel the ends of the cords below the final knot to create a fringe or tassel.
Tip: There are many variations of macrame knots. YouTube is an excellent resource for detailed tutorials on specific knots like the square knot and gathering knot.
5. DIY Photo Display Garland: Personal Memories
A simple garland to display your favorite photos can add a personal and warm touch to any room.
Materials:
- Twine or thin rope
- Mini clothespins (found at craft stores)
- Printed photos
- Scissors
- Optional: Beads, tassels, or small decorative charms
Steps:
- Cut Your Twine: Cut the twine to the desired length for your garland.
- Prepare Photos: Print your photos to a size that works well with your twine and clothespins.
- Attach Clothespins: If you want to add decorative elements, thread beads or charms onto the twine before attaching the photos. Then, use the mini clothespins to attach the photos to the twine at evenly spaced intervals.
- Hang Your Garland: Use small nails or command hooks to hang your photo garland on the wall.
Tip: Mix and match different sizes and orientations of photos for a more dynamic display. You can also clip on postcards, ticket stubs, or small pieces of art.
Troubleshooting Common DIY Decor Issues
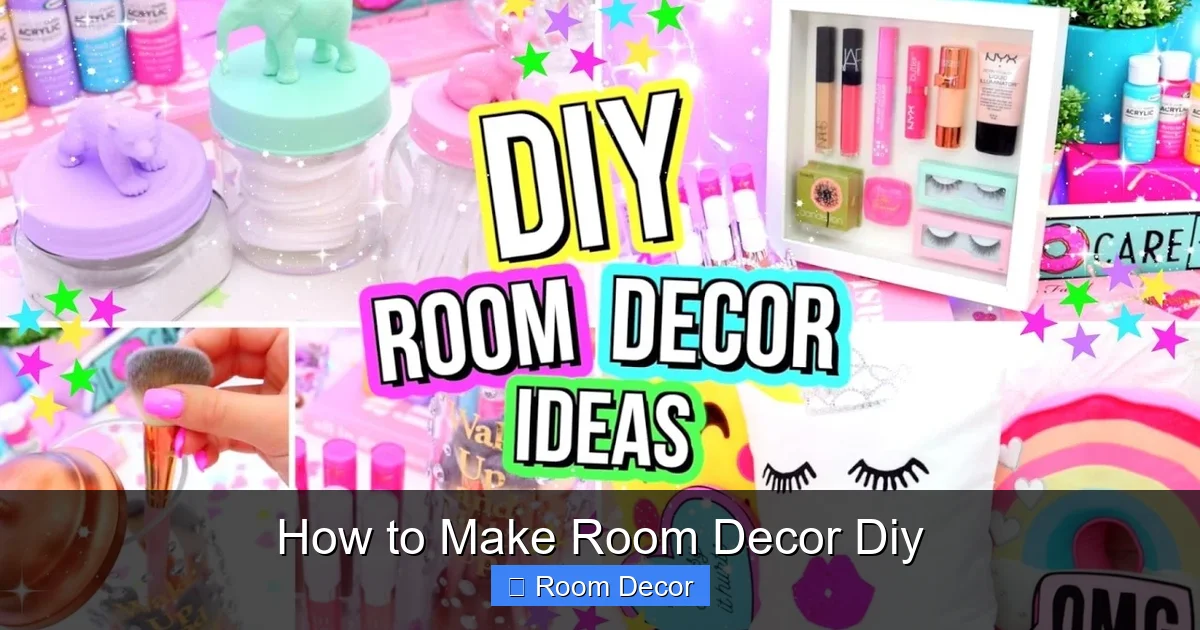
Visual guide about How to Make Room Decor Diy
Image source: i.ytimg.com
Even the most experienced crafters run into small problems. Here are a few common ones and how to fix them:
* Paint Bleed Under Tape: If your paint bled slightly under painter’s tape, don’t despair! Once the paint is dry, you can carefully go over the lines with a small, precise brush and the original background color to create a clean edge. For a more professional finish, you can sometimes use a craft knife to score the edge of the tape before peeling it.
* Mod Podge Bubbles: Small bubbles in Mod Podge can sometimes be smoothed out gently with your finger or a clean cloth while it’s still wet. If the bubbles are trapped, you can try to gently prick them with a pin and smooth them down. If it’s a larger area, you might need to carefully peel back the paper or fabric and reapply the Mod Podge.
* Uneven Painting: If your paint job looks streaky, it might be due to insufficient coats or poor brush strokes. Apply a second, thin coat of paint, ensuring you use consistent, even strokes. A primer can also help create a more uniform base.
* Wobbly Shelves: An uneven installation is the most common cause of wobbly shelves. Ensure your brackets are perfectly level before screwing them in. If the shelf itself feels unstable, check that it’s fully seated on the brackets and that any securing screws are tightened. If the wall surface is uneven, you might need to shim behind the brackets.
Conclusion
Learning how to make room decor DIY opens up a world of creative possibilities. It’s a journey of transforming your living space with your own hands, infused with your personal style and imagination. From simple painted canvases to intricate macrame hangers, each project adds a unique touch to your home. Remember to start small, experiment with materials, and embrace the process. The satisfaction of creating something beautiful and functional for your room is truly unparalleled. So gather your supplies, get inspired, and happy crafting! Your dream room awaits, one DIY project at a time.