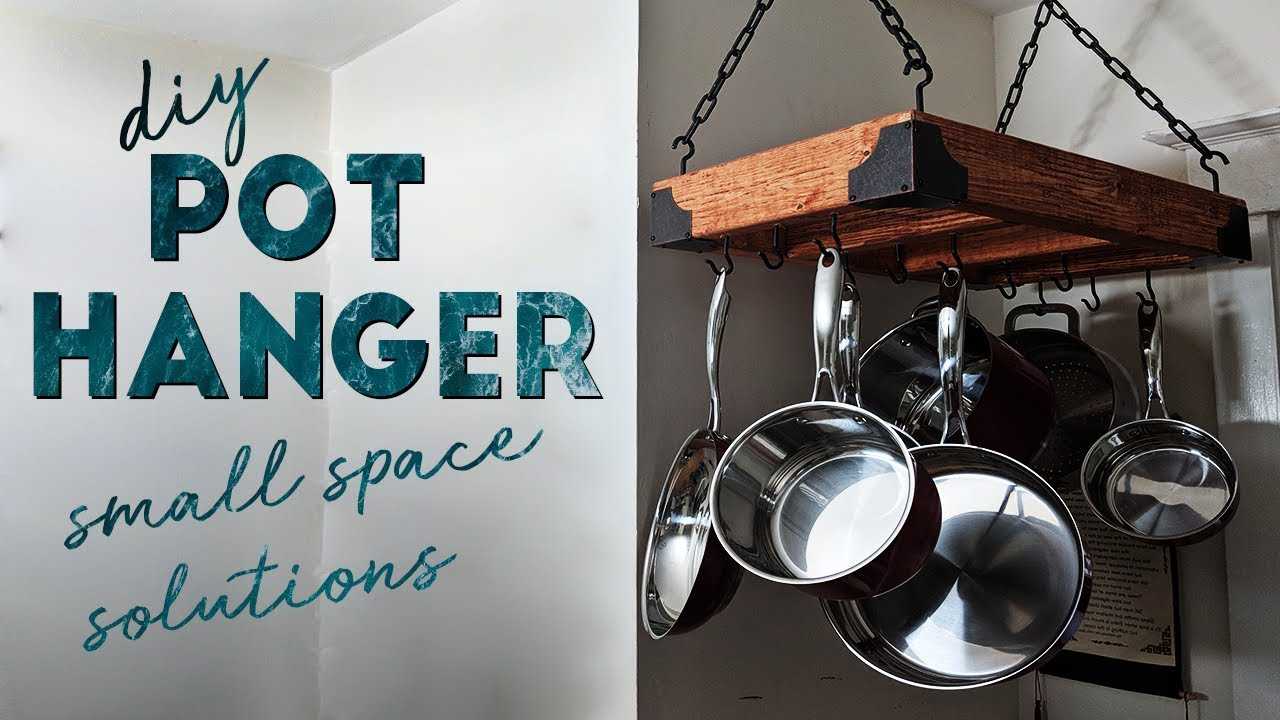
To make your own hanging pot rack, you simply need sturdy materials like wooden planks or metal pipes, strong hooks or chains, and a bit of DIY know-how. Start by measuring your space, selecting durable materials, and assembling your rack with secure hooks and attachments. With some basic tools, you can create a functional, stylish hanging rack that saves space and adds charm to your kitchen.
In just a few steps, you can craft a custom hanging pot rack tailored to your kitchen’s style and size. Using everyday materials and simple instructions, this project is affordable and rewarding, transforming your space into a more organized and visually appealing area. Whether you’re a seasoned DIYer or a beginner, building your own pot rack is a fun way to enhance your cooking space effortlessly.
Having a hanging pot rack not only frees up cabinet space but also keeps your cookware within easy reach. If you’re tired of cluttered counters or crowded cabinets, making your own rack allows you to customize it perfectly for your kitchen’s dimensions and aesthetic. Plus, it’s a satisfying project that adds a personal touch to your home!

How to Make Your Own Hanging Pot Rack
Making your own hanging pot rack can be a fun and rewarding project that adds both style and functionality to your kitchen. With a few simple tools and materials, you can create a rack that fits perfectly in your space and matches your personal taste. This guide will walk you through all the steps to build a durable, attractive hanging pot rack from start to finish.
Understanding the Benefits of a DIY Hanging Pot Rack
A custom-made hanging pot rack helps keep your kitchen organized by freeing up cabinet space. It allows easy access to your pots and pans while giving your kitchen a rustic or modern look. Building your own also means you can choose the size, style, and finish that suits your decor best.
Choosing the Right Location in Your Kitchen
Before starting your project, decide where to hang your rack. Common spots include above the island, stove, or a free wall space with enough ceiling height. Make sure the ceiling can support the weight of the rack and the pots you plan to hang.
Gathering Materials and Tools
Having the right supplies makes the process smoother. Here’s what you’ll need:
- Sturdy wood or metal for the frame (such as reclaimed wood or steel pipes)
- Heavy-duty hooks or S-hooks for hanging pots
- Chains or ropes to suspend the rack
- Eye bolts or ceiling anchors
- Drill, screwdriver, and measuring tape
- Level to ensure a straight hanging
Choose materials based on your desired style and durability needs.
Designing Your Hanging Pot Rack
Think about how many pots and utensils you want to store and plan your design accordingly. Decide whether you prefer a simple single-tier rack or a multi-tiered structure. Visualize the overall size and shape, considering available space and aesthetic preferences.
Measuring and Planning
Start by measuring the ceiling height and the space where the rack will hang. Create a sketch to plan the dimensions and layout. Allow enough clearance for pots to hang freely without hitting other kitchen surfaces.
Deciding on the Style
Choose a style that complements your kitchen. Popular options include rustic reclaimed wood with iron hooks, sleek stainless steel pipes, or colorful painted finishes. You can also add decorative elements like beads or painted accents for flair.
Building Your Hanging Pot Rack Step-by-Step
Follow these steps carefully to assemble your rack effectively and securely.
Step 1: Cutting and Preparing Materials
Cut your wood or metal to the desired lengths based on your design. Sand any rough edges for safety and a polished look. If using wood, consider staining or sealing it before assembly.
Step 2: Creating the Frame
Assemble the main frame by attaching side pieces to a top bar using screws or bolts. Use a level to ensure the frame is straight. Reinforce joints for added stability, especially if you plan to hang heavy pots.
Step 3: Installing Hanging Points
Attach eye bolts or strong hooks to the top of the frame for hanging chains or ropes. Space these evenly to distribute weight evenly. Make sure they are rated for the load you expect.
Step 4: Attaching Chains or Ropes
Connect chains or ropes to the hanging points. Adjust their length to achieve the desired height for your rack. Double-check the length and levelness before securing everything tightly.
Step 5: Securing the Ceiling Anchors
Use appropriate ceiling anchors or hooks suitable for your ceiling type. Drill carefully and ensure the anchors are firmly connected to support the weight. Hang the assembled rack from these.
Step 6: Hanging Your Pots and Utensils
Once the rack is securely hung, attach your pots, pans, and utensils to the hooks. Spread the weight evenly to prevent tipping or damage. Use a variety of hook sizes for different items.
Safety Tips for Hanging Your Pot Rack
Always double-check the weight limits of your anchors and hooks. Ensure the ceiling can handle the total weight of the rack and kitchenware. Regularly inspect the hardware to avoid accidents.
Additional Tips and Ideas
Consider adding decorative elements like colorful hooks or painted accents to match your kitchen theme. You can also incorporate additional storage like spice racks or utensil holders beneath or alongside your pot rack.
Maintaining Your DIY Hanging Pot Rack
Keep your rack clean and free of dust. Periodically check the hardware for tightness and wear. Repaint or refinish the wood or metal as needed to maintain its appearance and durability.
Creative Variations to Customize Your Pot Rack
Experiment with different materials, shapes, and colors to create a unique piece. For example, a farmhouse style with reclaimed wood and black iron hooks, or a sleek modern design with stainless steel pipes. Add accessories like small shelves or plant holders for extra function.
Related Topics for Your Kitchen Organization
Improve your kitchen’s efficiency by combining your hanging pot rack with other storage solutions. Consider installing wall-mounted spice racks, drawer organizers, or magnetic knife strips. These additions make cooking easier and keep everything tidy.
Building your own hanging pot rack allows you to personalize your kitchen space while keeping cookware within easy reach. By planning carefully and choosing quality materials, you can create a practical, stylish fixture that lasts for years. Enjoy the process of designing and constructing a piece that truly suits your cooking style and home decor.
The Home Depot – Hanging Pot Rack
Frequently Asked Questions
What materials are best suited for building a hanging pot rack?
Choose durable materials like wrought iron, stainless steel, or sturdy wood for your hanging pot rack. These materials can support the weight of multiple pots and pans securely. Consider elements that match your kitchen’s aesthetic and ensure the material is resistant to moisture and heat to maintain longevity.
How do I determine the right height to hang my pot rack?
Measure the height of your ceiling and consider the size of your pots and pans. Hang the rack at a height that allows easy access without obstructing movement. Typically, 18 to 24 inches above the counter works well, but adjust based on your specific kitchen space and ceiling height.
What tools do I need to assemble a hanging pot rack?
Gather essential tools such as a drill, screwdriver, measuring tape, level, and anchors or hooks suitable for your ceiling type. Depending on your design, you might also need a saw if you plan to cut wood or metal pieces to size. Always ensure your tools are in good condition for safety and precision.
How can I safely hang a pot rack without damaging my ceiling?
Use appropriate anchors and hooks designed for your ceiling material, whether drywall or wood. Locate ceiling joists for maximum support, and drill into these sturdy points. Distribute weight evenly across multiple attachment points and avoid overloading the rack to prevent any damage or accidents.
Are there any design tips for customizing a homemade hanging pot rack?
Incorporate your personal style by selecting finish options like painting or staining wood, or adding decorative elements. Think about including adjustable chains or hooks for flexibility. You can also add shelves or utensil holders to increase functionality while maintaining an organized look.
Final Thoughts
To make your own hanging pot rack, start by choosing sturdy materials like metal or wood. Cut the pieces to the desired size and drill holes for hanging. Securely attach hooks or chains to the frame and ceiling.
Organize your pots efficiently by hanging them at different heights. Ensure everything is firmly fastened for safety.
How to make your own hanging pot rack becomes simple when you follow these steps, creating a functional and stylish addition to your kitchen.