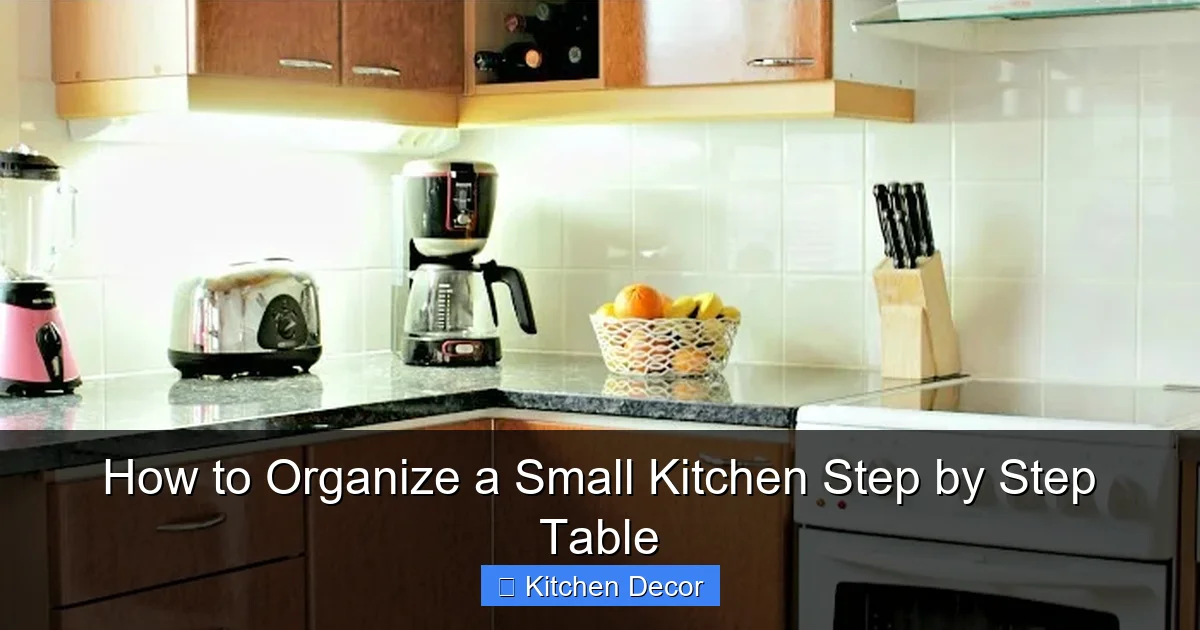
Transform your cramped cooking area into a functional haven with our comprehensive guide on how to organize a small kitchen. Discover practical, step-by-step strategies, from ruthless decluttering and smart zoning to innovative storage solutions like vertical space maximizers and drawer organizers. You’ll learn to create an efficient, stress-free culinary environment where everything has its place, making cooking a joy again.
How to Organize a Small Kitchen Step by Step Table
Welcome, fellow home chef! Does your small kitchen feel more like a storage locker than a culinary oasis? Are you constantly battling clutter, searching for lost spices, or struggling to find counter space to chop vegetables? You are not alone! Small kitchens present unique challenges, but they also offer incredible opportunities for creative organization. With the right strategies, you can transform even the tiniest cooking space into a highly functional, efficient, and enjoyable area.
This comprehensive guide will walk you through a step-by-step process to organize a small kitchen. We’ll cover everything from ruthless decluttering to smart storage solutions, helping you maximize every inch. Get ready to reclaim your kitchen, reduce stress, and rediscover the joy of cooking in a beautifully organized space. Let’s dive in!
Key Takeaways
- Declutter Ruthlessly: The first and most critical step to organize a small kitchen is to remove everything you don’t regularly use, need, or love, creating immediate space and clarity.
- Zone Your Kitchen Smartly: Divide your small kitchen into functional zones (prep, cooking, storage, cleaning) to optimize workflow and make daily tasks more efficient and less frustrating.
- Go Vertical with Storage: Maximize every inch by utilizing vertical space through shelf risers, wall-mounted organizers, pegboards, and over-the-door solutions, freeing up precious counter and cabinet space.
- Embrace Smart Organizers: Invest in appropriate drawer dividers, clear containers, pull-out shelves, and corner units to neatly categorize and store items, making them easy to find and access.
- Prioritize Countertop Clarity: Keep countertops as clear as possible, only displaying essential, frequently used items, and group smaller items on trays to maintain an uncluttered feel.
- Measure Before You Buy: Always measure the dimensions of your cabinets, drawers, and pantry before purchasing any organizing products to ensure a perfect fit and avoid wasted space.
- Maintain with Daily Habits: Implement small, consistent habits like the “one-minute rule” and regular mini-decluttering sessions to ensure your small kitchen stays organized long-term.
Step 1: Declutter Ruthlessly – The Foundation of Organization
Before you can organize a small kitchen, you need to know exactly what you’re working with. This means a thorough purge. Be prepared to be honest with yourself about what you truly need and use. This step is non-negotiable for success in a compact space.
Empty Everything Out
The best way to start is by completely emptying your cabinets, drawers, and pantry. Yes, everything! Lay it all out on your dining table, counters, or even the floor. Seeing everything you own in one place can be eye-opening and provides a fresh start.
Sort into Keep, Donate/Sell, Trash
As you take items out, immediately sort them into three piles:
- Keep: Items you use regularly (at least once a week or month), are in good condition, and bring you joy.
- Donate/Sell: Items that are still functional and in good condition but you no longer use, need, or love. Think about that bread maker you used once, or extra coffee mugs.
- Trash: Broken items, expired food, rusty tools, or anything that can’t be donated or sold.
Pro Tip: Be brutal! If you haven’t used something in a year, chances are you don’t need it. Small kitchens simply don’t have the luxury of holding onto “just in case” items.
Be Honest About Usage
Ask yourself these questions for every item:
- When was the last time I used this?
- Do I have duplicates? (e.g., three can openers)
- Is this item truly necessary for my cooking habits?
- Does it fit my current lifestyle?
- Is it broken or chipped?
Remember, the goal is to free up space, so fewer items mean more breathing room in your small kitchen.
Step 2: Clean and Assess Your Space
With everything out, now is the perfect time for a deep clean and a critical assessment of your kitchen’s layout.
Deep Clean All Surfaces
Wipe down the insides of cabinets, drawers, and pantry shelves. Clean your countertops, backsplash, and appliances. A clean slate is essential for effective organization. It also helps you appreciate the potential of your refreshed space.
Take Measurements
This is a crucial step to organize a small kitchen effectively. Grab a tape measure and a notebook.
- Measure the internal dimensions (width, depth, height) of all your cabinets and drawers.
- Measure the height between shelves in your pantry and cabinets.
- Measure any wall space you might want to use for hooks or shelves.
These measurements will be invaluable when you start looking for storage solutions. Guessing leads to wasted money and ill-fitting organizers.
Identify Problem Areas
As you clean, notice what parts of your kitchen always seem to become cluttered. Is it a specific drawer? A corner of the counter? The area under the sink? Understanding these hotspots will help you design targeted solutions when you organize a small kitchen.
Step 3: Plan Your Zones – Optimize Workflow
Even in a small kitchen, establishing zones can dramatically improve efficiency. Think about how you move around your kitchen when you cook. Grouping similar items and activities will save you time and steps.
The Golden Triangle (Sink, Stove, Fridge)
Ideally, these three key elements should form a triangle that allows for easy movement between them. In a small kitchen, they might be in a line, but the principle of proximity for workflow still applies. Keep items related to each near that appliance.
Prep Zone
This is where you’ll do most of your chopping, mixing, and assembling.
- Keep cutting boards, knives, mixing bowls, measuring cups, and common spices here.
- Ideally, this is a clear section of your countertop.
Cooking Zone
This area is centered around your stove or cooktop.
- Store pots, pans, cooking utensils (spatulas, ladles), oven mitts, and frequently used oils and seasonings nearby.
Storage Zone (Pantry, Dishes)
This zone includes your pantry and areas for dishes, glasses, and food storage containers.
- Store non-perishable food items, serving dishes, plates, bowls, and cutlery here.
- Consider how often you use items – daily items should be most accessible.
Cleaning Zone
Usually centered around the sink.
- Keep dish soap, sponges, dish towels, cleaning supplies, and perhaps a small drying rack.
By defining these zones, you create a logical flow that makes cooking and cleaning less of a chore when you organize a small kitchen.
Step 4: Maximize Vertical Space – Look Up!
In a small kitchen, going vertical is your secret weapon. Walls, doors, and the space between shelves are often underutilized.
Shelf Risers and Expanders
These are game-changers for cabinets and pantries. They create new “shelves” within existing ones, allowing you to stack items like plates, bowls, or canned goods without creating precarious towers. You can easily double your storage capacity in some cabinets.
Wall-Mounted Solutions
- Magnetic Knife Strips: Free up drawer space and keep knives safely accessible.
- Pegboards: Highly customizable for hanging pots, pans, utensils, and small tools. They make it easy to see what you have and adjust as needed.
- Floating Shelves: Great for displaying attractive items, often-used spices, or cookbooks. Just be mindful not to overcrowd them to avoid a cluttered look.
- Wall-Mounted Pot Racks: If you have an empty wall section, a small pot rack can free up cabinet space and display your cookware beautifully.
Over-the-Door Organizers
Don’t forget the back of your pantry door or even the main kitchen door (if it opens into a utility space).
- Wire Racks: Excellent for storing spices, foils, wraps, or small jars.
- Shoe Organizers (Clear Pockets): Surprisingly useful for small snacks, spice packets, or even cleaning supplies.
Step 5: Utilize Drawer and Cabinet Organizers
Once you’ve maximized vertical space, it’s time to tackle the insides of your drawers and cabinets. This is where those measurements you took earlier come in handy.
Drawer Dividers and Inserts
Say goodbye to the “junk drawer”! Use expandable drawer dividers or custom inserts to create compartments for cutlery, utensils, measuring spoons, and small gadgets. This keeps everything from sliding around and makes items easy to find. Acrylic or bamboo options are popular and look neat.
Pull-Out Shelves
For lower cabinets, especially those deep ones, pull-out shelves or drawers are a lifesaver. They bring items from the back of the cabinet to you, preventing forgotten items and making access much easier. This is a fantastic investment when you organize a small kitchen.
Cabinet Organizers
- Pot Lid Holders: Keep pot lids upright and organized, saving a lot of space.
- Tiered Spice Racks: For pantry or cabinet shelves, these allow you to see all your spices at a glance, preventing duplicates and expired spices.
- Under-Sink Solutions: Use pull-out bins, caddies, or tension rods (to hang spray bottles) to organize cleaning supplies. Make sure to account for pipes!
- Lazy Susans (Turntables): Perfect for corner cabinets, spices, oils, or condiments. They make items in hard-to-reach spots accessible with a simple spin.
- Stackable Food Storage Containers: Choose a set that nests neatly when empty to save space.
Step 6: Master Your Pantry and Food Storage
Food items can quickly become overwhelming in a small kitchen. Smart food storage is key to keeping things tidy and fresh.
Clear Containers for Dry Goods
Transfer dry goods like pasta, rice, flour, sugar, and cereals into airtight, clear containers.
- Benefits: You can see what you have at a glance, they protect against pests, and they stack beautifully, maximizing vertical space.
- Tip: Choose square or rectangular containers over round ones to make the most of every inch.
Label Everything
Once items are in containers, label them clearly with the contents and expiration dates. This is especially important for flours and spices. Labels save you time and prevent food waste.
First-In, First-Out (FIFO)
When stocking your pantry or fridge, place newer items behind older ones. This ensures you use older items first, reducing spoilage.
Refrigerate Smartly
- Clear Bins: Use clear bins in your fridge to group similar items (e.g., all yogurts, all condiments, all produce). This prevents items from getting lost in the back.
- Designated Shelves: Assign shelves for specific categories (e.g., top shelf for leftovers, middle for dairy, bottom for meats).
- Door Storage: Reserve door shelves for condiments and drinks, which are less temperature-sensitive.
These strategies will help you maintain an organized and efficient small kitchen pantry and fridge.
Step 7: Optimize Countertops and Open Shelving
In a small kitchen, counter space is a premium. The less clutter on your counters, the larger and more peaceful your kitchen will feel.
Keep Only Essentials on Counters
Resist the urge to leave everything out. Only items you use daily (e.g., coffee maker, toaster, salt and pepper shakers) should reside on your counters. Everything else should have a home in a cabinet or drawer.
Use Trays and Baskets for Grouping
If you do have items on your counter, group them on a small tray or in a decorative basket. This instantly makes them look more intentional and less cluttered. For instance, a tray for oils and vinegars next to the stove.
Display Wisely (Aesthetics)
If you have open shelving, use it to display attractive items like matching dishes, cookbooks, or a few decorative plants. Avoid overcrowding, as this will quickly make your small kitchen feel messy. Curate your displays carefully.
Step 8: Implement Smart Small Appliance Storage
Small appliances can quickly eat up valuable real estate in a small kitchen. Thoughtful storage is key.
Vertical Storage for Small Appliances
If an appliance can be stored vertically (like a blender base with the pitcher stored separately), do it. Consider appliance garages if your kitchen has them, or even a dedicated pull-out shelf in a pantry.
Appliance Garages
Some kitchens are designed with built-in “appliance garages” that hide appliances behind a door on the countertop. If you don’t have one, consider a dedicated cabinet for less frequently used items like stand mixers or food processors.
Multi-Functional Appliances
When buying new appliances for a small kitchen, prioritize multi-functional items. An Instant Pot can be a slow cooker, pressure cooker, and more. A toaster oven can also air fry. This reduces the number of items you need to store.
Step 9: Maintain Your Organized Kitchen
Organization is not a one-time event; it’s an ongoing process. Establishing good habits will ensure your small kitchen stays tidy.
The “One-Minute Rule”
If a task takes less than one minute to do, do it immediately. This applies to wiping spills, putting dishes in the dishwasher, or returning items to their designated spot. This prevents small tasks from piling up into overwhelming messes.
Regular Mini-Declutter Sessions
Once every few months, do a quick pass through your cabinets and pantry. Check expiration dates, get rid of items you haven’t used, and reassess if your current organization still works. This keeps your system fresh and functional.
Adjust as Needed
Life changes, and so do your cooking habits. If a storage solution isn’t working for you, don’t be afraid to change it. Your kitchen should serve *you*, not the other way around. Be flexible and adjust your system as your needs evolve.
Troubleshooting Your Small Kitchen Organization Challenges
Even with the best intentions, organizing a small kitchen can present some specific hurdles. Here are common issues and how to tackle them:
“I still feel cramped, even after decluttering!”
Sometimes, even after a good purge, the layout itself can be the issue. Revisit your zoning in Step 3. Could a wall-mounted solution (Step 4) free up more counter space? Consider whether any large, rarely used items could be stored outside the kitchen – perhaps in a garage, basement, or hall closet. Could a small rolling cart provide extra counter space or storage when needed, then tuck away?

Visual guide about How to Organize a Small Kitchen Step by Step Table
Image source: foter.com
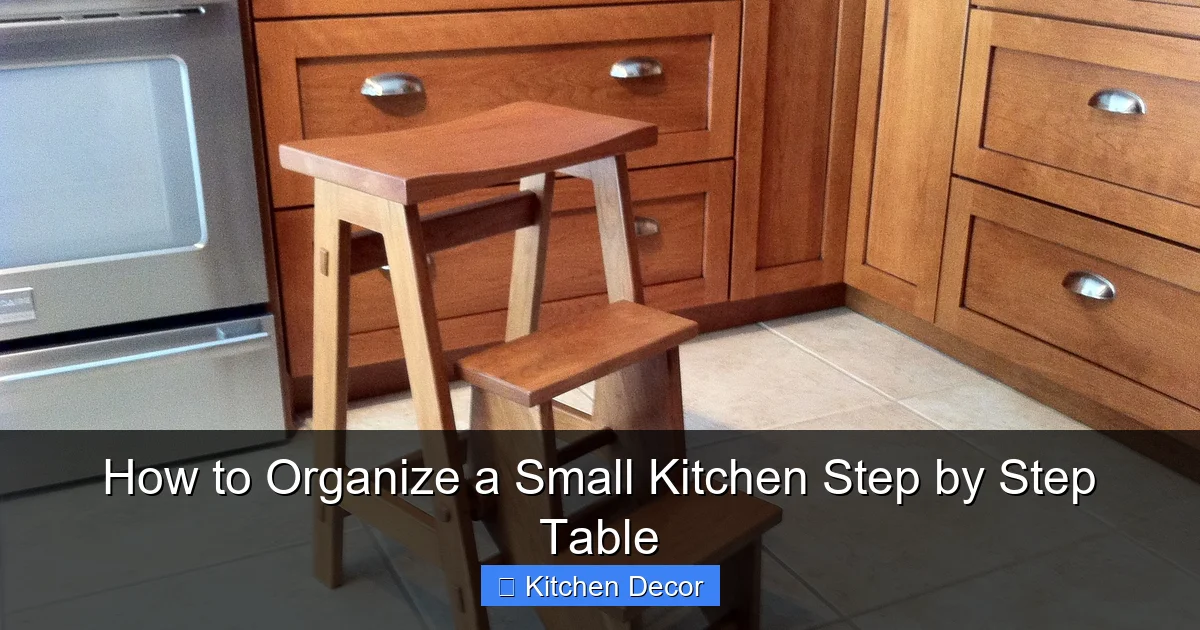
Visual guide about How to Organize a Small Kitchen Step by Step Table
Image source: i.pinimg.com

Visual guide about How to Organize a Small Kitchen Step by Step Table
Image source: i.ytimg.com
“I can’t find anything, even with dividers and labels!”
This often means your current system isn’t intuitive for *you*. Are your labels clear enough? Are items logically grouped (e.g., all baking supplies together)? Sometimes, having too many small containers can be just as confusing as having none. Try simplifying. For example, use larger, more general bins for “Breakfast Items” rather than individual cereal boxes and granola bars. Re-evaluate your “keep” pile – perhaps you still have too much stuff.
“I have a tiny budget for organizers.”
No problem! Many effective organizing solutions can be created with everyday items. Shoeboxes or sturdy cardboard boxes can serve as drawer dividers or cabinet bins. Repurposed glass jars are excellent for dry goods or spices. Look for affordable options at dollar stores, discount retailers, or even DIY solutions using things you already own. Focus on decluttering first; that’s free and makes the biggest impact.
“My family keeps messing up my system!”
Consistency and clear communication are key here. Involve your family in the organization process so they understand *why* things are placed where they are. Use labels liberally, especially if children are involved. Gently remind them where things belong, and lead by example. Over time, new habits will form. Consider making “putting things away” a family chore.
Conclusion
Congratulations! You’ve just walked through a comprehensive, step-by-step guide on how to organize a small kitchen. From the initial purge to establishing zones, maximizing vertical space, and implementing smart storage solutions, you now have the tools and knowledge to create a kitchen that is not only beautiful but also incredibly functional.
Remember, organizing a small kitchen is a journey, not a destination. It requires patience, consistency, and a willingness to adapt. But the reward—a calm, efficient, and inspiring culinary space—is immeasurable. Take it one step at a time, celebrate your progress, and enjoy the newfound peace and joy that comes with a perfectly organized small kitchen. Happy cooking!