Tired of rummaging through cluttered drawers? This comprehensive guide will show you how to organize kitchen utensils neatly, transforming chaos into calm. You’ll learn essential steps like decluttering, assessing your space, choosing the right storage solutions, and implementing a system that works for your household. Discover practical tips and troubleshooting advice to maintain a functional and aesthetically pleasing kitchen, making cooking and meal prep a joy.
How to Organize Kitchen Utensils Neatly
Is your kitchen drawer a chaotic jumble of spatulas, whisks, and ladles? Do you spend precious minutes digging for the right tool every time you cook? You’re not alone! A disorganized kitchen can be a source of daily frustration, making meal prep less enjoyable and more stressful. But imagine a kitchen where every utensil has its place, is easy to find, and contributes to a calm, functional environment. That dream is totally within reach!
This comprehensive guide will walk you through everything you need to know to organize kitchen utensils neatly. We’ll cover practical, step-by-step instructions, offer smart storage solutions, and share clever tips to help you create a system that works for your home and lifestyle. Get ready to transform your kitchen into an efficient, beautiful space where cooking becomes a joy again.
Key Takeaways
- Start with a Deep Declutter: Before organizing, empty all drawers and containers, then purge duplicates, broken items, and anything rarely used. Group similar items to see what you truly have.
- Assess Your Kitchen’s Layout: Understand your available space – drawers, countertops, cabinets, and walls – to determine the most effective storage solutions for your specific kitchen.
- Choose Smart Storage Solutions: Invest in drawer organizers, utensil crocks, wall-mounted racks, and cabinet inserts that fit your space and types of utensils to maximize efficiency.
- Implement a Zone System: Group utensils by function (e.g., cooking, baking, serving) and store them near their point of use to streamline meal preparation and cleanup.
- Prioritize Accessibility: Keep frequently used utensils within easy reach, either in a countertop crock or the top drawer, while less common items can be stored higher or further away.
- Maintain with Regular Checks: Organization isn’t a one-time task. Regularly declutter, adjust your system as your needs change, and encourage family participation to keep things tidy.
- Utilize Vertical and “Dead” Space: Maximize storage by using vertical dividers, stacking solutions, and exploring overlooked areas like cabinet doors or narrow gaps between appliances.
Step 1: Declutter and Sort – The Essential First Move
Before you even think about buying organizers, the most crucial step is to declutter. Trying to organize a mess just leads to an organized mess. This stage is all about reducing what you have and understanding your true inventory.
Empty Everything Out
Start by completely emptying all your kitchen drawers, countertop crocks, and any cabinets where utensils are stored. Lay everything out on a large surface – your kitchen counter, dining table, or even a clean floor. Seeing everything in one place can be quite eye-opening!
Purge and Donate
Now, go through each item with a critical eye. Ask yourself these questions:
- Is it broken or damaged? If a handle is loose, it’s bent, or it just doesn’t work right, toss it.
- Do I use it regularly? If you haven’t used a specific utensil in over a year (and it’s not a seasonal holiday item), consider letting it go. Be honest with yourself.
- Do I have duplicates? Three whisks? Five spatulas? Keep the best one or two and donate the rest. Unless you’re a professional chef, most households don’t need multiple versions of the same tool.
- Does it serve a purpose? Some novelty gadgets seem fun but just take up space. If it’s not practical for your cooking style, it might be time to say goodbye.
Create piles for “Keep,” “Donate/Sell,” and “Trash.” Be ruthless but realistic. The less you have, the easier it will be to organize kitchen utensils neatly.
Group Similar Items
Once you’ve purged, start grouping your “Keep” items. Put all spatulas together, all ladles, all measuring spoons, all baking tools, etc. This helps you visualize the volume of each type of utensil you own and will guide your storage choices.
Step 2: Assess Your Kitchen Space – Where Will Everything Live?
With your pared-down collection of utensils, it’s time to look at your kitchen with fresh eyes. Understanding your available storage space is key to creating an efficient system.
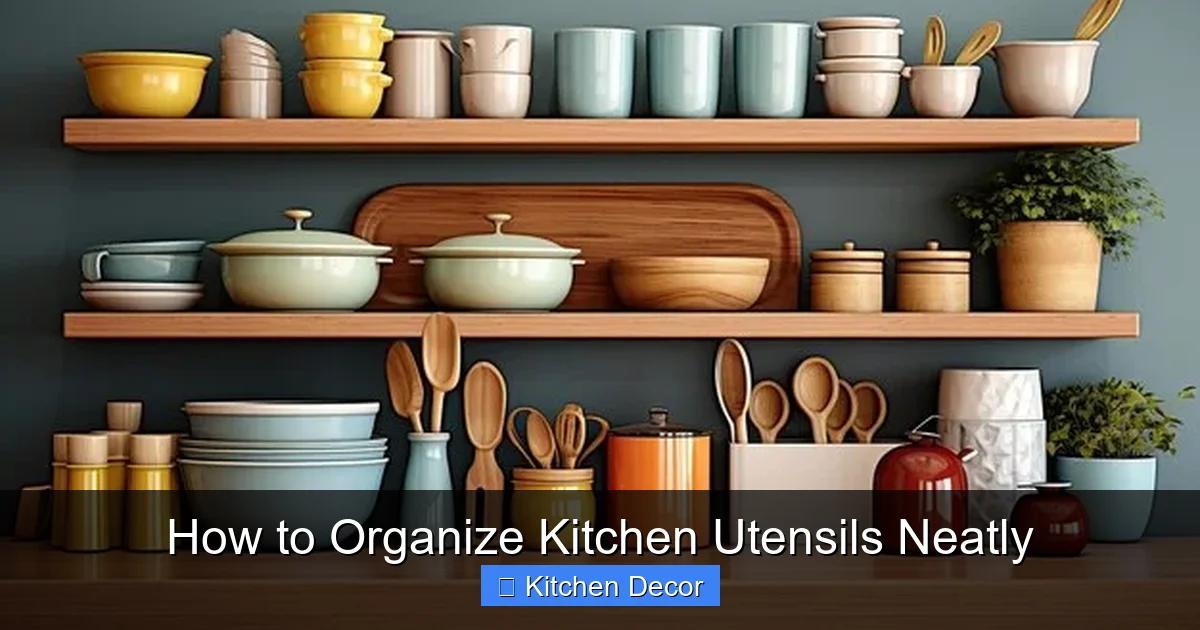
Visual guide about How to Organize Kitchen Utensils Neatly
Image source: img.freepik.com
Evaluate Drawers
Open all your kitchen drawers. Measure their dimensions (length, width, and depth). Notice if they are shallow or deep. Consider which drawers are closest to your cooking zones (stove, prep area, sink). These are prime locations for frequently used utensils.
Consider Countertop Space
Do you have prime countertop real estate near your stove or prep area? A countertop utensil crock can be incredibly convenient for daily cooking tools, but you don’t want to clutter valuable workspace.
Look at Cabinet Potential
Are there any cabinets with pull-out drawers, shelves, or even just empty space that could be repurposed for utensil storage? Sometimes, deeper cabinets can hold utensil caddies.
Don’t Forget Walls and Doors
Walls are often overlooked! Magnetic strips, pegboards, and hook systems can be excellent ways to store knives, measuring spoons, or frequently used lightweight tools, freeing up drawer space. Cabinet doors can also be fitted with shallow organizers for smaller items.
Step 3: Choose the Right Storage Solutions for Utensils
Now that you know what you have and where it might go, it’s time to select the perfect organizational tools. There’s a wide range of products designed to help you organize kitchen utensils neatly.
Drawer Organizers and Inserts
These are the workhorses of utensil organization. They come in various materials (bamboo, plastic, mesh, metal) and configurations. Look for:
- Adjustable Dividers: These are fantastic because you can customize the compartments to fit your specific utensils, no matter their size.
- Expandable Trays: Perfect for fitting drawers of various widths, ensuring a snug, non-sliding fit.
- Stacked Organizers: Some organizers have multiple tiers, allowing you to store more in a shallow drawer. These are great for smaller items like measuring spoons or can openers.
Practical Tip: Measure your drawers meticulously before buying. A few millimeters can make all the difference in fit.
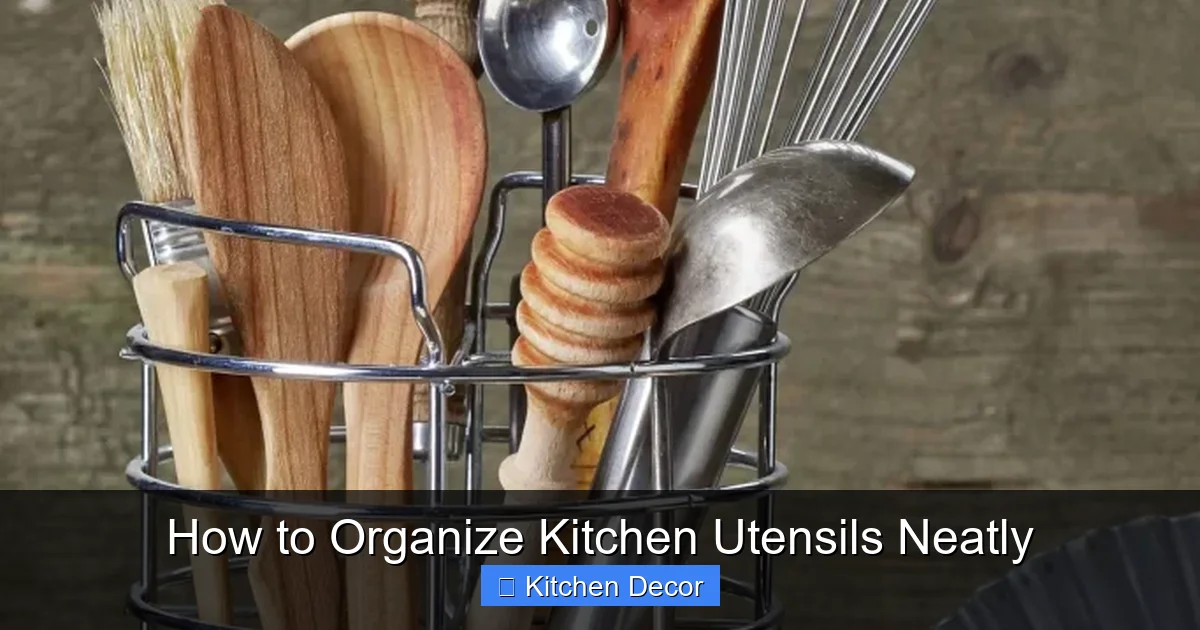
Utensil Crocks and Holders (Countertop)
Ideal for often-used cooking utensils that you want within arm’s reach while cooking. Choose a crock that is:
- Stable: Heavy enough not to tip over easily.
- Sufficiently Sized: Tall enough to hold your longest spatulas, but not so wide it takes up too much counter space.
- Aesthetically Pleasing: Since it’s on display, pick one that matches your kitchen decor.
Examples: Ceramic crocks, stainless steel cylinders, or even decorative pitchers can serve this purpose.
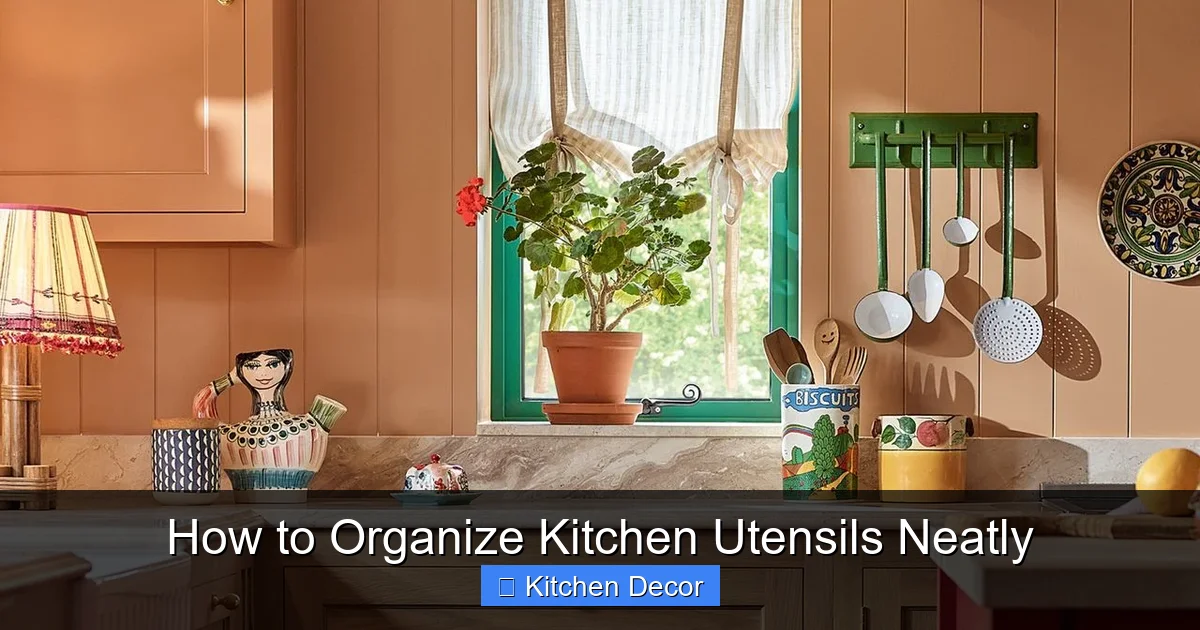
Wall-Mounted Solutions
When drawer and counter space are at a premium, look up! Wall storage is incredibly efficient.
- Magnetic Knife Strips: A classic for safely and visibly storing knives, freeing up drawer space or eliminating bulky knife blocks.
- Hooks and Rails: Install a rail system with S-hooks to hang frequently used ladles, strainers, or even sets of measuring cups and spoons.
- Pegboards: Offers ultimate flexibility. You can arrange hooks, baskets, and shelves to create a custom storage display for a variety of utensils.
Cabinet Organizers
Cabinets offer protected storage, especially for less frequently used or specialty items.
- Pull-Out Organizers: These can be installed in deeper lower cabinets, bringing items from the back right to you.
- Door-Mounted Racks: Great for holding smaller, flatter items like foil, cutting board, or even a few slim utensils.
- Stackable Bins/Caddies: Use these inside cabinets to group specialty items like baking tools or grilling utensils, making them easy to grab and go.
Specialty Organizers
Don’t forget specific tools that benefit from dedicated storage:
- Knife Blocks: If you prefer not to use a magnetic strip, an in-drawer or countertop knife block keeps blades sharp and safe.
- Spice Racks: While not strictly utensil storage, a well-organized spice rack helps keep other smaller items clear.
- Pot Lid Organizers: Often forgotten, but these free up valuable cabinet space for other items.
Step 4: Implement Your Organization Strategy
With your purged utensils and chosen organizers, it’s time to put your plan into action. This is where you create a functional and intuitive system to organize kitchen utensils neatly.
Visual guide about How to Organize Kitchen Utensils Neatly
Image source: cdn.mos.cms.futurecdn.net
The Zone System
Think about how you use your kitchen. Group utensils by function and store them near where they are used. This is called zoning:
- Cooking Zone (near stove): Spatulas, ladles, tongs, whisks, stirring spoons. These should be easily accessible, perhaps in a countertop crock or a top drawer right next to the stove.
- Prep Zone (near cutting board/sink): Peeling tools, graters, small knives (if not on a magnetic strip), measuring cups/spoons.
- Baking Zone (near mixing bowls/oven): Measuring cups/spoons (duplicates if you have them), pastry brushes, cookie scoops, rolling pins (if they fit in a cabinet or deep drawer).
- Serving Zone (near dining area or where you plate food): Serving spoons, carving forks, pie servers.
- Cleaning Zone (near sink): Bottle brushes, scrub brushes (though often stored with cleaning supplies, some specialty brushes might go here).
Vertical Storage Maximization
Don’t just think horizontally. Use the height of your drawers and cabinets. Deep drawers can accommodate vertical dividers for items like rolling pins, cutting boards, or even tall, narrow utensils. Stackable drawer organizers help maximize shallow spaces.
Prioritize Accessibility
Your most-used items deserve the easiest access. Frequently used cooking utensils should be in a prime drawer or countertop holder. Less common items (e.g., turkey baster, ice cream scoop used only for parties) can go in lower, deeper drawers or further back in cabinets.
Labeling (Optional but Helpful)
If you’re using opaque bins in cabinets, or have multiple drawers that look similar, consider adding labels. This is especially helpful for family members to quickly find and return items, maintaining your neat system.
Step 5: Maintain Your Organized System
Organization isn’t a one-time event; it’s a lifestyle. To keep your kitchen utensils neat and functional, a little ongoing effort goes a long way.
The “One In, One Out” Rule
Whenever you buy a new utensil, commit to getting rid of an old one (especially if it’s a duplicate or an upgrade). This prevents clutter from creeping back in.
Regular Mini-Declutters
Every few months, or whenever you notice a drawer getting a bit messy, take 10-15 minutes to quickly sort and tidy. You don’t need to empty everything out, just reset. This prevents overwhelming clean-up tasks later.
Involve the Household
Make sure everyone who uses the kitchen knows where things belong. Show them the new system. Consistent effort from everyone will make it much easier to maintain your neatly organized kitchen utensils.
Adjust as Needed
Your cooking habits and household needs might change over time. Don’t be afraid to tweak your system if something isn’t working perfectly. The goal is functionality and ease of use.
Practical Tips for Kitchen Utensil Organization
Beyond the steps, here are some extra nuggets of wisdom to help you brilliantly organize kitchen utensils neatly:
- Think Outside the Box: Sometimes the perfect organizer isn’t sold for kitchen utensils. Old office desk organizers, small craft bins, or even silverware trays from thrift stores can be repurposed.
- Use Dividers Creatively: If you don’t want to buy full drawer inserts, tension rods or small, sturdy boxes can create impromptu dividers within drawers.
- Embrace Aesthetics: When choosing countertop crocks or wall-mounted solutions, consider how they look. Matching finishes and materials can elevate your kitchen’s overall design.
- Consider Kids’ Utensils: If you have young children, dedicate a lower, easily accessible drawer or bin for their cutlery and smaller utensils. This empowers them to help themselves and put things away.
- Utilize “Dead Space”: That narrow gap between your fridge and counter? A slim rolling cart can hold tall, infrequently used items like roasting pans or a small collection of larger utensils. The inside of pantry doors can also be fitted with slim racks.
- Bundle Similar Items: Use rubber bands or small clips to keep sets of measuring spoons or cups together, preventing them from scattering.
Troubleshooting Common Organization Challenges
Even with the best intentions, you might face some hurdles. Here are solutions to common issues when you try to organize kitchen utensils neatly:
Limited Drawer Space
Solution: This is a common challenge! Prioritize vertical storage. Use wall-mounted racks for knives, ladles, and strainers. Opt for a countertop crock for your absolute daily essentials. Consider a rolling cart for overflow or specialty items. If you have deep cabinets, use stackable bins or caddies to store utensil groups vertically.
Too Many “Specialty” Utensils
Solution: First, revisit the decluttering step – do you *really* need that avocado slicer if a knife does the job just as well? For those specialty items you genuinely use (e.g., pastry blender, mandoline), group them. Store them together in a labeled bin in a less accessible cabinet, perhaps a higher shelf or a deep pantry shelf. This keeps them tidy without cluttering prime space.
Keeping It Tidy with Family
Solution: The best way to ensure others maintain the system is to make it incredibly intuitive. Every item should have a clear, easy-to-reach “home.” Involve family members in the initial organization process so they understand the logic. Consider using labels, especially for less obvious storage spots. A quick, gentle reminder (e.g., “Spatulas go here, please!”) is more effective than nagging.
Small Kitchen Syndrome
Solution: Every inch counts in a small kitchen! Embrace multi-functional items (e.g., tongs that double as serving spoons). Utilize all vertical space (walls, cabinet doors, under-shelf organizers). Choose slimline organizers. A small kitchen might mean you simply have to own fewer utensils, so be extra strict during your decluttering phase.
Conclusion
Learning how to organize kitchen utensils neatly is more than just tidying up; it’s about creating a more functional, efficient, and enjoyable kitchen environment. By taking the time to declutter, assess your space, choose smart storage, and implement a logical system, you’ll transform your daily cooking experience.
Remember, it’s a process, not a one-time fix. With a little maintenance and a willingness to adjust, you’ll enjoy the lasting benefits of a beautifully organized kitchen. No more digging, no more frustration – just smooth, joyful cooking. So, take the first step today and reclaim your kitchen!