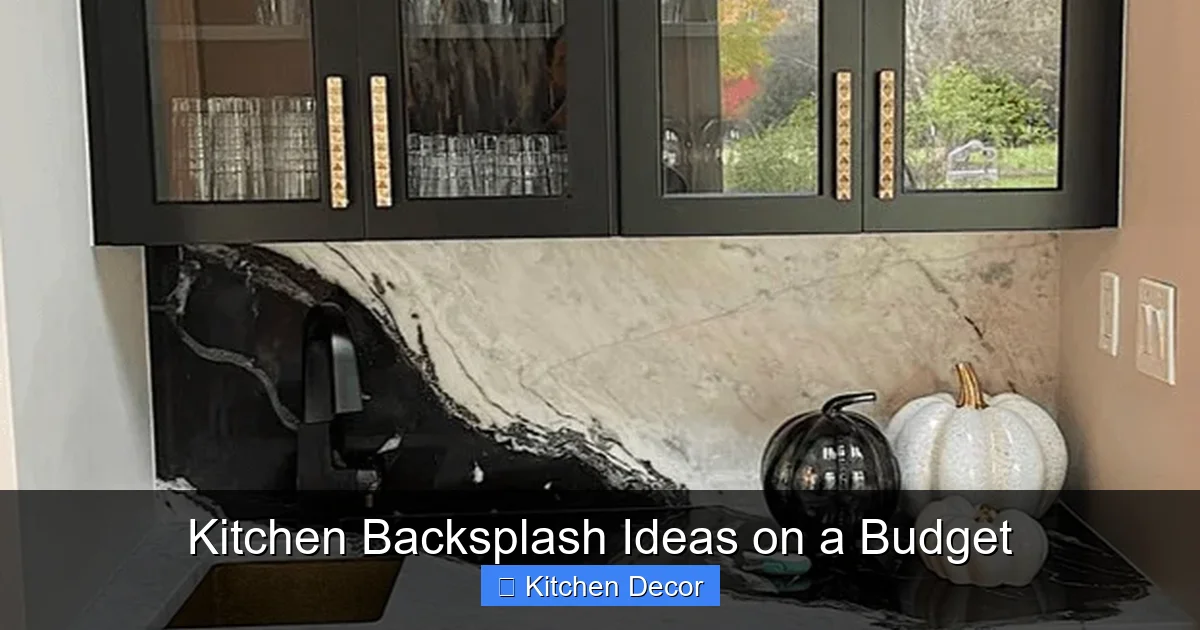
Transforming your kitchen doesn’t have to break the bank! Our comprehensive guide offers fantastic kitchen backsplash ideas on a budget, proving that style and affordability can go hand-in-hand. Learn how to achieve a fresh, new look with DIY-friendly materials and smart techniques, making your dream kitchen renovation accessible and fun without sacrificing quality or aesthetic appeal.
Kitchen Backsplash Ideas on a Budget
Thinking about giving your kitchen a facelift but worried about the cost? You’re in the right place! A kitchen backsplash is one of the most impactful and surprisingly affordable ways to transform your kitchen’s look and feel. It protects your walls from splashes and stains while adding a crucial decorative element that ties your whole kitchen together. But you don’t need a huge budget to achieve a stunning result.
This comprehensive guide is packed with clever and creative kitchen backsplash ideas on a budget. We’ll show you how to choose the right materials, prepare your space, and tackle the installation yourself, saving you money on labor. Get ready to discover DIY-friendly options that prove style and savings can go hand-in-hand. By the end, you’ll be armed with all the knowledge to create a beautiful and functional backsplash that looks far more expensive than it actually was!
Key Takeaways
- Peel and Stick Tiles: Offer a quick, clean, and incredibly affordable way to update your backsplash, providing a professional tiled look without the mess and cost of traditional grout and adhesive.
- Creative Paint Solutions: Utilize paint, stencils, or even chalkboard paint for a highly customizable, ultra-budget-friendly backsplash that allows for unique artistic expression.
- Plywood or Beadboard Panels: Provide a solid, paintable base that is easy to install and can mimic more expensive materials like traditional wood or tile for a fraction of the cost.
- Repurposed & Upcycled Materials: Explore unique options such as faux tin ceiling tiles, vinyl wallpaper, or even reclaimed wood for a distinctive, low-cost statement that adds character.
- Smart DIY Planning is Key: Ensure success by accurately measuring your space, thoroughly preparing your wall surfaces, and investing in a few basic tools for any budget backsplash project.
- Focus on Both Protection and Style: Remember that even budget-friendly backsplashes serve the dual purpose of protecting your walls from spills and significantly enhancing your kitchen’s overall aesthetic appeal.
- Prioritize Durability and Cleanliness: Choose materials that are easy to clean and can withstand kitchen moisture and splashes, ensuring your budget backsplash remains beautiful and functional long-term.
Why a Backsplash Matters (Even on a Budget)
Beyond just looking good, a backsplash serves several practical purposes in your kitchen:
- Wall Protection: It shields your walls from food splatters, grease, and water, preventing damage and making cleanup much easier.
- Enhanced Aesthetics: A backsplash adds texture, color, and pattern, creating a focal point and tying together your countertops, cabinets, and appliances.
- Increased Home Value: A refreshed kitchen, even with budget-friendly updates, can significantly improve your home’s appeal and resale value.
- Personal Style: It’s an opportunity to inject your personality into your kitchen without a major renovation.
Getting Started: Planning Your Budget Backsplash Project
Before you dive into materials, a little planning goes a long way. This ensures your project stays on track and within your budget.
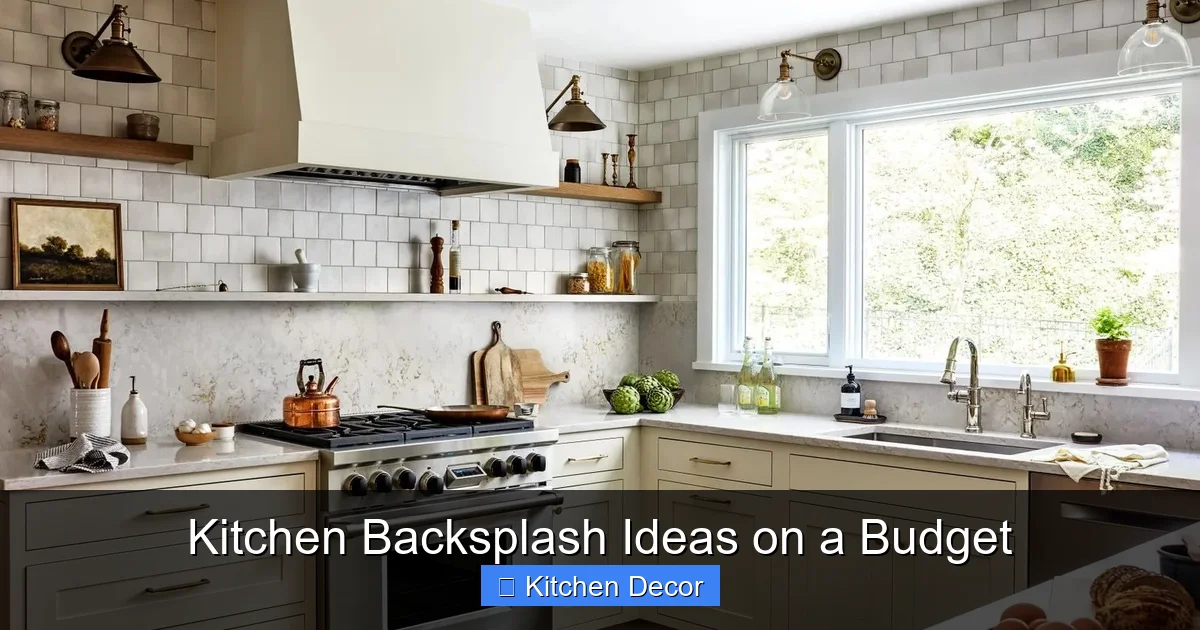
Visual guide about Kitchen Backsplash Ideas on a Budget
Image source: twigandthistle.com
Set a Realistic Budget
Even with budget-friendly options, costs can add up. Decide on a maximum amount you’re willing to spend. Remember to factor in not just the material cost, but also any tools you might need to buy (like a utility knife, measuring tape, or caulk gun), and surface preparation materials like primer or cleaner.
Measure Your Space Accurately
This is crucial! Measure the height and length of the areas you want to cover. Don’t forget to account for outlets and switches. It’s always a good idea to buy about 10-15% extra material to account for cuts, mistakes, and future repairs. Most backsplash areas are between 18-24 inches high.
Consider Your Style and Existing Decor
Look at your existing countertops, cabinets, and wall paint. Do you want your backsplash to blend in seamlessly or make a bold statement? Are you going for modern, rustic, traditional, or eclectic? Choose kitchen backsplash ideas on a budget that complement your current kitchen design.
Gather Your Basic Tools
Many budget backsplash options require minimal tools. Here’s a common list:
- Measuring tape and pencil
- Utility knife or sharp scissors
- Level or straightedge
- Caulk gun and caulk (kitchen and bath specific)
- Clean cloths and sponges
- Screwdriver (for removing outlet covers)
- Optional: Sandpaper, primer, painter’s tape
Top Kitchen Backsplash Ideas on a Budget
Now for the fun part! Let’s explore some fantastic kitchen backsplash ideas on a budget that deliver stunning results without draining your wallet.
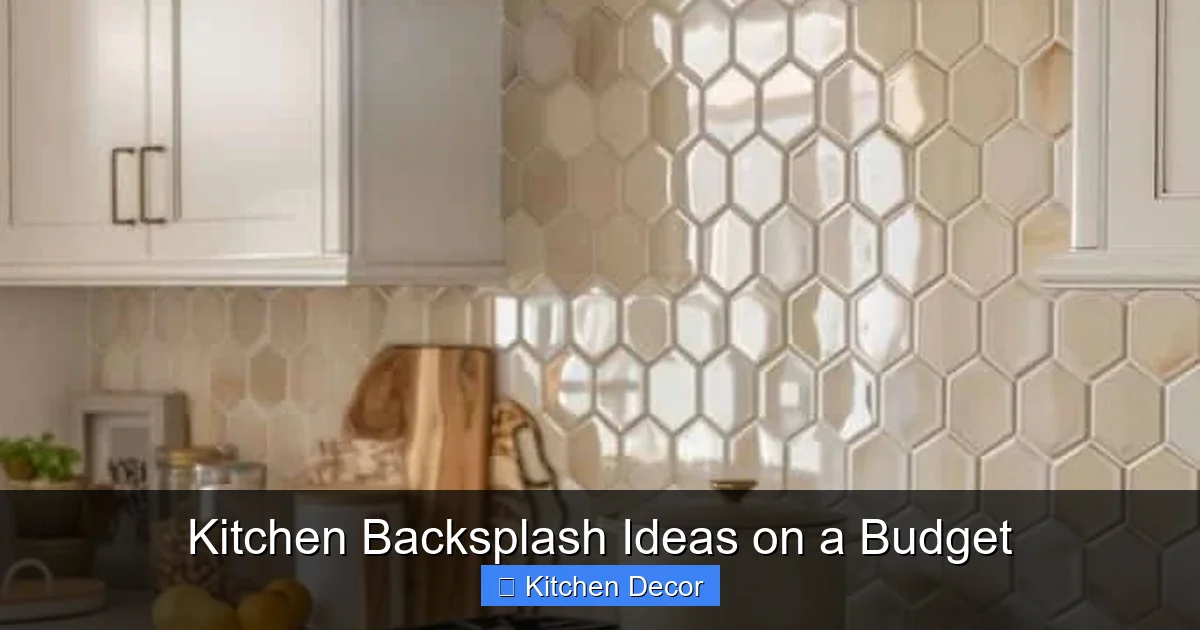
Visual guide about Kitchen Backsplash Ideas on a Budget
Image source: hello-hayley.com
1. Peel and Stick Tiles
Peel and stick tiles are perhaps the most popular budget-friendly backsplash option, and for good reason. They are incredibly easy to install, look surprisingly realistic, and come in a vast array of styles.
- What they are: Adhesive-backed sheets or individual tiles that stick directly to your wall. They’re often made of vinyl, gel, or a composite material that mimics ceramic, glass, or stone.
- Why they’re great:
- DIY-friendly: No messy mortar or grout required.
- Affordable: Significantly cheaper than traditional tiles.
- Variety: Available in subway tile, mosaic, hexagon, marble patterns, and even 3D textures.
- Removable: Many brands are designed to be easily removed without damaging the wall, perfect for renters.
- Installation Tips:
- Clean and Dry: Ensure your wall surface is perfectly clean, smooth, and dry. Any bumps or dirt will show through.
- Start Straight: Use a level to draw a straight line where you want the bottom edge of your first row to sit. This is crucial for a professional look.
- Peel Slowly: Peel back a small section of the adhesive backing at a time as you press the tile firmly onto the wall.
- Overlap Carefully: If using sheets, ensure the patterns align perfectly for a seamless look.
- Cut with Ease: A utility knife or strong scissors can cut these tiles to fit around outlets or corners.
2. Creative Paint Solutions
Sometimes, the simplest and cheapest solution is right in front of you: paint! With a little creativity, paint can transform your backsplash area into a unique focal point.
- What they are: Using standard or specialty paints directly on your wall to create a backsplash effect.
- Why they’re great:
- Ultra-affordable: Often just the cost of a can of paint and some brushes.
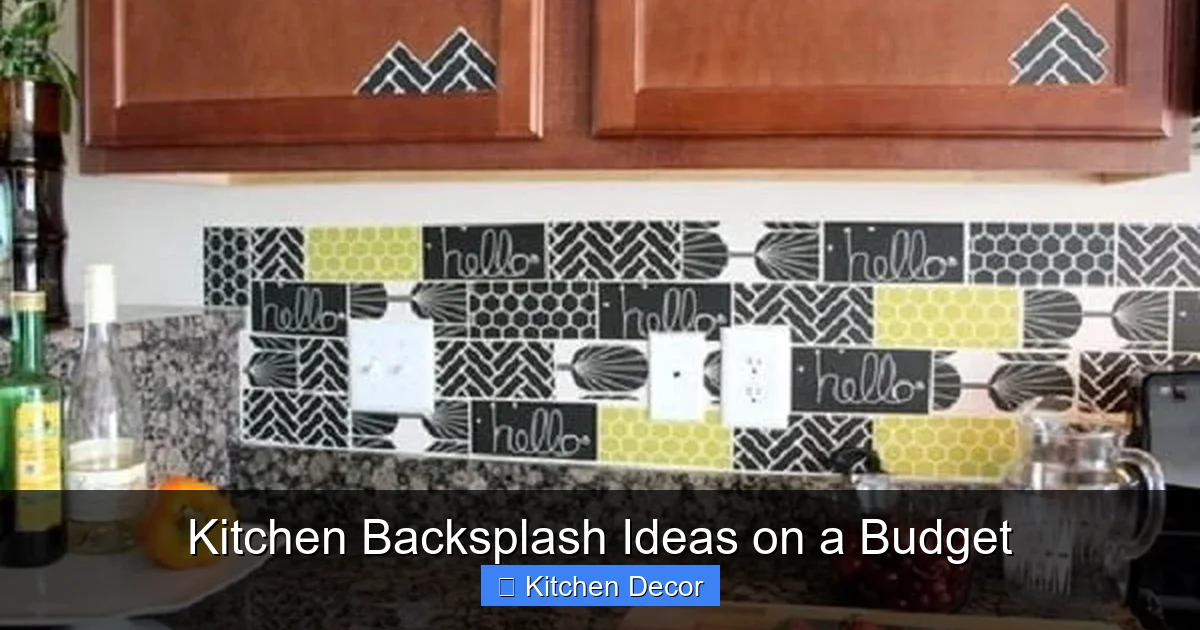
- Highly customizable: Endless color possibilities, plus stencils for patterns.
- Easy to change: If you get tired of it, just paint over it!
- Options & Installation Tips:
- Basic Painted Backsplash: Simply paint the backsplash area a contrasting or complementary color to your walls. Use a semi-gloss or high-gloss paint for easy cleaning and durability. Apply painter’s tape for crisp lines.
- Stenciled Designs: Choose a stencil (geometric, floral, Moroccan) and paint a repeating pattern over your base color. This can mimic the look of expensive tiled mosaics. Use a foam roller for even application and prevent bleeding.
- Chalkboard Paint: Create a fun, interactive backsplash where you can write notes, shopping lists, or draw temporary art. Requires regular cleaning but offers a unique, functional touch.
- Paintable Wallpaper: This specialty wallpaper has embossed patterns (like beadboard or tin tiles) that you can paint any color. It adds texture and dimension before you even apply paint.
- Seal It: For any painted backsplash, consider a clear, water-resistant topcoat (like a clear polyurethane or epoxy resin) for added durability and easier cleaning, especially behind the stove and sink.
3. Plywood or MDF Panels
For a more solid and structural budget backsplash, consider plywood or medium-density fiberboard (MDF) panels. These provide a smooth, uniform surface that can be customized in many ways.
- What they are: Thin sheets of wood or engineered wood that are cut to size and attached to the wall.
- Why they’re great:
- Durable: A solid surface that’s resistant to impact.
- Customizable: Can be painted, stained, wallpapered, or even covered with fabric.
- Smooth Surface: Provides a clean backdrop for your kitchen.
- Relatively inexpensive: Especially compared to solid wood or stone.
- Installation Tips:
- Measure and Cut: Measure your backsplash area precisely and cut the plywood or MDF panels to fit. You might need a circular saw or jigsaw.
- Sand and Prime: Sand the panels smooth and apply a good primer, especially if you plan to paint them. This helps with adhesion and an even finish.
- Attach Securely: Use construction adhesive (like Liquid Nails) and small finishing nails (if permitted) to attach the panels to the wall studs.
- Finish Strong: Once installed, you can paint them your desired color, add trim for a framed look, or even apply wallpaper directly to the panels. Seal with a durable topcoat, particularly in wet areas.
4. Beadboard or Wainscoting
If you love a classic, cottage, or farmhouse look, beadboard or wainscoting panels are excellent kitchen backsplash ideas on a budget. They add architectural interest and warmth.
- What they are: Panels with vertical grooves (beadboard) or flat panels often combined with molding (wainscoting), typically made from MDF or thin wood.
- Why they’re great:
- Timeless Style: Instantly adds character and charm.
- Easy to Install: Panels are relatively lightweight and can be cut to fit.
- Paintable: Can be painted any color to match your kitchen decor.
- Durable: A sturdy option that withstands daily kitchen life.
- Installation Tips:
- Purchase Panels: Buy beadboard or wainscoting panels from your local home improvement store. They often come in 4×8 foot sheets or smaller sections.
- Cut to Size: Measure your backsplash height and cut the panels accordingly. Remember to cut out openings for outlets.
- Adhere and Nail: Apply construction adhesive to the back of the panels and press them firmly onto the wall. Use a nail gun with finishing nails to secure them, especially along the top and bottom edges.
- Finish with Trim: Add a small piece of decorative trim along the top edge for a polished look. Caulk any gaps and paint the entire backsplash your chosen color.
5. Repurposed Materials
For truly unique kitchen backsplash ideas on a budget, look no further than repurposed or upcycled materials. This is where your creativity can really shine!
- What they are: Using items not typically intended for backsplashes in a creative way.
- Why they’re great:
- Unique & Eclectic: Creates a one-of-a-kind look.
- Environmentally Friendly: Gives new life to old items.
- Extremely Budget-Friendly: Often uses materials you already have or can find cheaply.
- Options & Installation Tips:
- Faux Tin Ceiling Tiles: Lightweight PVC or plastic panels designed to mimic antique tin tiles. They are often peel and stick or can be glued. They come in various patterns and metallic finishes. Cut with scissors or a utility knife and adhere with construction adhesive or double-sided tape.
- Reclaimed Pallet Wood: If you’re handy, carefully dismantle pallets, sand the wood, and cut it into planks. Arrange them in a pattern (e.g., horizontal, herringbone). You MUST properly seal the wood with multiple coats of a food-safe, water-resistant sealant to make it suitable for a kitchen.
- Old License Plates: For a quirky, industrial, or Americana vibe, collect old license plates. Clean them thoroughly and arrange them in a pattern. Attach with small screws or strong adhesive.
- Fabric (Under Glass/Acrylic): Choose a bold fabric pattern, adhere it smoothly to your wall, and then cover it with custom-cut tempered glass or clear acrylic panels. This protects the fabric and creates a sleek, modern look, though the glass/acrylic adds to the cost.
6. Waterproof Vinyl Wallpaper
Modern vinyl wallpaper isn’t like your grandma’s wallpaper. High-quality, waterproof vinyl options offer incredible durability and a huge range of patterns perfect for a budget backsplash.
- What they are: Durable, often peel-and-stick, vinyl rolls designed to withstand moisture and be easily wiped clean.
- Why they’re great:
- Pattern Variety: Mimics everything from marble and wood grain to intricate geometric designs.
- Easy to Clean: Most are fully washable.
- DIY Installation: Many are self-adhesive, simplifying the process.
- Removable: Like peel-and-stick tiles, many vinyl wallpapers can be removed cleanly.
- Installation Tips:
- Prepare the Wall: Ensure the wall is clean, smooth, and primed if necessary for optimal adhesion.
- Measure and Cut: Cut strips to size, leaving a few extra inches at the top and bottom for trimming.
- Align Carefully: Start at one end of your backsplash area. Peel back a portion of the backing and align the wallpaper strip to your straight edge.
- Smooth It Out: Use a wallpaper smoothing tool or a clean cloth to press out air bubbles as you slowly peel and apply.
- Trim Excess: Use a utility knife and a straightedge to trim excess wallpaper at the edges and around outlets.
7. Smart Use of Standard Tiles (DIY Focus)
Even traditional ceramic or porcelain tiles can be a budget-friendly option if you choose wisely and DIY the installation. The key is to select inexpensive tiles and limit your coverage area.
- What they are: Classic ceramic or porcelain tiles, often found at great prices.
- Why they’re great:
- Most Durable: Highly resistant to heat, water, and impact.
- Timeless: A classic choice that never goes out of style.
- Great Value: Especially if you pick basic subway tiles or small format tiles.
- Installation Tips:
- Choose Affordable Tiles: Look for basic 3×6 inch white subway tiles, 4×4 inch squares, or smaller mosaic sheets. These are often the most economical.
- Limit Coverage: Instead of covering the entire wall, consider a partial backsplash (e.g., 4-6 inches high) or just behind the stove and sink for maximum impact with less material.
- Use Pre-Mixed Grout: This eliminates the need for mixing and reduces mess, making it easier for DIY beginners.
- Rent a Tile Cutter: If you don’t own one, rent a manual tile cutter for ceramic tiles; it’s cheaper than buying.
- Take Your Time: Laying traditional tile requires patience. Ensure your surface is level, use spacers for even grout lines, and clean excess grout as you go.
General DIY Backsplash Installation Tips for Budget Projects
No matter which kitchen backsplash ideas on a budget you choose, these general tips will help ensure a successful installation:
Visual guide about Kitchen Backsplash Ideas on a Budget
Image source: homeisd.com
- Surface Preparation is Key: Always start with a clean, dry, and smooth wall. Fill any holes, sand down rough spots, and wipe away grease or dust. This ensures good adhesion.
- Measure Twice, Cut Once: Seriously, double-check all your measurements before making any cuts. This prevents wasted material and frustration.
- Work Safely: Wear gloves, eye protection, and ensure good ventilation, especially when using adhesives, sealants, or paints. Disconnect power to outlets before removing covers.
- Test a Small Area: If unsure about adhesion or how a material will look, test it in an inconspicuous spot first.
- Start from the Middle or a Visible Corner: For symmetrical patterns, it often helps to start laying your material from the center of the largest wall and work outwards. For other designs, start from the most visible corner.
- Use a Level: Always use a level to ensure your lines are straight. Even a slight tilt can become very noticeable across a long stretch.
- Caulk for a Professional Finish: Once your backsplash is installed, use kitchen and bath caulk along the top and bottom edges, and where the backsplash meets the countertop. This seals gaps, prevents moisture intrusion, and gives a clean, finished look.
Troubleshooting Common Budget Backsplash Issues
Even with careful planning, DIY projects can throw a curveball. Here are some common issues and quick fixes:
- Uneven Surfaces: If your wall isn’t perfectly smooth (common in older homes), materials like peel and stick tiles or thin vinyl wallpaper might highlight imperfections.
- Fix: Before starting, patch and sand any major dips or bumps. For minor unevenness, a thicker material like beadboard or even a thicker peel-and-stick tile can be more forgiving.
- Adhesion Problems: Your material isn’t sticking well.
- Fix: Ensure the wall is absolutely clean, dry, and free of grease or dust. Some paints (especially those with high sheen) can be tricky. Lightly sand the area and clean again, or use a primer designed to promote adhesion.
- Visible Seams: Especially with peel and stick sheets or wallpaper, seams can be noticeable.
- Fix: Take your time during installation to butt edges together tightly and align patterns perfectly. A rubber roller can help press seams flat. A thin bead of matching caulk can also help blend minor gaps.
- Dealing with Outlets and Switches: Cutting around these can be tricky.
- Fix: Remove outlet covers first. Make paper templates of the outlet openings. Transfer these to your backsplash material and cut carefully. Remember to leave enough clearance so the outlet cover can be reinstalled over the backsplash material. You might need longer screws for outlet covers.
- Bubbles in Wallpaper/Peel and Stick: Air gets trapped under the material.
- Fix: Use a smoothing tool or credit card to work bubbles out as you apply. If a bubble appears later, you can often pierce it with a tiny pin and smooth the air out.
Maintaining Your Budget Backsplash
Once your beautiful new budget backsplash is in place, a little care will keep it looking fresh:
- Regular Cleaning: Most budget backsplashes (especially peel and stick, painted, or vinyl) can be wiped down with a damp cloth and mild soap. Avoid abrasive cleaners that could damage the finish.
- Check Caulk: Periodically inspect the caulk lines around your backsplash. If you see any cracking or peeling, recaulk to prevent moisture from getting behind your backsplash.
- Avoid Harsh Chemicals: Be mindful of what cleaning products you use, particularly on painted or vinyl surfaces. Test in an inconspicuous area if unsure.
- Protect from Heat: If your backsplash material is sensitive to heat (like some vinyls), ensure there’s adequate clearance behind your stovetop or consider placing a stainless steel heat shield directly behind the stove.
Conclusion
You don’t need to splurge to create a stunning kitchen. With these kitchen backsplash ideas on a budget, you have a wealth of options to choose from, each offering its own unique charm and DIY appeal. From the ease of peel and stick tiles to the creative freedom of paint, or the classic elegance of beadboard, a beautiful and functional backsplash is well within your reach.
Remember to plan carefully, measure accurately, and don’t be afraid to get creative. A DIY backsplash project is a fantastic way to personalize your kitchen, protect your walls, and boost your home’s appeal—all without breaking the bank. So grab your tools, choose your favorite idea, and get ready to enjoy a fresh new look in your kitchen!