Transform your kitchen from chaos to calm with these essential kitchen cabinet organization hacks. This guide provides a step-by-step roadmap to declutter, categorize, and optimize every inch of your cabinet space. Learn how to use smart storage solutions to make your kitchen more functional and enjoyable, ensuring everything has a dedicated spot and is easy to find.
Kitchen Cabinet Organization Hacks
Welcome to the ultimate guide for transforming your kitchen cabinets from cluttered chaos to a beacon of calm and efficiency! If you’ve ever rummaged through a drawer searching for a can opener, or found yourself playing Jenga with your pots and pans, you know the frustration of disorganized kitchen cabinets. But fear not! This comprehensive how-to guide will walk you through practical, easy-to-implement kitchen cabinet organization hacks that will not only declutter your space but also make your kitchen a more joyful and functional place to cook, eat, and live.
We’re going to cover everything from the initial purge and deep clean to smart storage solutions, clever zoning techniques, and crucial maintenance tips. By the end of this guide, you’ll have all the tools and inspiration you need to create a beautifully organized kitchen that works for you. Get ready to fall in love with your kitchen all over again!
Key Takeaways
- Start with a Full Purge: Empty all cabinets, sort items into keep, donate, and toss piles, and thoroughly clean the empty spaces before reorganizing.
- Zone Your Kitchen: Group similar items together and store them near where they are typically used (e.g., spices near the stove, dishes near the dishwasher) to improve efficiency.
- Maximize Vertical Space: Utilize shelf risers, stackable containers, and tiered organizers to make the most of tall cabinet spaces and prevent items from getting lost.
- Contain and Label Everything: Use airtight containers for dry goods and matching bins for smaller items. Labeling is crucial for easy identification and maintaining order.
- Tame Drawers and Doors: Implement drawer dividers for utensils and small gadgets, and use door-mounted racks for spices, foils, or cleaning supplies to free up shelf space.
- Invest in Smart Storage Solutions: Thoughtfully chosen organizers like pot and pan racks, lazy Susans, and pull-out shelves can significantly enhance functionality and accessibility.
- Maintain Regularly: Implement a “one in, one out” rule and conduct mini-purges periodically to prevent clutter from accumulating again, ensuring long-term organization.
Step 1: The Grand Purge and Deep Clean
Before you can organize, you must first declutter. This step is the most crucial, and often the most daunting, but it’s essential for a truly effective kitchen cabinet organization overhaul. Think of it as hitting the reset button.
Empty Every Single Cabinet and Drawer
Yes, *every single one*. Take everything out. Place all items on your kitchen counters, dining table, or even the floor if you need more space. This allows you to see exactly what you have and assess your true inventory. It might look like a disaster at first, but it’ll get better, we promise!
Sort, Sort, Sort: Keep, Donate, Toss
Now that everything is out in the open, it’s time to make some tough decisions. Create three piles:
- Keep: These are items you use regularly, are in good condition, and bring you joy.
- Donate/Give Away: These items are still in good condition but you no longer use them, have duplicates of, or simply don’t need. Think about local charities, friends, or family who might benefit.
- Toss/Recycle: Anything broken, expired (check those spices!), damaged, or truly unusable. Be honest with yourself. If it’s been sitting there for years unused, it probably needs to go.
Pro Tip: When in doubt, ask yourself: “Have I used this in the last year? Does it serve a purpose? Do I have another one that works better?” If the answer is no to most of these, let it go.
Deep Clean Your Cabinets
With your cabinets completely empty, now is the perfect time for a thorough cleaning. Wipe down the interior surfaces, shelves, and drawer bottoms. Use a multi-purpose cleaner, or a simple solution of warm water and a little dish soap. For stubborn grime, a baking soda paste can work wonders. Make sure everything is completely dry before you start putting items back in. You might even consider adding new shelf liners for a fresh start.
Step 2: Assess Your Space and Needs
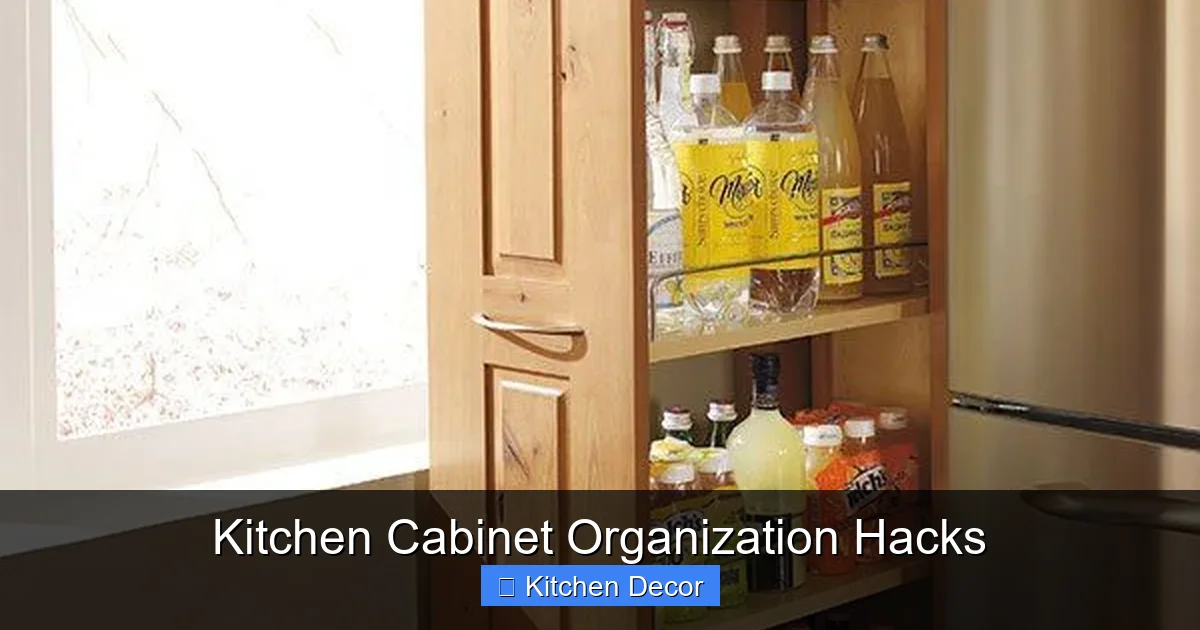
Visual guide about Kitchen Cabinet Organization Hacks
Image source: i.pinimg.com
Before you start putting things back willy-nilly, take a moment to understand your kitchen’s layout and your family’s habits. This step is key to making your kitchen cabinet organization sustainable.
Analyze Your Cabinet Types
Look at the different types of storage you have:
- Upper Cabinets: Best for lighter items, frequently used dishes, glasses, and spices.
- Lower Cabinets: Ideal for heavier items like pots, pans, small appliances, and bulkier dry goods.
- Drawers: Perfect for utensils, kitchen gadgets, wraps, and smaller items.
- Pantry Cabinets: If you have a dedicated pantry, this is prime real estate for food storage.
Consider Your Cooking Habits and Lifestyle
Are you a baker, a gourmet chef, or someone who mostly reheats meals? Do you entertain often? Do you have young children who need access to snacks or kid-friendly dishes? Your organization strategy should reflect how you actually use your kitchen. For example, if you bake often, a dedicated baking zone will be incredibly helpful.
Identify Problem Areas
Which cabinets always seem to get messy? Which items are constantly hard to find? Acknowledging these pain points will help you prioritize your organization efforts and find specific solutions.
Step 3: Strategic Zoning – A Place for Everything
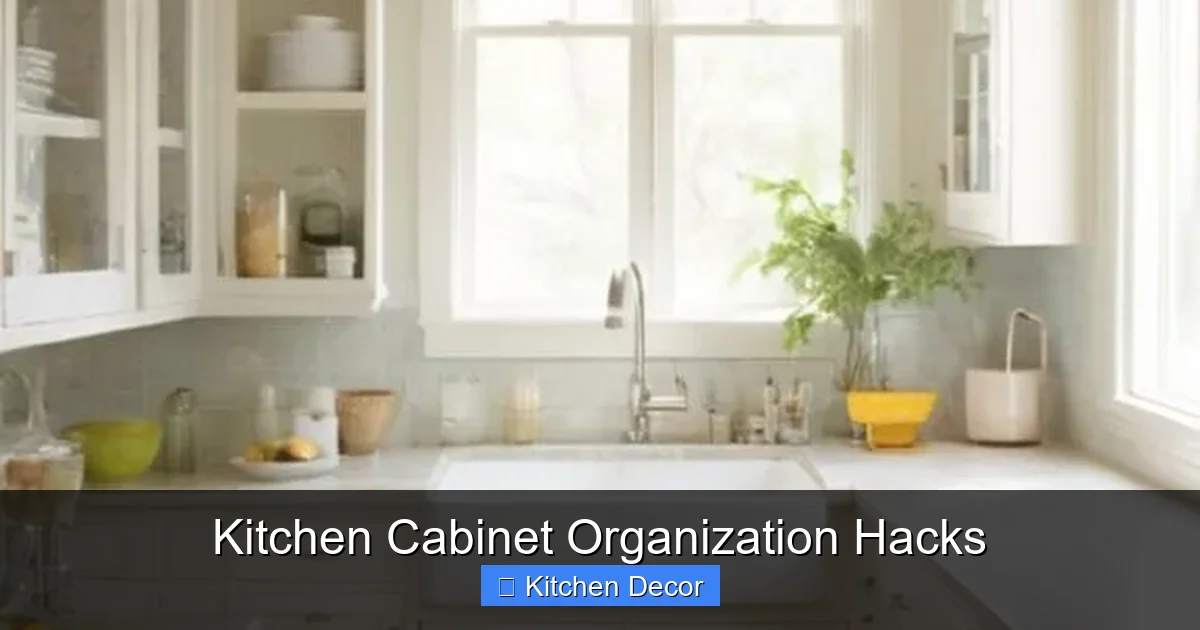
Visual guide about Kitchen Cabinet Organization Hacks
Image source: homecabinetexpert.com
One of the most effective kitchen cabinet organization hacks is creating “zones.” Grouping like items together and storing them where they are most frequently used dramatically improves efficiency.
Group Like Items Together
This seems obvious, but it’s often overlooked. All baking supplies should be together. All spices. All glassware. All pots and pans. This prevents you from searching multiple cabinets for related items.
Create Functional Zones
Think about the flow of your kitchen.
- Cooking Zone: Store pots, pans, cooking utensils, and spices near your stove or primary prep area.
- Prep Zone: Keep mixing bowls, cutting boards, measuring cups, and knives handy near your main countertop.
- Dinnerware/Serving Zone: Plates, bowls, glasses, and serving platters should be close to the dishwasher or dining area for easy loading and unloading.
- Baking Zone: Flour, sugar, baking powder, extracts, measuring cups, and baking sheets can be grouped in a dedicated cabinet or drawer.
- Breakfast Zone: Cereal, coffee, mugs, and toaster could be together.
- Snack Zone: A low cabinet or drawer for kid-friendly snacks.
- Cleaning Zone: Under the sink is usually the best spot for cleaning supplies.
Implement the Proximity Principle
Store items closest to where they are used first. Your coffee mugs belong near the coffee maker. Your oils and vinegars should be near the stove. This simple hack saves steps and makes cooking more enjoyable.
Step 4: Maximize Vertical Space with Smart Solutions
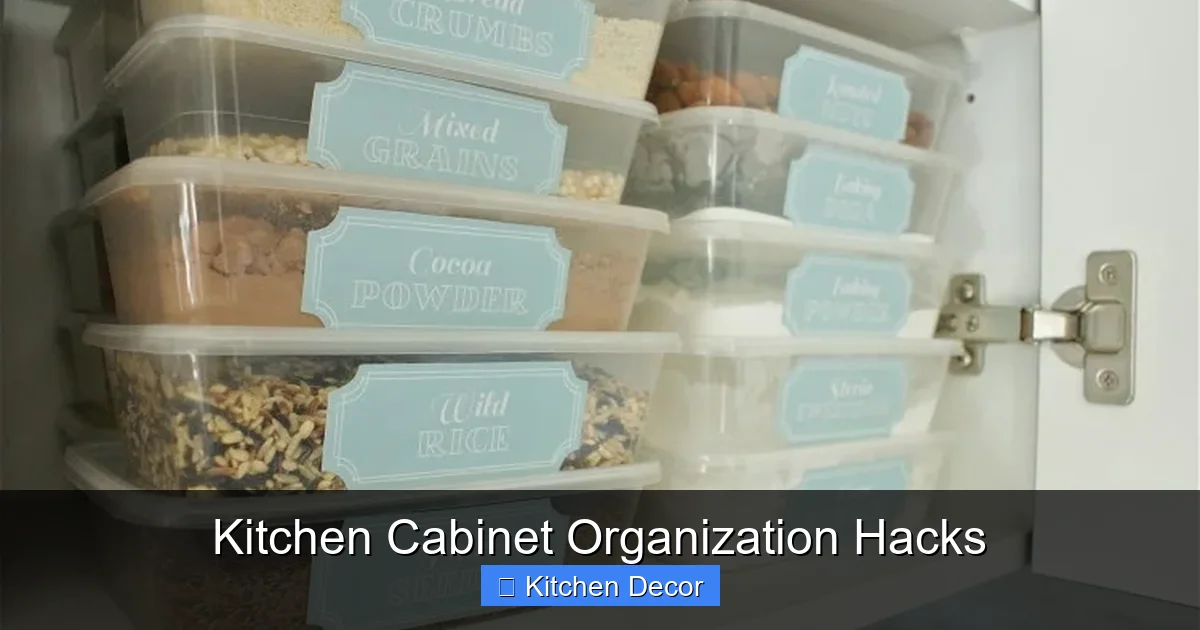
Visual guide about Kitchen Cabinet Organization Hacks
Image source: 4.bp.blogspot.com
Often, there’s a lot of unused vertical space in cabinets, especially in taller ones. These kitchen cabinet organization hacks help you make the most of every inch.
Shelf Risers and Expanders
These are game-changers for upper cabinets. They allow you to create an extra “shelf” for plates, bowls, or mugs, effectively doubling your storage space. Expandable versions are great for fitting various cabinet widths.
Stackable Bins and Containers
Clear, stackable bins are excellent for organizing pantry items like dry pasta, rice, snacks, or even cleaning supplies. They keep items contained and make it easy to see what you have. Just make sure the stack doesn’t get too tall to be unstable or hard to access.
Pot and Pan Organizers
Tired of your pots and pans clattering every time you reach for one?
- Vertical Dividers: Use these in lower cabinets to store baking sheets, cutting boards, and shallow pans upright.
- Tiered Racks: Allow you to stack pots and pans without scratching, or separate lids from bases.
- Pull-out Organizers: These are a fantastic upgrade for lower cabinets, bringing items in the back to you.
Tiered Spice Racks
A tiered spice rack (either an in-drawer, in-cabinet, or countertop version) makes it easy to see all your spices at a glance, preventing you from buying duplicates and ensuring you grab the right one every time.
Step 5: Tame Drawers and Doors
Don’t forget these often-overlooked storage opportunities! Drawers and cabinet doors offer prime real estate for smaller items and often-used essentials.
Drawer Dividers and Organizers
Say goodbye to the infamous “junk drawer”!
- Utensil Trays: Essential for keeping forks, spoons, knives, and serving utensils neatly separated.
- Adjustable Dividers: Use these in deeper drawers for larger kitchen gadgets, foils, wraps, or even linens.
- Small Bins: Perfect for corralling smaller items like twist ties, clips, or small tools.
Door-Mounted Racks and Organizers
The inside of cabinet doors offers surprising storage potential.
- Spice Racks: Small racks can hold frequently used spices, freeing up shelf space.
- Wrap Organizers: Keep aluminum foil, plastic wrap, and parchment paper neatly contained and accessible.
- Cleaning Supply Caddies: Under the sink, a door-mounted caddy can hold sponges, brushes, and sprays.
Under-Sink Organization
This area often becomes a cluttered mess. Use pull-out drawers, stackable bins, and door-mounted organizers to keep cleaning supplies, extra sponges, and trash bags tidy. Consider adding a small tension rod to hang spray bottles.
Step 6: Utilize Containers and Labels
Consistency and clear identification are key to maintaining an organized kitchen. This is where containers and labels shine.
Airtight Containers for Dry Goods
Invest in clear, airtight containers for dry pantry staples like flour, sugar, pasta, cereal, rice, and snacks.
- They keep food fresh longer.
- They create a uniform, aesthetically pleasing look.
- They allow you to easily see quantities at a glance.
- They prevent pests.
Consider choosing a matching set or a consistent style for a cohesive look.
Matching Bins for Uniformity
For items that don’t need to be airtight (e.g., small bags of chips, granola bars, packets), use matching bins or baskets. This creates visual order and makes it easy to pull out a whole category of items when needed.
Labels, Labels, Labels!
This cannot be stressed enough. Labels are crucial for knowing what’s inside opaque containers or bins, and especially for dry goods that look similar (e.g., different types of flour).
- Use a label maker, chalkboard labels, or even simple masking tape and a marker.
- Include expiration dates on food items if applicable.
- Labels help everyone in the household know where things belong and where to find them.
Step 7: Keep It Going – Maintenance is Key
Organization is not a one-time event; it’s an ongoing practice. These kitchen cabinet organization hacks ensure your hard work pays off long-term.
The “One In, One Out” Rule
When you buy a new item (especially kitchen gadgets or dishes), consider if you have something similar that can be donated or discarded. This prevents clutter from accumulating again.
Regular Mini-Purges
Don’t wait until your cabinets are overflowing again. Schedule a quick 15-30 minute “mini-purge” every few months. Quickly check expiration dates, toss anything broken, and reassess what you’re truly using.
Put Things Back Immediately
This is perhaps the simplest, yet most effective, maintenance hack. When you’re done with an item, put it back in its designated spot right away. Don’t let items pile up on counters or randomly get shoved into cabinets.
Troubleshooting Common Cabinet Conundrums
Small Kitchen Syndrome
If you have limited cabinet space, vertical organizers are your best friend. Look for wall-mounted solutions, magnetic knife strips, pegboards, and multi-functional items that serve more than one purpose. Consider a rolling utility cart for extra storage that can be tucked away.
Awkward Corner Cabinets
These can be notoriously difficult. Solutions include:
- Lazy Susans: Perfect for spices, oils, or small appliances that are hard to reach in deep corners.
- Pull-out Kidney-shaped Shelves: These pivot out, bringing the contents to you.
- Large Bins: Use one or two large bins to contain items, making it easier to pull everything out at once.
Keeping it Kid-Friendly
If you have children, designate low, accessible cabinets or drawers for their dishes, snacks, or lunch-packing supplies. Use durable, clear bins so they can easily see and retrieve what they need, fostering independence. Keep hazardous items (cleaners, sharp objects) in higher, child-proofed cabinets.
Conclusion
Congratulations! You now have a comprehensive toolkit of kitchen cabinet organization hacks to transform your culinary space. From the initial purge and deep clean to strategic zoning, maximizing vertical space, and implementing smart containers and labels, you’re equipped to create a kitchen that is not only beautiful but also incredibly functional. Remember, the goal is to make your kitchen work *for* you, reducing stress and enhancing your enjoyment. So, take a deep breath, tackle one cabinet at a time, and get ready to experience the joy of a perfectly organized kitchen! Happy organizing!