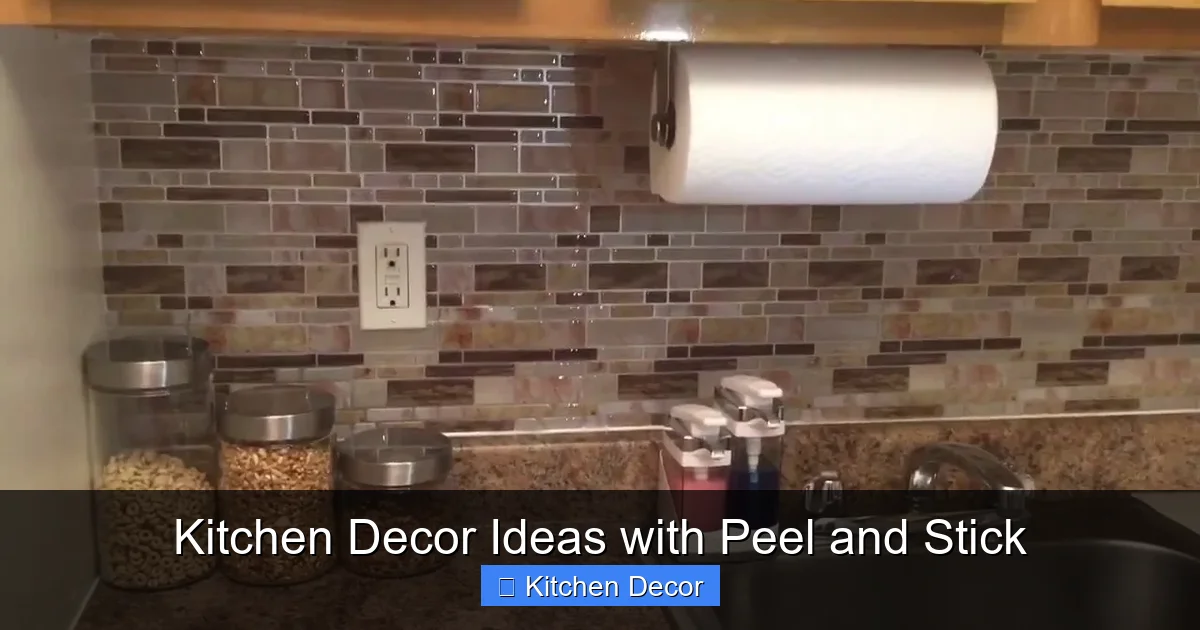
Looking to refresh your kitchen without a major renovation? Peel and stick kitchen decor offers an incredible solution for transforming your space with ease and affordability. From stunning backsplashes and updated countertops to revitalized cabinets and floors, these versatile products allow you to achieve a beautiful, personalized look quickly and without permanent commitment. Embrace the power of DIY and give your kitchen a stylish upgrade with endless design possibilities.
Kitchen Decor Ideas with Peel and Stick
Welcome to the ultimate guide for transforming your kitchen with the magic of peel and stick products! Do you dream of a kitchen refresh but dread the thought of costly renovations, messy projects, or long-term commitments? You’re in the right place. Peel and stick kitchen decor has revolutionized home design. It offers an incredibly accessible, affordable, and versatile way to update your space.
In this comprehensive how-to guide, we’ll dive deep into the world of peel and stick. We will show you exactly how to use these innovative materials to give your kitchen a stunning makeover. You’ll learn the benefits, the essential tools, and step-by-step instructions for various applications. From dazzling backsplashes to stylish countertops and fresh cabinet fronts, you’ll discover endless possibilities. Get ready to unleash your inner designer and create the kitchen of your dreams, one peel and stick project at a time!
Key Takeaways
- Versatile Transformation: Peel and stick products can update backsplashes, countertops, cabinets, floors, and walls, offering a complete kitchen decor overhaul.
- Budget-Friendly Renovation: Achieve a high-end, custom look for your kitchen without the high cost or need for professional installation.
- Easy Application & Removal: Designed for DIY enthusiasts, peel and stick items are simple to apply and remove without damaging surfaces, making them perfect for renters or temporary changes.
- Wide Range of Styles: Explore endless designs, textures, and patterns, from classic subway tiles to modern geometric prints, to perfectly match any kitchen aesthetic.
- Durable & Low Maintenance: Many peel and stick options are water-resistant, heat-resistant, and easy to clean, making them ideal for the demands of a busy kitchen environment.
- DIY Empowerment: Gain confidence in transforming your space yourself, customizing every detail of your kitchen decor with just a few simple tools.
Why Choose Peel and Stick for Your Kitchen Decor?
Peel and stick products are more than just a trend; they’re a smart solution for modern living. Here’s why they are perfect for kitchen decor:
Affordability
Traditional renovations can be incredibly expensive. Peel and stick options offer a budget-friendly alternative. You can achieve a high-end look without the high price tag of materials and labor. This makes stylish kitchen decor accessible to everyone.
Ease of Installation
No special skills or heavy tools are needed! Most peel and stick items are designed for DIY application. This means you can transform your kitchen yourself, saving even more money and gaining a huge sense of accomplishment.
Removability and Rent-Friendly
One of the biggest advantages of peel and stick kitchen decor is its temporary nature. It can be removed cleanly without damaging the underlying surface. This is perfect for renters who want to personalize their space without violating their lease. It’s also great for homeowners who like to change their decor frequently.
Versatility in Design
The market for peel and stick products is vast. You can find everything from realistic tile designs and wood grains to vibrant patterns and solid colors. Whatever your kitchen’s style, there’s a peel and stick option to match it.
Durability
Modern peel and stick materials are surprisingly robust. Many are made from vinyl, PVC, or composite materials. They are designed to withstand the humidity, heat, and spills common in kitchens. This ensures your beautiful new decor lasts.
Essential Tools and Materials for Peel and Stick Projects
Before you start transforming your kitchen, gather these basic tools. Having them on hand will make your project smoother and more professional.
- Measuring Tape: For accurate measurements.
- Utility Knife or Craft Knife: Essential for precise cuts. Always use a fresh, sharp blade.
- Cutting Mat: Protects your surfaces when cutting.
- Straight Edge Ruler: For making straight cuts.
- Smoothing Tool (Squeegee or Credit Card): To press out air bubbles and ensure adhesion.
- Cleaner and Cloth: For thoroughly cleaning surfaces before application.
- Pencil: For marking measurements.
- Hair Dryer (Optional): Useful for making vinyl more pliable, especially around corners, or for helping with adhesion.
- Scissors: For rough cuts or smaller pieces.
Step-by-Step Kitchen Decor Ideas with Peel and Stick
Let’s get into the exciting part: transforming different areas of your kitchen.
1. Dazzling Peel and Stick Backsplashes
A backsplash is often the focal point of a kitchen. A peel and stick backsplash can completely change its look in a few hours.
H3: Choosing Your Backsplash Material
Peel and stick backsplashes come in various forms:
- Peel and Stick Tiles: These often mimic ceramic, glass, or subway tiles. They have a raised, textured feel.
- Peel and Stick Wallpaper: Great for adding patterns or unique textures like faux brick or shiplap.
H3: Installation Guide for Peel and Stick Backsplashes
Step 1: Clean and Prepare the Surface
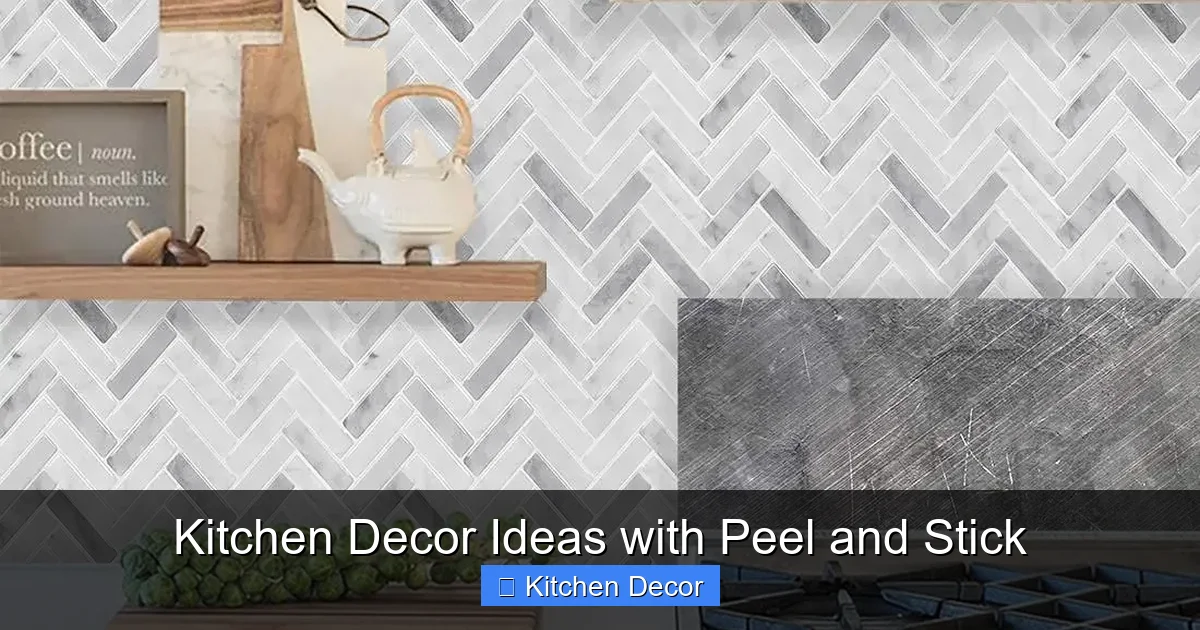
Visual guide about Kitchen Decor Ideas with Peel and Stick
Image source: cdn.shopify.com
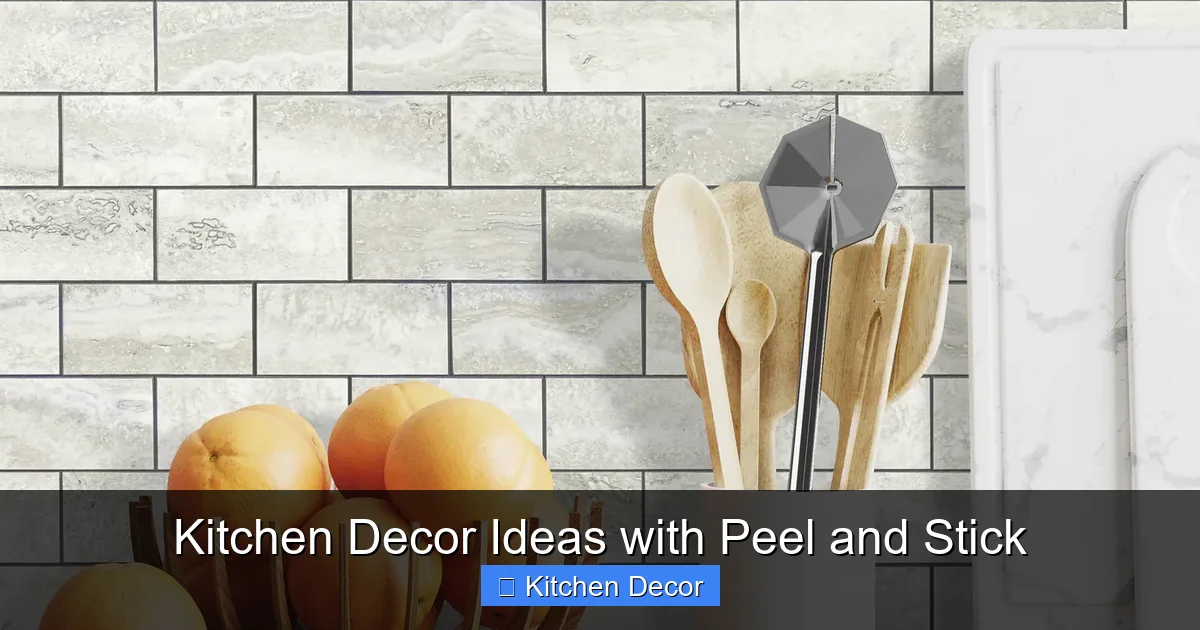
Visual guide about Kitchen Decor Ideas with Peel and Stick
Image source: cdn.shopify.com
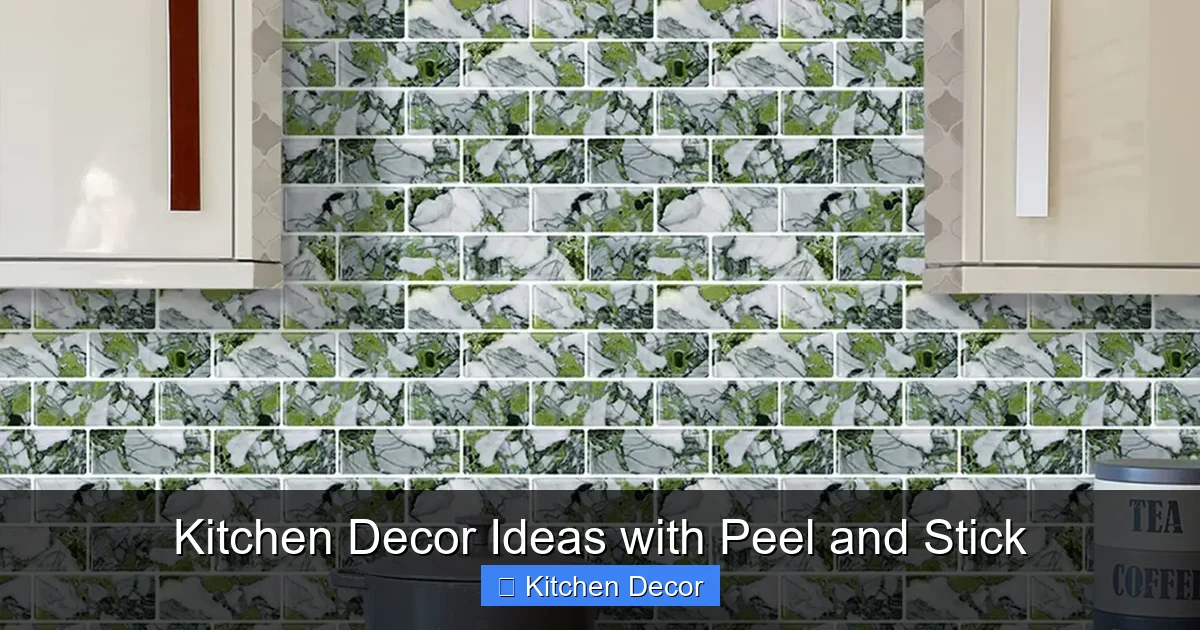
Visual guide about Kitchen Decor Ideas with Peel and Stick
Image source: stickgoo.com
Thoroughly clean your existing backsplash or wall surface. Use a degreaser or all-purpose cleaner to remove any grease, grime, or dust. A clean, dry, smooth surface is crucial for good adhesion. Let it dry completely.
Step 2: Measure and Plan Your Layout
Measure the area you want to cover. It’s wise to start in an inconspicuous corner or from the center and work your way out. For tile patterns, plan how the tiles will align to ensure a cohesive look. You might dry-lay some tiles without peeling the backing to visualize the pattern.
Step 3: Cut Your Peel and Stick Material
Measure carefully and mark your cuts. Use a utility knife and a straight edge for crisp, clean lines. If using tile sheets, you may need to cut around outlets. For wallpaper, cut strips slightly longer than needed.
Step 4: Apply the Backsplash
Peel a small section of the backing from the top edge. Align the peel and stick material perfectly with your starting point. Slowly peel away more of the backing as you firmly press the material onto the wall. Use your smoothing tool to press out any air bubbles, working from the center outwards. Overlap tile sheets slightly if recommended by the manufacturer, or butt wallpaper strips cleanly against each other.
Step 5: Trim and Finish
Once all pieces are applied, use your utility knife to carefully trim any excess material along edges, corners, and around outlets. Take your time to get a clean finish. For a more polished look, you can add a thin bead of paintable caulk along the top and bottom edges, if desired.
2. Transform Your Countertops with Peel and Stick
Give your countertops a fresh, new look without the expense of replacement. Peel and stick countertop films offer realistic stone, wood, or solid color finishes.
H3: Choosing Your Countertop Film
Look for thick, durable vinyl films specifically designed for countertops. They are often heat-resistant and water-resistant. Faux granite, marble, or butcher block are popular choices.
H3: Installation Guide for Peel and Stick Countertops
Step 1: Deep Clean and Dry
This is perhaps the most critical step. Your countertops must be immaculately clean, dry, and free of any debris, crumbs, or grease. Use a strong degreaser. Any imperfections will show through the film. Fill any deep gouges or cracks in your existing countertop with filler and sand smooth.
Step 2: Measure and Cut with Extra
Measure your countertop length and width. Add an extra 2-3 inches to each side to allow for wrapping edges and trimming. Cut your peel and stick film to these dimensions. If your countertop is very long, you might need to use multiple sheets. Plan where the seams will be – ideally in a less visible area.
Step 3: Apply the Film Carefully
Start at one end of the countertop. Peel back about 6-12 inches of the paper backing. Align the film with the edge of your countertop, allowing the extra to hang over. Slowly press the film down, working from the center to the edges with your smoothing tool. As you go, gradually peel away more of the backing paper. Take your time to avoid bubbles. If a bubble appears, gently lift the film and reapply, or use a pin to prick it and smooth it out.
Step 4: Handle Edges and Corners
For edges, wrap the excess film underneath the countertop. Use a hair dryer to gently heat the film around curves and corners. This makes it more pliable. Press firmly to ensure it adheres well. Trim any excess with your utility knife for a clean finish.
Step 5: Seamless Seams (If Applicable)
If you have a seam, overlap the second piece over the first by about half an inch. Use a straight edge and utility knife to cut through both layers simultaneously. Remove the cut strips and smooth down the perfectly matched seam.
3. Cabinet Facelifts Made Easy with Peel and Stick
Dated cabinets can drag down the whole kitchen. Peel and stick cabinet films or wallpaper can give them a fresh, modern, or classic look.
H3: Choosing Your Cabinet Film
Consider solid colors for a sleek look, wood grain for a natural feel, or textured patterns for added interest. Ensure the film is durable and easy to clean.
H3: Installation Guide for Peel and Stick Cabinets
Step 1: Remove Hardware and Clean
Remove all cabinet doors, drawer fronts, and hardware (handles, knobs, hinges). This step is essential for a professional finish. Clean all surfaces thoroughly with a degreaser and allow them to dry completely.
Step 2: Measure and Cut Precisely
Measure each cabinet door and drawer front individually. Cut your peel and stick film slightly larger than the surface you are covering, leaving a 1/2 inch to 1 inch overhang on all sides. This excess will be trimmed later.
Step 3: Apply to Cabinet Doors and Drawers
Working on a clean, flat surface, peel a small section of the backing from one edge of the film. Align the film with one edge of the cabinet door or drawer. Press down firmly and slowly peel away the rest of the backing paper, smoothing with your squeegee as you go. Work from the center outwards to push out any air bubbles.
Step 4: Trim Excess and Reattach Hardware
Once the film is applied, carefully trim the excess around the edges with your utility knife for a clean, factory-like finish. Use the knife to cut out holes for the hardware. Reattach hinges, knobs, and handles. Rehang the doors and reinsert drawers.
4. Floor Freshen-Up with Peel and Stick Tiles
Yes, you can even update your kitchen floor with peel and stick! Peel and stick vinyl tiles or planks are a game-changer for budget-friendly flooring.
H3: Choosing Your Peel and Stick Flooring
Look for heavy-duty vinyl planks or tiles designed for flooring. These are thicker and more durable than wall-grade options. Ensure they are water-resistant and suitable for high-traffic areas.
H3: Installation Guide for Peel and Stick Flooring
Step 1: Prepare the Subfloor
The subfloor must be clean, dry, level, and smooth. Remove any existing flooring if it’s uneven. Sweep, vacuum, and mop thoroughly. Fill any cracks or holes. A perfectly prepped subfloor is key to a long-lasting peel and stick floor.
Step 2: Plan Your Layout
Find the center of your room. You can snap chalk lines to create a grid. This helps ensure your tiles or planks are laid straight and evenly. Dry-lay a few pieces without peeling the backing to visualize your pattern and minimize waste.
Step 3: Begin Laying the Flooring
Start from the center of the room or along the longest wall. Peel the backing from your first tile or plank. Align it carefully with your chalk line or starting point. Press down firmly. Use a roller or heavy object to ensure good adhesion across the entire surface. Continue laying, working outward. For planks, stagger the end joints for a natural look.
Step 4: Cut and Fit Around Obstacles
When you reach walls or obstacles, measure the gap carefully. Mark your peel and stick tile or plank and cut it with a utility knife. You may need to create templates for irregular shapes around door frames or cabinets.
Step 5: Finish and Roll
Once all tiles or planks are laid, use a heavy floor roller (you can often rent these) to press down firmly over the entire floor. This ensures maximum adhesion and helps prevent edges from lifting.
5. Accent Walls and Shelving Liners with Peel and Stick
Beyond the big projects, peel and stick is perfect for smaller, impactful kitchen decor details.
H3: Accent Walls
Create a feature wall in your kitchen or dining nook with bold patterned peel and stick wallpaper. It’s an easy way to introduce color, texture, and personality.
H3: Shelving and Drawer Liners
Line the inside of open shelves, pantry shelves, or kitchen drawers. This adds a pop of color, protects surfaces, and makes cleaning easier. Measure precisely and use a smoothing tool to prevent bubbles.
Choosing the Right Peel and Stick Product
With so many options, how do you pick the best one for your kitchen decor project?
- Consider Material: For high-moisture areas like backsplashes, look for water-resistant vinyl or PVC. For countertops, opt for thicker, more durable films.
- Heat Resistance: Especially for backsplashes behind stoves, ensure the product can withstand moderate heat.
- Durability: For high-traffic areas like floors, choose commercial-grade vinyl.
- Style Match: Select patterns and colors that complement your existing kitchen decor and personal aesthetic.
- Texture: Some products have a subtle texture that adds realism, such as faux wood grain or stone.
Maintenance and Care for Your Peel and Stick Decor
Proper care will extend the life and beauty of your peel and stick kitchen decor.
- Gentle Cleaning: Use a soft cloth, warm water, and mild dish soap. Avoid harsh chemicals, abrasive scrubbers, or excessive scrubbing, which can damage the surface or lift edges.
- Wipe Spills Immediately: Especially for backsplashes and countertops, wipe up spills quickly to prevent staining or liquid from seeping underneath.
- Avoid Direct Heat: While some products are heat-resistant, it’s always best to use trivets for hot pots and pans on peel and stick countertops to prevent damage.
- Check Edges: Periodically check edges and seams for any lifting. If you spot a small lift, gently press it back down or use a dab of contact cement designed for vinyl, if needed.
Troubleshooting Common Peel and Stick Issues
Even with careful application, you might encounter a few minor hiccups. Here’s how to handle them:
Bubbles
If you see small air bubbles after application, use a pin or needle to gently prick the center of the bubble. Then, use your smoothing tool to press the air out towards the hole. For larger bubbles, you might need to carefully lift a section of the film and reapply it.
Peeling Edges
This often happens if the surface wasn’t perfectly clean or dry, or if the product wasn’t firmly adhered. For minor lifting, try reapplying pressure with a smoothing tool. For persistent peeling, a small amount of strong adhesive (like spray adhesive or vinyl glue) applied very sparingly to the back of the edge can help. Press down firmly until dry.
Misalignment
If you apply a piece crookedly, don’t panic! Most peel and stick products allow for gentle repositioning immediately after initial application. Carefully lift the section, realign, and reapply. Work slowly to avoid stretching the material.
Damage During Removal
While generally safe, sometimes paint can peel during removal, especially if the underlying paint was old or poorly adhered. To minimize this, use a hair dryer to gently warm the peel and stick material before slowly pulling it off at a 45-degree angle. This softens the adhesive, making it easier to remove without pulling up paint.
Conclusion
You now have all the knowledge and inspiration to tackle your kitchen decor projects with peel and stick products! This versatile and user-friendly solution offers incredible opportunities to revitalize your space without breaking the bank or committing to permanent changes.
From a stunning peel and stick backsplash that draws the eye, to elegant countertops and revitalized cabinets, the possibilities are endless. Remember to take your time, prepare your surfaces thoroughly, and use the right tools for a professional finish. Embrace the power of DIY, unleash your creativity, and enjoy the satisfaction of transforming your kitchen into a space you truly love. Happy decorating!