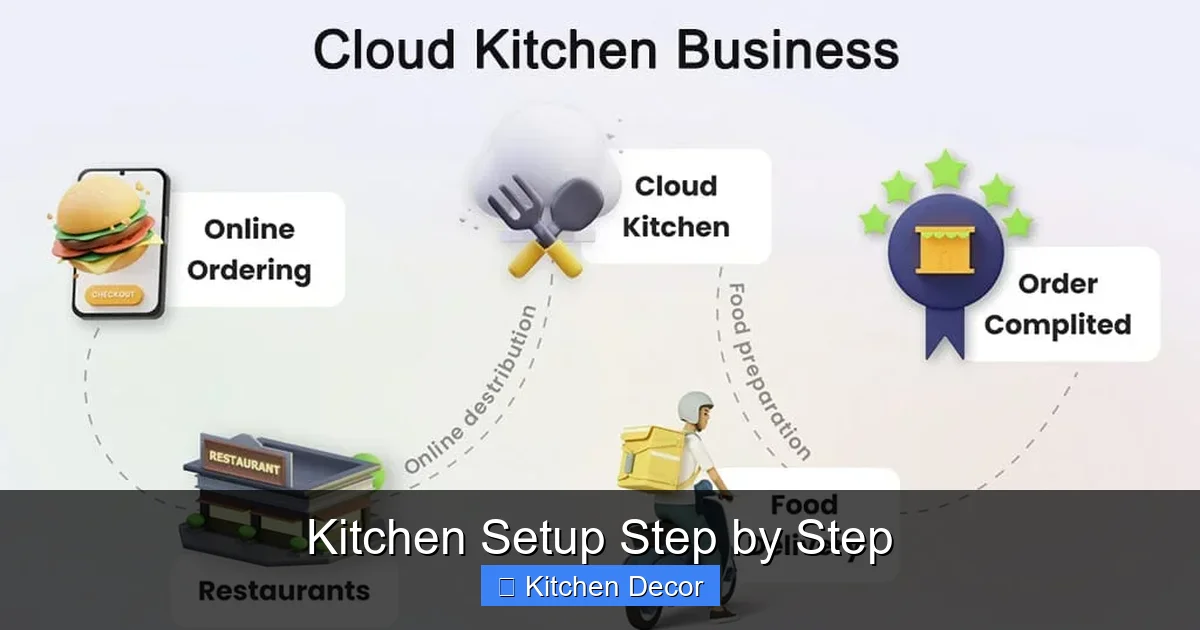
Setting up a kitchen can feel overwhelming, but with a step-by-step approach, you can create a functional and inviting space. This guide walks you through everything from planning your layout and selecting essential appliances to organizing your pantry and adding personal touches. Discover how to optimize your kitchen for efficiency, aesthetics, and enjoyable cooking.
Kitchen Setup Step by Step
Welcome to the ultimate guide to setting up your kitchen! Whether you’re moving into a new home, renovating, or just want to refresh your current space, a well-organized and functional kitchen makes a huge difference. It’s the heart of your home, after all, a place for cooking, gathering, and making memories. This comprehensive guide will walk you through every essential step, from planning your layout to adding those perfect finishing touches. Our goal is to help you create a kitchen that is not only beautiful but also incredibly efficient and a joy to use every single day. Let’s get started on building your dream kitchen setup, step by step!
Key Takeaways
- Plan Your Layout for Efficiency: Before buying anything, visualize your kitchen’s workflow. Group items used together and consider the “kitchen triangle” for optimal movement between the sink, refrigerator, and stove to make cooking more efficient.
- Prioritize Essential Appliances: Start with the core appliances like a refrigerator, stove/oven, and microwave. Assess your cooking habits and budget before investing in specialized gadgets, ensuring you have what you truly need first.
- Maximize Storage with Smart Solutions: Utilize every inch of space effectively. Think beyond basic cabinets; explore drawer organizers, vertical storage, wall shelves, and pantry systems to keep your kitchen tidy and accessible.
- Organize Systematically by Zone: Arrange items based on their function and where they’ll be used. Create zones for cooking, baking, food prep, cleaning, and dining to streamline tasks and reduce clutter.
- Invest in Quality Basics for Cookware & Utensils: Focus on durable, versatile pieces of cookware, cutlery, and essential utensils rather than numerous single-purpose items. This saves space and ensures longevity.
- Personalize and Decorate Thoughtfully: Once functional, add personal touches that reflect your style. Incorporate plants, artwork, or unique decor elements, but ensure they don’t compromise the kitchen’s functionality or cleanliness.
- Maintain and Adapt Over Time: A kitchen setup isn’t static. Regularly declutter, reorganize as your needs change, and keep it clean. This ensures your kitchen remains a joy to use for years to come.
Step 1: Plan Your Kitchen Space and Layout
Before you buy a single item, it’s crucial to understand your kitchen’s layout and how you intend to use the space. Planning is the foundation of an efficient kitchen setup.
1.1 Assess Your Space and Needs
Take a good look at your kitchen. What are its dimensions? Where are the windows, doors, and outlets? Consider who uses the kitchen and how often. Are you a gourmet chef, a busy parent, or someone who mostly heats up leftovers? Your lifestyle dictates your kitchen’s needs.
- Draw a Floor Plan: Even a rough sketch helps. Mark where major appliances like the refrigerator, stove, and sink are or will be. This visual aid is invaluable for planning.
- Consider the “Kitchen Triangle”: This classic design principle suggests that the refrigerator, sink, and stove should form a triangle, allowing for easy movement between these three primary workstations. Aim for a triangle where the sum of the sides is between 13 and 26 feet for optimal efficiency.
- Identify Workflow Zones: Think about zones: a food prep zone near the sink, a cooking zone around the stove, a baking zone with counter space, and a cleaning zone. Grouping related items makes tasks smoother.
1.2 Define Your Budget
Setting up a kitchen can range from very affordable to a significant investment. Establish a realistic budget early on. This will guide your choices for appliances, cabinetry, and decor.
- Prioritize Big-Ticket Items: Allocate more funds for essential appliances and durable cabinetry. These are long-term investments.
- Look for Value: You don’t always need the most expensive items. Research brands, read reviews, and consider sales or second-hand options for quality pieces within your budget.
- Factor in Installation Costs: Remember to include potential costs for appliance delivery and installation, especially for gas lines or plumbing.
Step 2: Select Essential Appliances
Visual guide about Kitchen Setup Step by Step
Image source: i.ytimg.com
Appliances are the workhorses of your kitchen. Start with the absolute necessities and add specialized items later if your budget and space allow.
2.1 Core Appliances
These are the non-negotiables for almost any kitchen setup.
- Refrigerator: Choose a size and style that fits your family’s needs and kitchen space. Consider features like ice makers, water dispensers, or French doors.
- Stove/Oven: Decide between gas or electric, and a range (stove and oven combined) or separate units. Think about how much baking and cooking you do.
- Microwave: An essential for quick reheating and defrosting. Options include over-the-range (saves counter space), countertop, or built-in models.
- Dishwasher: A huge time-saver. Consider noise levels and energy efficiency. If space is limited, compact or countertop models exist.
2.2 Supplementary Appliances (Based on Need)
Once the core is covered, think about what else would genuinely enhance your cooking experience.
- Toaster/Toaster Oven: Great for breakfast items or small baking tasks.
- Coffee Maker/Tea Kettle: A daily essential for many.
- Blender/Food Processor: Useful for smoothies, sauces, and meal prep.
- Stand Mixer: A baker’s best friend.
- Tip: Resist the urge to buy every gadget. Start with the basics and only add appliances you know you’ll use frequently to avoid clutter.
Step 3: Establish Your Storage Solutions

Visual guide about Kitchen Setup Step by Step
Image source: i.ytimg.com
Good storage is key to a tidy and functional kitchen setup. Clutter makes cooking stressful, so let’s get organized!
3.1 Optimize Cabinets and Drawers
Make the most of the space you have.
- Utilize Vertical Space: Use cabinet risers, stackable shelves, or pot lid organizers to make items more accessible and maximize vertical storage.
- Drawer Dividers: Essential for keeping utensils, cutlery, and kitchen gadgets neat and easy to find.
- Pull-Out Shelves/Drawers: Install these in lower cabinets for easier access to pots, pans, and heavier items, preventing you from having to dig around.
- Corner Solutions: Lazy Susans or specialized corner pull-outs can turn awkward corner cabinets into highly functional storage.
- Tip: Store heavier items in lower cabinets and drawers, and lighter, less frequently used items in upper cabinets.
3.2 Consider Pantry Organization
If you have a dedicated pantry, organize it for maximum visibility and accessibility.
- Clear Containers: Transfer dry goods like pasta, rice, flour, and cereals into clear, airtight containers. This keeps them fresh, prevents pests, and allows you to see what you have at a glance.
- Labels: Label everything! Even if you use clear containers, labels prevent mix-ups and help everyone in the household find things easily.
- Shelving Systems: Adjustable shelves, spice racks, and door organizers can transform a basic pantry into a highly efficient storage space.
- Group Similar Items: Keep all baking supplies together, all snacks together, and so on.
3.3 Explore Wall-Mounted and Open Storage
These options can free up valuable counter and cabinet space.
- Pegboards: Excellent for hanging pots, pans, and utensils, making them easily accessible and displaying them attractively.
- Open Shelving: Perfect for showcasing attractive dishware, cookbooks, or decorative items, while also providing easy access. Just remember to keep them tidy!
- Magnetic Knife Strips: A safer and more hygienic alternative to knife blocks, freeing up counter space.
- Pot Racks: Hanging a pot rack can be a stylish and practical solution for storing heavy cookware, especially in kitchens with high ceilings.
Step 4: Stock Up on Cookware, Dishware & Utensils
Visual guide about Kitchen Setup Step by Step
Image source: usermanual.wiki
This is where your kitchen truly comes to life. Focus on versatility and quality over quantity.
4.1 Cookware Essentials
You don’t need dozens of pots and pans. A few versatile pieces will cover most cooking needs.
- Frying Pans/Skillets: One small (8-inch) and one medium/large (10-12-inch) are usually sufficient. Cast iron or non-stick options are popular.
- Saucepans: A small (1-2 quart) and a medium (3-4 quart) saucepan with lids for sauces, boiling, and simmering.
- Stockpot: A large (6-8 quart) pot for soups, stews, pasta, and boiling.
- Baking Sheet/Roasting Pan: Essential for oven cooking.
- Tip: Invest in durable, quality pieces that will last. Stainless steel, cast iron, and oven-safe non-stick are good choices.
4.2 Dishware and Glassware
Consider your household size and entertaining habits.
- Dinnerware Set: Plates, bowls, and mugs for everyday use. Aim for enough for your family plus a few extra for guests (e.g., a set of 4 or 6).
- Glasses: A set of everyday drinking glasses. You might also want a few wine glasses or special occasion glassware.
- Serving Dishes: A couple of versatile serving bowls and platters are useful for entertaining.
4.3 Utensils and Gadgets
Organize these logically.
- Basic Utensils: Spatulas (silicone, metal), ladles, slotted spoons, tongs, whisks, potato masher, can opener, bottle opener, vegetable peeler.
- Knives: A chef’s knife, paring knife, and serrated bread knife are the core three. A good quality set can make a huge difference in food prep. Keep them sharp!
- Cutting Boards: Have at least two – one for raw meats and one for produce, to prevent cross-contamination.
- Measuring Tools: Measuring cups and spoons (dry and liquid).
- Tip: Store frequently used utensils in a crock near the stove or in the top drawer. Keep less common items in deeper drawers or designated compartments.
Step 5: Organize Your Pantry & Food Storage
A well-stocked and organized pantry saves you money, time, and reduces food waste.
5.1 Categorize and Contain
Group similar items together to make finding things a breeze.
- Baking Supplies: Flour, sugar, baking powder, vanilla extract.
- Canned Goods: Stack them logically, perhaps by type (vegetables, beans, fruits).
- Pasta & Grains: Keep all your rice, pasta, quinoa, etc., in one area.
- Spices & Seasonings: Use a spice rack, drawer insert, or small shelf for easy access. Arrange alphabetically or by frequency of use.
- Snacks: A designated basket or shelf for snacks helps control clutter, especially with kids.
- Tip: Implement a “first-in, first-out” system for perishable pantry items. When you buy new, put it behind the older item.
5.2 Refrigerator and Freezer Organization
These areas need just as much attention as your pantry.
- Designated Shelves: Assign specific shelves or sections for dairy, produce, leftovers, and meats.
- Clear Bins/Containers: Use clear bins to group smaller items like yogurts, condiments, or fruits, making them easier to pull out.
- Label Leftovers: Use food storage containers with dates to keep track of freshness and prevent food waste.
- Freezer Inventory: Keep a simple list of what’s in your freezer, especially for large items or things that get buried.
Step 6: Set Up Cleaning and Safety Supplies
A functional kitchen isn’t just about cooking; it’s also about maintaining cleanliness and ensuring safety.
6.1 Cleaning Supplies
Keep cleaning products accessible but safely stored.
- Under the Sink: This is a classic spot for dish soap, sponges, dishwasher detergent, and all-purpose cleaner. Use a caddy or a small shelf to keep items tidy and contained.
- Trash & Recycling: Choose bins that fit your space and needs. Consider pull-out bins for a streamlined look.
- Dish Drying Rack: Select one that fits your counter space and matches your aesthetic.
- Safety Tip: If you have children or pets, ensure all cleaning chemicals are stored in child-proofed cabinets or high up out of reach.
6.2 Safety Essentials
Every kitchen needs basic safety measures.
- Fire Extinguisher: Keep a small, kitchen-specific fire extinguisher easily accessible, but not directly next to the stove.
- First-Aid Kit: A small kit with bandages, antiseptic wipes, and burn cream is a must-have for minor kitchen mishaps.
- Smoke Detector/Carbon Monoxide Detector: Ensure these are properly installed and maintained according to local regulations.
- Oven Mitts/Pot Holders: Keep these near the stove and oven for easy access when handling hot items.
Step 7: Add Personal Touches and Decor
Now that your kitchen is functional, it’s time to infuse it with your personality!
7.1 Decorative Elements
These make your kitchen feel like home.
- Plants: Herbs on the windowsill, a small potted plant, or a hanging planter can bring life and freshness into the space.
- Artwork/Photos: A framed print or a few family photos can add warmth and character.
- Textiles: Dish towels, placemats, and even a small rug can introduce color and texture.
- Cookbooks: Display attractive cookbooks on open shelves or a dedicated holder.
7.2 Lighting
Good lighting is both functional and aesthetic.
- Task Lighting: Under-cabinet lights illuminate countertops for food prep.
- Ambient Lighting: Overhead fixtures provide general illumination.
- Accent Lighting: Pendants over an island or subtle lighting for shelves can create atmosphere.
- Tip: Use dimmer switches to adjust the mood and brightness for different occasions.
Step 8: Maintain and Optimize Your Kitchen Setup
A kitchen setup isn’t a one-time project. It’s an ongoing process of maintenance and adaptation.
8.1 Regular Decluttering
Periodically go through your kitchen and remove items you no longer use, are broken, or have expired. A good rule of thumb: if you haven’t used it in a year, consider donating or discarding it.
8.2 Adapt to Your Habits
As you use your kitchen, you’ll discover what works best for you. Don’t be afraid to rearrange items or zones if you find a more efficient way to do things. Your kitchen should evolve with your lifestyle.
8.3 Keep it Clean
Regular cleaning is vital for both hygiene and maintaining a pleasant cooking environment. Wipe down surfaces daily, clean appliances regularly, and tackle spills immediately. A clean kitchen feels more organized and inviting.
8.4 Troubleshooting Common Kitchen Setup Issues
Even with the best planning, you might encounter challenges.
- Too Little Counter Space: Consider a kitchen island or a movable cart for extra prep area. Wall-mounted shelves or magnetic strips can free up existing counter space.
- Lack of Storage: Look up! Utilize vertical space with stackable organizers, wall shelves, or ceiling-mounted pot racks. If possible, add a narrow rolling cart.
- Disorganized Drawers: Invest in adjustable drawer dividers or custom inserts. Empty the drawer, sort everything, and only put back what you truly need.
- Poor Workflow: Observe how you move when cooking. Are you constantly crossing paths or walking too far? Rearrange key items like spices near the stove or cutting boards near the sink to streamline your movements.
- Expired Food: Implement a “first-in, first-out” system and clear containers. Do a weekly “fridge audit” before grocery shopping to avoid waste.
Conclusion
Congratulations! You’ve navigated through the comprehensive process of setting up a functional, beautiful, and efficient kitchen. Remember, the perfect kitchen setup is one that caters to *your* specific needs and lifestyle. By planning carefully, prioritizing essentials, organizing strategically, and adding personal touches, you’ve created a space that isn’t just for cooking, but for living and enjoying. Keep it clean, declutter regularly, and don’t be afraid to adapt as your needs change. Enjoy your wonderfully organized kitchen – the true heart of your home!