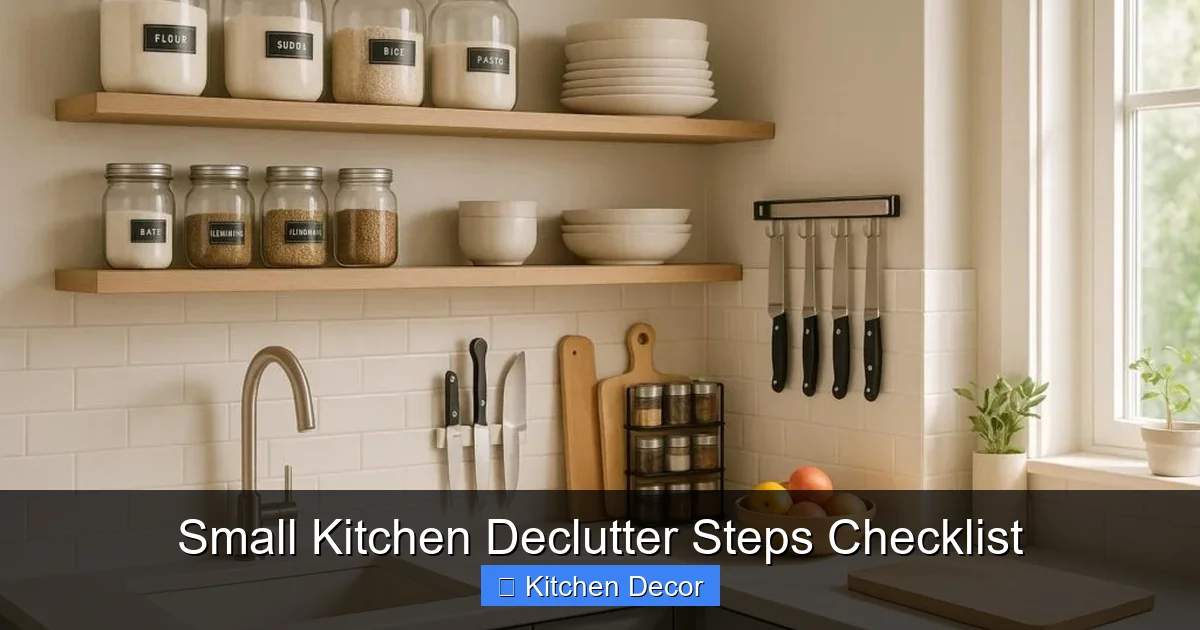
Is your small kitchen feeling cramped and chaotic? This comprehensive guide provides an easy-to-follow, step-by-step checklist to help you completely declutter and organize your compact culinary space. You’ll learn how to purge unused items, implement clever storage solutions, and create efficient zones, transforming your kitchen into a functional and enjoyable area. Say goodbye to clutter and hello to a refreshed, streamlined kitchen with our practical tips and actionable advice.
Small Kitchen Declutter Steps Checklist
Welcome to the ultimate guide for transforming your small kitchen from chaotic to charming! If you’re reading this, chances are you’ve experienced the frustration of overflowing drawers, packed countertops, and the endless search for that one elusive spatula. A small kitchen doesn’t have to mean a cluttered kitchen. In fact, with the right approach, it can be a highly efficient and enjoyable space.
Living with a small kitchen presents unique challenges, but also incredible opportunities for clever organization. The key is to be intentional with every item you keep and every storage solution you implement. This comprehensive “Small Kitchen Declutter Steps Checklist” will walk you through a proven process to reclaim your kitchen, making it more functional, beautiful, and a joy to cook in. We’ll cover everything from the initial purge to smart storage and ongoing maintenance, all in a friendly, conversational tone that makes decluttering feel less like a chore and more like a satisfying accomplishment. Get ready to fall in love with your small kitchen all over again!
Key Takeaways
- Embrace a Ruthless Mindset: When decluttering a small kitchen, be prepared to let go of items you don’t frequently use, duplicates, or anything broken. Small spaces demand a “less is more” philosophy to truly thrive.
- Empty and Assess Everything: The most effective way to start is by completely emptying cabinets, drawers, and countertops. This allows you to see everything you own, making it easier to sort, categorize, and identify clutter hotspots.
- Implement Smart Storage Solutions: Maximize every inch of your small kitchen by utilizing vertical space with shelves, wall racks, and drawer organizers. Think creatively about how to store items efficiently and accessibly.
- Create Functional Zones: Organize your kitchen into specific zones (e.g., a prep zone, a baking zone, a coffee station). This reduces wasted motion, keeps related items together, and enhances the overall efficiency of your small space.
- Prioritize Accessibility and Visibility: Store frequently used items in easy-to-reach locations, and use clear containers or open shelving where appropriate. If you can see it, you’re more likely to use it and less likely to forget about it.
- Establish a Maintenance Routine: Decluttering is not a one-time event. Implement daily tidy-ups, weekly resets, and monthly checks to prevent clutter from creeping back into your small kitchen and keep it consistently organized.
- Personalize Your System: While this guide offers a checklist, remember to adapt the steps to your specific cooking habits, lifestyle, and the unique layout of your small kitchen. What works best for one person might need tweaking for another.
Step 1: Prepare for Your Small Kitchen Declutter Mission
Before you dive headfirst into emptying cabinets, a little preparation goes a long way. This initial step sets the stage for a successful and less overwhelming decluttering experience for your small kitchen.
Gather Your Decluttering Supplies
You’ll need a few essential items to make the process smoother. Think of these as your tools for battle against kitchen clutter:
- Boxes or Bins: Designate a few for “Keep,” “Donate/Sell,” “Relocate,” and “Trash/Recycle.”
- Large Trash Bags: For items beyond salvation.
- Cleaning Supplies: All-purpose cleaner, cloths, sponges, and possibly a vacuum or broom. You’ll want to clean as you go!
- A Timer: Especially if you get overwhelmed easily. Breaking the task into manageable chunks (e.g., 20-30 minutes per cabinet) can make a huge difference.
- Music or a Podcast: To keep your spirits up!
Set Your Mindset and Goals
Approaching your small kitchen declutter with the right attitude is crucial. This isn’t just about cleaning; it’s about optimizing your space for better living.
- Be Ruthless (but Realistic): Small spaces demand tough decisions. If you haven’t used it in a year, it’s broken, or you have duplicates, it’s likely time to let it go. However, be realistic about items you genuinely use for special occasions.
- Visualize the Outcome: Imagine your ideal small kitchen – calm, organized, easy to navigate. This mental picture can motivate you when decisions get tough.
- Commit to Finishing: Decluttering can be messy before it gets better. Don’t start if you can’t commit to seeing it through, at least for a specific area.
- Involve Family (If Applicable): If others share the kitchen, get their buy-in. Their input on what to keep or discard is important for shared items.
Step 2: Empty Everything Out – A Clean Slate for Your Small Kitchen
This might seem daunting, especially in a small kitchen, but it’s the most effective way to truly assess what you own. You can’t organize what you can’t see!
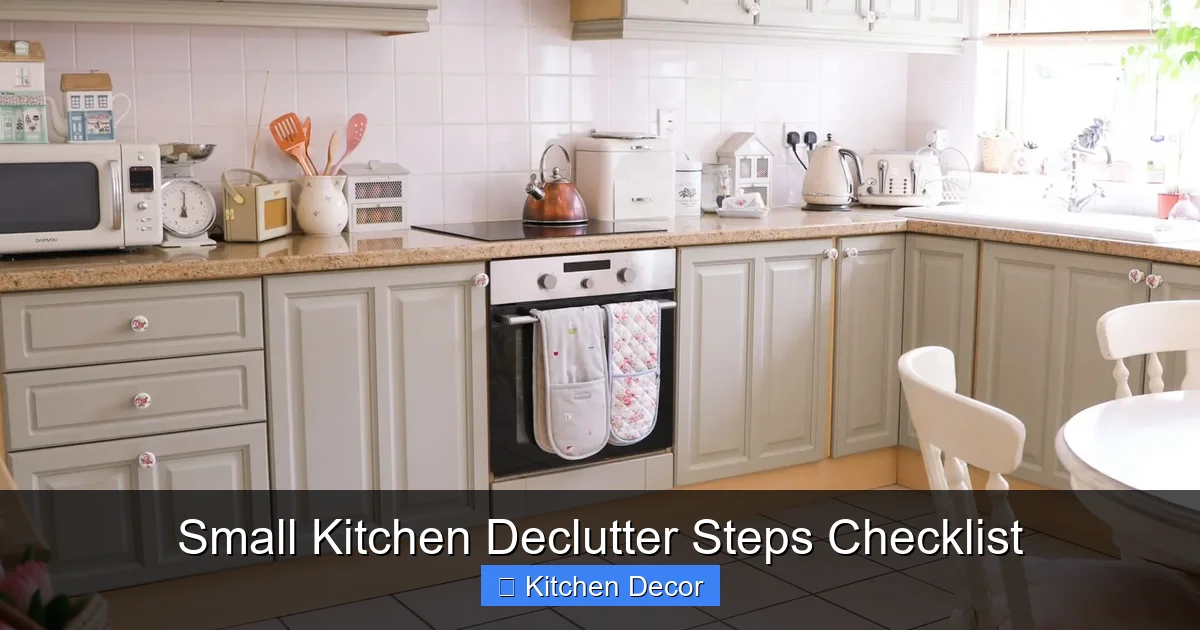
Visual guide about Small Kitchen Declutter Steps Checklist
Image source: i2.wp.com
Start with One Section at a Time
To avoid feeling overwhelmed, pick one area to tackle first. It could be a single cabinet, a drawer, or a section of the pantry. The goal is to completely empty it.
- Upper Cabinets: Take every dish, glass, and food item out.
- Lower Cabinets: Pull out pots, pans, small appliances, and cleaning supplies.
- Drawers: Empty all utensils, gadgets, and miscellaneous items.
- Pantry/Food Storage: Remove all food packages, cans, and jars.
- Countertops: Clear off everything that isn’t bolted down or actively being used for cooking at that moment.
Place Items in a Staging Area
As you empty, place everything on a large surface – your dining table, an island, or even a clean sheet on the floor if space is really tight. This visual inventory is key to a successful small kitchen declutter.
- Don’t just move clutter from one spot to another. The point is to get everything out in the open where you can properly sort it.
- Resist the urge to start putting things back immediately. The sorting process comes next.
Step 3: Sort and Categorize – What Stays in Your Small Kitchen?
With everything laid out, it’s time to make decisions. This is where you apply your ruthless mindset and categorize your items. Use your designated boxes/bins: “Keep,” “Donate/Sell,” “Relocate,” and “Trash/Recycle.”
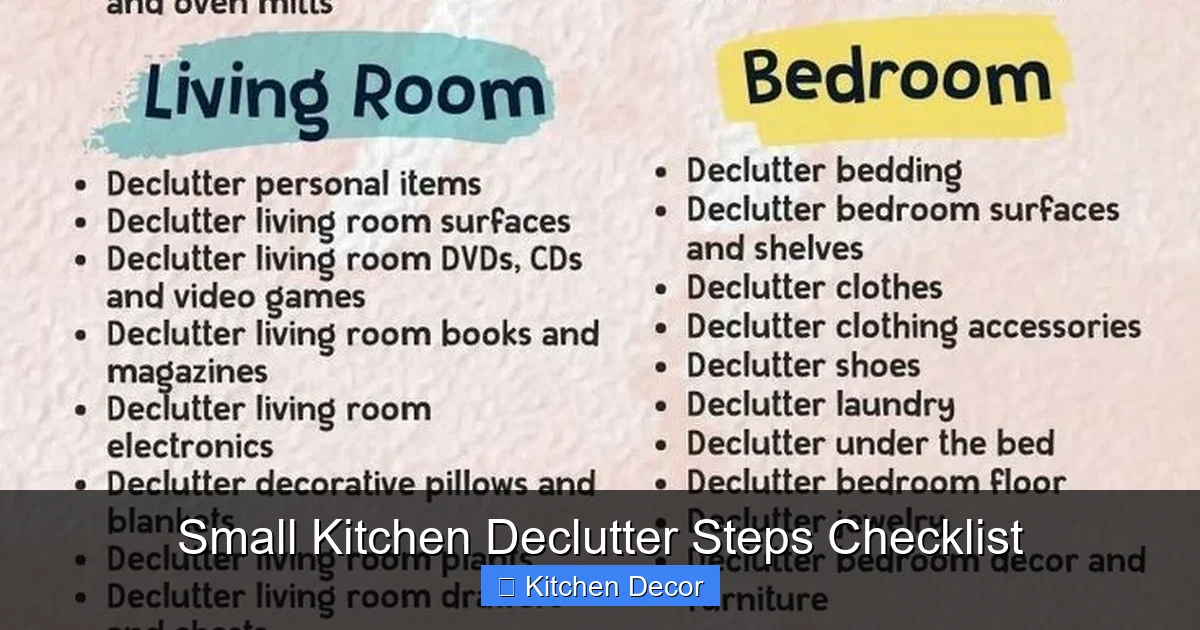
Visual guide about Small Kitchen Declutter Steps Checklist
Image source: i.pinimg.com
Categorize Similar Items Together
Before making “keep or toss” decisions, group like items. This helps you see duplicates and assess true needs.
- Cooking Utensils: Spatulas, ladles, whisks, tongs.
- Dinnerware: Plates, bowls, mugs, glasses.
- Cookware: Pots, pans, baking sheets.
- Food Items: Canned goods, dry pasta, spices, snacks.
- Small Appliances: Toaster, blender, coffee maker.
- Food Storage Containers: All lids with their matching bases!
- Cleaning Supplies: Sprays, sponges, brushes.
Purge Ruthlessly: The “Keep, Donate/Sell, Trash” System
Now, go through each category and make a decision for every single item. Be honest with yourself about its utility in your small kitchen.
- Keep:
- Daily Essentials: Items you use multiple times a week.
- Frequently Used: Items used weekly or a few times a month.
- Special Occasion (Truly Valued): Items used less often but genuinely bring joy or are essential for specific events (e.g., a serving platter for holidays).
- Sentimental (Very Few): Allow yourself one or two truly special, small items, but understand that a small kitchen has limited space for purely decorative or sentimental pieces.
- Donate/Sell:
- Good Condition, but Unused: Gifts you never liked, duplicates you don’t need, items you bought but rarely use.
- Functional but Not Loved: Items that work, but you have better alternatives or simply don’t enjoy using.
- Appliances: Small appliances that still work but you’ve upgraded or no longer use (e.g., a bread maker, a slow cooker you never touch).
- Trash/Recycle:
- Broken or Damaged: Items that are chipped, cracked, or no longer function safely.
- Expired Food: Check expiration dates on everything in your pantry and fridge.
- Mismatched Items: Tupperware without lids, single socks of dish towels.
- Excessive Duplicates: Do you really need five identical spatulas?
- Relocate:
- Items Not Belonging: Mail, keys, tools, or toys that have migrated into the kitchen. Take them to their proper homes immediately.
- Seasonal Items: If you have limited space, consider storing large, seasonal items (like a giant holiday punch bowl) outside the kitchen, perhaps in a garage or storage closet, if they aren’t used for 10+ months a year.
The “One-Year Rule” and the “Love It or Leave It” Principle
These rules are golden for small kitchen decluttering:
- The One-Year Rule: If you haven’t used an item in the past year (and it’s not a seasonal or emergency item), seriously consider letting it go.
- Love It or Leave It: Does this item bring you joy or serve a vital purpose? If neither, it’s likely clutter.
Step 4: Clean Thoroughly – A Fresh Start for Your Small Kitchen
Before you put anything back, take advantage of the empty space. This step is incredibly satisfying and gives your small kitchen a truly fresh feel.
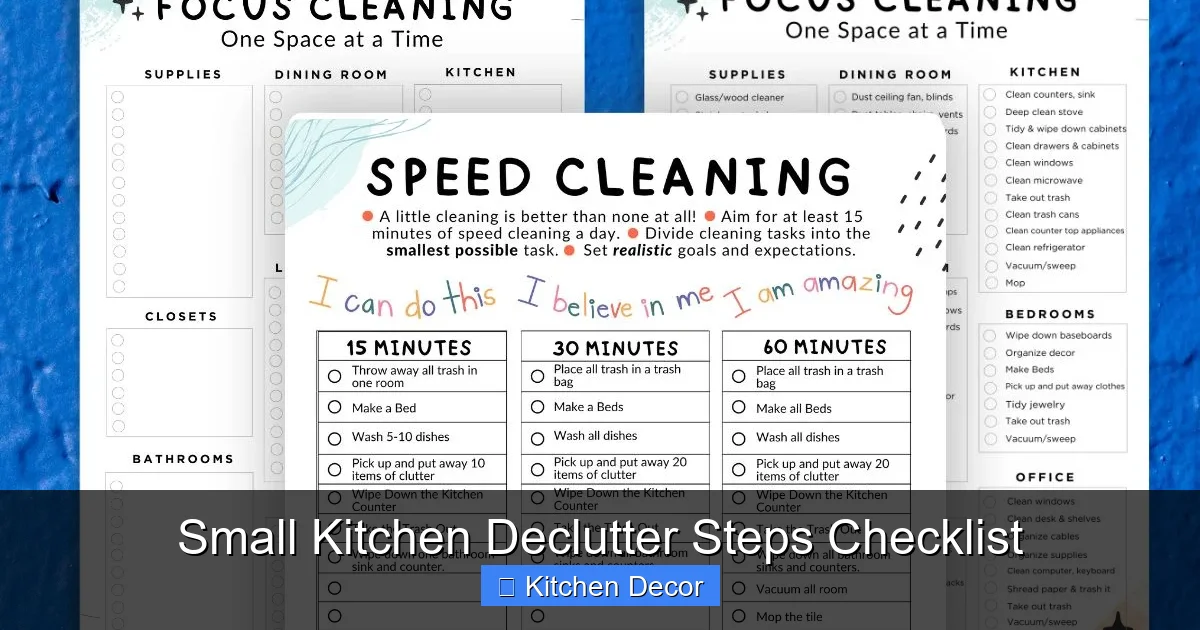
Visual guide about Small Kitchen Declutter Steps Checklist
Image source: honestlyadhd.com
Wipe Down All Surfaces
Clean every nook and cranny. This includes:
- Cabinet Interiors and Exteriors: Wipe away grease, dust, and food splatters.
- Drawer Interiors: Remove crumbs and dust.
- Countertops and Backsplash: Give them a good scrub.
- Sink and Faucet: Polish them until they gleam.
- Appliances: Wipe down the fridge, microwave, oven exterior, and any other small appliances.
Dust and Vacuum/Mop
Don’t forget the less obvious areas.
- Dust High and Low: Dust light fixtures, shelves, and the tops of cabinets.
- Floors: Sweep or vacuum, then mop your kitchen floor until it sparkles.
Step 5: Implement Smart Storage Solutions for Your Small Kitchen
Now that you know exactly what you’re keeping, it’s time to strategize how to put it all back efficiently. Smart storage is critical in a small kitchen.
Utilize Vertical Space
Think up! Walls and cabinet height are your allies.
- Shelves and Racks: Install floating shelves for frequently used items, cookbooks, or decorative pieces. Wall-mounted pot racks save cabinet space.
- Tiered Organizers: Use tiered spice racks, cabinet shelf inserts, and plate dividers to double your storage capacity inside cabinets.
- Over-the-Door Organizers: For pantry doors or cabinet doors, these can hold wraps, foils, cleaning supplies, or even spices.
Maximize Drawer and Cabinet Space
Every inch counts when you’re decluttering a small kitchen.
- Drawer Dividers/Inserts: Crucial for keeping utensils, gadgets, and odds and ends from becoming a messy jumble.
- Lazy Susans (Turntables): Fantastic for corner cabinets or deep pantries to access spices, oils, or condiments without rummaging.
- Pull-Out Bins: For under-sink areas to organize cleaning supplies or for pantry items.
- Stackable Containers: For dry goods, snacks, or food storage. Ensure they are airtight and uniform for a neat look.
Leverage Wall and Appliance Sides
Don’t overlook these often-forgotten areas.
- Magnetic Knife Strips: Frees up drawer space and keeps knives safely and accessibly stored.
- Magnetic Spice Jars: Stick to the side of your fridge or a metal backsplash.
- Hooks: For mugs under cabinets, dishtowels, oven mitts, or even small pots and pans on an open wall.
Step 6: Organize Like a Pro – Placing Items in Your Small Kitchen
Putting things back isn’t just about fitting them in; it’s about making your kitchen flow and function optimally.
Prioritize Accessibility
Store items where they make the most sense for how you cook.
- Frequently Used Items: Keep these at eye level and within easy reach (e.g., daily dishes, cooking utensils you grab constantly, often-used spices).
- Less Frequently Used Items: Store these on higher shelves or in lower cabinets (e.g., holiday serving ware, specialized baking pans).
- Heavy Items: Place these in lower cabinets to avoid strain and for stability (e.g., cast iron pans, large appliances).
Group Like Items Together
This makes finding things much easier and prevents clutter from creeping back.
- Cooking Zone: Pots, pans, and cooking utensils near the stove.
- Baking Zone: Baking sheets, mixing bowls, measuring cups, and baking ingredients together.
- Prep Zone: Cutting boards, knives, and frequently used bowls near your main prep surface.
- Dishware Zone: Plates, bowls, and glasses near the dishwasher or sink.
Use Containers and Bins
Containment is key, especially in a small kitchen. It helps define boundaries and keeps items from spreading.
- Clear Containers: For pantry items (pasta, rice, cereals) so you can easily see what you have and prevent over-buying.
- Bins for Under the Sink: To corral cleaning supplies and prevent bottles from toppling over.
- Small Baskets: For holding snacks, tea bags, or small packets.
Step 7: Create Functional Zones in Your Small Kitchen
Even the smallest kitchen can benefit from designated zones. This minimizes wasted motion and makes cooking more enjoyable.
Designate a Prep Zone
This is where you do most of your chopping and mixing.
- Locate it near your sink and stove if possible. Store cutting boards, knives, and mixing bowls here.
- Keep this area as clear as possible. It’s your prime workspace for decluttering your small kitchen.
Establish a Cooking Zone
Centered around your stove and oven.
- Store pots, pans, lids, and cooking utensils within easy reach. A wall-mounted pot rack or drawer organizers are invaluable here.
- Spices: Keep frequently used spices near the stove for quick access.
Set Up a Cleaning Zone
Usually under the sink.
- Keep all cleaning supplies, sponges, and dish soap here. Use a small caddy or pull-out organizer to keep it tidy.
- Waste and Recycling Bins: Place these conveniently, perhaps in a pull-out cabinet or a slim, accessible corner.
Consider a Pantry/Food Storage Zone
Whether it’s a dedicated closet or just a few cabinets.
- Group like items: Canned goods together, pasta/grains together, snacks together.
- First-In, First-Out (FIFO): Place newer items behind older ones to ensure you use things before they expire.
Optional: Coffee/Tea Station or Baking Zone
If space allows and these are important to your routine.
- Coffee Station: Coffee maker, mugs, coffee, filters, and sweeteners all in one spot on a small tray.
- Baking Zone: Store baking ingredients (flour, sugar), measuring tools, and mixing bowls together.
Step 8: Maintain Your Decluttered Small Kitchen Space
The decluttering process isn’t a one-time event; it’s an ongoing journey. Maintaining your small kitchen will prevent clutter from ever taking over again.
Implement Daily Habits
Small actions everyday prevent big clean-ups later.
- “One-Minute Tidy”: After every meal, wipe down counters, put dishes in the dishwasher, and return items to their home.
- Clean As You Go: While cooking, wash utensils or put ingredients away as you’re done with them.
- Empty the Sink: Don’t let dishes pile up. It’s the fastest way to feel overwhelmed in a small kitchen.
Weekly Reset
Designate a short time each week for a deeper tidy.
- Quick Wipe-Down: Wipe all countertops, the stovetop, and the sink.
- Fridge Check: Toss expired food, wipe up spills.
- Floor Sweep: Give the kitchen floor a quick sweep or vacuum.
- Spot Check: Briefly check cabinets and drawers for anything out of place and quickly put it back.
Monthly & Quarterly Checks
These help prevent long-term clutter creep.
- Pantry Audit: Check expiration dates, straighten items, and make a list of what you need.
- Small Appliance Review: Are you still using that juicer? If not, consider donating it.
- Cleaning Supplies Stocktake: Refill or replace as needed.
- Drawer Deep Dive: Quickly re-organize any drawers that have become messy.
The “One In, One Out” Rule
For every new item you bring into your small kitchen, consider if an old item can leave. This is especially true for gadgets, dishes, or food storage containers.
Troubleshooting Your Small Kitchen Declutter Challenges
Even with the best checklist, you might hit a snag. Here are solutions to common small kitchen declutter dilemmas:
“I Get Overwhelmed Easily!”
- Solution: Micro-Decluttering. Instead of tackling the whole kitchen, commit to just one drawer or one shelf. Set a timer for 15-20 minutes. Stop when the timer goes off, even if you’re not done. You’ll be amazed how much you can achieve in short bursts.
- Start Small, Build Momentum. Pick the easiest, most satisfying area first (e.g., the utensil drawer). The success will motivate you for bigger tasks.
“My Family Members Resist Letting Things Go!”
- Solution: Communicate and Compromise. Explain the benefits of a decluttered small kitchen (easier to find things, more counter space, less stress). For shared items, involve them in the decision-making process.
- Designate “Their” Space. If they insist on keeping certain items, help them find a designated, contained spot for them, even if it’s not ideal. This prevents their clutter from spilling into shared zones.
- Lead by Example. When they see the positive impact of your efforts, they might be more inclined to participate.
“I Don’t Have Enough Storage Space!”
- Solution: Rethink What “Needs” to Be in the Kitchen. Do you have seasonal items or specialty gadgets used only once a year? Can they live in a utility closet, garage, or even a pantry outside the kitchen?
- Embrace Multi-Functional Items. Instead of a single-purpose gadget, opt for tools that can do several jobs.
- Go Vertical and Mobile. Have you fully utilized wall space, magnetic strips, and tiered organizers? Consider a slim rolling cart for extra storage that can be tucked away.
- The “Container Store” Mentality: Think about every vertical inch. Could a basket go on top of another? Could a shelf be added inside a cabinet?
“I Keep Bringing New Clutter In!”
- Solution: The “One In, One Out” Rule (Again!). Seriously, apply this. Buying a new coffee mug? An old one has to go. New gadget? Purge an old one.
- Mindful Shopping. Before buying anything new for your small kitchen, ask yourself: Do I really need this? Where will it live? Do I have something similar already?
- Gift Management. Politely ask friends and family for consumables (food, wine) or experiences rather than physical kitchen items if you’re truly struggling with space.
Conclusion: Enjoy Your Beautifully Organized Small Kitchen!
Congratulations! You’ve navigated the “Small Kitchen Declutter Steps Checklist” and are well on your way to a more organized and functional cooking space. This journey is about more than just tidying up; it’s about reclaiming peace, efficiency, and joy in the heart of your home. Remember, decluttering a small kitchen is an iterative process – it gets easier with practice, and maintenance is key.
By emptying, sorting, purging, cleaning, and strategically organizing, you’ve transformed your small kitchen into a space that works for you, not against you. Enjoy the newfound counter space, the ease of finding what you need, and the overall calm that comes with a well-organized environment. Keep up the great work, and savor every moment in your wonderfully decluttered small kitchen!