
Transform your cooking space by learning what is the best way to organize kitchen cabinets. This guide walks you through a simple, step-by-step process: from decluttering and cleaning to zoning your kitchen and choosing smart storage solutions. Achieve a beautifully functional kitchen where everything has its place, making cooking and entertaining a joy. Say goodbye to clutter and hello to efficiency!
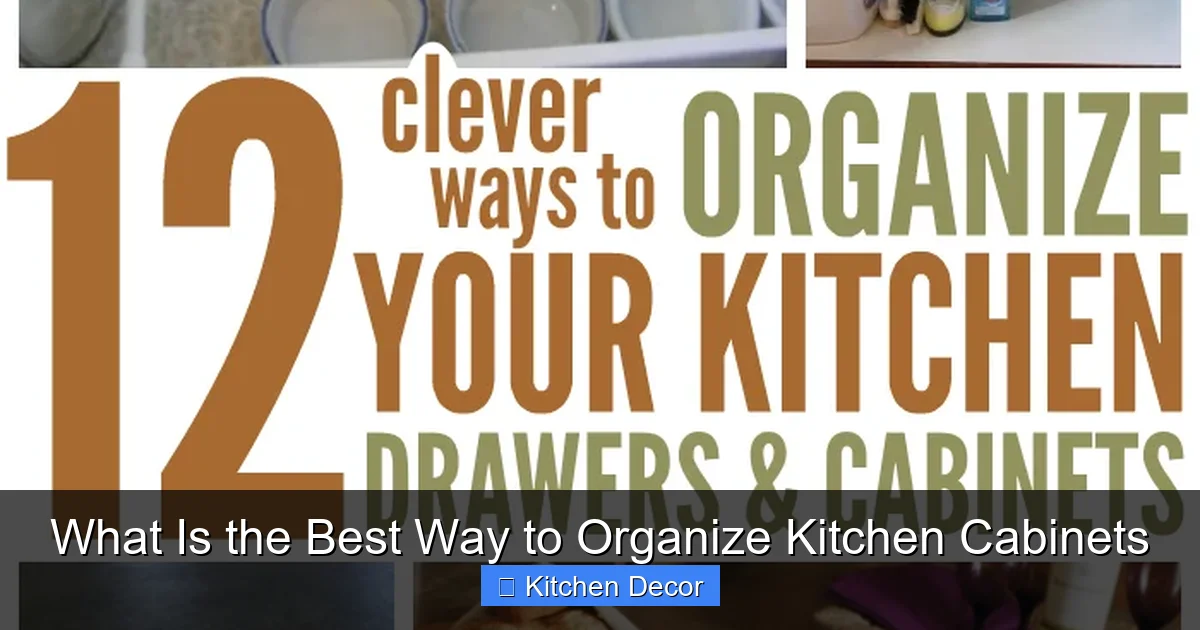
What Is the Best Way to Organize Kitchen Cabinets
Do you ever feel like your kitchen cabinets are a black hole? You open them up, things tumble out, and finding that one spice or mixing bowl feels like a treasure hunt? You’re not alone! A messy kitchen can make cooking a chore and simply walking into the room stressful. But don’t worry, help is here!
Organizing your kitchen cabinets might seem like a huge task, but it doesn’t have to be. With a clear plan and a little effort, you can transform your kitchen into a highly functional, beautiful space. Imagine opening your cabinets and finding exactly what you need, every single time. This guide will show you the best way to organize kitchen cabinets, step-by-step. We’ll cover everything from decluttering to smart storage solutions and how to keep it all tidy. Let’s get started on creating the kitchen of your dreams!
Key Takeaways
- Start with a Clean Slate: The most effective way to organize kitchen cabinets is by completely emptying, decluttering, and thoroughly cleaning each one before putting anything back.
- Zone Your Kitchen: Group items based on their function and proximity to where they’re used. This creates efficient “workstations” for cooking, baking, prep, and cleaning.
- Declutter Ruthlessly: Be honest about what you truly use, need, and love. Get rid of duplicates, expired items, and anything broken or unused for a long time.
- Utilize Smart Storage Solutions: Invest in organizers like pull-out shelves, drawer dividers, risers, and turntables to maximize space and improve accessibility within your cabinets.
- Prioritize Accessibility: Store frequently used items in easy-to-reach locations (front and center, waist-to-eye level), while less-used items can go higher, lower, or in deeper storage.
- Label for Success: Labeling containers, shelves, and even the inside of cabinet doors helps everyone in the household know where things belong, simplifying maintenance.
- Maintain Regularly: Implement simple habits like the “one in, one out” rule and quick weekly tidy-ups to prevent clutter from accumulating again.
Step 1: Prepare for the Purge – Empty Everything Out
The first and most crucial step in learning what is the best way to organize kitchen cabinets is to start with a completely empty slate. You can’t truly organize what you can’t see. This might feel daunting, but it’s essential. This allows you to evaluate every single item you own and clean the cabinet thoroughly.
Gather Your Supplies
Before you even open a cabinet door, get everything you’ll need ready. This helps the process move smoothly and prevents you from stopping mid-task.
- Cleaning Supplies: Rags or sponges, all-purpose cleaner, dish soap, baking soda (for smells).
- Trash Bags: For garbage.
- Donation Box/Bag: For items you no longer need but are still usable.
- Relocation Box/Basket: For items that don’t belong in the kitchen.
- Labels and Markers: For sorting.
- Optional: Camera to take “before” pictures (for motivation!).
Pick a Good Time
Choose a time when you won’t be rushed. Organizing kitchen cabinets can take several hours, or even a full day, depending on the size of your kitchen and how much stuff you have. Block out a chunk of time in your schedule. Put on some music, grab a drink, and make it an enjoyable task!
Empty One Cabinet at a Time (or All, If You’re Brave!)
You have two main options here. You can empty one cabinet or drawer completely, organize it, and then move to the next. This prevents your entire kitchen from becoming a disaster zone. Or, if you’re feeling ambitious and have a large space to work in (like a dining room table or garage), you can empty all your kitchen cabinets at once. This gives you a full overview of everything you own, which can be very powerful for decluttering. Just be prepared for the temporary chaos!
No matter which method you choose, take everything out. Yes, everything. Place items on your countertop, a table, or even on the floor (with a clean sheet or towel down first).
Step 2: Declutter Ruthlessly – The Purge
This is where the magic happens! Once everything is out, you’ll be amazed at how much you’ve accumulated. The key to learning what is the best way to organize kitchen cabinets is to let go of items you don’t need or use. Be honest with yourself.
Visual guide about What Is the Best Way to Organize Kitchen Cabinets
Image source: cdn.onecrazyhouse.com
Sort into Categories
As you go through each item, sort it into one of four piles:
- Keep: Items you use regularly, love, and are in good condition.
- Donate/Sell: Items that are still functional and in good shape but you no longer need. Think about local charities, consignment shops, or online marketplaces.
- Toss: Broken items, expired food, rusty tools, or anything that’s beyond repair or use.
- Relocate: Items that somehow ended up in your kitchen but belong elsewhere (e.g., mail, remote controls, kids’ toys).
Ask the Hard Questions
When deciding what to keep, ask yourself these questions for each item:
- “When was the last time I used this?” (If it’s been over a year, consider letting it go, especially for specialty items.)
- “Do I really need this, or do I have duplicates?” (You probably don’t need three potato peelers.)
- “Is it broken or chipped?” (If so, toss it!)
- “Does it bring me joy or make my life easier?” (If not, why keep it?)
- “Does this item fit my current lifestyle?” (Maybe you used to bake a lot but don’t anymore.)
Don’t fall into the “what if I need it someday?” trap. If it’s easily replaceable and doesn’t serve a current purpose, let it go. Remember, less clutter means more space and less stress.
Check Expiration Dates
This is especially important for food items, spices, and even some cleaning supplies. Toss anything that’s expired. Spices lose their potency over time, so if a jar has been sitting around for years, it’s time to replace it. This quick check helps you organize kitchen cabinets more effectively by getting rid of old, useless items.
Step 3: Clean and Repair – A Fresh Start
Now that your cabinets are empty and decluttered, it’s the perfect time to give them a thorough cleaning. This step often gets overlooked, but it’s essential for a truly organized and hygienic kitchen.

Visual guide about What Is the Best Way to Organize Kitchen Cabinets
Image source: i.ytimg.com
Wipe Down Surfaces
Use your all-purpose cleaner and a damp cloth to wipe down the inside of all your cabinets and drawers. Pay special attention to corners, edges, and shelves where crumbs, dust, or spills might have accumulated. For stubborn grime, a bit of dish soap and warm water can work wonders. Make sure to dry everything completely to prevent moisture buildup.
Tackle Lingering Smells
If your cabinets have a stale odor, a simple solution is baking soda. Place an open box or a small dish of baking soda inside the cabinet for a few days to absorb any lingering smells. You can also wipe down the insides with a solution of white vinegar and water, which is a natural deodorizer. Just make sure to rinse and dry well afterwards.
Make Minor Repairs
While the cabinets are empty, take a moment to check for any loose hinges, wobbly shelves, or peeling shelf liners. Tighten screws, replace worn liners, or make any other small repairs. This ensures your newly organized space is sturdy and functional. A little maintenance now can prevent bigger problems later when you start to organize kitchen cabinets with all your items.
Step 4: Zone Your Kitchen – Logical Grouping
This is where strategic thinking comes in! Zoning your kitchen means grouping items based on their function and where they’ll be used most often. This is a cornerstone of learning what is the best way to organize kitchen cabinets for maximum efficiency.

Visual guide about What Is the Best Way to Organize Kitchen Cabinets
Image source: hallstromhome.com
Define Kitchen Zones
Think about how you use your kitchen. Most kitchens naturally fall into several “zones”:
- Prep Zone: Near your main cutting surface or sink. Store cutting boards, knives, mixing bowls, measuring cups, food processor, and other prep tools here.
- Cooking Zone: Near the stove or oven. This is where pots, pans, lids, cooking utensils (spatulas, ladles), oven mitts, and frequently used spices belong.
- Baking Zone: If you bake often, designate a cabinet for baking sheets, mixing bowls, flour, sugar, extracts, and baking tools. This might be near an oven or a countertop space you use for baking.
- Storage Zone: For food items like pantry staples, canned goods, dry pasta, and extra bulk items. This is often in a pantry cabinet or a large, accessible cabinet.
- Dishware Zone: For everyday plates, bowls, glasses, and mugs. Ideally, this should be close to the dishwasher for easy unloading, and near the dining area for easy serving.
- Cleaning Zone: Under the sink or a nearby utility cabinet. Store dish soap, sponges, cleaning sprays, and trash bags here.
- Specialty Items Zone: For rarely used appliances (like a waffle maker you use once a year) or holiday dishes. These can go in higher or deeper cabinets.
Map Out Your Cabinets
With your zones in mind, visually (or even physically, with sticky notes!) map out which cabinets will hold which items. Consider traffic flow and ease of access. For example, don’t put your everyday plates in a cabinet across the kitchen from the dishwasher if you have one right next to it. This thoughtful approach to placement is key to knowing what is the best way to organize kitchen cabinets efficiently.
Step 5: Choose the Right Storage Solutions – Smart Tools
Once you know what you’re keeping and where it should go, it’s time to think about how to make the most of your cabinet space. Smart storage solutions are game-changers when you organize kitchen cabinets.
Inside Cabinet Organizers
These tools help maximize vertical space and keep items contained.
- Pull-Out Shelves/Drawers: Perfect for lower cabinets, making it easy to access items at the back without kneeling and rummaging.
- Shelf Risers/Expandable Shelves: Create extra layers of storage in tall cabinets, especially for plates, bowls, or canned goods.
- Lazy Susans (Turntables): Excellent for corner cabinets or deep pantries. They allow you to spin items around, so nothing gets lost in the back. Great for spices, oils, or condiments.
- Drawer Dividers: Keep utensils, gadgets, and small items neatly separated in drawers.
- Stackable Containers: Ideal for dry goods like flour, sugar, pasta, and cereals. Choose clear, airtight containers so you can see contents and keep them fresh.
- Pot and Pan Organizers: Racks that store lids or allow you to stack pots and pans vertically, preventing scratching and making them easier to grab.
- Under-Shelf Baskets: Attach to existing shelves to create extra storage space below for wraps, foils, or lightweight items.
Door Organizers
Don’t forget the inside of your cabinet doors!
- Spice Racks: Free up shelf space by mounting narrow spice racks on the inside of a door.
- Magazine Holders (Repurposed): Can be mounted to hold aluminum foil, plastic wrap, or even cutting boards.
- Hooks: Perfect for hanging measuring cups/spoons, dish towels, or oven mitts.
Countertop Organizers (Use Sparingly)
While the goal is to get things off the counter, a few carefully chosen countertop organizers can be helpful for high-use items.
- Knife Block: Keeps knives safe and accessible.
- Utensil Crock: For frequently used cooking utensils next to the stove.
- Fruit Bowl: For fresh produce.
Remember, the goal is to keep your countertops as clear as possible to maintain an uncluttered feel and maximize workspace.
Step 6: Put Everything Back Smartly – The Re-Organization
Now comes the fun part: putting your carefully curated items back into their new, clean homes. This is where all your hard work comes together to truly organize kitchen cabinets.
Group Similar Items
This is crucial for an intuitive kitchen. All baking ingredients go together. All your coffee mugs go together. All your Tupperware goes together. This makes finding things a breeze and helps you remember where to put them back.
Maximize Vertical Space
Use those shelf risers and stackable containers! Don’t just place things on one level if there’s unused space above. For example, if you have tall cabinets, stack plates vertically with plate dividers, or use shelf inserts to create two levels for bowls.
Consider Accessibility – Everyday vs. Seldom Used
- Prime Real Estate: Items you use daily (plates, glasses, coffee mugs, everyday cooking utensils) should be in the most accessible spots. This means waist-to-eye level, at the front of cabinets, and near their point of use.
- Secondary Storage: Items used less often (special occasion platters, holiday cookie cutters, bulk pantry items, small appliances) can go in higher cabinets, deeper shelves, or less convenient locations.
Think about ergonomic factors too. Heavy items should be stored in lower cabinets to avoid lifting strains. This thoughtful placement is a hallmark of the best way to organize kitchen cabinets.
Use Clear Containers
For pantry items, snacks, and even some cooking ingredients, clear containers are invaluable. They allow you to see exactly what you have at a glance, helping you avoid buying duplicates and managing inventory. Make sure they are airtight to keep food fresh.
Label Everything
This might seem like an extra step, but it’s a game-changer, especially for pantry items and opaque containers. Label shelves, the tops of containers, or even the inside of cabinet doors (e.g., “Baking Supplies”). This helps everyone in the household know where things belong, making it easier to maintain your organization. Use a label maker, chalkboard labels, or even simple masking tape and a marker.
Step 7: Maintain Your Organized Cabinets – Keep It Up!
You’ve done the hard work of learning what is the best way to organize kitchen cabinets and getting it all done. Now, how do you keep it that way? Maintenance is key!
The “One In, One Out” Rule
Whenever you buy a new item (especially for things like dishware, gadgets, or storage containers), try to get rid of an old, similar item. This prevents clutter from creeping back in.
Regular Mini-Declutters
You don’t need to do a full overhaul every month. However, a quick five-minute tidy-up once a week can make a huge difference. Put things back where they belong, wipe up any small spills, and quickly check for items that have drifted out of their zone. Consider a quarterly “deep dive” for specific zones.
Put Things Away Immediately
This is probably the simplest and most effective maintenance habit. As soon as you’re done using an item, put it back in its designated spot. Don’t leave it on the counter or in the sink for “later.” This small action prevents big messes from accumulating.
Encourage Family Cooperation
If you live with others, communicate your new system. Show them where everything goes and explain the benefits of an organized kitchen. Labels can be a huge help here. If everyone knows the system, everyone can contribute to keeping it tidy.
Troubleshooting Common Organizing Challenges
Even with the best intentions, you might run into some snags. Here are a few common problems and solutions when you try to organize kitchen cabinets:
“I Don’t Have Enough Space!”
This is a common complaint. The truth is, sometimes you just have too much stuff for the space you have. Go back to Step 2 and declutter even more ruthlessly. Can you store rarely used items in another part of the house (basement, garage, dining room buffet)? Use every inch of vertical space with risers and stackable containers. Consider custom cabinet inserts or adding open shelving if your budget allows. Sometimes, less truly is more.
“It Gets Messy So Quickly!”
If your cabinets revert to chaos quickly, it usually means one of two things: either your system isn’t intuitive enough, or your habits need adjusting. Revisit your zoning – are items really where they’re most logically used? Do things have a clear, easy-to-access home? If not, adjust the system. Also, focus on the “put things away immediately” habit. Consistency is key.
“My Family Doesn’t Cooperate!”
This can be frustrating! Start with clear communication. Explain *why* you’re organizing and how it benefits everyone. Implement the labeling system, which acts as a gentle reminder. Instead of nagging, try to lead by example. If a cabinet gets messy, kindly ask family members to help put things back. Over time, with patience and consistency, habits can change.
Conclusion
Learning what is the best way to organize kitchen cabinets is more than just making things look pretty; it’s about creating a functional, stress-free environment that supports your daily life. By following these steps – from emptying and decluttering to smart zoning and consistent maintenance – you can transform your kitchen into an efficient and enjoyable space.
Imagine the ease of cooking, the joy of knowing where everything is, and the peace of mind that comes with an organized home. It might take some time and effort upfront, but the long-term benefits of a well-organized kitchen are immeasurable. So, roll up your sleeves, pick a cabinet, and start your journey to a more organized kitchen today!