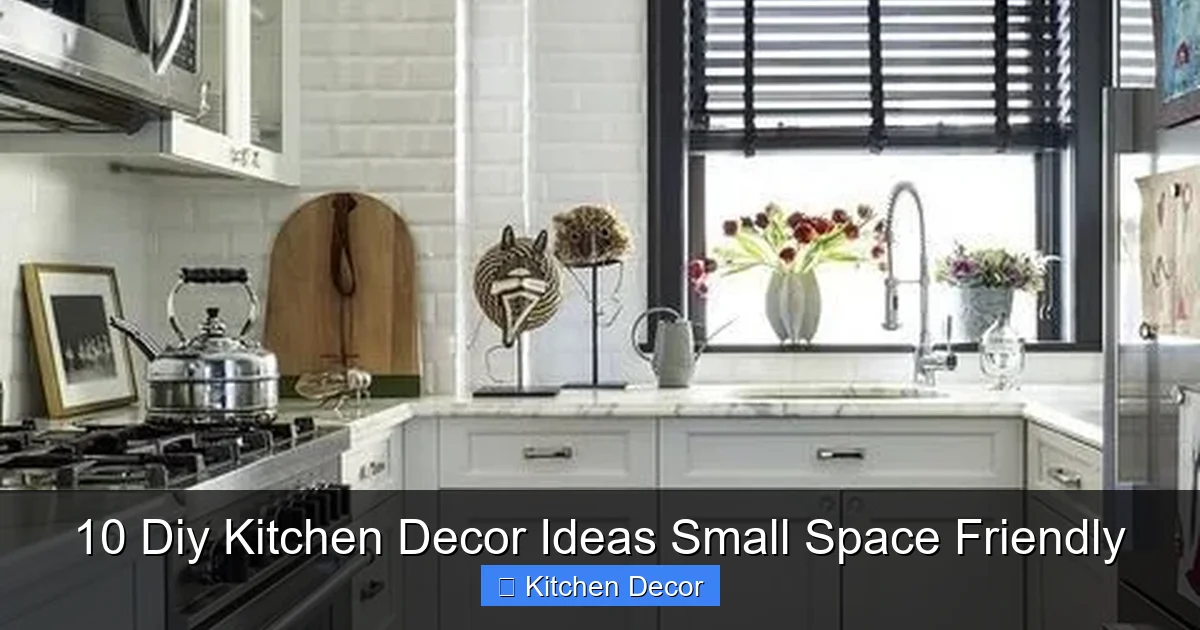
Unlock the potential of your compact cooking space with these 10 brilliant DIY kitchen decor ideas tailored for small kitchens. Learn how to maximize storage, add personalized style, and enhance functionality without breaking the bank or taking up precious room. From vertical organization to smart lighting, these projects will help you create a more inviting and efficient kitchen, proving that even the smallest spaces can have big style.
10 Diy Kitchen Decor Ideas Small Space Friendly
Having a small kitchen doesn’t mean you have to sacrifice style or functionality. In fact, it’s an exciting opportunity to get creative and implement smart, space-saving solutions that truly reflect your personality. While grand remodels can be costly and disruptive, there are countless DIY kitchen decor ideas small space friendly that can transform your compact culinary haven into an organized, beautiful, and highly efficient area. With a little imagination, some basic tools, and a weekend or two, you can achieve a kitchen that feels bigger, brighter, and perfectly tailored to your needs.
This comprehensive guide will walk you through 10 fantastic DIY projects designed specifically for small kitchens. We’ll cover everything from maximizing vertical storage to adding personalized touches that make your space feel uniquely yours. Get ready to roll up your sleeves and discover how easy it is to create a dream kitchen, no matter its size!
Key Takeaways
- Embrace Vertical Space: In small kitchens, walls are your greatest asset. Utilize them for storage and decor to free up valuable counter and cabinet space.
- DIY Saves Money & Personalizes: Tackling projects yourself not only cuts costs but also allows for unique, custom solutions perfectly suited to your specific needs and aesthetic.
- Think Multi-functional: Choose decor and storage items that serve more than one purpose to maximize efficiency in a compact area.
- Lighting is Crucial: Strategic lighting can dramatically brighten and enlarge the feel of a small kitchen, making it more inviting and functional.
- Organization is Decor: Well-organized, neatly displayed items can double as decorative elements, reducing clutter and enhancing visual appeal.
- Don’t Fear Color & Texture: Even in small spaces, thoughtfully applied pops of color, unique textures, or patterns can add personality and depth without overwhelming the room.
- Upcycle & Repurpose: Look for creative ways to reuse items you already have or can find cheaply, transforming them into stylish and practical kitchen additions.
1. Maximize Walls with a DIY Pegboard Organizer
Small kitchens often lack sufficient counter and cabinet space, making vertical solutions a game-changer. A DIY pegboard is a customizable, versatile way to store utensils, small pots, spices, and even decorative items, keeping them off your valuable countertops and within easy reach. It's one of the best small kitchen organization ideas you can implement.
Materials Needed
- Pegboard sheet (available at hardware stores, consider cutting to size)
- Screws and wall anchors appropriate for your wall type
- Drill and drill bits
- Pencil, measuring tape, level
- Pegboard hooks, shelves, and containers (choose based on what you want to store)
- Optional: Paint, primer, sandpaper (if you want to customize the color)
Step-by-Step Guide
- Plan Your Layout: Measure your wall space and decide on the size of your pegboard. Sketch out how you might want to arrange items to visualize the best setup.
- Prepare the Pegboard: If desired, paint your pegboard. Light colors can make a small kitchen feel larger. Apply a primer first, then 1-2 coats of your chosen paint. Let it dry completely.
- Install Mounting Strips/Spacers: Pegboards need a gap behind them for hooks to fit. You can buy pegboard spacers or create your own by attaching small wooden strips to the back edges of the board before mounting.
- Mount the Pegboard: Carefully position the pegboard on the wall using your level to ensure it's straight. Mark the drill points. Pre-drill holes, insert wall anchors, then screw the pegboard securely into place.
- Arrange Your Items: Start adding hooks, shelves, and containers. Organize your utensils, spices, small pans, or even hang a small plant.
Small Space Pro Tip
Consider painting your pegboard the same color as your wall to make it blend in seamlessly. This creates a cohesive look that can make the space feel larger while still offering maximum functionality. This is a smart way to incorporate diy kitchen decor into a compact area.
2. Install Magnetic Knife Strips & Spice Racks
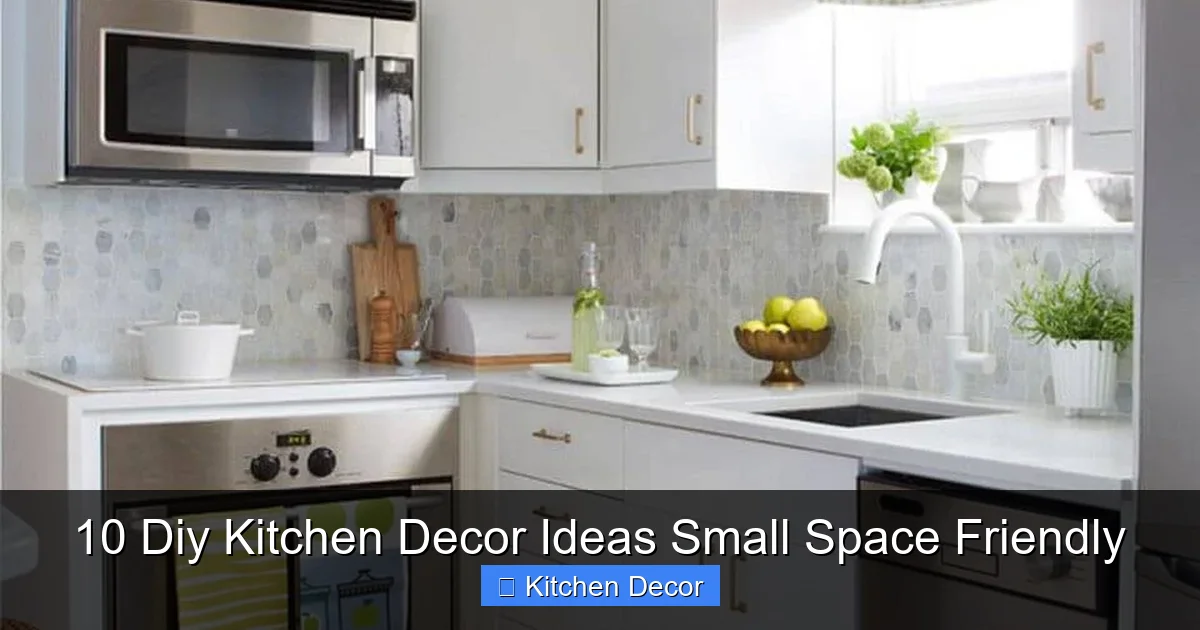
Counter space is a precious commodity in a small kitchen. Magnetic strips offer an elegant and highly functional solution for storing knives, freeing up drawer space and keeping sharp objects safely out of the way. Similarly, magnetic spice racks (either strips or individual magnetic tins) can adhere to walls or the side of your fridge, making spices accessible and orderly.
Visual guide about 10 Diy Kitchen Decor Ideas Small Space Friendly
Image source: homebnc.com
Materials Needed
- Magnetic knife strip (with mounting hardware)
- OR magnetic spice strips/individual magnetic spice tins
- Drill and drill bits
- Pencil, measuring tape, level
- Screwdriver
- Optional: Spices and uniform tins if using individual magnetic tins
Step-by-Step Guide
- Choose Your Spot: Select a convenient, easy-to-reach wall section for the knife strip – away from heavy traffic. For spices, consider the side of your fridge, inside a cabinet door, or a small wall section.
- Mark and Level: Hold the strip against the wall, use a level to ensure it's straight, and mark the screw holes with a pencil.
- Drill and Mount: Pre-drill holes if necessary, then securely screw the magnetic strip into the wall. Ensure it's tightly fastened.
- Organize: For knives, carefully place them on the strip. For spices, either adhere the spice strips or fill your magnetic tins and place them on your chosen surface.
Small Space Pro Tip
When installing a knife strip, ensure it's high enough that children can't reach it but low enough for easy adult access. For spice racks, opt for clear-topped tins or label them clearly so you can quickly identify contents without removing them. These simple small space kitchen hacks make a big difference.
3. Embrace Openness with DIY Floating Shelves
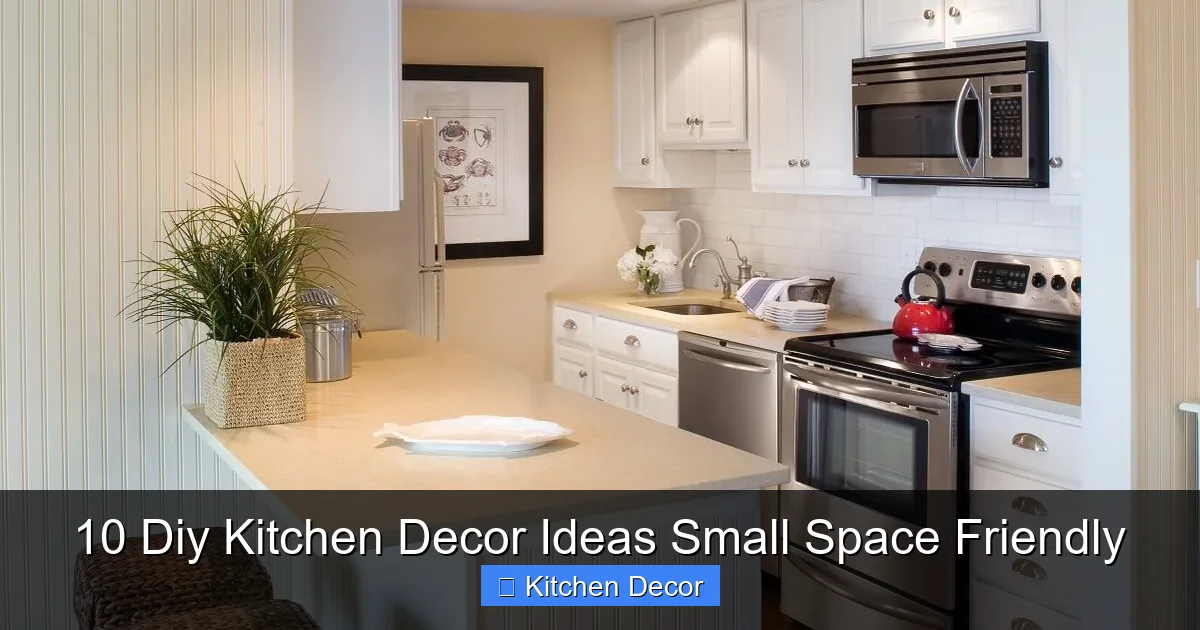
Unlike bulky upper cabinets, floating shelves offer open storage that can make a small kitchen feel less cramped and more airy. They're perfect for displaying attractive dishes, cookbooks, small plants, or decorative items, adding both functionality and style. This is a classic amongst diy kitchen decor ideas small space friendly projects.
Visual guide about 10 Diy Kitchen Decor Ideas Small Space Friendly
Image source: homebnc.com
Materials Needed
- Wooden planks (cut to your desired length and depth)
- Floating shelf brackets (internal or external, depending on your preference)
- Drill and drill bits
- Pencil, measuring tape, level, stud finder
- Screws appropriate for your brackets and wall type
- Sander, wood stain or paint, brush (optional, for finishing)
Step-by-Step Guide
- Measure & Cut: Determine where you want your shelves and how long they need to be. Cut your wooden planks to size.
- Finish the Wood (Optional): Sand your planks smooth. Apply wood stain or paint in your desired color. Allow ample drying time.
- Locate Studs: Use a stud finder to locate wall studs. Anchoring shelves into studs is crucial for stability, especially if you plan to store heavy items.
- Mark & Level: Mark where you want the shelves on the wall. Use a level to ensure your marks are perfectly straight.
- Install Brackets: Follow the instructions for your specific floating shelf brackets. This usually involves drilling pilot holes and screwing the brackets securely into the wall studs.
- Attach Shelves: Slide or secure your finished wooden planks onto the installed brackets.
Small Space Pro Tip
Don't overcrowd floating shelves. Less is more in a small kitchen. Curate a few aesthetically pleasing items to avoid a cluttered look. Group items by color or material for a cohesive display. Consider using lighter-colored wood or painting shelves the same color as your wall to visually expand the space. This is a great example of how small kitchen DIY can add sophistication.
4. Brighten Up with DIY Under-Cabinet LED Lighting
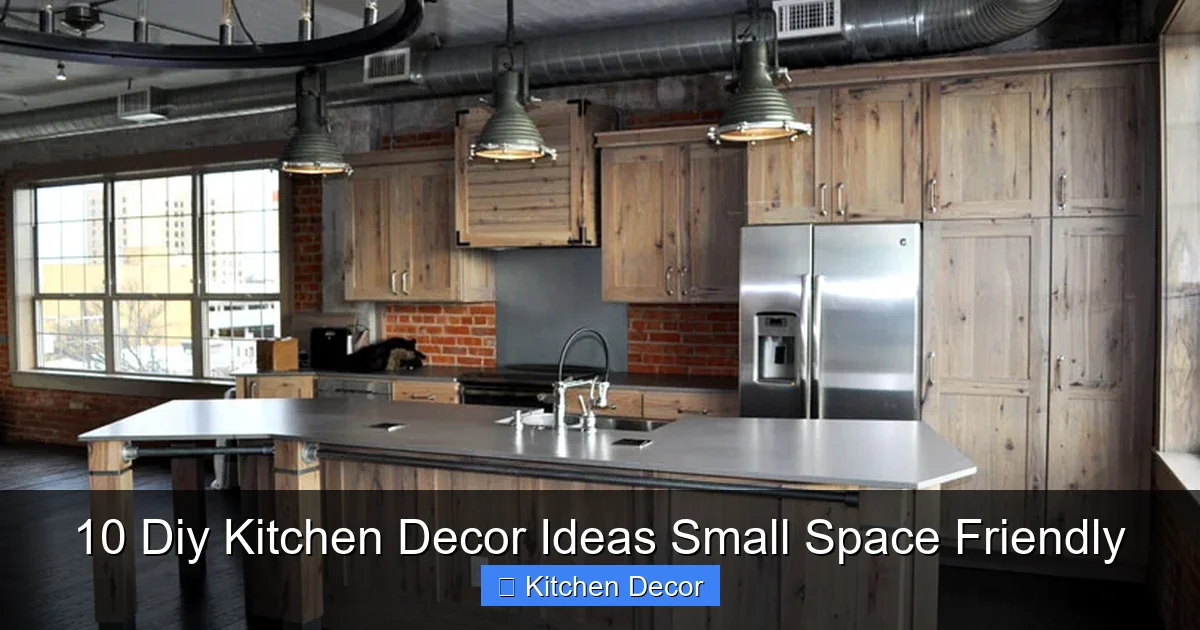
Good lighting is transformative in any space, but especially in a small kitchen. Under-cabinet LED lighting not only brightens your workspace, making food prep safer and more enjoyable, but also adds an inviting ambiance. It helps eliminate shadows and visually expands the area, making it feel less enclosed.
Visual guide about 10 Diy Kitchen Decor Ideas Small Space Friendly
Image source: simplifiedbuilding.com
Materials Needed
- LED strip lights (battery-operated or plug-in, choose warm or cool white)
- Scissors (if strip lights are cuttable)
- Measuring tape
- Cleaning alcohol or surface cleaner
- Optional: Cable clips or zip ties (for plug-in versions)
Step-by-Step Guide
- Clean the Surface: Clean the underside of your cabinets thoroughly with rubbing alcohol or a mild cleaner. This ensures the adhesive on the LED strips will stick properly.
- Measure & Cut: Measure the length of the underside of your cabinets. If your LED strips are cuttable, trim them to fit, following the designated cut marks.
- Peel & Stick: Carefully peel off the adhesive backing from the LED strip. Begin sticking the strip firmly along the front edge of the underside of your cabinets, pressing down as you go.
- Connect & Test: If battery-operated, insert batteries. If plug-in, route the power cord neatly (using cable clips if needed) and plug it into an outlet. Test the lights.
Small Space Pro Tip
For a truly seamless look, hide any visible cords using cord covers or by tucking them behind appliances. Opt for LED strips with a dimmer function if possible, allowing you to adjust the brightness for different moods or tasks. This simple diy kitchen makeover can have a huge impact.
5. Grow a Small-Space Friendly Herb Garden
Adding greenery brings life and freshness to any kitchen. A small DIY herb garden provides fresh ingredients for cooking and doubles as beautiful, aromatic decor. Best of all, it takes up minimal space!
Materials Needed
- Small pots or containers (terra cotta, repurposed cans, or small wall-mounted planters)
- Herb seeds or small herb plants (basil, mint, parsley, chives are good for beginners)
- Potting soil
- Small trowel
- Watering can
- Optional: Labels, small wall-mounted shelf, S-hooks for hanging, chalkboard paint for cans
Step-by-Step Guide
- Choose Your Location: Find a spot that gets plenty of sunlight – a windowsill, a corner of your counter, or a section of wall you can use for vertical planters.
- Prepare Containers: If using repurposed cans, clean them thoroughly and consider painting them with chalkboard paint for easy labeling. Ensure all pots have drainage holes.
- Plant Your Herbs: Fill your pots with potting soil. Plant seeds or small herb plants according to package directions, leaving enough space for growth.
- Arrange & Water: Arrange your pots on your chosen surface. If going vertical, use S-hooks to hang pots from a tension rod or install small wall shelves. Water your herbs lightly.
Small Space Pro Tip
For truly tiny kitchens, consider a vertical herb garden using wall-mounted planters or a tiered stand. This saves precious counter space while still adding that lovely green touch. Choosing fast-growing herbs means you’ll enjoy your harvest (and decor) sooner! This is one of the most charming diy kitchen decor ideas small space friendly.
6. Upcycle Jars and Containers for Organized Storage
Clutter can quickly make a small kitchen feel even smaller. Upcycling old jars and containers is a super budget-friendly and stylish way to organize pantry staples, baking supplies, or even small utensils. Plus, uniform containers create a visually cohesive and calming look.
Materials Needed
- Glass jars (mason jars, old jam jars, pickle jars) or other sturdy containers
- Dish soap and water (for cleaning)
- Labels (DIY paper labels, chalkboard labels, paint pen)
- Optional: Paint, fabric, twine, hot glue gun for decoration
Step-by-Step Guide
- Gather & Clean: Collect various glass jars or containers. Thoroughly clean them inside and out, removing any old labels. Let them dry completely.
- Decorate (Optional): Get creative! You can paint the lids, wrap twine around the necks, or even apply fabric scraps for a charming look.
- Fill with Staples: Fill your clean, dry jars with pantry items like flour, sugar, coffee, tea, pasta, or even snacks. For small items, consider cotton swabs or small office supplies if your kitchen doubles as a mini-office.
- Label Clearly: Label each jar so you know what's inside. This can be done with sticky labels, chalkboard paint and chalk, or a paint pen directly on the glass.
Small Space Pro Tip
Use uniform jars for items that will be displayed on open shelves or counters to create a neat, curated look. For items in cabinets, mismatched jars are fine as long as they are labeled. Stacking identical jars can also save space. This is a brilliant way to incorporate budget kitchen decor into your home.
7. Add Personality with a DIY Accent Wall or Cabinet Refresh
An accent wall or a refresh of your cabinet fronts can dramatically change the feel of a small kitchen without extensive renovation. A bold color, a fun pattern, or even a simple coat of fresh paint can define the space, add visual interest, and reflect your personal style.
Materials Needed
- Painter's tape, drop cloths
- Primer (especially for cabinets or if changing a dark color)
- Paint (latex or cabinet-specific paint for cabinets)
- Paintbrushes, rollers, paint trays
- Optional: Stencils, sponges, or patterned wallpaper for an accent wall
Step-by-Step Guide
- Prepare the Area: Clear the area. If painting cabinets, remove doors and hardware. Clean all surfaces thoroughly. Tape off any edges, trim, or areas you don't want to paint. Lay down drop cloths.
- Prime (If Necessary): Apply a thin, even coat of primer to the wall or cabinet fronts. This helps paint adhere better and provides a smoother finish. Let dry.
- Paint Time: Apply 1-2 thin coats of your chosen paint. For walls, use a roller for large areas and a brush for edges. For cabinets, use a foam roller for a smooth finish and a brush for details. Let each coat dry completely.
- Add Details (Accent Wall): If stenciling or wallpapering an accent wall, follow product instructions for application after the base paint is dry.
- Reassemble & Admire: Once everything is completely dry, remove painter's tape, reattach cabinet hardware and doors, and enjoy your fresh new look!
Small Space Pro Tip
For accent walls in small spaces, choose a single wall (e.g., the wall behind your sink or stove) to create a focal point without overwhelming the room. For cabinets, painting just the upper or lower cabinets in a different color can add depth. Lighter colors on walls and cabinets generally make a small kitchen feel larger, but a dark, rich accent can add dramatic sophistication. This is a very impactful way to introduce diy kitchen decor ideas small space friendly style.
8. Create a DIY Kitchen Command Center
In a small kitchen, organization is key to preventing clutter. A DIY command center provides a designated spot for important notes, grocery lists, mail, and keys, keeping your counters clear and your life organized. It's a fantastic blend of practicality and personalized decor.
Materials Needed
- Small cork board, whiteboard, or a piece of plywood/MDF
- Paint or fabric (for covering the board)
- Command hooks or small wall hooks
- Optional: Chalkboard paint, magnetic paint, small shelf, small basket, clips, pushpins
Step-by-Step Guide
- Choose Your Base: Decide whether you want a cork board, whiteboard, or a DIY painted board.
- Prepare Your Board: If using plywood/MDF, sand it smooth. Paint it with chalkboard paint, magnetic paint, or cover it with a decorative fabric. If using a pre-made board, you might just paint the frame.
- Select Your Spot: Find an empty wall space in your kitchen that's easily accessible but doesn't interfere with workflow.
- Mount the Board: Securely mount your chosen board to the wall using appropriate hardware.
- Add Organizers: Attach command hooks for keys, a small shelf for pens or mail, or a small basket for loose papers. Use clips to hold grocery lists or recipes.
Small Space Pro Tip
Keep your command center compact and focused. Avoid over-cluttering it with too many accessories. A simple chalkboard for notes and a few hooks for keys might be all you need. Use vertical space wisely to stack elements if necessary. This helps keep your small kitchen functional and tidy.
9. Soften the Space with DIY Curtains or a Valance
Hard surfaces like countertops, cabinets, and appliances dominate most kitchens, especially small ones. Adding a simple DIY curtain or valance can introduce softness, texture, and a pop of color or pattern, instantly making the space feel warmer and more inviting. It can also subtly hide less-than-perfect views or open shelving clutter.
Materials Needed
- Fabric of your choice (consider kitchen-appropriate materials like cotton or linen)
- Sewing machine or iron-on hem tape
- Scissors, measuring tape, pins
- Tension rod, small curtain rod, or adhesive hooks with twine/string
- Optional: Fringe, trim, or beads for embellishment
Step-by-Step Guide
- Measure Your Window/Space: Measure the width and height of the window or the area you want to cover. Add extra for hems and gathering (typically 1-2 inches for side hems, 2-4 inches for top and bottom hems).
- Cut Your Fabric: Cut your fabric according to your measurements.
- Hem the Edges: Fold over the raw edges twice (about 0.5-1 inch each time) and press with an iron. Stitch in place with a sewing machine or use iron-on hem tape for a no-sew option.
- Create Rod Pocket (for curtains/valance): For the top hem, fold down a wider section (e.g., 1-2 inches), press, and stitch to create a channel for your rod.
- Install Rod & Hang: Install your tension rod or small curtain rod. Gather your fabric onto the rod and hang it.
Small Space Pro Tip
In a small kitchen, opt for light-colored fabrics or sheer materials to allow natural light to filter through, which helps make the room feel larger. Keep patterns subtle or choose a single, bold pattern to act as an accent. A simple valance across the top of a window can add charm without blocking light or making the window feel heavy. This is a gentle way to introduce diy kitchen decor ideas small space friendly textiles.
10. Curate Decorative Displays with DIY Tiered Trays or Cutting Boards
Decorating a small kitchen is all about thoughtful curation. Instead of adding clutter, create small, intentional decorative displays. A DIY tiered tray or a collection of beautifully displayed cutting boards can add charm, texture, and visual interest without taking up much footprint.
Materials Needed
- For Tiered Tray: 2-3 sturdy plates/trays (different sizes), 2-3 candle holders or small wooden dowels, strong adhesive (e.g., E6000 glue), drill (optional, for dowel attachment).
- For Cutting Boards: 2-3 wooden cutting boards (varying sizes/shapes), wood conditioner/oil.
- Optional: Small decorative items (mini plants, salt & pepper shakers, small jars, seasonal decor)
Step-by-Step Guide
- For DIY Tiered Tray:
- Clean & Prep: Ensure plates/trays are clean and dry.
- Assemble Base: Glue the largest plate to the bottom of the first candle holder/dowel. Let dry.
- Add Next Tier: Glue the next plate on top of the first candle holder/dowel. Then glue the second candle holder/dowel on top of that plate. Repeat for desired tiers. Ensure the adhesive cures completely.
- Decorate: Fill with small, pretty, and functional items like sugar packets, tea bags, a small plant, or seasonal decor.
- For Decorative Cutting Boards:
- Select & Clean: Choose a few attractive wooden cutting boards. Clean them well.
- Condition: Apply wood conditioner or food-grade mineral oil to make them shine and protect the wood.
- Display: Lean them against your backsplash, group them on a small easel, or hang them on the wall using leather straps and hooks. Vary heights and sizes for visual appeal.
Small Space Pro Tip
When curating these displays, stick to a cohesive color palette or theme to avoid a jumbled look. Tiered trays are excellent for organizing small, everyday items like coffee pods or fruit, making them functional decor. Displaying cutting boards on the wall frees up counter space while adding rustic charm. This truly embodies the spirit of diy kitchen decor ideas small space friendly.
Conclusion
Transforming a small kitchen doesn't require a massive budget or a team of professionals. With these 10 creative DIY kitchen decor ideas small space friendly, you can infuse personality, boost functionality, and maximize every inch of your compact culinary area. From clever vertical storage like pegboards and magnetic strips to ambiance-enhancing under-cabinet lighting and charming herb gardens, each project offers a unique way to personalize and optimize your space.
Remember, the goal is to create a kitchen that works for you – a place where you love to cook, gather, and create. Don’t be afraid to experiment, mix and match ideas, and let your personal style shine through. By tackling these DIY projects, you'll not only save money but also gain immense satisfaction from crafting a beautiful, efficient kitchen that feels perfectly tailored to your home. So grab your tools, get inspired, and start building the small kitchen of your dreams!