Transform your space with 10 effortless and free DIY room decor ideas! Discover simple, budget-friendly projects using items you already own to refresh your home decor. Perfect for beginners, these ideas bring style and personality without the cost.
Feeling like your room needs a fresh look, but your wallet is feeling a little light? You’re not alone! Many of us dream of a beautifully decorated space, but the thought of buying new furniture or accessories can be overwhelming and expensive.
It’s frustrating when you want to express your style but feel limited by your budget. But what if I told you that you can create stunning decor using things you already have around your house?
Get ready to unleash your inner decorator! We’re diving into 10 amazing DIY room decor ideas that are totally free and super easy to do.
10 Effortless & Free DIY Room Decor Ideas
Let’s get creative and give your space a fantastic makeover without spending a single dollar. These ideas are all about using what you’ve got in smart, stylish ways.
1. The “Found Object” Art Gallery
Turn everyday items into captivating wall art! This is a fantastic way to add personal flair and color to any room.
What you’ll need: Items like interesting leaves, feathers, pressed flowers, old book pages, maps, fabric scraps, or even cool-shaped twigs. A few picture frames you already own or can find at thrift stores.
How to do it:
1. Gather your “found objects.” Think about textures, colors, and shapes.
2. If using natural items like leaves or flowers, press them to flatten them. You can do this by placing them between sheets of newspaper inside a heavy book for a few days.
3. Arrange your items on a plain background (like cardstock or a piece of painted cardboard) within a frame. Experiment with different layouts – symmetrical, asymmetrical, or a collection of smaller pieces.
4. Frame your creations. Mix and match frame styles for an eclectic look, or keep them uniform for a more cohesive feel.
5. Hang your gallery wall! Mix them with existing photos or artwork for a truly unique display.
This idea is incredibly versatile. You can create a minimalist look with simple lines or a vibrant display with bold colors. For more inspiration on framing techniques, check out DIY framing ideas from HGTV.
2. Upcycled Jar & Bottle Vases

Give old glass jars and bottles a new lease on life as chic vases or decorative containers.
What you’ll need: Empty glass jars (jam jars, pickle jars, mason jars) and bottles (wine bottles, soda bottles). Optional: twine, paint, old fabric scraps, markers.
How to do it:
1. Thoroughly wash and dry your jars and bottles. Remove any labels – soaking in warm, soapy water often helps. For stubborn glue, a little bit of vegetable oil can work wonders.
2. Option A (Natural Look): Wrap twine or string around the neck or body of the jar for a rustic touch. Secure with a dab of glue.
3. Option B (Painted Look): Lightly sand the outside of the glass if you plan to paint. Use acrylic paints or spray paint (if you have some leftover) to add color. You can create solid colors, ombre effects, or even simple patterns with a brush.
4. Option C (Decoupaged Look): Tear up old fabric scraps or magazine pages and use Mod Podge (or a homemade glue mixture of white glue and water) to adhere them to the glass.
5. Once dry, use them as vases for fresh flowers, dried branches, or even as holders for pens, makeup brushes, or kitchen utensils.
These upcycled vases add charm without looking like you tried too hard. They are perfect for displaying single stems or small bouquets. If you’re looking to extend this upcycling mindset into the kitchen, explore our guide on stylish kitchen storage accessories for more creative reuse ideas.
3. Book Page Garland or Bunting
Add a literary touch to your space with a beautiful garland made from old book pages.
What you’ll need: An old book you’re no longer reading (or pages from one), scissors, string or twine, a hole punch.
How to do it:
1. Carefully remove pages from the book.
2. Cut the pages into your desired shapes. Popular choices include simple rectangles, circles, or triangles for bunting. You can also cut out words or phrases that have meaning to you.
3. Punch a hole in the top corner of each shape.
4. Thread the string or twine through the holes, sliding the pages along to space them out.
5. Hang your garland above a window, across a shelf, or along a wall.
This is a simple yet elegant way to bring a touch of vintage charm into your home. The aged paper adds a warm, inviting feel.
4. DIY Fabric Scrap Wall Art
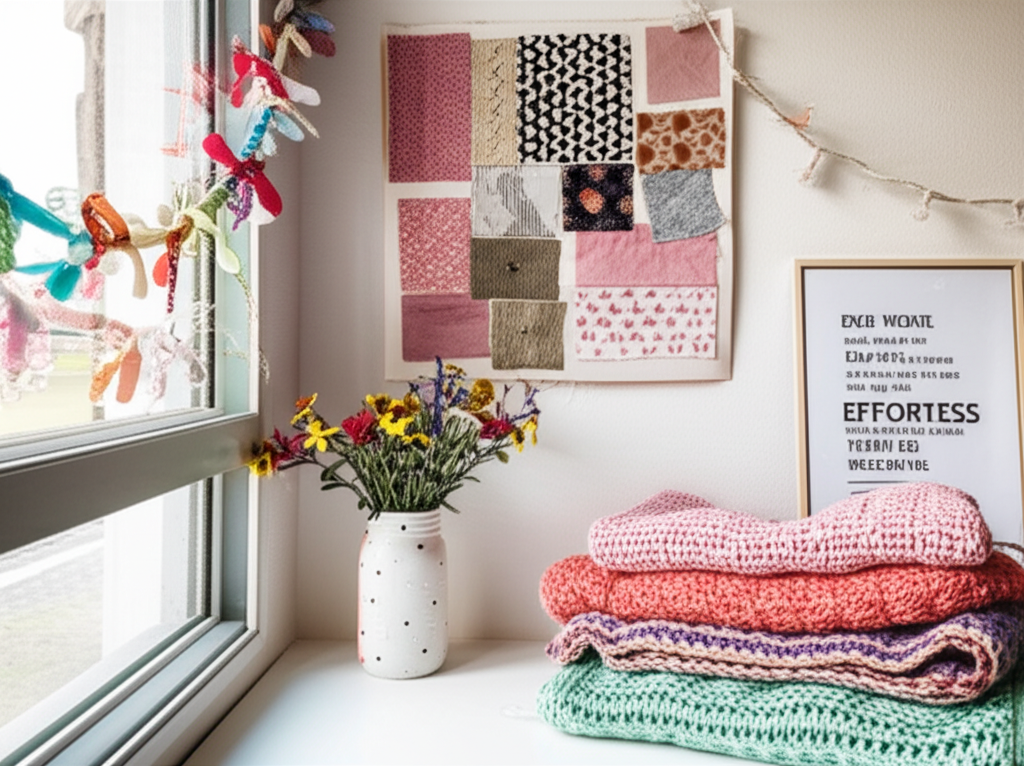
Don’t toss those leftover fabric scraps! They can be transformed into stunning, textured wall art.
What you’ll need: Various fabric scraps in different colors and patterns, a canvas or sturdy cardboard, scissors, fabric glue or a hot glue gun.
How to do it:
1. Cut your fabric scraps into various shapes – squares, strips, circles, or abstract pieces.
2. Arrange the fabric pieces on your canvas or cardboard to create a design. Play with layering, overlapping, and contrasting textures.
3. Once you’re happy with the arrangement, use fabric glue or a hot glue gun to secure each piece.
4. Let it dry completely. You can then hang it as is, or place it in a frame you already have.
This project is fantastic for adding a pop of color and texture to a gallery wall or as a standalone piece. It’s also a great way to use up remnants from other sewing projects. For more wall-focused inspiration, check out our collection of kitchen wall art ideas that prove creativity thrives in every room.
5. Repurposed T-Shirt Pillow Covers
Give old t-shirts a new life as unique and comfortable pillow covers.
What you’ll need: Old t-shirts (graphic tees work great!), scissors, a pillow insert or an existing pillow.
How to do it:
1. Lay a t-shirt flat. Place your pillow insert or existing pillow on top of the t-shirt to gauge the size.
2. Cut around the pillow, leaving about an inch of fabric for seam allowance. You’ll need two pieces for the front and back, or one large piece if you plan to fold it over.
3. No-Sew Method: Lay the two cut fabric pieces right sides together. Use fabric glue or a hot glue gun to seal the edges, leaving an opening large enough to insert the pillow. Turn right-side out and insert the pillow. Finish by gluing the opening shut.
4. Simple Sew Method: Lay the two cut fabric pieces right sides together. Sew around the edges, leaving an opening. Turn right-side out, insert the pillow, and hand-stitch or machine-stitch the opening closed.
5. Alternatively, if you have a t-shirt with a cool graphic, you can cut out just the graphic portion and use it as an applique on a plain pillowcase you already own.
This is a fantastic way to repurpose sentimental t-shirts or add a quirky touch to your bedding or sofa.
6. Natural Element Centerpieces
Bring the beauty of the outdoors in with simple, free centerpieces.
What you’ll need: Branches, pinecones, interesting stones, dried leaves, seasonal fruits (like apples or pomegranates), a tray or bowl you already own.
How to do it:
1. Gather natural elements from your yard or a local park (ensure you’re allowed to collect them).
2. Clean any dirt off your finds.
3. Arrange them artfully in a bowl, on a tray, or directly on your table. You can mix different textures and colors.
4. For a longer-lasting option, arrange pinecones and branches in a vase or jar. You can even spray paint them gold or silver if you have leftover paint.
These arrangements add a touch of organic elegance and are wonderfully seasonal. For tips on foraging safely and sustainably, check out resources from The National Wildlife Federation.
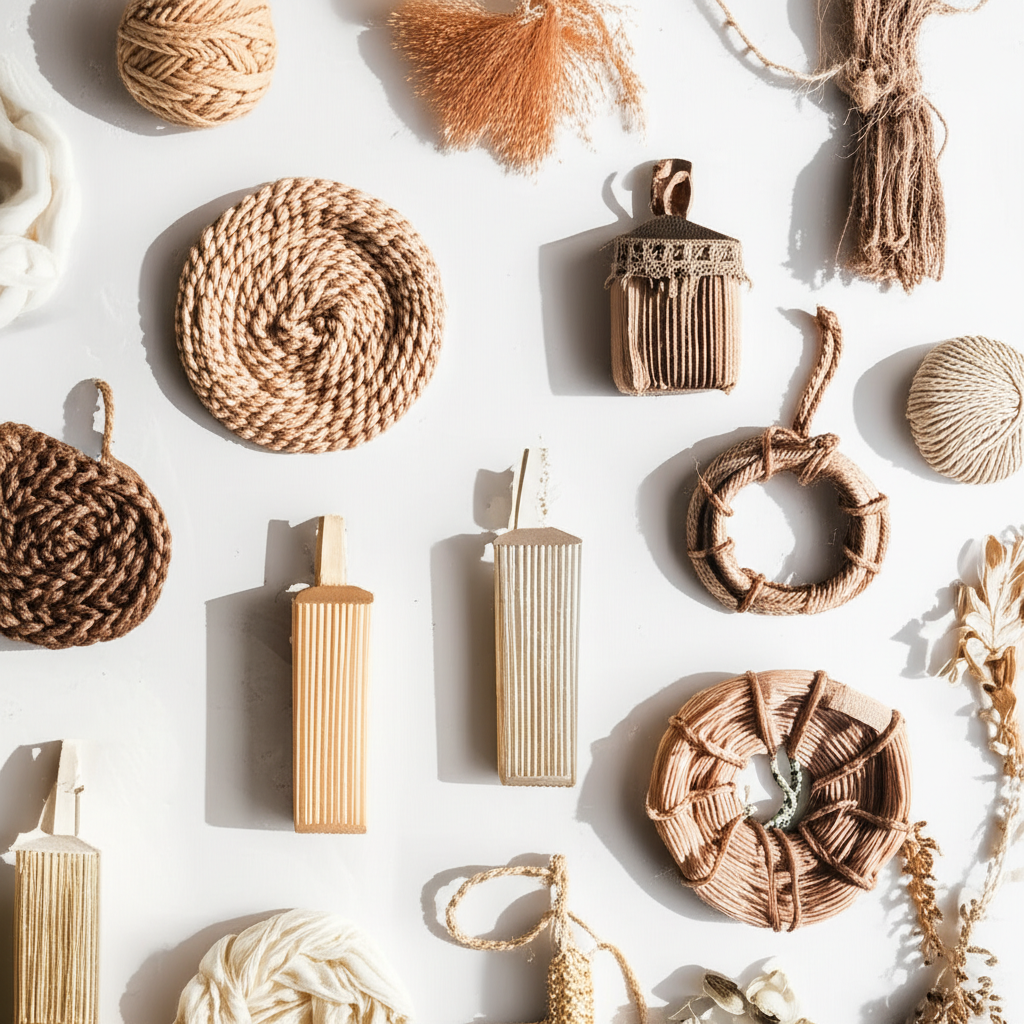
7. DIY Rope-Wrapped Vase or Jar
Give plain glass or plastic containers a textured, bohemian makeover with just rope.
What you’ll need: A glass jar or bottle, natural jute rope or twine, hot glue gun.
How to do it:
1. Start at the bottom of your container. Apply a small dab of hot glue.
2. Press the end of the rope into the glue and hold for a few seconds until secure.
3. Begin wrapping the rope tightly around the container, working your way upwards. Apply a small amount of hot glue every few inches to keep the rope in place.
4. Continue wrapping until you reach the desired height or cover the entire container.
5. Cut the rope and secure the end with a final dab of hot glue.
This technique adds warmth, texture, and a touch of coastal or bohemian flair to any space.
8. Magazine Collage Wall Art
Create a vibrant and personalized piece of art using pages from old magazines.
What you’ll need: Old magazines, scissors, a sturdy backing (cardboard, canvas, or poster board), glue stick or Mod Podge.
How to do it:
1. Flip through your magazines and cut out images, words, or colors that appeal to you. Don’t overthink it – a mix of textures and subjects can look great.
2. Lay out your cut pieces on the backing material. Experiment with different arrangements. You can create abstract patterns, collages of specific themes (like nature or fashion), or even attempt to form a recognizable shape.
3. Once you have a design you like, begin gluing down the pieces. Use a glue stick for smaller pieces or Mod Podge for a more sealed finish. Work from the center outwards to avoid wrinkles.
4. Cover the entire surface, overlapping pieces if desired.
5. Let it dry completely. You can then frame it or hang it as is.
This is a fun, expressive way to add a burst of color and personality to your walls. It’s a great project for teens and adults alike. If you love creative reuse, you’ll also enjoy our tips on eco-friendly kitchen decor, which emphasizes sustainability and smart material choices.
9. Shelf Styling with Existing Items
Elevate your shelves from cluttered to curated by simply rearranging what you already own.
What you’ll need: Your existing shelves, books, decorative objects, plants, picture frames, candles, etc.
How to do it:
1. Declutter: Take everything off your shelves. Dust and clean the shelves and each item.
2. Group Similar Items: Group books by color, size, or even genre. Group decorative objects together.
3. Vary Heights and Textures: Place taller items towards the back or sides. Mix books (standing up and lying flat) with objects of different textures like ceramics, wood, or metal.
4. Incorporate Greenery: Add small potted plants or even cuttings from larger plants to bring life to the shelves.
5. Leave Some Negative Space: Don’t feel the need to fill every inch. Empty space allows your curated items to stand out and gives the shelves a less cluttered feel.
6. The Rule of Three: Often, arranging items in odd numbers (especially groups of three) is visually appealing.
This simple act of thoughtful arrangement can make a huge difference in how your room feels. It’s about editing and highlighting your favorite pieces.
10. DIY Fabric Wall Hanging
Create a statement piece with fabric scraps and a dowel rod or sturdy branch.
What you’ll need: Various fabric scraps (long strips work well), a dowel rod or a nice sturdy branch, string or twine.
How to do it:
1. Cut your fabric scraps into long strips of varying lengths and widths. You can use cotton, linen, or even old t-shirt material.
2. Tie each fabric strip onto the dowel rod or branch using a simple knot (like a larks head knot if you’re feeling fancy, or just a secure double knot). Space them out evenly.
3. Trim the fabric strips to create an uneven, textured hemline if desired.
4. Tie a piece of string or twine to each end of the dowel rod/branch to create a hanger.
5. Hang your fabric wall hanging on a blank wall for a bohemian or minimalist effect.
This adds a soft, textural element to your room and is a wonderful way to use up fabric remnants.
Getting Started: What You Might Need (But Probably Already Have!)
The beauty of these DIY projects is that they rely on items you likely have scattered around your home. Here’s a quick look at common materials:
| Item Category | Potential Items You Might Have | Notes |
| :—————– | :———————————————————– | :—————————————————————— |
| Containers | Glass jars, bottles, old tin cans, cardboard boxes | Clean them thoroughly! |
| Paper Goods | Old books, magazines, newspapers, maps, wrapping paper scraps | Look for interesting fonts, images, or colors. |
| Fabric | Old t-shirts, clothing scraps, pillowcases, fabric remnants | Even dish towels or old curtains can be repurposed. |
| Natural Elements | Twigs, branches, leaves, pinecones, stones, shells | Collect responsibly from safe and accessible areas. |
| Adhesives | Glue sticks, white school glue, hot glue gun (if you own one) | A simple mixture of white glue and water can work for decoupaging. |
| Cutting Tools | Scissors, craft knife (if available) | Sharp scissors make a big difference. |
| Hanging Supplies| String, twine, yarn, old ribbon, wire, picture hanging kits | Check your junk drawer or craft bin! |
| Decorative Extras| Markers, paint, glitter, beads, buttons (if you have them) | Only if you have these on hand and want to add more flair. |
Remember, the goal is to use what you already possess. Don’t feel pressured to buy anything new. The most creative solutions often come from limitations!
Frequently Asked Questions About Free DIY Decor
Here are some common questions beginners have about creating decor without spending money.
Q1: What if I don’t have any old books or magazines?
A1: If you truly have no old books or magazines, you can ask friends or family if they have any they’re willing to part with. Sometimes, local libraries or community centers have discarded materials they offer for free or a very small donation. You could also look for interesting packaging or even junk mail that has visually appealing elements.
Q2: My house is small. Will these DIY ideas work for small spaces?
A2: Absolutely! These ideas are perfect for small spaces because they add personality and style without taking up much room. For example, a small DIY art piece, a unique vase on a shelf, or a well-styled bookshelf can make a big impact without making a small room feel cramped. Focus on wall decor and shelf styling.
Q3: I’m not very crafty. Are these projects really easy?
A3: Yes! These projects are designed for beginners. They focus on simple techniques like cutting, gluing, and arranging. The “found object” art and magazine collage, for instance, are more about your personal taste than complex crafting skills. The goal is creativity, not perfection.
Q4: How can I make sure my DIY decor looks good and not “homemade” in a bad way?
A4: The key is to use items that have inherent visual appeal and to arrange them thoughtfully. For example, using pages from an older book can look sophisticated. When creating art, consider composition and balance. For DIY vases, neat wrapping or a clean paint job makes a difference. Focus on clean lines and pleasing color combinations.
Q5: What if I don’t have a hot glue gun?
A5: Many projects can be done with regular white school glue (like Elmer’s) or a strong craft glue. For fabric projects, fabric glue is ideal. For projects where you’d typically use hot glue for quick bonding (like the rope vase), you can use a strong craft glue, but you’ll need to hold the pieces together longer while they dry. For some projects, even a simple sewing stitch can replace glue.
Q6: Where can I find free materials if I really need something specific?
A6: Beyond asking friends and family, check out online community groups like Buy Nothing Project groups on social media platforms. People often give away craft supplies, old books, fabric scraps, and jars. Also, keep an eye out for items being discarded on the curb during bulk trash pickup days (always be mindful of local regulations).
Conclusion: Your Stylish Space Awaits!
See? Decorating your home doesn’t have to be an expensive endeavor. With a little imagination and a willingness to look at everyday items in new ways, you can create a space that truly reflects your personality and style.
These 10 DIY room decor ideas are just the beginning. The most important ingredient is your creativity! Start with one or two projects that catch your eye, gather the materials you already have, and have fun with the process. You’ll be amazed at the beautiful, unique transformations you can achieve without spending a dime.
So go ahead, rummage through your closets, explore your recycling bin, and step outside to see what natural treasures you can find. Your stylish, budget-friendly sanctuary is just a few free DIY projects away!