Transform your mom bedroom into a stylish, functional sanctuary with 5 creative DIY ideas. Discover budget-friendly makeovers designed for beginners, offering essential tips to create your dream retreat.
Are you dreaming of a bedroom that feels like a true escape? For moms, this space often becomes a quiet haven, a place to recharge and reclaim a little “me time.” But sometimes, life gets busy, and our personal sanctuaries can feel a bit neglected.
You deserve a room that reflects your style and helps you feel your best. It doesn’t require a huge budget or professional designer to create a beautiful and functional space.
This guide is packed with simple, creative DIY ideas perfect for any mom looking to refresh her bedroom. We’ll walk through achievable makeovers that will make your room feel brand new.
Get ready to discover how easy it can be to craft a space that’s uniquely yours. Let’s dive into these inspiring ideas and start your bedroom transformation!
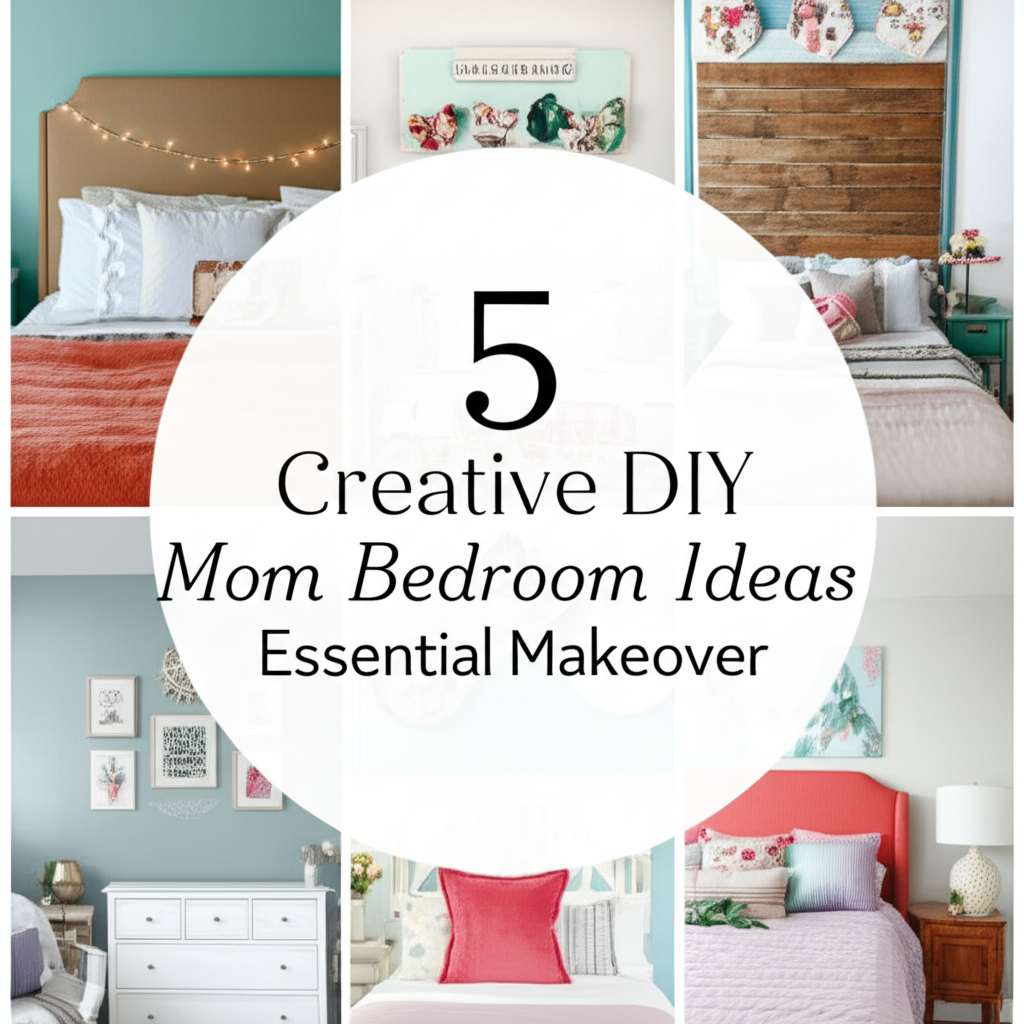
5 Creative DIY Mom Bedroom Ideas: Your Essential Makeover Guide
Your bedroom is more than just a place to sleep; it’s your personal retreat, your sanctuary from the everyday hustle. As a mom, finding that little bit of peace and quiet can be a challenge, and your bedroom is often the first place you can reclaim for yourself. But what if your current bedroom doesn’t quite feel like the serene escape you crave?
Don’t worry! Creating a beautiful, functional, and inspiring mom bedroom doesn’t have to be complicated or expensive. With a few creative DIY ideas and a touch of personalization, you can transform your space into a haven you’ll love. This guide is designed for beginners, offering simple steps and affordable solutions to help you achieve that essential makeover.
1. Create a Cozy Reading Nook
Every mom deserves a dedicated spot for quiet reflection and relaxation. A reading nook is the perfect addition to a mom’s bedroom, offering a comfortable escape to dive into a good book or simply enjoy a moment of peace.
What You’ll Need:
- A comfortable chair (an armchair, a cozy oversized cushion, or even a beanbag)
- A small side table or stool
- A soft rug or throw blanket
- Good lighting (a floor lamp or a wall-mounted reading light)
- Personal decorative touches (plants, framed photos, candles)
DIY Steps:
- Choose Your Spot: Find a quiet corner in your bedroom. This could be near a window for natural light or a less-trafficked area.
- Select Your Seating: Pick a chair that invites you to sink in. If space is tight, a plush floor cushion with plenty of pillows can work wonders.
- Add a Surface: Place a small table or stool next to your seating for your book, a cup of tea, or your phone.
- Layer for Comfort: Drape a soft throw blanket over the chair and place a small rug underneath to define the space and add warmth.
- Brighten It Up: Position a reading lamp so it’s easily accessible. Adjustable floor lamps are great for directing light precisely where you need it.
- Personalize: Add a small plant, a framed photo, or a favorite candle to make the nook truly yours.
This DIY project is incredibly rewarding because it carves out a functional and inviting space specifically for your relaxation. It’s about creating an experience, not just placing furniture.
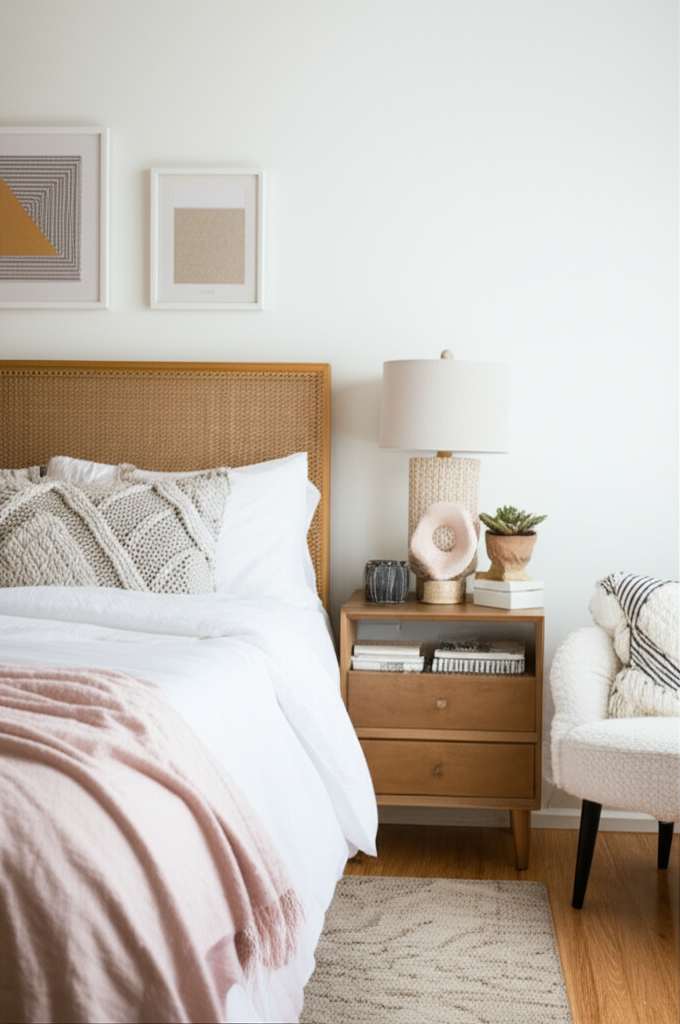
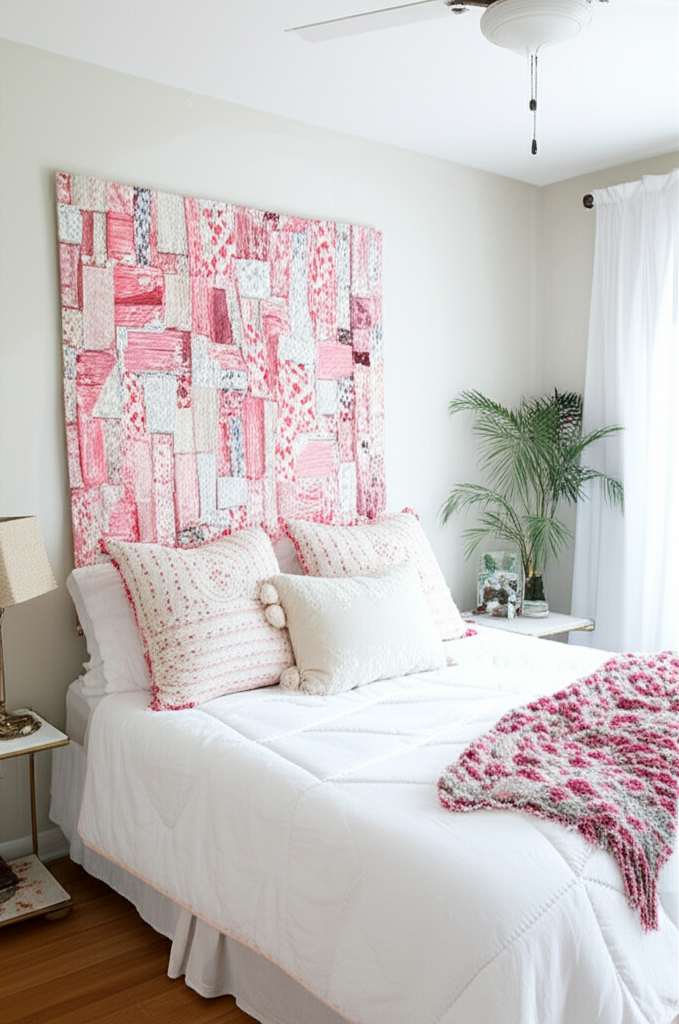
2. DIY Statement Headboard
A headboard can be the focal point of your bedroom, adding personality and style. Creating your own statement headboard is a fantastic DIY project that can dramatically change the look of your room without a huge expense.
Material Options for Your Headboard:
The beauty of DIY is the endless possibilities for materials. Here are a few beginner-friendly options:
- Plywood and Fabric: A classic and versatile choice. You can cover it with upholstery fabric, a stylish wallpaper, or even a painted design.
- Reclaimed Wood: Pallet wood or salvaged planks can create a rustic, charming headboard. Ensure the wood is clean and sanded smooth.
- Upholstered Panels: Create individual padded panels that can be arranged on the wall behind your bed. This offers a softer, more luxurious feel.
- Pegboard: A modern and functional option that allows for customization with hooks and shelves.
Budget-Friendly DIY Headboard Idea: Upholstered Plywood
This is a popular and achievable project for beginners.
Tools & Materials:
- Plywood sheet (cut to your desired headboard size)
- Foam padding (1-2 inches thick)
- Upholstery fabric (choose a pattern or solid color you love)
- Batting (optional, for extra softness)
- Staple gun and staples
- Scissors
- Measuring tape
- Sandpaper (for edges)
- Mounting hardware (e.g., French cleat system, L-brackets)
DIY Steps:
- Cut Plywood: Have your plywood cut to the desired dimensions at a local hardware store, or do it yourself if you have the tools. Sand any rough edges.
- Add Padding: Lay the foam padding on top of the plywood. Cut it to fit the plywood, leaving a little extra to wrap around the edges. You can also add a layer of batting over the foam for extra plushness.
- Wrap with Fabric: Place your fabric right-side down on a clean floor. Center the padded plywood on top. Pull the fabric taut over the edges of the plywood and secure it to the back using a staple gun. Work your way around, pulling the fabric tightly and stapling every few inches.
- Secure Backing (Optional):strong> If you want a cleaner look, you can add a thin piece of cardboard or fabric to the back, stapling it over the raw fabric edges.
- Mount to Wall: Attach mounting hardware to the back of your headboard and your wall. A French cleat system is ideal for securely hanging a headboard. Ensure it’s level and firmly attached.
A DIY headboard can be customized to any size or style, making it a perfect statement piece for your mom bedroom. You can find great inspiration and tutorials on sites like Family Handyman.
3. Maximize Storage with a Vertical Gallery Wall
Clutter is the enemy of a serene bedroom. For moms, having clever storage solutions is key. A vertical gallery wall can serve a dual purpose: showcasing cherished memories and providing functional storage.
What is a Vertical Gallery Wall?
Instead of a traditional art arrangement, a vertical gallery wall integrates shelves, small cabinets, and decorative items arranged in an upward, organized fashion. This draws the eye up, making a room feel larger and more organized.
DIY Elements for Your Gallery Wall:
- Floating Shelves: These are sleek and minimalist, perfect for displaying books, small plants, or decorative objects.
- Picture Ledges: Ideal for leaning framed photos or small pieces of art. They can also hold small decorative items.
- Pegboards with Baskets/Shelves: A versatile option for holding everything from jewelry and accessories to small toiletries.
- Shadow Boxes: Great for displaying keepsakes, jewelry, or small collections.
- Wall-Mounted Baskets: Woven baskets add texture and are perfect for storing items like scarves, magazines, or even extra blankets.
Planning Your Vertical Gallery Wall:
- Assess Your Needs: What do you need to store? Books, photos, jewelry, skincare products? This will guide your choice of elements.
- Measure Your Space: Decide on the wall and measure the vertical space you have available.
- Sketch a Layout: Before you drill any holes, sketch out your design on paper. Play with the arrangement of shelves, boxes, and decorative items.
- Gather Your Items: Collect the items you want to display and store. Ensure they fit the scale of your wall and shelves.
- Install Hardware: Follow the manufacturer’s instructions for installing shelves and other mounting hardware. Use a level to ensure everything is straight.
- Arrange and Style: Place your items on the shelves and in the boxes. Mix personal photos with decorative objects for a balanced look.
This approach transforms blank wall space into a functional and beautiful display. It’s a brilliant way to keep essentials organized and accessible while adding a personal touch to your mom bedroom. For more storage inspiration, check out our guide on stylish storage accessories that can be adapted for bedroom use.
4. Create a Soothing Ambiance with Lighting
Lighting is one of the most powerful tools in interior design, and it’s crucial for creating a relaxing atmosphere in a mom’s bedroom. Harsh overhead lights can make a room feel sterile, but the right lighting can transform it into a tranquil retreat.
Types of Ambient Lighting for Your Bedroom:
- Dimmable Overhead Light: If you have an overhead fixture, ensure it has a dimmer switch. This allows you to control the intensity of the light.
- Table Lamps: Place lamps on bedside tables or dressers. Opt for shades that diffuse light softly.
- Floor Lamps: A stylish floor lamp can add ambient light and act as a decorative element. Arc floor lamps are great for reading nooks.
- String Lights/Fairy Lights: These add a magical, cozy glow. Drape them around your headboard, a mirror, or along a shelf.
- Scented Candles (with caution):strong> The warm flicker of a candle can be incredibly relaxing. Always use them safely and never leave them unattended.
DIY Lighting Enhancement: DIY Lampshade Makeover
Give an old or plain lampshade a new lease on life.
Materials:
- Plain lampshade
- Fabric scraps, lace trim, or decorative ribbon
- Fabric glue or hot glue gun
- Scissors
Steps:
- Clean the Lampshade: Ensure it’s free of dust.
- Measure and Cut: Measure the height of your lampshade. Cut your fabric or trim to fit the circumference, allowing for overlap.
- Apply Glue: Carefully apply fabric glue or hot glue along the top and bottom edges of the lampshade, and then around the seam.
- Attach Material: Press your fabric or trim onto the glued areas, smoothing out any wrinkles. Work in sections to ensure the glue doesn’t dry too quickly.
- Finish Edges: If using fabric, you can neatly fold and glue the top and bottom edges for a clean finish.
The U.S. Department of Energy offers great tips on energy-efficient lighting, which is also a smart choice for your home. Experimenting with different light sources and their placement can create a truly serene and personalized atmosphere in your mom bedroom.
5. Personalize with DIY Wall Art & Decor
Your bedroom should tell your story. Injecting your personality through DIY wall art and decor is a rewarding way to make your mom bedroom truly unique and inspiring.
Creative DIY Wall Art Ideas:
- Photo Collages: Print your favorite family photos, travel memories, or even inspiring quotes. Arrange them on a wall or in a large frame.
- Painted Canvases: Even if you’re not an artist, abstract painting can be fun! Use simple color palettes and brushstrokes.
- Macrame or Woven Wall Hangings: These add texture and a bohemian vibe. Kits are available for beginners.
- Pressed Flower Art: Press flowers from your garden or a local park and arrange them in a frame.
- DIY Quote Art: Write an inspiring quote on a piece of wood, canvas, or even directly onto the wall with chalk paint.
Personalizing Your Space:
Think about what brings you joy. Is it nature, a particular color, or a favorite quote? Incorporate these elements into your decor. If you’re drawn to nature-inspired designs, explore our plant decor ideas for creative greenery inspiration that can easily transition into your bedroom.
DIY Project: Memory Jar/Box
This is a simple yet meaningful way to keep track of happy moments.
Materials:
- A clean glass jar or decorative box
- Small slips of paper
- Pens
Steps:
- Decorate the Jar/Box: You can paint it, tie a ribbon around it, or leave it as is.
- Write Down Moments: Whenever something happy or memorable happens, jot it down on a slip of paper. It could be a funny thing your child said, a peaceful moment you enjoyed, or a personal achievement.
- Add to Jar: Fold the paper and place it in your memory jar or box.
- Open When…: Consider opening it on a tough day, your birthday, or at the end of the year to reminisce.
DIY Decorative Accents:
- Upcycled Vases: Paint old glass bottles or jars to use as vases for flowers or greenery.
- Customized Throw Pillows: Use fabric paint or iron-on transfers to add designs or quotes to plain pillow covers.
- DIY Coasters: Use tiles, wood slices, or even old book pages to create unique coasters.
Adding these personal touches makes your mom bedroom feel truly yours. It’s a space that reflects your journey, your joys, and your personal style. For more on creating a personal style, check out resources from National Institutes of Health on design principles, which can be adapted for home spaces.
Frequently Asked Questions (FAQ)
Q1: How can I make my mom bedroom feel more relaxing without spending a lot of money?
Focus on atmosphere! Use soft, warm lighting from lamps and string lights instead of harsh overhead lights. Introduce calming scents with essential oil diffusers or safe candles. Declutter regularly, and add soft textures like plush rugs and cozy throws. Even small changes can make a big difference.
Q2: My bedroom is quite small. What are some good DIY ideas for small mom bedrooms?
For small spaces, think vertically! Install floating shelves for storage and display, use a tall, slender bookshelf, or create a vertical gallery wall. A headboard that doubles as storage or a mirror to make the room feel bigger are also great options. Keep furniture multi-functional, like an ottoman with hidden storage. You might also find our cozy small space ideas helpful for maximizing limited areas.
Q3: I’m not very crafty. Are there any easy DIY mom bedroom ideas for beginners?
Absolutely! Painting an accent wall in a calming color, updating your existing lampshade with fabric or trim, or creating a simple photo collage are all beginner-friendly. A memory jar or a DIY headboard using a pre-made upholstered panel are also great starting points. Focus on simple steps and materials.
Q4: How do I choose colors for a mom bedroom that promotes relaxation?
Calming colors are your best friend. Think soft blues, gentle greens, muted grays, and warm neutrals like beige or cream. These colors are known to reduce stress and promote a sense of tranquility. You can add pops of color through decorative items like pillows or art, but keep the main palette soothing.
Q5: What are some essential elements for a functional mom bedroom that also feels like a retreat?
Functionality comes from smart storage and organization. A bedside table with drawers, a closet organizer, and a designated spot for electronics are key. The “retreat” aspect comes from comfort and personalization: a cozy reading nook, soft textiles, personal photos, and layered lighting. Balance is crucial!
Q6: How can I incorporate plants into my mom bedroom decor?
Plants bring life and a sense of calm. Small potted plants can sit on your nightstand or shelves. Consider hanging plants in macrame holders to save floor space. Choose low-maintenance plants like snake plants or ZZ plants if you don’t have a green thumb. They’re great for air quality too!
Conclusion: Your Dream Mom Bedroom Awaits!
Transforming your mom bedroom into a sanctuary doesn’t require a major renovation or a professional designer. By embracing these creative DIY ideas, you can infuse your personal space with style, comfort, and functionality that truly speaks to you.
Remember, your bedroom is your personal haven. Whether you’re creating a cozy reading nook, crafting a unique headboard, maximizing storage with a vertical gallery wall, perfecting your ambiance with thoughtful lighting, or personalizing your walls with cherished memories, each step brings you closer to the retreat you deserve.
These projects are designed to be beginner-friendly, budget-conscious, and, most importantly, enjoyable. Don’t be afraid to experiment, adapt these ideas to your own style, and have fun with the process.
So, gather your supplies, put on your favorite music, and start creating. Your dream mom bedroom is within reach, and it’s waiting for you to bring it to life. Enjoy the journey of making your space a true reflection of yourself and a place where you can relax, recharge, and feel completely at home.