To add pull-out drawers to your existing cabinets, measure carefully, choose the right drawer slides, and install them with basic tools and some patience. This upgrade not only enhances accessibility but also maximizes your cabinet storage. With some straightforward steps, you can transform your cabinets into more functional and user-friendly spaces.
Adding pull-out drawers to your existing cabinets is a game-changer for organization and convenience. Whether you’re tired of digging through cluttered shelves or want to optimize every inch of space, installing pull-out drawers is a smart DIY project. It involves selecting compatible slides, measuring accurately, and attaching the drawers securely. The process is simple enough for a handy homeowner and can be completed over a weekend, giving your kitchen or storage space a fresh, organized look. Not only does this upgrade improve accessibility, but it also makes your cabinets look more modern and tailored to your needs.

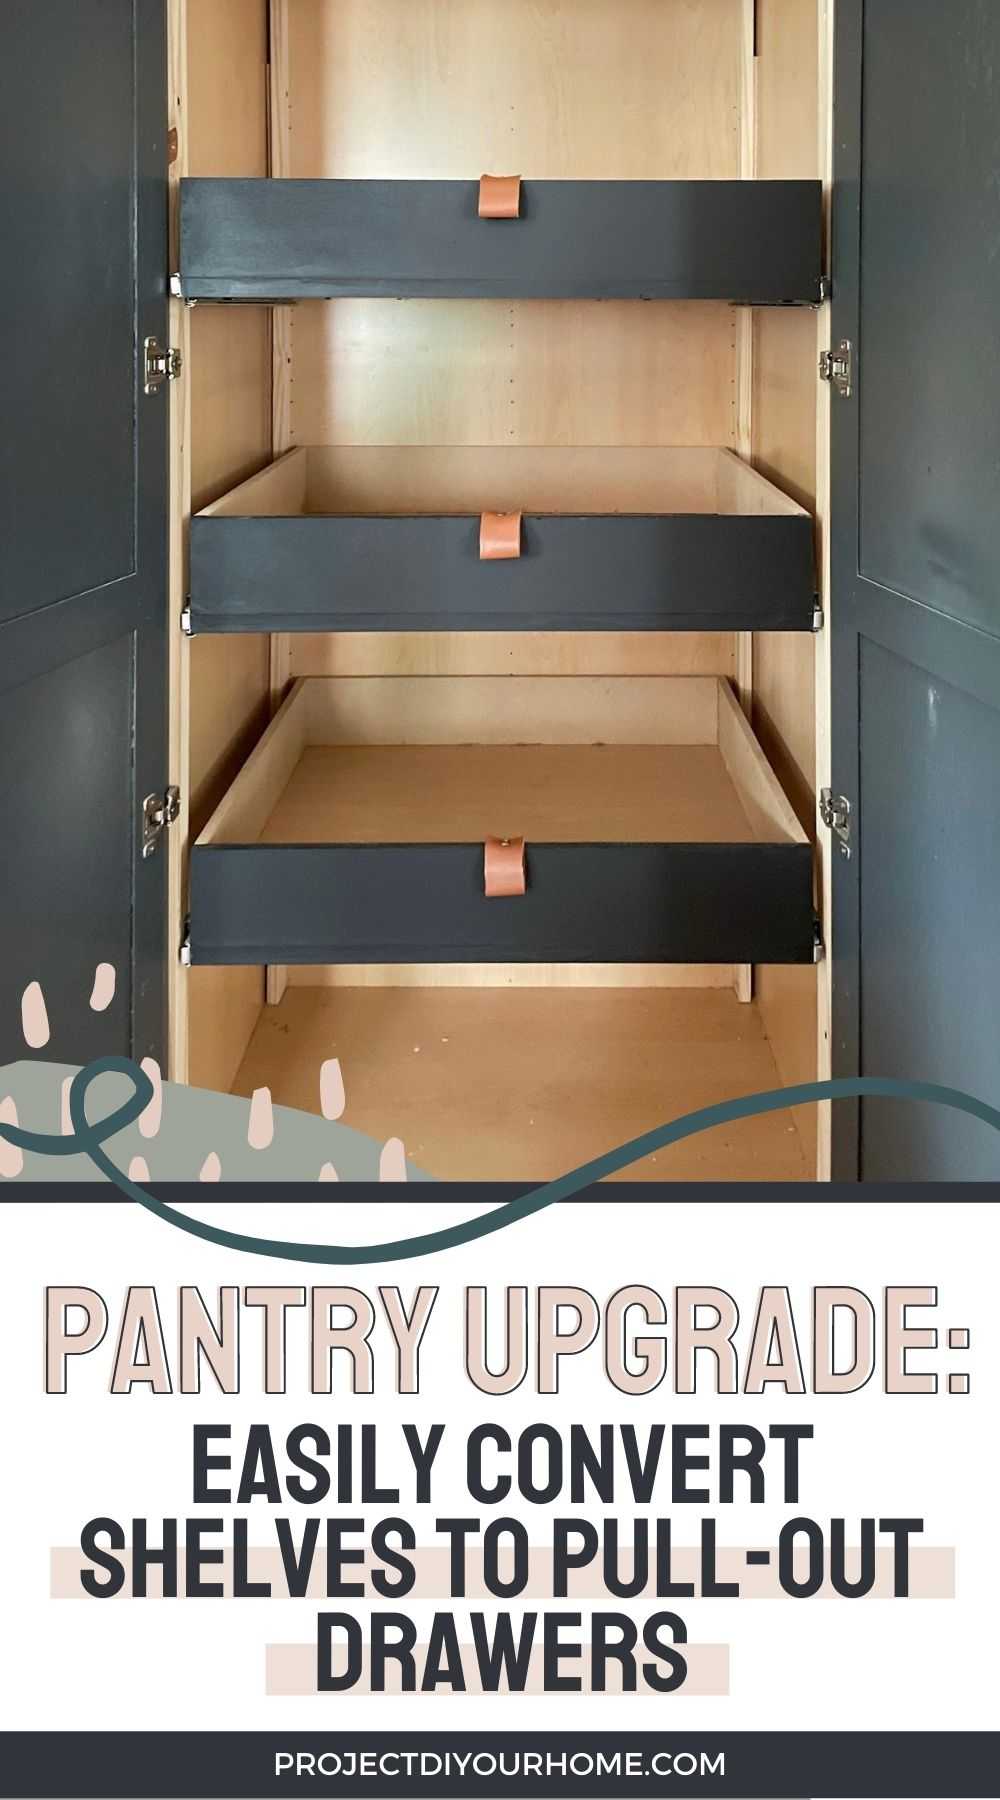
How to add pull out drawers to existing cabinets
Understanding the Benefits of Pull Out Drawers
Pull out drawers can significantly improve your cabinet’s functionality. They make it easier to access items stored deep inside without needing to crawl or reach awkwardly. Installing these drawers also helps keep everything organized and visible at a glance.
Types of Pull Out Drawers Available
There are various options for pull out drawers, including solid wood, wire baskets, and metal slides.
- Solid wood drawers are durable and add a classic look.
- Wire baskets offer breathability, ideal for fruit or vegetables.
- Metal slides provide smooth, long-lasting movement.
It’s important to choose a type that fits your cabinet style and storage needs.
Assessing Your Current Cabinets
Before installing pull out drawers, examine your existing cabinets carefully. Measure the width, height, and depth to determine what size drawers will fit. Confirm the cabinet’s material and construction to select compatible hardware.
- Check the cabinet’s structure: Is it solid wood, particleboard, or MDF?
- Measure interior dimensions: Taking precise measurements ensures a perfect fit.
- Identify door and shelf configurations: Note if any modifications are needed to accommodate the drawers.
This assessment forms the foundation for successful installation.
Choosing the Right Hardware and Materials
Picking high-quality hardware ensures the drawers will glide smoothly. Look for soft-close slides, which prevent slamming and reduce wear and tear.
- Drawer slides: Full extension and ball-bearing slides are recommended for durability.
- Handles and pulls: Select ergonomic designs that match your style.
- Materials: Use moisture-resistant plywood or MDF for the drawer boxes.
Investing in quality hardware reduces future repairs and replacements.
Preparing Your Workspace
Clear the area around your cabinets to ensure a safe working environment. Gather all necessary tools, including a drill, screwdriver, measuring tape, level, pencil, and saw.
Wear protective gear such as safety glasses and gloves.
Ensure good lighting so you can work precisely and avoid mistakes.
Proper preparation saves time and helps achieve professional-looking results.
Step-by-Step Installation Process
Step 1: Remove Existing Shelves or Hardware
Start by taking out shelves or hardware that may interfere with the new drawers. Use a screwdriver or drill to unscrew any fixtures.
Step 2: Measure and Mark Positions
Using your measurements, mark where the drawers will be installed. Draw horizontal lines at the desired heights and vertical lines for width.
Step 3: Cut Drawer Boxes or Purchase Pre-Made Units
Cut your drawer sides, front, and back from your chosen material. Alternatively, buy pre-made drawer boxes that match your dimensions.
Step 4: Assemble Drawer Frames
Join the sides, front, and back using wood screws and glue. Use a square to ensure corners are at right angles.
Step 5: Install Drawer Slides
Attach the slides to the sides of the drawer box and inside the cabinet. Follow the manufacturer’s instructions carefully for proper alignment.
Step 6: Insert the Drawers
Slide the completed drawers into the mounted slides. Test for smooth movement and make adjustments if necessary.
Step 7: Attach Handles or Pulls
Finally, drill holes for handles on the front of each drawer and secure with screws.
Ensuring Correct Alignment and Functionality
Proper alignment is key to smooth operation. Use a level to verify that the drawers sit evenly.
- Test the drawers: Open and close multiple times to check for smooth motion.
- Adjust as needed: Fine-tune the slides or the positioning to eliminate sticking or uneven gaps.
Regularly maintaining the slides and hardware ensures long-lasting performance.
Additional Tips for a Successful Installation
Plan ahead to avoid surprises during installation. Label pieces if using pre-cut materials to prevent mistakes.
Use clamps to hold components in place during assembly. Double-check measurements before cutting or drilling.
Consider installing soft-close mechanisms for added convenience.
Choose a color or finish that matches or complements your existing cabinetry.
Cost Considerations and Budget Planning
Prices for pull out drawers vary depending on size, material, and hardware quality. Budget-friendly options are available, but investing in quality hardware enhances durability.
Create a budget that includes hardware, materials, and any tools you might need. Don’t forget to account for potential extra expenses like modifications or professional help.
Common Challenges and How to Overcome Them
Misaligned drawers can be fixed by adjusting the slides carefully. If the cabinet structure is uneven, additional shimming might be necessary.
Heavy drawers might require sturdier slides or extra support.
If space is limited, consider custom-sized drawers or modifying the cabinet frame.
Maintaining Your New Pull Out Drawers
Regular cleaning with a damp cloth prevents dust buildup. Lubricate the slides periodically to keep movement smooth.
Avoid overloading drawers to prevent damage or misalignment.
Check screws and hardware annually to tighten loose components.
Related Topics to Enhance Your Cabinet Upgrade
Explore options like adjustable dividers for better organization. Consider installing soft-close hinges alongside pull out drawers.
Adding drawer liners can protect your materials and make use easier.
If replacing multiple drawers, plan a complete overhaul for a uniform look.
Adding pull out drawers to existing cabinets can be a manageable project with proper planning and care. With a clear understanding of your current setup and the right tools, you can improve your storage space efficiently. Follow each step carefully, and you’ll enjoy increased accessibility and organization in your kitchen or office.
How to Convert Cabinet Shelves into Pull Out Drawers
Frequently Asked Questions
What tools and materials are needed to add pull out drawers to existing cabinets?
To add pull out drawers, gather a drill, screwdriver, measuring tape, level, jigsaw, screwdriver bits, drawer slides compatible with your cabinet, plywood or pre-made drawer boxes, and screws. Ensure you have the right size of slides for your cabinet’s dimensions and consider additional hardware like handles or pulls for the drawers.
How do I measure my cabinet to ensure the pull out drawers fit properly?
Measure the width, depth, and height of the cabinet opening carefully. Subtract a small clearance (typically 1/8 to 1/4 inch) from the width and depth to allow smooth movement. Measure the interior height for the drawer height, and choose or customize drawer boxes accordingly to ensure a snug fit without too much friction.
What is the best way to install drawer slides into existing cabinets?
Begin by removing the existing shelves or partitions if necessary. Attach the slides to the sides of the cabinet using screws, aligning them level and parallel. Install the corresponding part of the slide on the drawer sides, ensuring they align perfectly with the cabinet slides. Test the movement before fully securing everything to confirm smooth operation.
How can I modify my cabinet to accommodate full-extension pull out drawers?
If your current cabinet lacks enough interior space, consider removing or repositioning internal structures like shelves or partitions. You may need to deepen or widen the cabinet opening. When modifying, ensure to reinforce or support the sides to bear the weight of the full-extension drawers and contents.
Are there specific drawer styles suitable for retrofit installation in existing cabinets?
Yes, frameless or inset style drawers work well for retrofit projects as they can be customized easily to fit existing space. Opt for shallow or medium-depth drawers for easier installation, especially in cabinets with limited clearance. Pre-made drawer kits with adjustable slides simplify the process and ensure a professional look.
Final Thoughts
Adding pull out drawers to existing cabinets simplifies storage and enhances accessibility. Measure the space carefully to ensure the new drawers fit properly. Select the right hardware and slide mechanisms for smooth operation. Attach the slides securely and install the drawers, making adjustments as needed.
In conclusion, how to add pull out drawers to existing cabinets involves precise measurement, choosing suitable hardware, and careful installation. Following these steps ensures your cabinets become more functional and organized.