
Say goodbye to clutter and stress! This comprehensive guide provides easy, step-by-step instructions to transform your messy kitchen drawers into perfectly organized, functional spaces. Discover how to declutter, clean, and implement smart storage solutions, making your kitchen more efficient and enjoyable. With practical tips and long-term maintenance strategies, you’ll learn to keep your kitchen drawers tidy for good, saving time and reducing frustration in your daily routine.
How to Fix Messy Kitchen Drawers
We’ve all been there. You open a kitchen drawer, hoping to grab a specific utensil, only to be met with a chaotic jumble of mismatched items, crumbs, and frustration. Spoons are tangled with spatulas, measuring cups hide beneath stacks of plastic wrap, and finding anything becomes a treasure hunt you never wanted to embark on. Messy kitchen drawers aren’t just an eyesore; they can seriously hinder your cooking efficiency, create unnecessary stress, and even make you feel less organized in your home overall.
But what if you could transform those chaotic caverns into perfectly ordered, functional spaces? Imagine opening your kitchen drawers and instantly finding exactly what you need, every single time. This comprehensive guide will walk you through a step-by-step process to fix even the messiest kitchen drawers, turning them into beacons of organization and efficiency. We’ll cover everything from preparation and ruthless decluttering to choosing the right organizers and implementing long-term maintenance strategies. Get ready to reclaim your kitchen and enjoy a smoother, more enjoyable cooking experience!
Key Takeaways
- Preparation is Paramount: Before you even start, gather all necessary tools like cleaning supplies, trash bags, and potential organizers. Dedicate specific, uninterrupted time to tackle your kitchen drawers effectively.
- Empty and Declutter Ruthlessly: The first major step is to completely empty each drawer. Be honest and decisive about what to keep, donate, or toss. Eliminate duplicates, broken items, and anything unused in the last year to maximize space.
- Cleanse and Protect Your Space: Once empty, thoroughly clean the inside of your kitchen drawers. Wipe away crumbs and grime. Consider adding drawer liners to protect the surfaces, dampen noise, and make future cleaning easier.
- Invest in Smart Organizing Solutions: Choosing the right organizers—like adjustable dividers, utensil trays, small bins, and tiered inserts—is crucial. These tools create designated spots for everything, preventing items from shifting and making your kitchen drawers highly functional.
- Zone for Maximum Efficiency: Group similar items together and assign specific kitchen drawers based on function and proximity to their point of use. For example, cooking utensils near the stove, baking tools near a prep area. This logical placement saves time and effort.
- Implement Consistent Maintenance: Organization isn’t a one-time task. Adopt simple habits like the “one-touch rule” and schedule regular, quick tidying sessions. Periodically review your kitchen drawers to adjust as your needs change and prevent clutter from building up again.
- Customize to Your Unique Needs: There’s no single “right” way to organize. Adapt the strategies and organizer types to fit your specific kitchen layout, drawer sizes, and personal cooking habits. Personalization ensures the system works for you.
Step 1: Gather Your Arsenal and Mindset
Before you even think about opening those dreaded kitchen drawers, preparation is key. Approaching this task with the right tools and a focused mindset will make the entire process smoother and more effective.
Prepare Your Tools
You don’t want to be halfway through a drawer and realize you’re missing a crucial item. Gather everything you’ll need upfront:
- Cleaning Supplies: A multi-surface cleaner or warm soapy water, sponges, cloths, and perhaps a small brush for corners.
- Trash Bags: Multiple bags for trash, donations, and items that belong in other rooms.
- Empty Boxes or Bins: For items you decide to keep but need to relocate.
- Measuring Tape: Crucial for measuring your kitchen drawers before buying organizers.
- Drawer Liners (Optional but Recommended): For a fresh, protective layer.
- Potential Organizers: If you already have some you plan to use, gather them. Otherwise, measure first and shop later!
Set Aside Dedicated Time
Organizing kitchen drawers isn’t a five-minute job, especially if they’re particularly messy. Dedicate a specific block of time – perhaps an hour or two per drawer, or a whole afternoon for a few. Trying to rush will lead to shortcuts and a less effective outcome. Put on some music, grab a refreshing drink, and mentally prepare for a productive session. It’s also wise to tackle one drawer at a time to avoid overwhelming yourself and spreading the mess across your entire kitchen.
Step 2: The Grand Unveiling – Empty and Assess
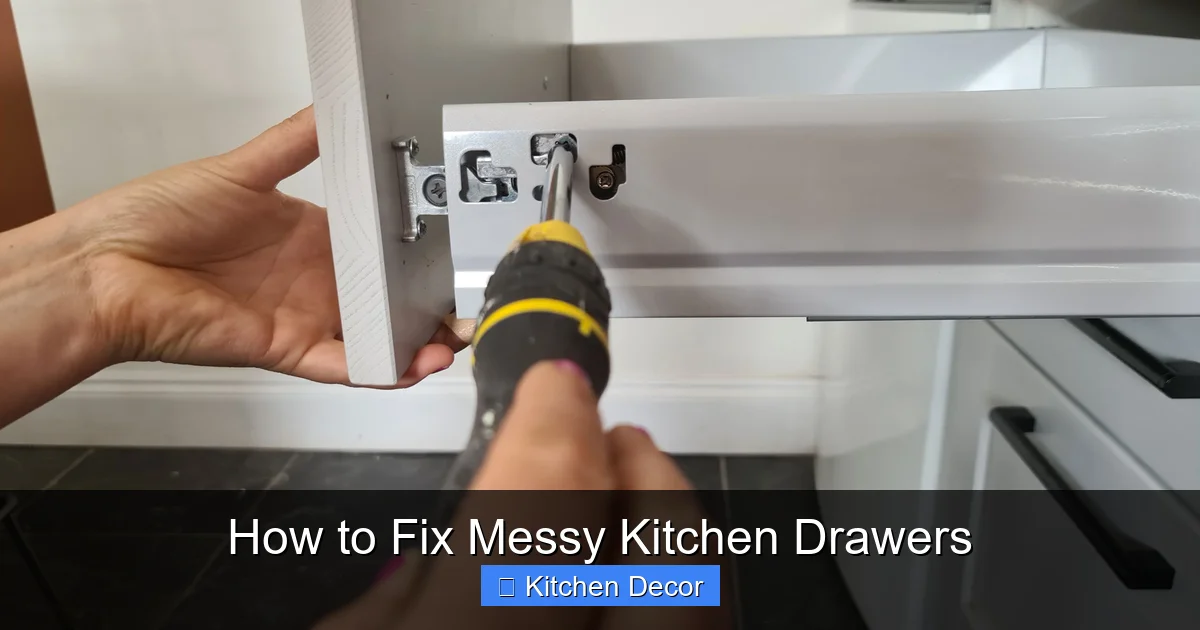
Visual guide about How to Fix Messy Kitchen Drawers
Image source: cdn.mos.cms.futurecdn.net
This is where the real transformation begins. You can’t truly organize until you know exactly what you’re working with.
Completely Empty Each Drawer
Take absolutely everything out of the kitchen drawer you’re working on. Yes, *everything*. Lay all the contents out on a clean surface, like your kitchen counter or a table. Seeing everything laid out in front of you can be shocking but also incredibly clarifying. This visual helps you see duplicates, unused items, and the sheer volume of stuff you’ve accumulated.
Evaluate Every Item
Now comes the critical part: sorting. Pick up each item individually and ask yourself these questions:
- Do I use this? Be honest. If you haven’t used it in a year (or even six months for daily items), do you really need it taking up valuable real estate in your kitchen drawers?
- Is it broken or damaged? Toss anything beyond repair. Don’t keep broken spatulas or chipped measuring cups.
- Do I have duplicates? You probably don’t need five can openers or ten spatulas. Keep the best one or two and donate/discard the rest.
- Does it belong in the kitchen? Many kitchen drawers become catch-alls for pens, batteries, spare keys, or even mail. Relocate these items to their proper homes.
- Is it sentimental? If it holds sentimental value but isn’t practical for daily use, consider storing it elsewhere or displaying it if appropriate.
Create three piles:
- Keep: Items that are functional, frequently used, and belong in your kitchen drawers.
- Donate/Sell: Usable items in good condition that you no longer need.
- Toss/Recycle: Broken, expired, or truly unusable items.
Be ruthless in this step. The less you have, the easier it will be to organize and maintain your kitchen drawers.
Step 3: Cleanse and Protect Your Canvas

Visual guide about How to Fix Messy Kitchen Drawers
Image source: c8.alamy.com
With your kitchen drawer empty, now’s the perfect time to give it a good clean before anything goes back in.
Thoroughly Clean the Empty Drawers
Using your chosen cleaning supplies, wipe down the inside of the drawer. Get into the corners and remove any crumbs, dust, or sticky residue that has accumulated. A small vacuum attachment can be great for sucking up crumbs. Ensure the drawer is completely dry before moving to the next step to prevent moisture buildup or damage.
Consider Drawer Liners
Drawer liners are an unsung hero of kitchen drawer organization. They offer several benefits:
- Protection: They protect the drawer’s interior from scratches, spills, and general wear and tear.
- Grip: Many liners are non-slip, which helps prevent items and organizers from sliding around every time you open or close the drawer.
- Easy Cleaning: Spills are contained on the liner, making cleanup as simple as removing and wiping it down or replacing it.
- Aesthetic: They provide a fresh, clean look and can even add a pop of color or pattern.
Measure the bottom of your kitchen drawers and cut the liner to fit precisely. Most liners are easy to cut with scissors.
Step 4: Smart Sorting and Categorization
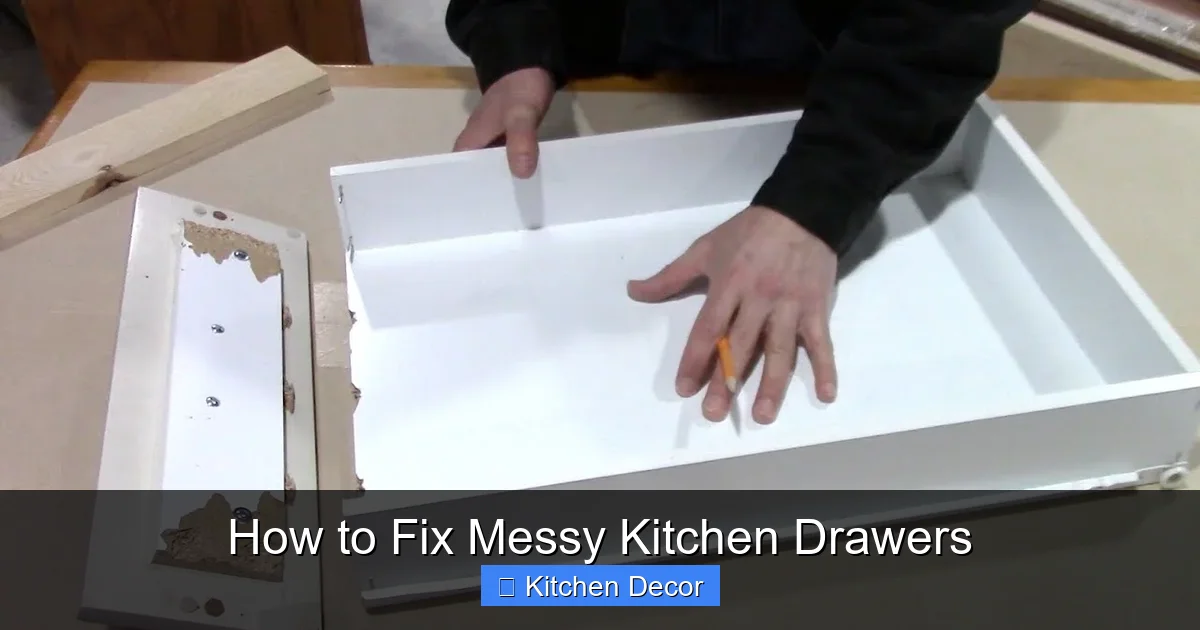
Visual guide about How to Fix Messy Kitchen Drawers
Image source: i.ytimg.com
Now that you have a curated collection of “keep” items, it’s time to group them logically. This step is crucial for efficient placement later on.
Group Like Items Together
Before you even think about putting things back into your kitchen drawers, categorize everything you decided to keep. Think about how you use your kitchen:
- Utensils: Spoons, forks, knives (eating).
- Cooking Utensils: Spatulas, whisks, ladles, tongs, serving spoons.
- Baking Tools: Measuring cups and spoons, cookie cutters, small offset spatulas.
- Gadgets: Can opener, peeler, grater, corkscrew, bottle opener.
- Spices: If you keep them in a drawer.
- Linens: Dish towels, pot holders, oven mitts, placemats.
- Food Storage: Plastic wrap, aluminum foil, parchment paper, sandwich bags.
- Miscellaneous: Batteries, pens, small repair tools (if these absolutely *must* live in a kitchen drawer, designate one specifically for them).
Prioritize Location
Once grouped, consider where each category makes the most sense to live. Think about the “zone” concept:
- Near the stove: Cooking utensils, spices.
- Near the sink/dishwasher: Eating utensils, dish towels.
- Near a prep area: Measuring tools, small cutting boards.
- Near the pantry/fridge: Food storage items.
This “point of use” strategy ensures that the items you reach for most often are in the most convenient kitchen drawers, minimizing steps and maximizing efficiency.
Step 5: The Organizing Revolution – Choosing and Placing Inserts
This is where your kitchen drawers truly transform. Smart organizers are the backbone of a functional drawer system.
Select the Right Organizers for Your Kitchen Drawers
Don’t just buy the first organizer you see. Measure your kitchen drawers (length, width, and depth) carefully. Consider the types of items you need to store.
Adjustable Dividers
These are fantastic for creating custom compartments within your kitchen drawers. They come in various materials (bamboo, plastic, metal) and can be spring-loaded or fixed with adhesive. They’re great for separating dish towels, creating sections for different utensil lengths, or even for larger gadgets.
Utensil Trays
The classic solution for cutlery. Look for trays with multiple compartments of varying sizes to accommodate different spoons, forks, knives, and even smaller serving utensils. Bamboo trays are popular for their aesthetic and durability, while plastic ones are often more budget-friendly and easier to clean. Many are expandable to fit various kitchen drawers.
Small Bins and Containers
For smaller, loose items (think wine stoppers, corn cob holders, rubber bands, or even spice jars), small bins are perfect. They keep items contained and prevent them from rolling around. Clear plastic bins are great because you can see the contents at a glance.
Tiered Inserts for Spices
If you keep spices in a drawer, a tiered insert allows you to see all your spice labels at once, preventing you from digging through bottles. These are specific solutions that make a huge difference in dedicated spice kitchen drawers.
Strategically Place Your Items
Once you have your organizers, it’s time to put everything back. Here’s how to maximize different types of kitchen drawers:
Utensil Drawer Mastery
For your everyday eating utensils, use an expandable cutlery tray.
- Place forks, spoons, and knives in their designated slots.
- Use a longer slot for serving spoons or specialized eating utensils (e.g., steak knives, chopsticks).
- If you have extra space, consider a small, narrow bin for items like bottle openers or small paring knives.
Gadget Drawer Genius
This is often where the most chaos reigns.
- Use adjustable dividers or a tray with larger compartments for items like can openers, peelers, graters, ice cream scoops, and larger cooking spoons.
- Group similar gadgets together. For example, all baking-related gadgets in one section.
- Consider vertical storage for flat items like pastry cutters or small flexible cutting boards using narrow dividers.
Linen Drawer Logic
For dish towels, pot holders, and oven mitts:
- Fold items uniformly into neat rectangles. This makes them easier to stack and prevents them from unraveling.
- Use adjustable dividers to separate different types of linens (e.g., dish towels in one section, oven mitts in another).
- Smaller bins can hold items like wine stoppers or small kitchen clips that often get lost in these types of kitchen drawers.
Miscellaneous Magic (The “Junk Drawer” Redefined)
If you absolutely *must* have a miscellaneous drawer, treat it with respect.
- This is where small bins and containers shine.
- Designate a bin for batteries, another for pens and small notepads, one for rubber bands/twist ties, and another for small tools (screwdrivers, Allen wrenches).
- The key here is strict boundaries – once a bin is full, no more items can enter until something is purged. This prevents it from becoming a true “junk” drawer again.
Remember to place frequently used items closer to the front of the kitchen drawers and less frequently used items further back.
Step 6: Maintain the Order – Long-Term Strategies
Congratulations! Your kitchen drawers are now beautifully organized. But the job isn’t truly done until you have a system for keeping them that way.
Implement a “One-Touch” Rule
This simple rule can prevent a lot of re-cluttering. When you take something out of a drawer, put it back in its designated spot immediately after use or cleaning. Don’t let it sit on the counter, waiting to be put away later. If it requires two touches (picking it up, then finding its spot), that’s often enough to create a pile.
Regular Mini-Declutter Sessions
Schedule a quick 5-10 minute tidy-up for your kitchen drawers once a month. This isn’t a deep dive, but rather a quick scan to:
- Push items back into their proper compartments.
- Wipe up any visible crumbs.
- Spot any rogue items that have made their way into the wrong kitchen drawers.
These small, consistent efforts prevent major overhauls later.
Periodic Deep Dives
About once or twice a year, perform a scaled-down version of the initial decluttering process. Take everything out, reassess, clean, and reorganize. This is a good time to:
- Check for expired spices or food items.
- Identify any new clutter hotspots.
- Consider if your storage needs have changed.
Adjust as Your Needs Evolve
Life changes, and so do our kitchen habits. Maybe you bought a new gadget, or perhaps you’ve started baking more often. Don’t be afraid to adjust your organization system. What worked perfectly for your kitchen drawers six months ago might need tweaking today. Flexibility is key to sustainable organization.
Troubleshooting Common Kitchen Drawer Woes
Even with the best intentions, you might run into some common issues. Here’s how to tackle them:
“I Have Too Much Stuff and Not Enough Space!”
This is the most common complaint.
- Re-evaluate your “keep” pile: Go through Step 2 again, but be even more ruthless. Can you really live without that rarely-used item?
- Utilize vertical space: For deep kitchen drawers, consider tiered inserts or stackable bins for items like spices or small containers.
- Look beyond the drawers: Can some items be stored elsewhere? Command hooks on the inside of cabinet doors for measuring spoons, a magnetic knife strip for knives, or a countertop caddy for frequently used cooking utensils can free up valuable drawer space.
- Consolidate: Do you have multiple sets of something? Keep the best and store the rest (if truly needed) in less prime locations, like a basement or garage.
“My Organizers Keep Shifting!”
This is incredibly frustrating and defeats the purpose of organization.
- Use non-slip drawer liners: As mentioned, these are excellent for preventing movement.
- Choose adjustable organizers: Spring-loaded dividers that press against the drawer walls are very stable.
- Adhesive solutions: Some drawer dividers and bins come with adhesive strips or tiny rubber feet to keep them in place.
- Fill them snugly: If compartments are too loose, items can shift. Try to find organizers that fit your kitchen drawers as closely as possible, or use a combination of different-sized bins to fill gaps.
“My Drawers Get Messy Again Too Quickly!”
This often points to a breakdown in maintenance or a system that isn’t practical for your habits.
- Review your “One-Touch” rule adherence: Are you consistently putting things back immediately?
- Is the system too complicated? If it takes too much effort to put an item away, you won’t do it. Simplify your system. Perhaps you have too many small compartments, and a slightly larger, less restrictive one would work better for certain items.
- Are items truly in their “point of use”? If you have to walk across the kitchen to put a spoon away, it’s more likely to end up on the counter. Reassess the location of your kitchen drawers and their contents.
- Involve everyone: If multiple people use the kitchen, ensure everyone understands and follows the new system. Communication is key!
By addressing these common challenges, you can create a truly sustainable system for your kitchen drawers.
Conclusion
Fixing messy kitchen drawers is more than just tidying up; it’s about reclaiming peace of mind and efficiency in one of the busiest rooms in your home. You’ve now learned a comprehensive approach: from preparing your space and ruthlessly decluttering, to cleaning, strategically organizing with smart inserts, and, most importantly, maintaining that order over time.
Imagine the joy of effortlessly grabbing the right spatula, finding your measuring spoons without a fuss, or knowing exactly where that elusive corkscrew is. This guide empowers you to transform those frustrating jumbles into highly functional, visually pleasing spaces. Remember, perfection isn’t the goal; consistency and a system that works for your lifestyle are. With these steps, your kitchen drawers will no longer be a source of stress but a testament to your well-organized and efficient kitchen. Keep up the good work, and enjoy your beautifully fixed kitchen drawers!