Discover essential kitchen hacks for pots and pans that will revolutionize your cleaning routine and prolong the life of your cookware. This guide provides simple, effective techniques to tackle everything from stubborn burnt food to rust, ensuring your pots and pans always look their best and perform optimally. Learn to restore shine and maintain all types of cookware with everyday ingredients and practical tips, making your kitchen chores easier and more satisfying.
Kitchen Hacks for Pots and Pans
Welcome to the ultimate guide for keeping your pots and pans in pristine condition! Every home chef knows the frustration of burnt-on food, stubborn stains, or a dull finish on once-gleaming cookware. But what if we told you that restoring and maintaining your pots and pans doesn’t require harsh chemicals or expensive specialized cleaners? It’s true! With a few clever kitchen hacks, everyday ingredients can transform your tired cookware into sparkling, ready-for-action kitchen essentials.
This guide will equip you with simple, effective, and often eco-friendly strategies to tackle common cookware challenges. From preventing future damage to bringing old favorites back to life, you’ll learn practical tips that save you time, effort, and money. Get ready to impress yourself with how easy it is to keep your kitchen looking sharp and your cooking tools performing at their best. Let’s dive into these game-changing kitchen hacks for pots and pans!
Key Takeaways
- Prevention is Key: Understanding proper daily care, like using the right utensils and gentle washing, significantly reduces the need for intense cleaning and extends the lifespan of your pots and pans.
- Baking Soda is Your Best Friend: This humble pantry staple is incredibly versatile for tackling burnt food, grease, and stains on various types of cookware, offering an effective, non-toxic cleaning solution.
- Vinegar for Shine and Scale: White vinegar works wonders for dissolving mineral deposits, removing water spots, and restoring a brilliant shine to stainless steel and other metallic surfaces.
- Material Matters: Different pot and pan materials (non-stick, cast iron, stainless steel, copper) require specific cleaning and maintenance approaches to avoid damage and ensure longevity.
- Gentle Approach First: Always start with the least abrasive cleaning methods and products. Harsh scrubbing or chemicals can irreparably damage cookware finishes.
- Restoration is Possible: Even heavily stained or rusted pots and pans can often be restored to a usable and presentable condition using common household ingredients and a bit of patience.
- Consistency Pays Off: Regular, mindful cleaning and maintenance, rather than occasional deep cleans, are far more effective in keeping your cookware in top shape.
Mastering Daily Care: The Foundation of Clean Cookware
The best cleaning hack is prevention! By adopting good daily habits, you can significantly reduce the need for intensive cleaning later.
Always Pre-Soak Burnt or Stuck-On Food
As soon as a pan cools slightly after cooking, if you see food residue, fill it with warm water and a drop of dish soap. Let it sit while you eat or tackle other dishes. This simple step softens food particles, making cleanup a breeze. For really stubborn bits, a little extra time soaking can work wonders.
Use the Right Utensils
This is crucial for maintaining your cookware’s surface. Metal utensils can scratch non-stick coatings, stainless steel, and even cast iron seasoning. Opt for wood, silicone, or plastic utensils whenever possible, especially with non-stick pans. Scratches not only look bad but can also compromise the pan’s performance and longevity.
Wash Gently and Promptly
After cooking, wash pots and pans as soon as they’ve cooled down. Hot pans can warp if plunged into cold water. Use a soft sponge or brush, warm water, and mild dish soap. Avoid abrasive scrubbers on non-stick surfaces. For stainless steel, a little elbow grease with a non-scratch pad is usually fine.
Store Cookware Properly
Prevent scratches and dings by storing your pots and pans carefully. If stacking, place a paper towel, cloth protector, or even a soft dish rag between each pan. This simple hack shields their surfaces from friction, preserving their finish and extending their life. A pot rack can also be a great solution for individual storage.
Kitchen Hacks for Tackling Stubborn Burnt-On Food
Burnt food is perhaps the most common and frustrating problem. Don’t reach for harsh chemicals or metal scourers just yet! These kitchen hacks use common household items.
The Baking Soda and Vinegar Volcano Method (for Stainless Steel and Enamel)
This is a classic for a reason. It’s incredibly effective for burnt food and deep stains.
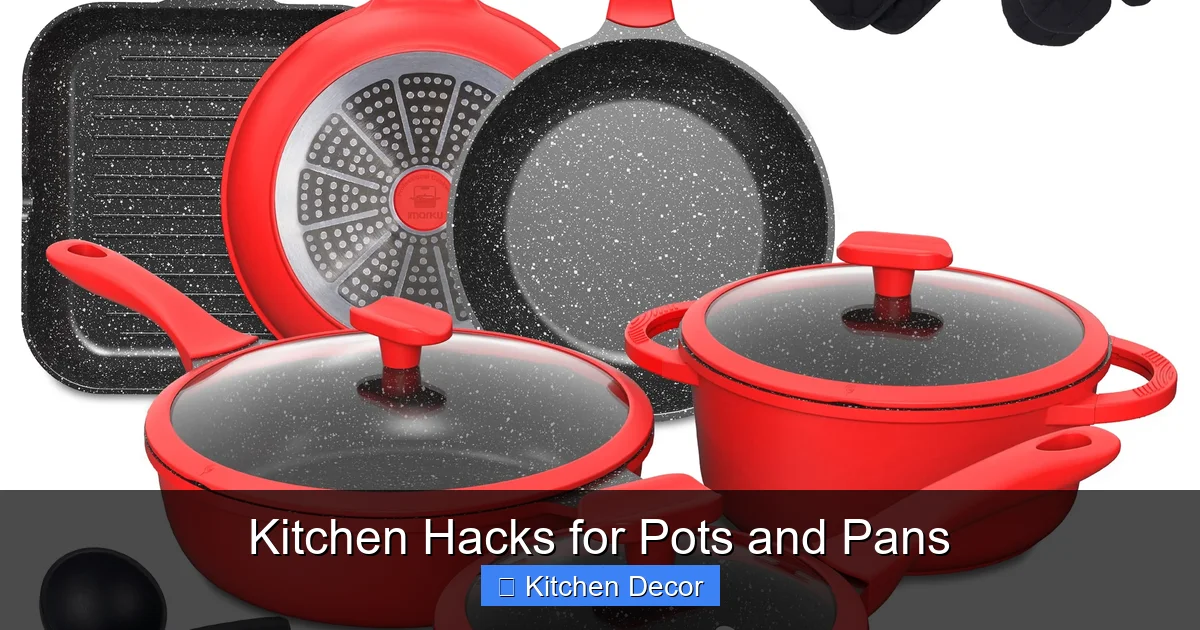
Visual guide about Kitchen Hacks for Pots and Pans
Image source: organizationobsessed.com
- Step 1: Scrape What You Can. Remove any loose food debris with a wooden or plastic spatula.
- Step 2: Add Water and Baking Soda. Fill the bottom of the pan with about an inch of water. Bring it to a boil. Once boiling, remove from heat and add a generous sprinkle of baking soda (2-3 tablespoons, depending on pan size).
- Step 3: Introduce Vinegar. Slowly add about half a cup of white vinegar. It will fizz vigorously – this is the “volcano” effect! The reaction helps lift stubborn grime.
- Step 4: Let it Soak. Let the mixture sit for 15-30 minutes, or even longer for very tough burns.
- Step 5: Gentle Scrub. Pour out the liquid. Use a non-scratch sponge or brush to gently scrub away the loosened burnt bits. Repeat if necessary.
- Step 6: Wash and Rinse. Finish with a normal wash with dish soap and rinse thoroughly.
The Salt and Hot Water Method (for Cast Iron)
Cast iron needs a different approach to preserve its seasoning.
- Step 1: Add Coarse Salt. While the pan is still warm (but not hot enough to burn you), pour a generous amount of coarse salt (like kosher salt) into the pan – enough to cover the burnt area.
- Step 2: Scrape Gently. Use a stiff brush or a crumpled paper towel to scrub the salt around the burnt areas. The salt acts as a gentle abrasive.
- Step 3: Rinse and Dry. Rinse the pan with hot water (avoid soap if possible, to preserve seasoning).
- Step 4: Re-Season (if needed). If the seasoning looks compromised, apply a thin layer of cooking oil and heat the pan on the stove for a few minutes until it just starts to smoke, then wipe off excess.
Ice Cube Method (for Sticky, Burnt-On Residue)
This is a neat trick for sticky, melted-on messes.
- Step 1: Chill the Pan. Place the pan in the freezer for about 30 minutes.
- Step 2: Add Ice Cubes. Remove from the freezer and immediately add a layer of ice cubes to cover the sticky residue.
- Step 3: Scrape Off. The extreme cold makes the burnt food brittle. As the ice melts, use a wooden or plastic spatula to easily scrape off the now-hardened, sticky mess.
Kitchen Hacks for Restoring Shine and Removing Stains
Discoloration, water spots, and general dullness can make even the cleanest pots look tired. These kitchen hacks will bring back their sparkle.
Lemon and Salt Paste (for Copper and Stainless Steel)
This natural abrasive and acidic combination is fantastic for removing tarnish and minor stains.
- Step 1: Cut a Lemon. Cut a lemon in half.
- Step 2: Apply Salt. Sprinkle coarse salt generously onto the cut surface of one lemon half.
- Step 3: Scrub. Use the lemon half as a scrubber, rubbing it directly onto the discolored areas of your pot or pan. The salt acts as an abrasive, and the lemon juice provides the acidity to cut through tarnish.
- Step 4: Rinse and Dry. Rinse thoroughly with warm water and dry immediately to prevent water spots.
Tip: For tough stains, you can also make a paste with lemon juice and salt, apply it to the stain, let it sit for a few minutes, then scrub.
Cream of Tartar (for Stainless Steel Discoloration)
Cream of tartar, often found in the baking aisle, is excellent for removing heat tints and rainbow stains from stainless steel.
- Step 1: Create a Paste. Mix cream of tartar with a little water to form a thick paste.
- Step 2: Apply and Let Sit. Spread the paste over the discolored areas. Let it sit for 5-10 minutes.
- Step 3: Scrub and Rinse. Use a soft cloth or sponge to scrub the paste gently into the stain. Rinse thoroughly and dry.
Vinegar for Water Spots and Rainbow Stains (Stainless Steel)
Those iridescent, rainbow-like stains on stainless steel are often caused by overheating or mineral deposits from water. Vinegar is your friend here.
- Step 1: Wipe with Vinegar. Dampen a soft cloth or paper towel with undiluted white vinegar.
- Step 2: Rub Away. Wipe down the stained areas in the direction of the grain (if visible) until the stains disappear.
- Step 3: Rinse and Dry. Rinse with clean water and dry immediately with a clean towel to prevent new water spots.
Kitchen Hacks for Special Cookware Materials
Different materials have unique needs. These hacks cater to them.
Re-Seasoning Cast Iron
A well-seasoned cast iron pan is naturally non-stick and rust-resistant. If yours loses its luster or starts to stick, it needs re-seasoning.
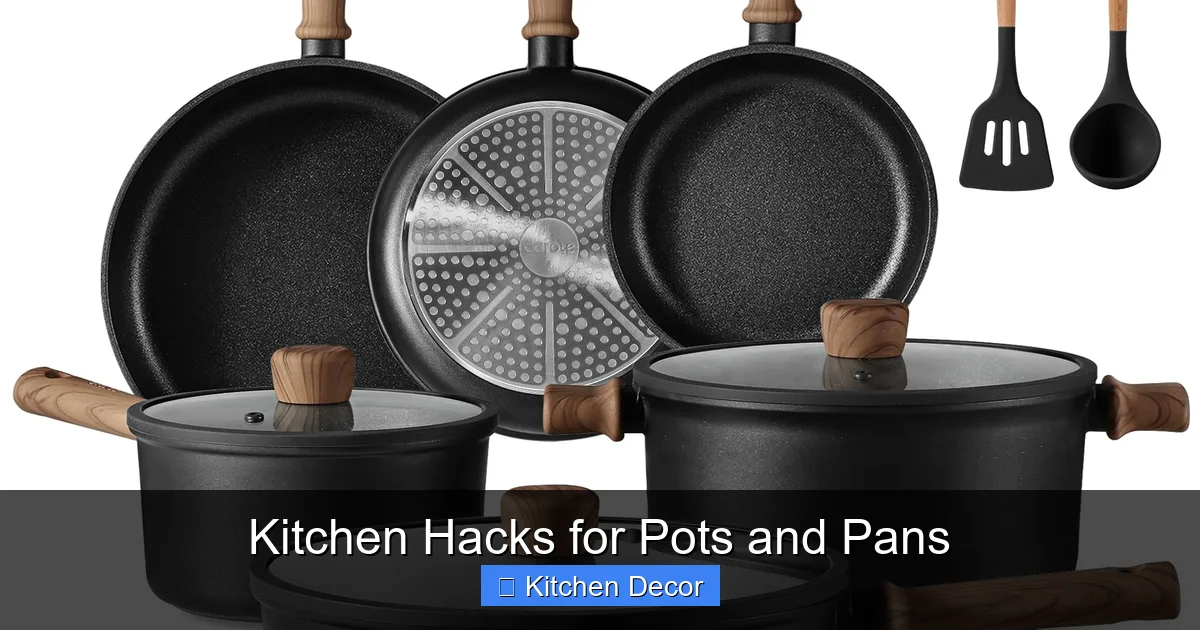
Visual guide about Kitchen Hacks for Pots and Pans
Image source: m.media-amazon.com
- Step 1: Clean Thoroughly. Scrub the pan with hot water and a stiff brush. If there’s rust, use steel wool or a scouring pad to remove it completely. Dry the pan completely on the stove over low heat.
- Step 2: Apply Thin Oil Layer. Once dry and slightly warm, apply a very thin, even layer of high smoke point oil (like vegetable, canola, or grapeseed oil) to all surfaces of the pan, inside and out. Use a paper towel to wipe off any excess – it should look dry, not greasy.
- Step 3: Bake the Pan. Place the pan upside down on the middle rack of your oven. Place aluminum foil on the rack below to catch any drips.
- Step 4: Bake and Cool. Bake at 450-500°F (232-260°C) for one hour. Turn off the oven and let the pan cool completely inside the oven. Repeat this process several times (3-5 coats) for the best results.
Cleaning Non-Stick Pans with Dish Soap and Baking Soda
Non-stick surfaces are delicate, but sometimes a gentle boost is needed.
- Step 1: Gentle Scrub. Mix a small amount of dish soap with baking soda to form a loose paste.
- Step 2: Soft Application. Using a soft sponge or cloth, gently rub the paste over any sticky or slightly burnt areas. Avoid abrasive scrubbing.
- Step 3: Rinse and Dry. Rinse thoroughly and dry with a soft towel. This can help remove slight residue without damaging the non-stick coating.
Removing Rust from Stainless Steel Pots
Rust on stainless steel is usually surface rust, often from prolonged exposure to moisture or contact with cast iron.
- Step 1: Make a Paste. Mix baking soda with a little water to form a thick paste.
- Step 2: Apply and Wait. Apply the paste generously to the rusted area and let it sit for an hour or two.
- Step 3: Scrub Gently. Using a non-abrasive sponge or a soft brush, scrub the rust away. For tougher spots, a nylon scrubber can be used.
- Step 4: Rinse and Dry. Rinse thoroughly with warm water and dry immediately to prevent new rust.
Alternative: A cut potato dipped in baking soda or salt can also act as a gentle scrubber for rust spots.
Advanced Kitchen Hacks and Troubleshooting
Sometimes, the usual methods need a little extra help, or you need to know when to stop.
When to Use Hydrogen Peroxide and Baking Soda (for Deep Stains)
This is a stronger hack for very stubborn, deep stains on stainless steel or ceramic pots.
- Step 1: Make a Paste. Mix baking soda with enough hydrogen peroxide (3%) to form a thick, spreadable paste.
- Step 2: Apply and Wait. Apply the paste to the stained area, ensuring good coverage. Let it sit for several hours, or even overnight, allowing it to penetrate the stain.
- Step 3: Scrub and Rinse. Use a non-scratch scrub pad or a stiff brush to scrub the area. The stain should lift. Rinse thoroughly and wash as usual.
Caution: Always test on an inconspicuous area first, and avoid using on reactive metals like aluminum or very delicate non-stick coatings.
Dealing with Warped Pans
Unfortunately, a severely warped pan is very difficult to fix at home. Warping usually happens due to extreme temperature changes (e.g., hot pan in cold water) or manufacturing defects. For slight warping, sometimes applying even pressure on a flat surface might help, but often, it’s a sign that the pan needs replacing. Prevention is key here: always let your pans cool naturally before washing.
When to Replace a Pan
Not all pots and pans can be saved. Here’s when to consider retirement:
- Severely Scratched Non-Stick: If the non-stick coating is flaking, deeply scratched, or peeling, it’s time to replace it. Damaged coatings can release chemicals into your food and lose their non-stick properties.
- Pitted or Corroded Surfaces: For any pan material, if the cooking surface is pitted or corroded, it can harbor bacteria and affect food safety.
- Beyond Repair Rust: While surface rust can often be removed, if a cast iron pan is completely rusted through or has significant structural rust, it might be beyond saving.
- Handles or Lids are Broken: If handles are loose, cracked, or broken, or lids no longer fit securely, the pan becomes unsafe to use.
Conclusion: Keeping Your Kitchen Sparkles Bright
You now have a powerful arsenal of kitchen hacks for pots and pans at your disposal! From simple daily maintenance to tackling the toughest burnt-on messes, these tips and tricks leverage common household items to keep your cookware looking and performing its best. Remember that consistent care is more effective than occasional intense scrubbing. By understanding your cookware’s materials and applying the right hacks, you’re not just cleaning; you’re preserving your investment and enhancing your cooking experience.
Embrace these easy, effective methods, and you’ll find joy in a sparkling clean kitchen and well-maintained pots and pans that are always ready for your next culinary adventure. Happy cooking, and even happier cleaning!