Unlock your kitchen’s hidden potential by mastering kitchen wall space utilization. This guide provides practical steps and creative ideas to transform empty walls into efficient, stylish storage. Discover solutions like floating shelves, pegboards, and hanging organizers to declutter countertops and enhance functionality, making your kitchen more organized and enjoyable. Learn to assess your needs, choose the right tools, and implement smart layouts for a truly optimized culinary space.
Kitchen Wall Space Utilization
Is your kitchen feeling cramped? Are your countertops overflowing with appliances and gadgets? Do you find yourself wishing for more storage, even after stuffing every cabinet and drawer? If so, you’re not alone! Many homeowners overlook one of the most valuable, yet often underutilized, assets in their kitchen: the walls.
Welcome to our comprehensive guide on kitchen wall space utilization. This guide is your ultimate resource for transforming those blank canvases into functional, stylish, and highly efficient storage areas. We’re going to dive deep into practical solutions, creative ideas, and step-by-step instructions to help you reclaim your kitchen, enhance its functionality, and even boost its aesthetic appeal. By the end of this guide, you’ll be equipped to turn every inch of your kitchen walls into smart storage gold!
Key Takeaways
- Assess Your Needs First: Before adding anything, understand what items you need to store and how often you use them to make smart choices for your kitchen wall space utilization.
- Embrace Vertical Storage: Think upwards! Walls offer significant untapped potential for everything from spices and utensils to pots and decorative items, freeing up valuable counter and cabinet space.
- Choose Versatile Solutions: Options like floating shelves, pegboards, and magnetic strips are highly adaptable and can be customized to fit various storage needs and kitchen styles.
- Plan Your Layout Thoughtfully: Don’t just stick things anywhere. Consider workflow, accessibility, and aesthetics when designing your wall storage layout for maximum efficiency and visual appeal.
- Balance Function and Form: While functionality is key, ensure your wall storage solutions complement your kitchen’s decor. Materials, colors, and arrangements should enhance, not detract from, the overall look.
- Prioritize Safety and Security: Always ensure wall-mounted items are properly installed and can safely support the weight of what you intend to store. This is crucial, especially for heavier kitchenware.
- Regularly Re-evaluate and Declutter: Kitchen needs change. Periodically review your wall storage, declutter unused items, and adjust your organization to maintain optimal kitchen wall space utilization.
Step 1: Assess Your Needs and Existing Space
Before you rush out to buy shelves and hooks, take a good look at your kitchen. A thoughtful assessment is the foundation of effective kitchen wall space utilization.
What Do You Need to Store?
- Everyday Essentials: Think about items you use daily or weekly – cooking utensils, spices, cutting boards, dish towels, coffee mugs. These should be easily accessible.
- Less Frequent Items: Are there baking pans, extra serving dishes, or small appliances that are currently hidden away but could benefit from more accessible storage?
- Items Causing Clutter: Identify anything currently cluttering your countertops. These are prime candidates for vertical storage.
- Decorative Elements: Do you want to display cookbooks, plants, or art? Wall space isn’t just for utilitarian items.
Evaluate Your Wall Space
- Measure Everything: Grab a tape measure. Note the width and height of available wall sections, especially between cabinets, above sinks, or even in corners. Don’t forget the space above windows or doors!
- Consider Obstructions: Are there light switches, outlets, windows, or existing cabinets that limit where you can install things? Plan around them.
- Wall Type: Most kitchen walls are drywall, which is suitable for many lighter-weight installations with the right anchors. If you have plaster or tile, installation might require different tools or methods.
- Traffic Flow: Ensure any wall additions won’t impede movement or open doors/drawers. Kitchen wall space utilization should enhance, not hinder, your kitchen’s functionality.
Step 2: Choose the Right Storage Solutions for Your Walls
Now that you know what you need and where it can go, it’s time to explore the vast array of kitchen wall space utilization tools available. Each solution offers unique benefits and caters to different storage needs.
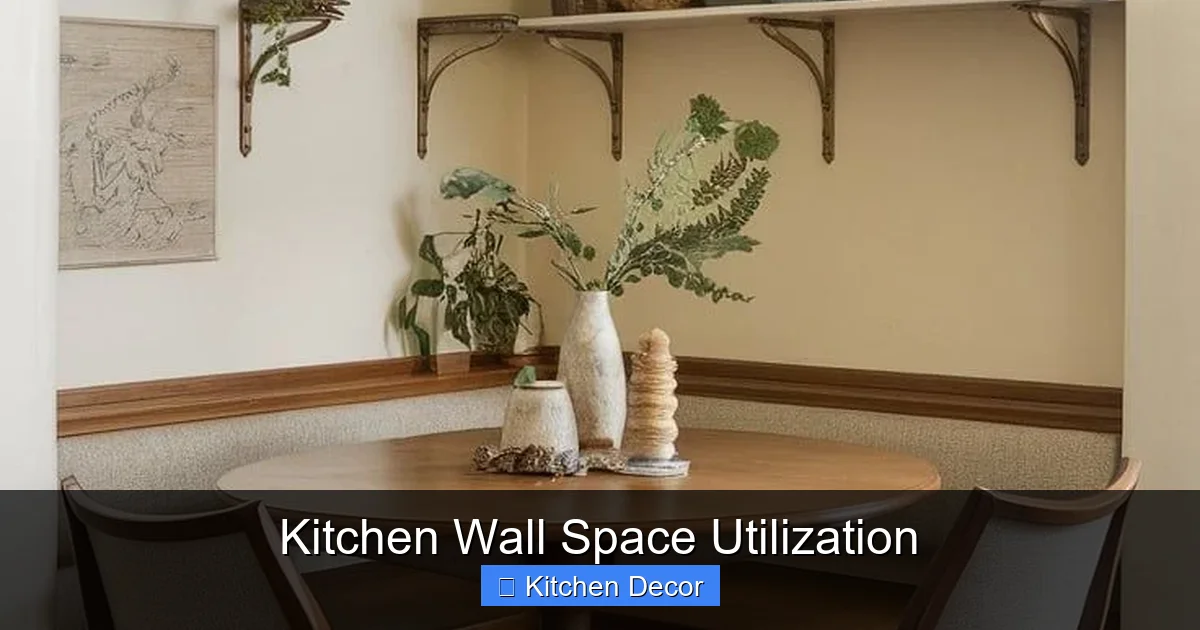
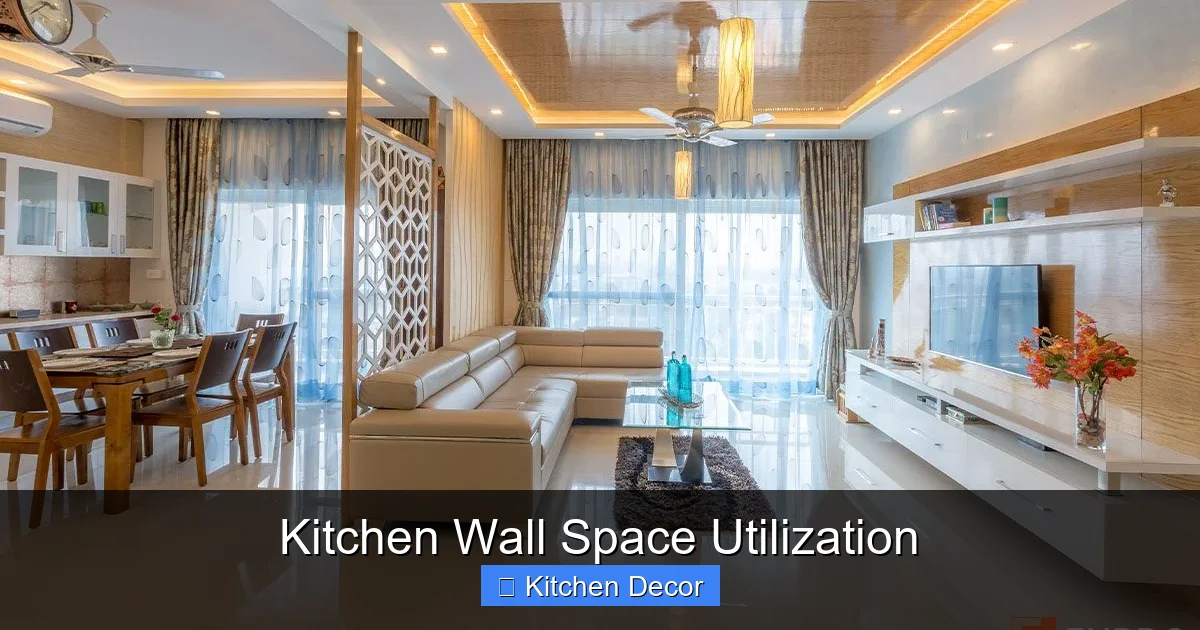
Visual guide about Kitchen Wall Space Utilization
Image source: i.pinimg.com
Hanging Rods and S-Hooks
These simple, elegant solutions are fantastic for keeping frequently used tools within arm’s reach. They’re a classic for a reason!
- What they hold: Ladles, spatulas, whisks, measuring cups, small pots, dish towels, even mugs.
- Where to put them: Above the stovetop, next to the sink, or under upper cabinets.
- Installation: Typically screw directly into wall studs or use appropriate drywall anchors.
- Tip: Look for systems that include baskets or small containers that can also hang from the rods for sponges or small cleaning brushes. This greatly boosts kitchen wall space utilization.
Magnetic Knife Strips
Free up valuable drawer space and keep your knives sharp and accessible. Magnetic strips are sleek, modern, and hygienic.
- What they hold: Knives, scissors, metal utensils, even bottle openers.
- Where to put them: Near your main prep area or above the cutting board.
- Installation: Similar to hanging rods, they often screw directly into the wall.
- Tip: Ensure the strip is strong enough for your heaviest knives. Always place knives with the spine against the strip first, then pivot the blade down to prevent dulling.
Floating Shelves
Floating shelves offer both practical storage and a fantastic opportunity for display. They can transform a blank wall into a focal point, making them a cornerstone of effective kitchen wall space utilization.
- What they hold: Cookbooks, spices, decorative bowls, plants, coffee mugs, glassware.
- Where to put them: Anywhere you have open wall space, either individually or in a staggered arrangement.
- Installation: Requires secure mounting into wall studs or heavy-duty anchors. Make sure they are level.
- Tip: Consider the material – wood, metal, glass – to match your kitchen’s aesthetic. Use them for items you want to see and access easily. Don’t overload them; distribute weight evenly.
Pegboards and Grid Panels
These versatile systems are highly customizable and perfect for creating a dynamic, organized zone. Think of them as a blank slate for all your kitchen wall space utilization ideas.
- What they hold: Almost anything! Utensils, small pans, cutting boards, spices (in small containers), cleaning supplies, aprons, and more.
- Where to put them: In a dedicated utility corner, above a workbench, or even a smaller panel above the counter.
- Installation: Usually mounted on standoffs to allow hooks and accessories to be inserted.
- Tip: Purchase a variety of pegboard hooks, baskets, and shelves to adapt it to your specific needs. You can paint pegboards to match your decor.
Wall-Mounted Spice Racks
Free up cabinet or drawer space by putting your spices on display. This makes them easier to find and keeps your cooking organized.
- What they hold: Spice jars, small oils, baking extracts, or even tiny decorative items.
- Where to put them: Near your stovetop or prep area for easy access.
- Installation: Varies by type; some screw in, others might use adhesive for very lightweight jars.
- Tip: Buy a set of uniform spice jars for a cohesive, aesthetically pleasing look. This level of organization truly optimizes kitchen wall space utilization.
Pot Racks
If you have tall ceilings and heavy pots, a wall-mounted pot rack is a game-changer. It frees up precious cabinet space and makes a beautiful display.
- What they hold: Pots, pans, lids, larger utensils.
- Where to put them: Often above an island or a large open wall section, away from head height traffic.
- Installation: Crucial to install into ceiling joists or wall studs with heavy-duty hardware. These items are heavy.
- Tip: Ensure it’s not too low as to obstruct your view or bump your head. Keep your most attractive pots on display.
Vertical Garden Systems
Bring freshness and life into your kitchen by growing herbs right on your wall! This is a unique and appealing aspect of kitchen wall space utilization.
- What they hold: Small herb pots (basil, mint, rosemary), small leafy greens.
- Where to put them: Near a window for natural light, or with supplementary grow lights.
- Installation: Varies from simple hanging planters to more complex hydroponic systems.
- Tip: Choose herbs you use often. Ensure proper drainage to avoid water damage to your walls.
Step 3: Plan Your Layout and Design
Effective kitchen wall space utilization isn’t just about adding storage; it’s about adding smart storage. A well-planned layout considers both function and aesthetics.
Consider Workflow
- Zones: Think about your kitchen in zones: prep zone, cooking zone, washing zone. Place items where you’ll use them most. Knives and cutting boards near your prep area; spices and cooking utensils near the stove.
- Accessibility: Ensure frequently used items are easy to reach without stretching or bending too much. Less-used items can go higher or lower.
Balance Function and Aesthetics
- Visual Weight: Don’t overcrowd one area. Distribute storage solutions evenly.
- Color and Material: Choose shelves, hooks, and racks that complement your existing kitchen decor. Wood, metal, open shelving – each brings a different feel.
- Display vs. Conceal: Decide what you want on display (e.g., pretty dishes, cookbooks) and what you might prefer tucked away (e.g., less attractive tools).
- Create Vignettes: Use shelves to create small, attractive displays with a mix of practical items and decorative pieces like small plants or artwork. This makes kitchen wall space utilization feel intentional, not just utilitarian.
Step 4: Installation Tips for Success
Proper installation is key for safety and durability. If you’re not comfortable with DIY, consider hiring a handyman.
Visual guide about Kitchen Wall Space Utilization
Image source: imgv2-2-f.scribdassets.com
- Find Studs: Always try to mount shelves and heavy items into wall studs using a stud finder. This provides the strongest hold.
- Use the Right Anchors: If studs aren’t available, use appropriate drywall anchors (toggle bolts for heavy items, self-drilling anchors for lighter items).
- Level It Up: Use a level to ensure everything is straight before drilling. Crooked shelves look messy and can be less secure.
- Measure Twice, Drill Once: Mark all drilling points carefully with a pencil before making any holes.
- Consider Your Walls: If you have tile, you’ll need a tile drill bit and careful drilling to avoid cracking.
Step 5: Organize and Maintain Your New Wall Storage
Once everything is installed, the real organization begins! Good kitchen wall space utilization needs ongoing attention.
- Group Similar Items: Keep all spices together, all baking tools together, etc.
- Use Containers: Small baskets or bins on shelves can corral smaller items and prevent clutter.
- Keep it Tidy: Regularly wipe down shelves and wipe any displayed items.
- Edit Regularly: Over time, you might accumulate new items or find some things aren’t working where they are. Periodically review your wall storage and re-organize as needed. Declutter items you no longer use.
Troubleshooting Common Kitchen Wall Space Utilization Challenges
“My Kitchen is Tiny!”
Small kitchens benefit most from smart kitchen wall space utilization. Focus on vertical space wherever possible. Think thin: magnetic strips, narrow spice racks, or a single row of floating shelves. Utilize the back of your pantry door or even the side of a cabinet for small items. Corner shelves are also excellent for maximizing small, often overlooked areas.
“I Rent, So I Can’t Drill Holes!”
Don’t despair! There are many renter-friendly solutions. Consider strong adhesive hooks (check weight limits), over-the-door organizers, or freestanding shelving units that lean against a wall. Some brands offer peel-and-stick floating shelves or magnetic wall systems that don’t require drilling. Command Strips are your best friend for lighter items. Always test a small area first if using adhesives.
“I Have Heavy Items to Store, Like Cast Iron Skillets.”
For heavy items, secure installation into wall studs is non-negotiable. If studs aren’t available where you want to hang, consult a professional or consider a freestanding rack. Heavy-duty toggle bolts or molly bolts are strong drywall anchors, but always respect their weight limits. A wall-mounted pot rack requires careful planning and robust hardware.
“How Do I Make It Look Good, Not Just Functional?”
Aesthetics are vital for cohesive kitchen wall space utilization. Mix practical items with decorative ones. For example, a shelf could hold cookbooks alongside a small plant or a piece of pottery. Use uniform containers for spices or dry goods. Choose materials that complement your kitchen’s style. Don’t feel you have to fill every inch; sometimes less is more for a clean, intentional look.
“I’m Not Handy at All.”
No problem! Many simpler solutions like magnetic strips, adhesive hooks, or small hanging organizers are very easy to install. For anything involving drilling or heavy lifting, consider hiring a local handyman. The investment in professional installation ensures safety and a polished finish, making your kitchen wall space utilization project stress-free.
Conclusion
Unlocking the full potential of your kitchen walls is a transformative journey. By thoughtfully assessing your needs, choosing the right solutions, planning your layout with care, and ensuring proper installation, you can revolutionize your kitchen’s organization and aesthetics. Kitchen wall space utilization isn’t just about adding storage; it’s about creating a more functional, enjoyable, and beautiful heart of your home.
So, take a fresh look at those blank walls. They’re not just walls; they’re opportunities. Go forth and utilize every inch, making your kitchen work harder and smarter for you!